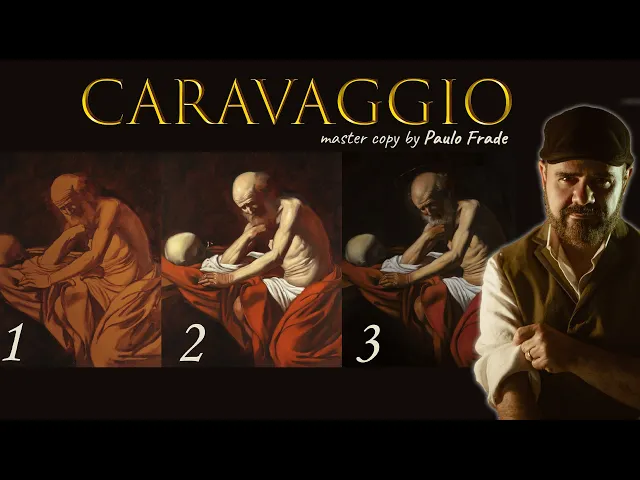
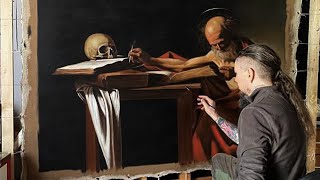
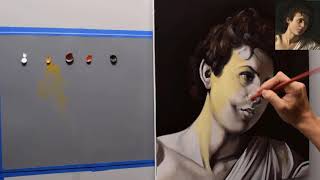
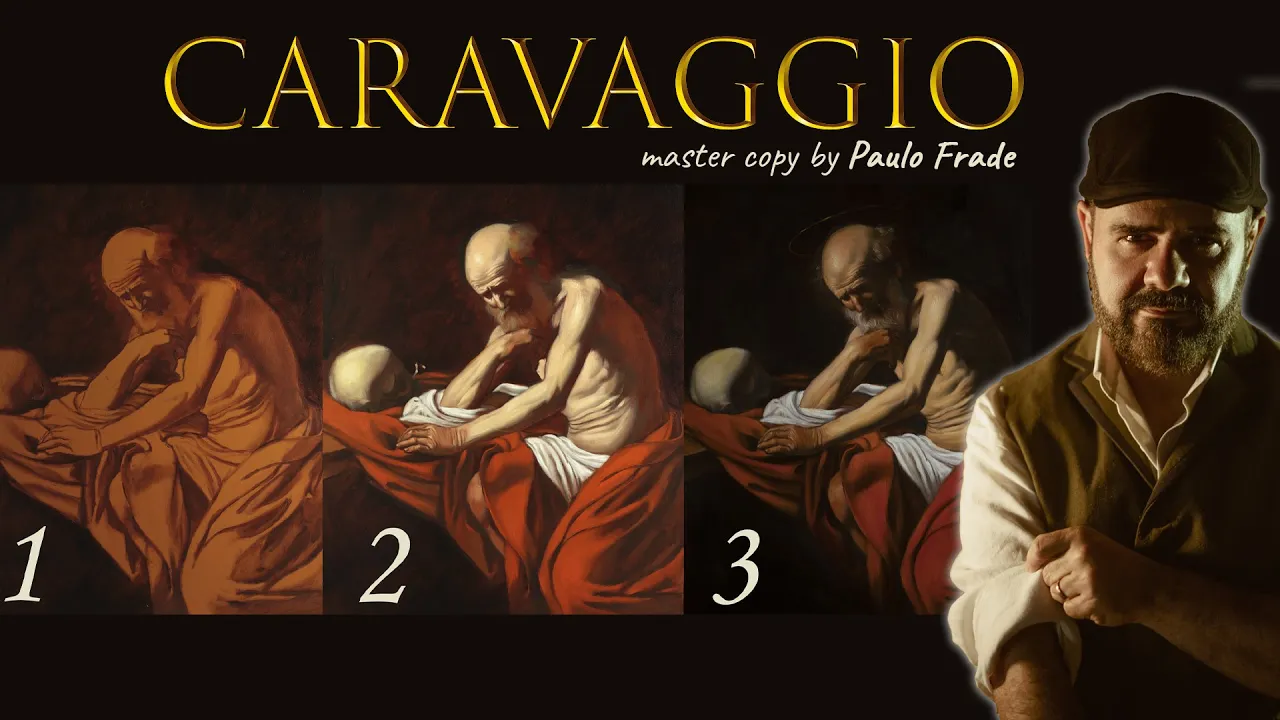
Hello how are you? Welcome to this video. In this video I'm going to show you the whole process I used to copy Caravaggio's work, titled Saint Jerome.
It was painted by the master in 1606 and gives a show of expressiveness and technique. To copy this work, I used all my knowledge of 30 years of classical painter, from the knowledge that I acquired in the academy where I studied and also this book. Caravaggio's Painting Technique, why is this book special?
Because this book shows the restoration of some works by Caravaggio and during this process, they were able to analyze and identify the way the artist worked. I also studied layered painting, as well as underpainting and staining. What materials did I use to start this painting?
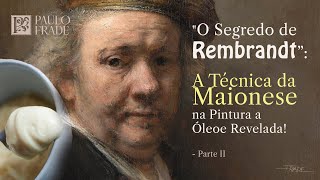
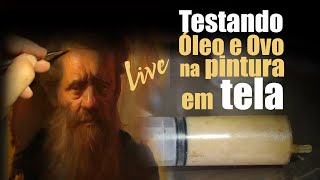
Well, I tried to use current, non-toxic materials, such as paints, and I tried to use mediums and older materials as a diluent. According to the book itself. Caravaggio used egg.
An egg-based tempera. So I created an emulsion, the egg base and also the oil base expressed in the sun. So, this emulsion has the function of lubricating the canvas so that the paint layer, especially in the stains, anchors and has a better interaction with the painting underneath, giving more transparency and more plasticity to the painting.
I also used calcium carbonate added to sun-thickened oil to achieve transparencies. Transparencies without the addition of solvent, as this would result in a thin paintwork that would not last long and would not have the effects I would like. So now let's understand the process I used to make this copy.
I cannot say that Caravaggio used this exact process, and of course, no one can say. But from the chemical analyzes and the biographies and everything else that this book presents us, and from what I learned at the academy, I can get an idea of how it might have been done. The fact is that it was made in layers, however, we don't know exactly the whole process and all the materials that were used.
So, based on all this, I did it as follows: we started with the preparation of the canvas, where a properly glued canvas received a layer of plaster and then it was dyed with a slightly orange and dark earthy color. This earthy color is so that we can have the transparent shadows placed in the painting. After the prepared canvas I start doing what I call the Amber layer or the shadow blocking phase, as you wish, where the drawing and I start from this drawing to block the shadows in a transparent way, because then I will be able to have a margin to superimpose these shadows on the pure candle.
So the first step is the umber or blocking layer of the design. After that, I preferred to wait for it to dry and started underpainting. What is underpainting?
It is a base painting, where artists from the time of Caravaggio modeled the figure, leaving it three-dimensional, with very few colors, sometimes monochromatic, with dark earth and white, black and white, the famous gray or with a little color, like me. I chose to do. So, that way, the tones will be more neutral.
Then, when we enter with the stains, the top layer will be neutralized by the lower tone, the top layer, which are the stains. Painted in a transparent way, they were neutralized by the grays of the underpainting, and also the underpainting made them more luminous. The top layers that are the glazes.
Then the second step walker, comb. Third and last step. The candles.
What are Vessels? Are they transparent and semi-transparent layers, painted over the snake? So, recap: how aunderpainting was painted with earthy gray tones.
I'm going to have a layer, as they say, dead, gray, and when I, when I paint the cars on top. The top color will be neutralized in the more neutral areas of the underpainting. This way it is easier to get to the skin color.
It's also another very important thing that we have to take into account is the fact that when I paint a transparent layer. In the case of glazes, over a layer. Dr and bright.
My top painting will be luminous, because the light will pass through the glaze layer, hit the underpainting and return luminous. So this process allows, in short, for me to model the figure with few colors, so it would be much easier. I already have all the neutral areas in the underpainting and in the glazes I'm going to worry about the color.
So I'm going to separate the color reasoning from the modeling reasoning and we'll see, in practice, this whole process. Come on. As thinner To start drawing, layer umber.
I used Winsor and Newton liquin and the earthy color, Van Dyke Brown, which is a dark earthy color that I really like. So, this way I was drawing on the canvas and after I drew, I started blocking the shadows with a wider brush. This blocking is very important because it already gives volume to this drawing and in this way we can better understand if there is something wrong in this process.
And it is important to say that these shadows, these blocks served as the basis for the glazes. That is, the transparent shadows that will come on top will be based on these shadows blocked in the umber layer phase. So, it is very important that these shadows are well spread, well stretched on the screen.
There we have the umber layer all filled in. Blocked shadows that will serve as a base for shadows that will come on top, and the exposed canvas to receive the underpainting. So, the next step, let's start underpainting .
To perform underpainting, I used few colors. I used titanium white, which is a very important color. Without it, we can't illuminate, make the lights, lighten the mixes.
Then I used ocher yellow, which is an earthy color not very chromatic, much less chromatic than Cadmium yellow. Then I used Terra Rosa, which is an earthy color similar to burnt siena, but lighter. And finally, black.
I also used the liquin to stretch the paint, and I used the empasto liquin, which is a medium, so that we can get ink taxes. I did this to be able to execute the underpainting in a faster time and for it to dry faster also to start the staining a day later. So then I put the liquid to stretch the paint and the liquid of impasto to get more impacts and fatter brush strokes.
The technique is very simple. I start with the lights with thicker paint and I drag that light towards the shadows. This way, when I drag the light tone, it becomes more transparent and also becomes more neutral.
So, in this way, I'm creating the neutral tones in the painting. It's a simple process, but it requires a lot of attention. Then notice that when I drag the paint well over a reddish, warm surface, that tone becomes colder, more dull.
So, see how the filling of the top of the head looks like. And after we've done all these fills, we're going to work the highlights on top of this dragged-in local tone. In this way, we finish the underpainting and the next step, after drying the underpainting, we will start the stains where we will work with transparent and semi-transparent tones, coloring the underpainting.
So now let's start the scrimmages. For the glazes I will use a slightly more complex palette, but not as much as when painting Alla Prima. So for the first color we will use titanium white, an indispensable color in any painting.
Then we'll use ocher yellow, a color widely used in Caravaggio's time. Then an earthy, darker variation, which is the natural sienna. Natural science is more transparent than ocher.
It is very important in glazes. We will also use in the sequence, the light cadmium red. Sometimes I also use alizarin crinson , but at first I used cadmium red, of course.
Then, in the sequence, I put the red earth or Terra de Veneza is also the same thing. They work in the same way and, in the sequence, I put a green earth, a color widely used at the time of Caravaggio, even used by him, Caravaggio himself. And, finally, the Italian Black, which is a warmer black than the traditional ones.
Now I'm going to put the pick. The medium I made with sun thickened oil and calcium carbonate. As I said before, this medium will serve to make the paints transparent without the need for solvents.
In this way, I will have more elastic, more resistant films, without the need to use solvents. Then I mix the colors with the calcium carbonate medium in the exact measure, as I find it necessary, and I make the colors more transparent, which will work very well on top of the underpainting. Now that we have all the paints ready, it's time to put the emulsion on the canvas, the emulsion that was made with egg and oil thickened in the sun.
This emulsion will help the paint, properly prepared with the carbonate medium, to interact correctly on the canvas, providing fat, elastic transparencies that allow an exact and precise control of the artist. The stains are applied with transparent and semi-transparent layers. In regions more than transitions.
A semi-transparent color looks great because it will generate a more neutral tone, a more, quoted, milky tone. And this tone is widely used in the midtone regions. Then the mixture is made in the palette applied to the canvas in the dry underpainting, where I previously applied the emulsion and then I can go removing the excess with a paper or even opening the High Lights regions.
The regions of high lights with a cloth. But I prefer to use paper and that way I'll remove the excess. See how the regions that were more neutral in underpainting also became more neutral in overpainting.
And see that I made a light color for the skin and didn't need to add white. This is very important, because this way I will have more light in the painting. In the same way that we did the glazing in the lights, we will also do it in the shadow areas.
That's why it's very important in the amber layer that we block all the shadows, that way, at this moment of candlelight, we can use more transparent tones. The shadows will become warm and transparent, which is one of the characteristics of the paintings of the great masters and to this day many artists work in this way. After the stain is completed, we have two options: We can wait for it to dry and add some details, or we can take the work to the end, painting and detailing the work.
In this case, I preferred to finish detailing the work to finish and leave it ready. Did you like the video? Give me a strength, like, comment and share.
So people will have access to that content. It is a pleasure to share all this knowledge with you and I hope it can help you and that you will put it into practice. It cost!
Big hug.