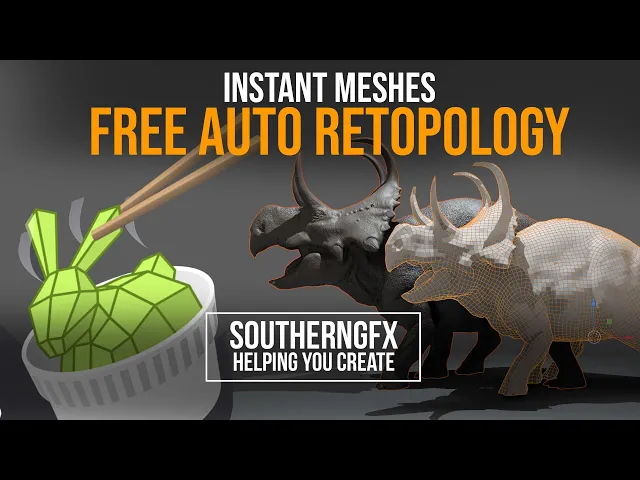
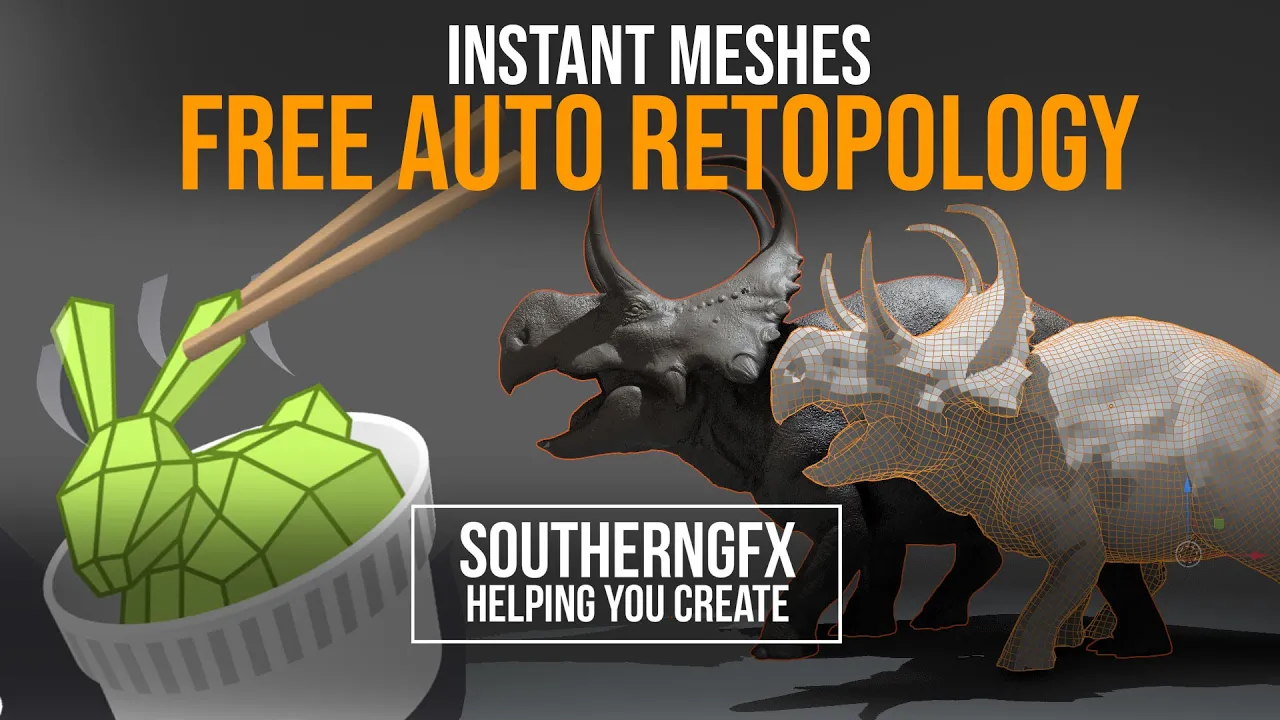
at some stage in your sculpting you're going to need a nice clean retopologized model i do it a lot in zbrush with z-remesher but not everybody has access to that so if you're working in nomad you you don't have a way to do a clean retop now if you want to get something that's got that clean edge flow then you need a program called instant meshes and it's free yeah i'm going to talk about it in this video and it's basically a few clicks away and you can get a really nice clean flowing model so
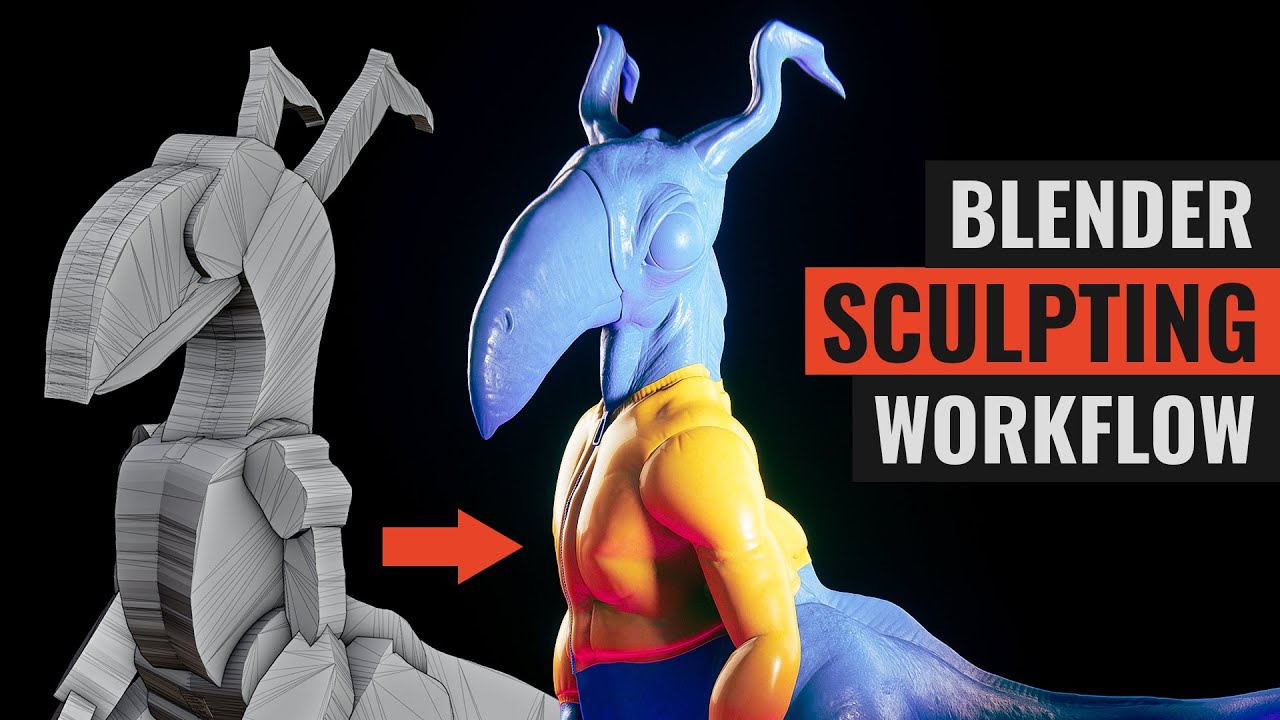
let's dive right in take a look at instant meshes and see if it works for you so i've got my nice sculpt and doesn't matter where it came from whether it's nomad zbrush blender wherever you get your sculpt from and you want a nice clean retopologized base mesh for it so we'll take this macaro ceratops which is part of a project that i'm working on at the moment and what we'll do is we'll generate a nice low polygon mesh that we can use in all of those different programs now if i was in zbrush i
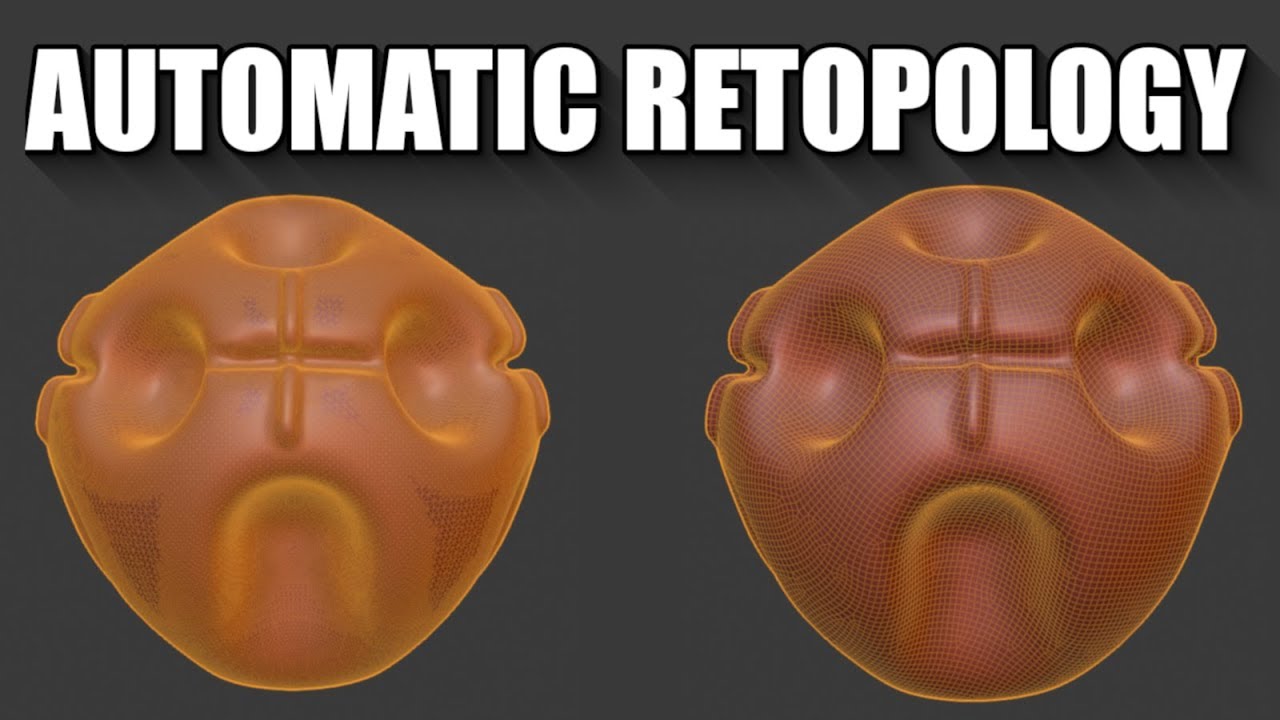
could do it with z-remesher i could do it by hand in here in blender with with lots of various plugins that you can get but it's nice just to have a kind of one-click solution to give you a nice base mesh something along the lines of this so it's it's not as accurate as i would get if i did it by hand but it gives me a lot of what i need and there's a very very quick way of doing that with something called instant meshes so if you jump onto github and just uh this
address here which i'll copy down below in the uh in the description and then just do a quick search for instant meshes you'll find this and there's lots of information about it and it's a very very powerful little piece of of programming um you know and there's lots you can read in there and if you don't if you don't really know a lot about this subject then i'd suggest you go and research this in this in this website and but what you would want is this bit here so just download the presuming you're on windows
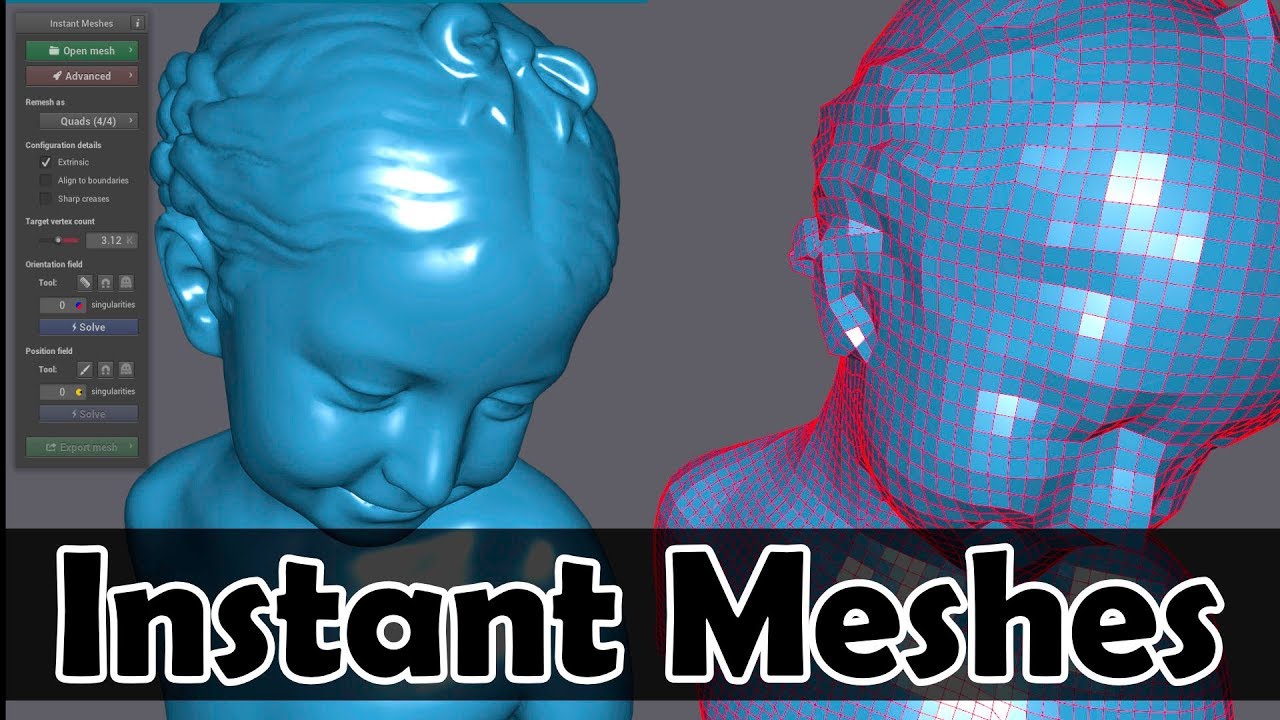
get windows mac if you've got mac etc and then you just get a little executable file and then just run that and then you're straight away you're up and running with instant meshes an instant message is it's very complex but very easy which is there's a lot of terminology in here that i won't cover because it's not for for the faint-hearted unl unless you've done some research into into what a lot of this means so where possible i'm just going to focus on the buttons to rest to get your your nice clean mesh out so
the first thing you're going to want to do is open up a mesh so just import the model that you've got and i've got one that's it's about quarter of a million so it's it's been decimated to a reasonable level and that's the same model just just a quarter of a million polygons now if you look up here and look at advanced there are a couple of things i would leave most of this alone until you're until you're familiar with it but there's a couple of things i'd want you to have a look at so
you're obviously seeing the input mesh which is your mesh you can have a look at your wireframe and as you can tell it's triangulated like crazy it's a nasty mesh and whether this has come from um dyn toppo from blender or or a dynamesh from from zbrush or from a voxel remesh in um nomad it doesn't really matter it takes anything um that you want to throw at it really and so turn that wireframe off but here's something you could look at which is these are the face ids and the vertex ids so if you
don't know what these are just thought to explain it so every single number you can see there is an identifying number for each of the points in your model so if you ever wonder how much math is going on to create this machoceratops well that's that's what's going on so every point of every you know so each and this is triangulated at the moment so there's each triangle has got three points one at each edge each vertex one at each point and then each of them has data so obviously you know if if you do
this for a living and you're and you're used to 3d you'll know that but if you it's it always blows people's minds when i show them that for the first time that you know that that is calculating that model um on a per vertex level um all the time so that's incredible if you think about it just just thinking about that is crazy so we'll turn that off we don't need to know any of that and and then most of this i i would leave alone you've got an output mesh here but because we haven't
done anything yet you can't see it so other than that leave advanced alone and and you've got a thing here where you can have uh on under remesh as triangles quads or another version of quads and i'm going to leave it just i don't want triangles so i'll leave it at quad 4x4 like that and that's that's the way i've done most of the ones that i've done i leave configure under the configuration details i don't put crease on because you have to reload the model so we don't want to do that and i'm not
overly sure what a line to boundaries means in this context so i've left that alone but what i do understand is this bit which is target vertex count now it says 22 000 and just with a lot of these algorithms in in programs like um zbrush and blender you you won't get what you put in so if you ask for five thousand um a vertex count of five thousand you won't get five thousand it'll just have a go and it'll it'll spit out as close as it can get with it with the parameters you give
it so five's probably a little bit too low so we'll just go and go a little bit higher we'll go seven or eight something or even nine now we'll try nine and just see what we get and then this is the fun bit now so because because you move on to the next section and this is where you can see these tools here which is um the first one that you want to try is this one and this is like a comb so if you uh solve the the the model what it tries to do
is tell you where it's going to put your topology now if you look at these little stripey coloured lines that they don't look very good incidentally turn that back off if you want to move the model around while that's activated you're not going to be able to move it around you just get to to draw on it so what what you're looking at is the approximation of where the geometry is going to go and as you can see if you think about geometry and you look at those coloured lines that's going to be a pile
of garbage because it's just arbitrarily slapped a load of lines on it so what we need to do is this button which basically says orientation comb making local adjustments to the orientation field so we hit that and then what i tried to do is draw what i think would be a nice set of uh indicators for the uh topology now i just did that one and it was a little bit random and nothing's happened so depending on the size of your model and how much you know what your system is like and and how much
information you give it you you might get it not working so don't do you know lines that go all the way through the model i'll just delete them will not be that successful so what you want to try and do is just build it up in localized areas so for example i might want to do around this major muscle at the back end of the thigh there i might want to just put a line and that just gives me the flow going round there you can see it instantly there i can't turn it round without
turning it off so i'll do a few and then we'll turn it around i'll do one around the shoulder blade here and that changes that flow and then if you look now down the middle that's given us a nice flow from top to bottom around the the rib cage so that's working well already now this leg is going all over the place the back leg so i'm going to draw a line right from the spine through the knee down through the calf and down onto the foot and just watch how it changes the orientation though
so now you've got a flow that's going to go right the way down through there the same with the front leg but then pull it back a bit as if because this is the the the way that the the uh scapula is going to go so you're looking for a flow and you see i went too far then it probably didn't do probably um oops got rid of one that i liked then i have to redo that one it probably went too far and what i would have been better is just doing the flow like
that and then the flow like that and then it just tweaks it like that let's get this neck working right so we probably will have to get a bit closer now so i'm just going to turn it off and move it around so you can zoom in and out with the with a mouse or wheel roll and you can use right click if you're using a mouse and to get to to give you a pan around like this so thinking of the front now let's get the comb back on come round the frill because i'd
like it to indicate this thrill and i'm going to go right to the corner of the mouth and i'll change that completely now i want to come around here with the jaw so that'll change that and then i'm going to put a couple of indications of the eye now it doesn't do a brilliant job i found um in that area um this next bit the singularity attractor i have tried that and it has made some difference sometimes it can uh help you um i i don't know i don't i don't even know what that actual
i'll you know what that part of the algorithm does but sometimes i have had some success with that if you switch it on like so you can see there it's giving you an indication and and i probably need to read up on that to see if i can get some really nice edge flow around things like eyes but currently we'll just focus on what we know and so let's turn that off and we'll spin it around now this is a non-symmetrical model so i have to do all of that again on this side so let's
just do it a bit quicker this time now we've we've got an idea of what we're doing so i'm going to indicate down through the tail over the back end of the top of the the top of the pelvis down onto the thigh calf foot over the belly around the front shoulder and then i want to really make sure this neck is is lined up for the for the wall underneath and then rotate turn it off again rotate it around and let's get this front end looking good so we want to comb back on get
this looking good up to the crown up to the horn around the eye i put two around the eye around the jaw now in a lot of a lot of creatures i would want a um a loop around the the top to the bottom you know the the lip would come round in the middle here but on a triceratops of you know because it's got this horned bit here and and the jaw is just very much just an open and close angle that i've not really had a problem with with not having a contiguous loop
there um and that's pretty much it really then you can switch that off so you can have a final look just to make sure nothing's changed and then we'll see what what what that's yielded and see if that's giving us something uh a lot like we need so just bring it into frame like that so first of all i'll hit solve there and it'll resolve everything based on that information and then i'm going to use um this here on the next bit the position field basically if we hit that um we don't need to do
any of these next bits so that that's pretty much exactly the same as as i've done then it's given me an indication of of what i'd already drawn so i just hit solve on the second one and it gives me this which is it's now having a good look at um uh what it's going to suggest as a as your topology now if at this point it looks like it's going to be too low polygon then this isn't your geometry obviously this is an approximation and you can see around the eye it's going to have
a go the jaw's going to follow as much as it can and the hips have worked that's given us a nice flow around there and around the front shoulder so we're almost there with it really it's not it's not giving me any you know really scary um results at this stage but if you want to click this back on and go and have a go with the edge brush and just make it a lit you know if you feel that that's not enough go in and tweak that and you'll see on on this setting you'll
see the um the actual shape of the geometry rather than the suggestion will change and i can sometimes spot errors like there i can see that it doesn't flow up well onto the like that didn't flow up well through the world so i'd miss that bit and i might want to think about a line like there for example so that will retweet that and then that's pretty much it really we're almost we're almost ready to calculate the mesh now it looks it looks good enough to me so the next board next pit here is export
mesh and before we export it we want to have a look at it so let's have a look at the extract mesh and there you go so that's giving you quite a nice uh low polygon mesh that's got more than enough detail in it for you to start it as a mesh you can you can uv that now even if you want to in blender or in whatever your other program is but that gives you pretty much everything you want look out for things like this where it's lost a little bit of detail so because
that'll cause you a problem and so you're gonna want to go back and fix that so it's just a case of going back in maybe upping the polygon count a little bit or maybe just just try and paint a little bit up the horn to try and get it to hold that volume but they're the only kind of problems i i've encountered with with this software i find it incredibly useful and what comes out is what you've already seen in blender and and if it comes out in blender then all you would need to do
is take this into nomad and you could sculpt there you know increase the resolution and do a normal high poly low quality workflow from this mesh so this is super useful for anyone doing my t-rex course and it's super useful for anyone who just wants to improve their workflow with a bit of retopology and but they don't want to go to the expense of something like zbrush or a more dedicated system one thing i will point out is when you come to save it so name it whatever you want to name it but with this
software you can export a ply which you won't want to and an obj which is a modeling um format that's very very common i've been around for a long time but you have to actually put the file extension so you do have to actually put obj on it or it won't it'll throw up an error so just remember that when you when you come to export it so this is our second course following on from the ipad beginners sculpting course and where that focused on the basics of how to sculpt on an ipad and how
to make your first character this one is firmly about creature design namely the tyrannosaurus rex the course isn't for absolute beginners so you need to have either taken our first basics course or at least know the basics of how to use nomad scopes or in fact any 3d sculpting package would be a bonus i'll teach you how to add references block out a full creature with simple primitives then mesh that together and begin the initial stages of sculpting we move on to secondary forms and how to build up muscle groups and main bony landmarks on
a dinosaur in this video we're starting to look at workflow techniques specifically for ipad sculpting where we don't have all the tools and features of a desk bound system i'll cover off primary and secondary and tertiary forms and also take a look at a routine i like to use where you're always clear whether you're in creation or refinement mode and what that actually means we're providing the main nomad sculpt files so that you can either use them as a reference assist you if you're struggling with any part of the course and of course you could
just 3d print them and who doesn't want a dinosaur on their desk we've included all the alpha images that we used throughout the course in a pack of 50 skin and scale offers two bonus videos give you a glimpse of how to re-topologize in zbrush using z-remesher and a 40-minute painting session with procreate where we take a look at how to use exported nomad images it's packed full of useful tips and tricks and it's structured to allow you to follow along at your own pace there's also a bundle option if you think you need to
go back to the basics before tackling the big guy and that's all available right now