before we move on let's make sure that you're studying and retaining this information as we cover a lot of information it may seem simple in the video until you're testing yourself you don't always know so think about first law of thermodynamics the second law of thermodynamics the hvac version what is what affects the speed of the second law of thermodynamics what is refrigeration and then draw your refrigeration cycle remember to use red and blue marking devices and start with the compressor or one component and go in that same flow don't skip around flow how the
refrigerant's going to go so pause this video right now and test yourself welcome back let's see how well you did what i want you to do is leave the example that you already did in front of you and i want you to start a new one and we're going to do the whole refrigeration cycle together and it's going to be a little bit slow a little bit painful we're going to go through all these details together and i want to help connect these so the more that you draw this out the more you do this
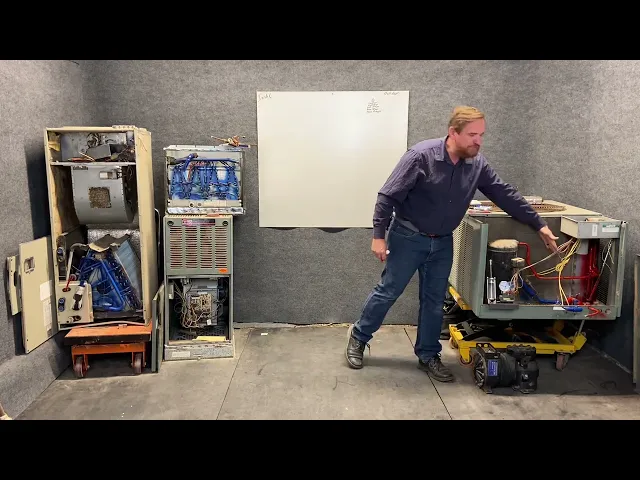
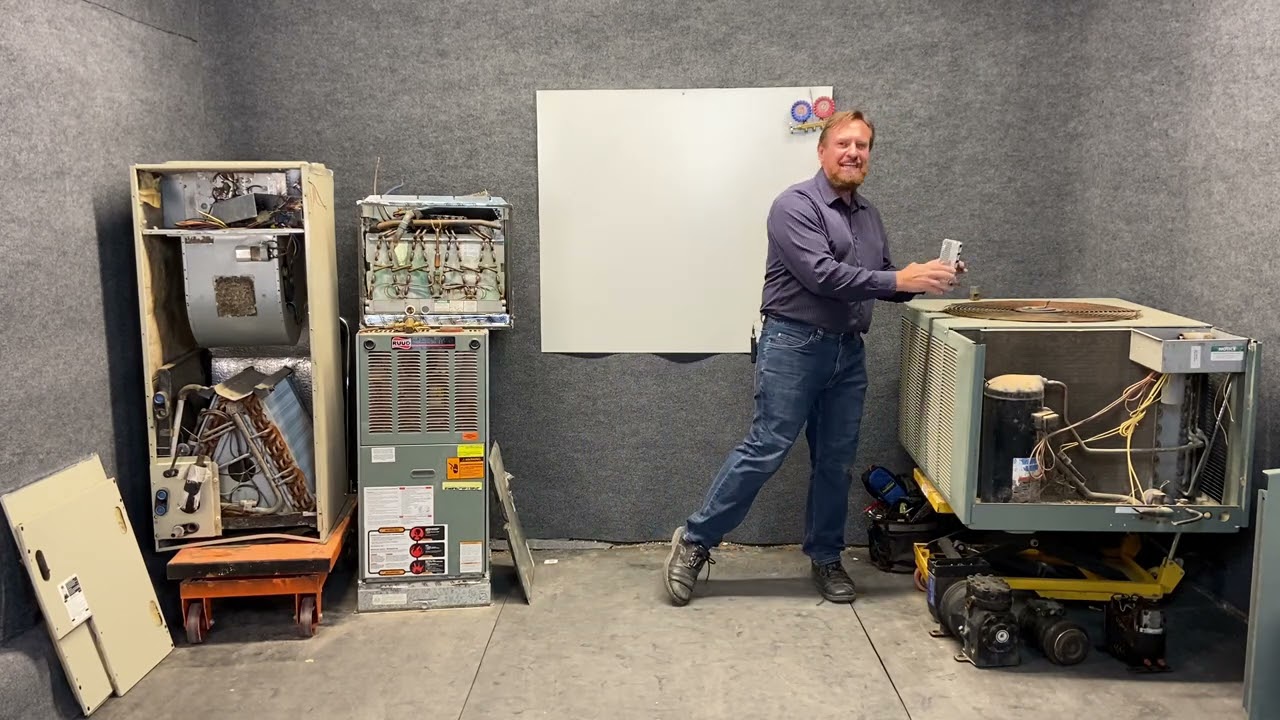
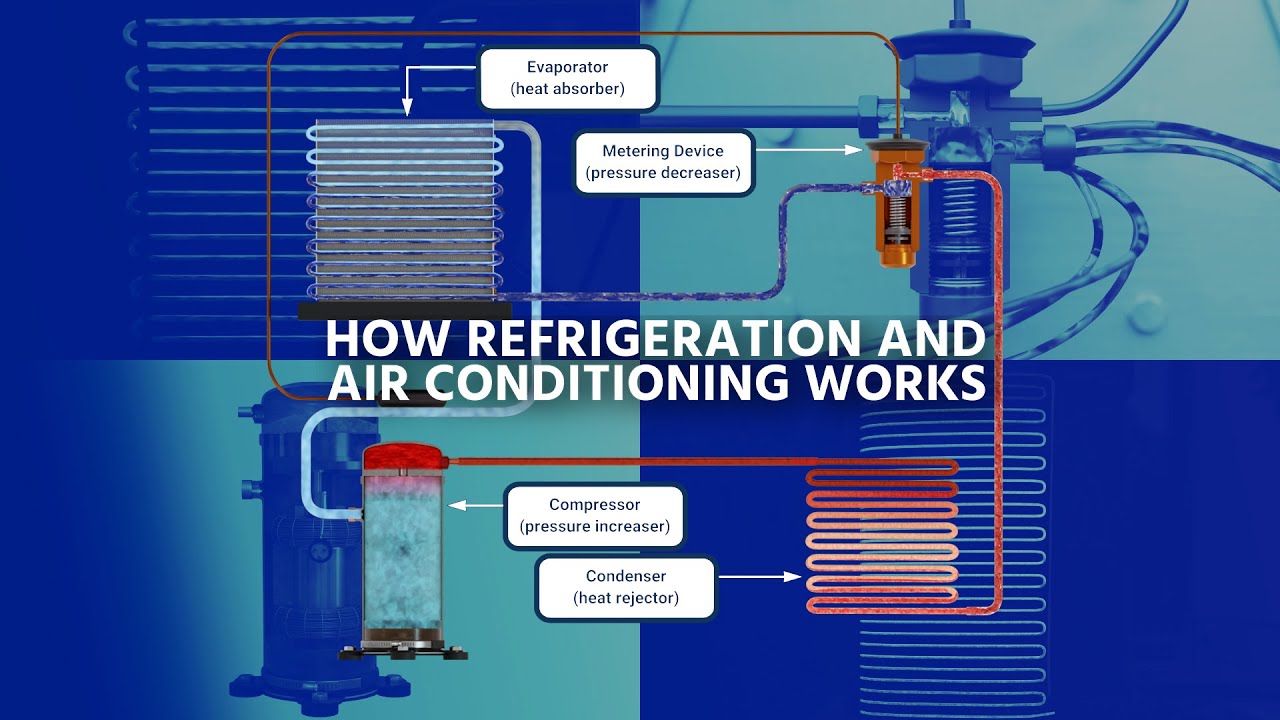
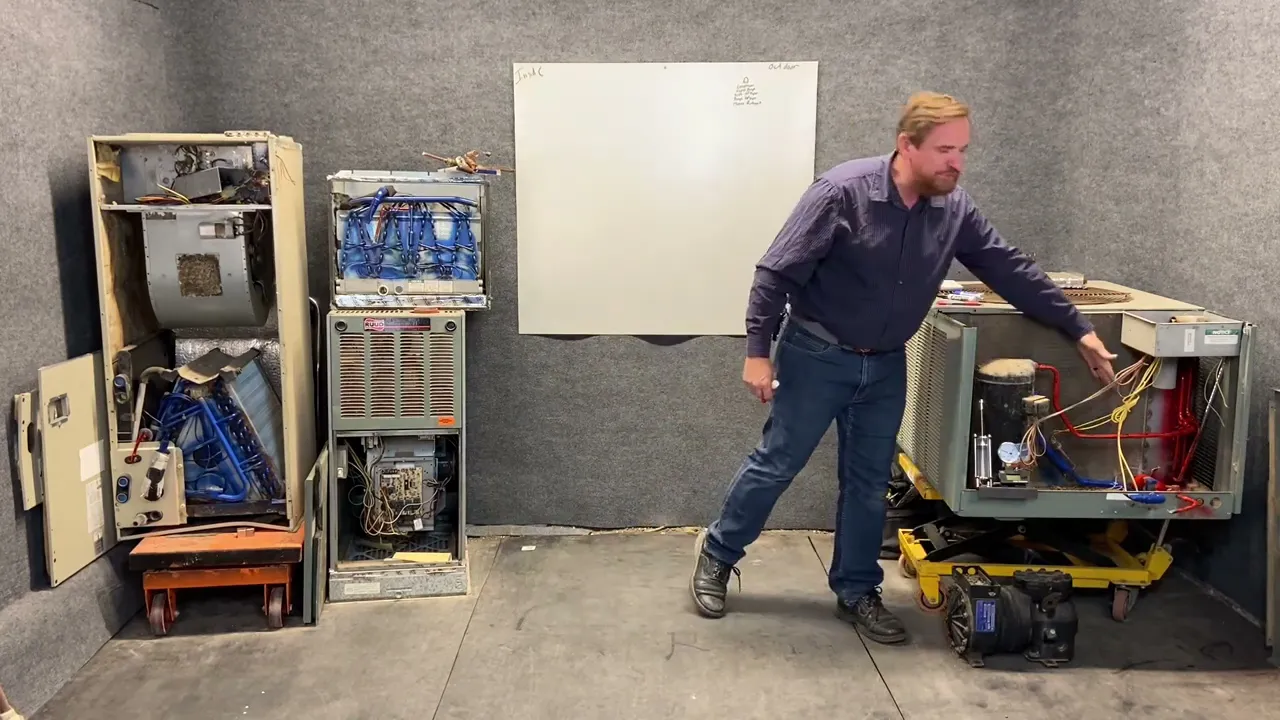
at home the faster you're going to retain this information nobody likes rewriting stuff and i tell you the power of writing is very very important so let's get started first i'm going to start off with an inside unit and an outside unit so i'm going to ride over here inside so this is my indoor unit on this side is going to be my outdoor outside so very simple there we're going to start a refrigeration cycle with the easiest thing to find and that is going to be our compressor so i'm going to draw my little
symbol for compressor and we know that it's commonly called a compressor it has two names also called a and i want you saying these words before i say them physically say it out loud hopefully nobody's around to laugh at you but i want you physically saying these words because it's going to help you with their learning process so it's a compressor also known as a hopefully said vapor pump it doesn't matter that you can't see these words i'm wanting you to practice along with me as you write this stuff down you can pause at any
time write this information down rewind and hear it again but it's a compressor it's also known as a vapor pump and it does three things it sucks low pressure vapor and it pumps high pressure vapor and it moves the refrigerant so when you draw the compressor when you draw this little symbol however you want to draw your compressor i want you in your mind picturing an actual compressor i want you having this in your mind thinking about it so when you're drawing this this is what you're imagining now when you see this i want you
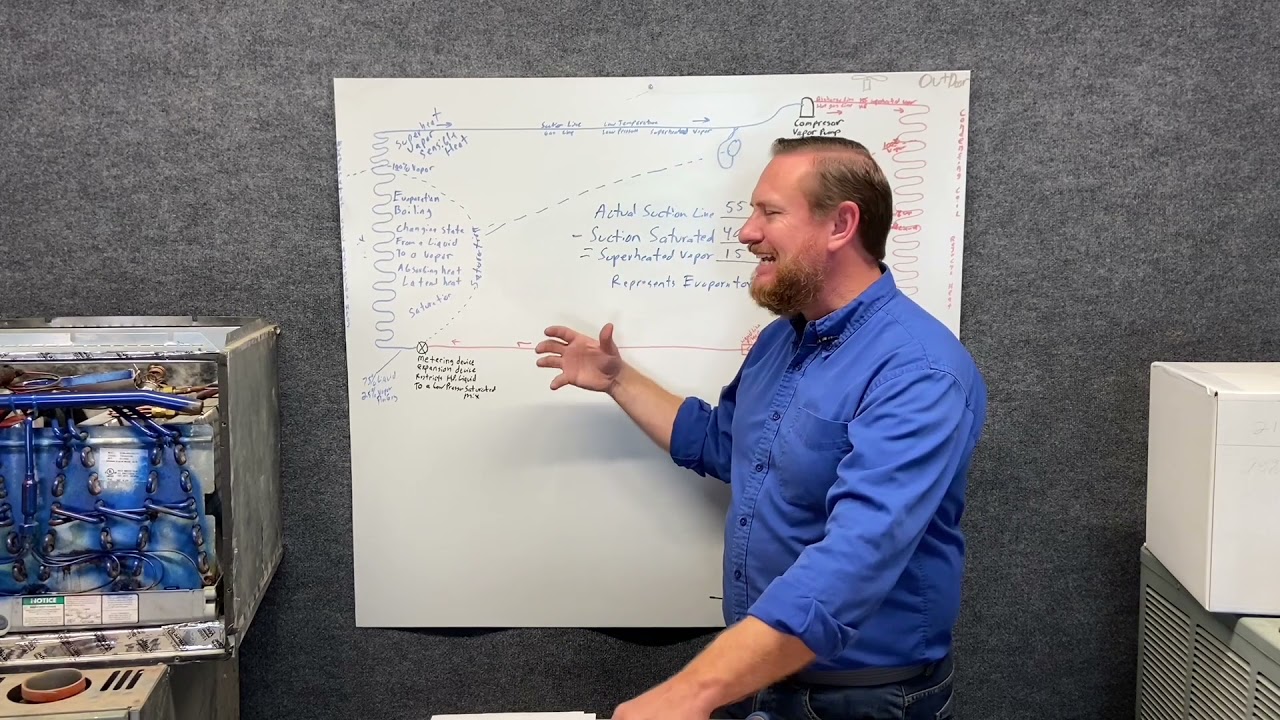
thinking about the refrigeration cycle and thinking about all of these things that way they're connected it's not just that we're practicing drawing this for fun i want you to understand that as we draw this symbol it's this component when you're looking at this component you're thinking about these things so you draw that first and you're connecting it all together now we're going to get our red device this represents high pressure and this little bitty short line the shortest line in the whole system is going to be right here next this little line we're going to
draw in red and remember this component has two names they are the discharge line and it's also known as a hot gas line and the state of refrigerant in that line is a high temperature so i'm going to abbreviate ht high temperature and it's a high pressure i'm going to abbreviate hp for high pressure and it's a superheated vapor that we're going to learn about next or soon we're going to put an arrow so that we know it's coming away from the compressor and our next component is going to be this condensing coil so we
know that we're going to be rejecting heat this is our condensing coil so whatever you need to do when you're seeing us draw this condensing coil i want you picturing this coil and when you look at this coil i want you picturing what we're drawing right here so they are the same they're not different and we're going to go back and forth back and forth to represent the refrigerant flowing back and forth back and forth across that condensing coil and then we're going to label this condensing coil and the other thing this condensing coil does
we got to remember it rejects heat it's giving up peach rejecting heat so we're just going to write rejecting heat we're going to add more to that but right now just getting those simple things getting that connected so now that we've pictured this condensing coil we're also now going to picture our liquid line the liquid line is leaving the condensing coil that liquid line is going to connect the outdoor condensing unit to the indoor unit our meeting device but that liquid line the small line it's more like a 3 8 line if you look at
the units there's a bigger one and a smaller one it's going to be the smaller line it's still going to be red still going to be high pressure this we're going to use our high pressure gauge and what i want you to do also is don't forget this little guy here this is called a we're going to draw it just not just right here in the middle it can be anywhere in this line but it's called a liquid line filter dryer and it's going to have an arrow on it and the arrow is floating away
from the condenser and that arrow is flowing towards our metering device or towards the indoor unit so numerous got to be changed anytime you open up the system in this case it's right here leaving the condensing coil another case it could be right here before the evaporator coil or anywhere between as long as it's on the liquid line it can never be on the hot gas line it should never be there so we got the next component and now we're going to change to our black marker because this component is a symbol we're going to
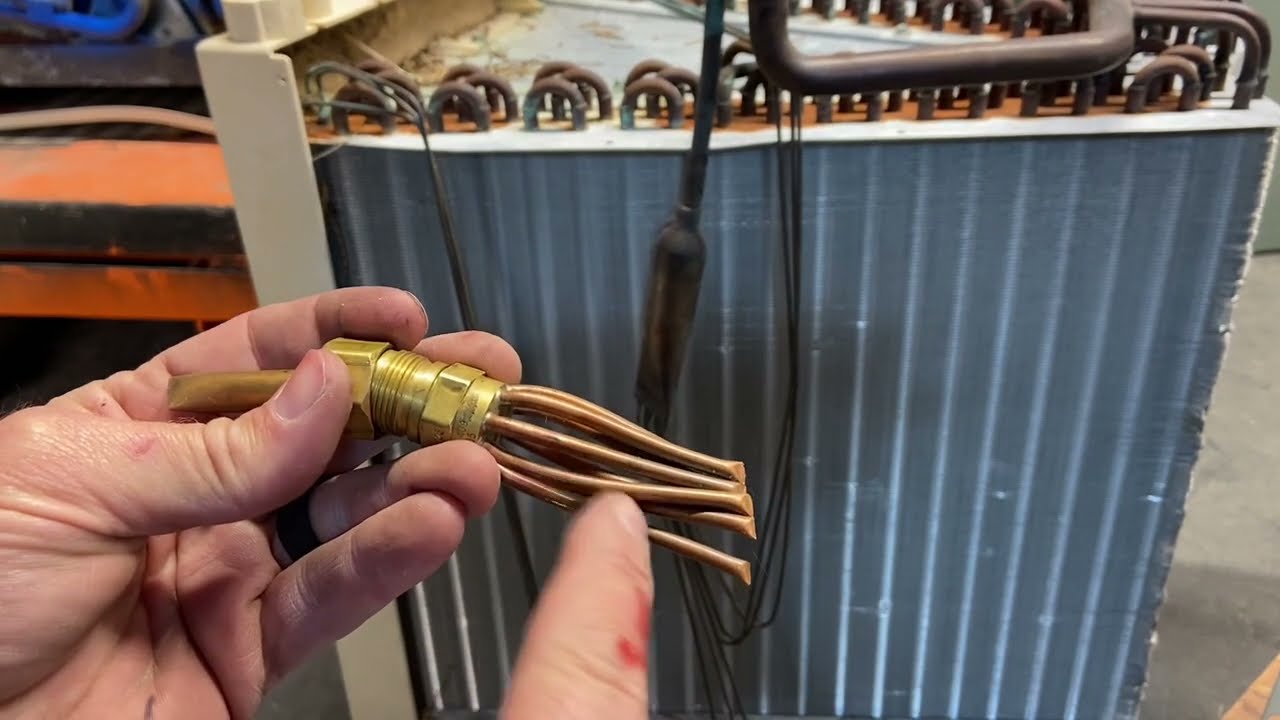
have a circle with an x through it that's the symbol for our metering device so when we draw a circle with an extern i want you physically picturing one of these kinds of metering device whichever one you like the most i want you picturing it when you're connecting it and we know that metering device has two names it is a meter device we're going to write that down together metering device and it's also called an expansion device so this is a thermostatic expansion valve but it's still an expansion device this one's a fixed orifice expansion
device and this one's also a fixed expansion device but they are all expansion devices they're all metering devices now that we know both the names let's talk about what's happening what this is doing is going to restrict the flow from a high pressure i'm going to abbreviate hp for high pressure restrict the flow from my high pressure liquid high pressure liquids coming in high pressure liquid two a low pressure i'm gonna abbreviate lp for low pressure and this is a key word we're gonna talk about soon saturated mixture and on the other side we're now
going to have a low pressure so we're going to have low pressure coming out of this and coming out of this metering device it's going to be approximately 75 liquid and 25 vapor there's going to be liquid and vapor together with a meteor device has caused the pressure to drop so our temperature drops 75 liquid 25 vapor now we're going to go straight from our metering device right into our evaporator coil our evaporative coil is low pressure blues that low pressure and we're going to be going back and forth back and forth on the indoor
unit and this is representing the evaporator so we're going to write evaporator and ultimately there's a lot more we're going to add to this there's a lot more we're going to learn about this but ultimately the job of the evaporator is to absorb heat to collect that heat so it's going to absorb heat if i absorb the heat out of the air it's going to go into the refrigerant you're cooling the air off or taking heat away from the air that's what's happening he has to go somewhere we can't destroy it it's going into the
refrigerant so now that we leave our evaporator we're going to have our suction line that's going to be this big line the thicker line usually has insulation on it like this example it's going to go all the way to the outdoor coil through a valve it's going to end up all the way back to the compressor so we have a complete cycle but it's not just called a suction line it's also called a gas line suction line or simply a suction gas line the state of refrigerant in this line is extremely important it is a
low pressure lp low temperature lt superheated super heated vapor we're going to talk about that superheated vapor later you're going to have to hang on because i'm not telling you just yet it's a low temperature low pressure superheated vapor what we're going to do is put a little arrows on here so we know we now have a full and complete cycle it's very important you put all of those words together you connect all this this is the reason i draw my refrigeration cycle is because it helps us see the inside versus the outside the meteor
device is typically with the evaporator the compressor is typically with the condensing coil they are together as a complete cycle it really doesn't matter where you start as long as you come back to that point i prefer to start with the compressor but wherever you want to start start from that component and then go in order all the way around don't skip around i know a lot of people want to but with the learning process of understanding this and as we're going in the future if you do it in order it's going to help you
out tremendously redraw this however many times it takes now if you're in another school people draw this all different kinds when i went to school we learned it as a compressor and the metering device was below it and then we learned we had as a circle we had our condensing side and on the other side we had our low pressure to evaporator side and it's still the same cycle we have our compressor condensing coil metering device low pressure evaporator back to the compressor still a cycle but it never really said how everything was in the
system so by drawing it this way you can actually start to see the median of ice and evaporators inside the compressor and condensing coils outside notice i've said that many times because i see a lot of students get that mixed up they get mixed up where it's going to be a lot of students will want to draw the metering device way over here in the middle well my media device isn't over here it's actually in the same housing as the evaporator coil if we look over here this one's right here in the same housing and
this one is as well it's right here in this component so study this practice this before you move on that next video make sure you have this down draw in color with the arrows and the next videos we're going to add to this and we're going to add to this and we're going to add to this and eventually we're going to get you understanding hvac all the way through with a spall with a solid firm foundation