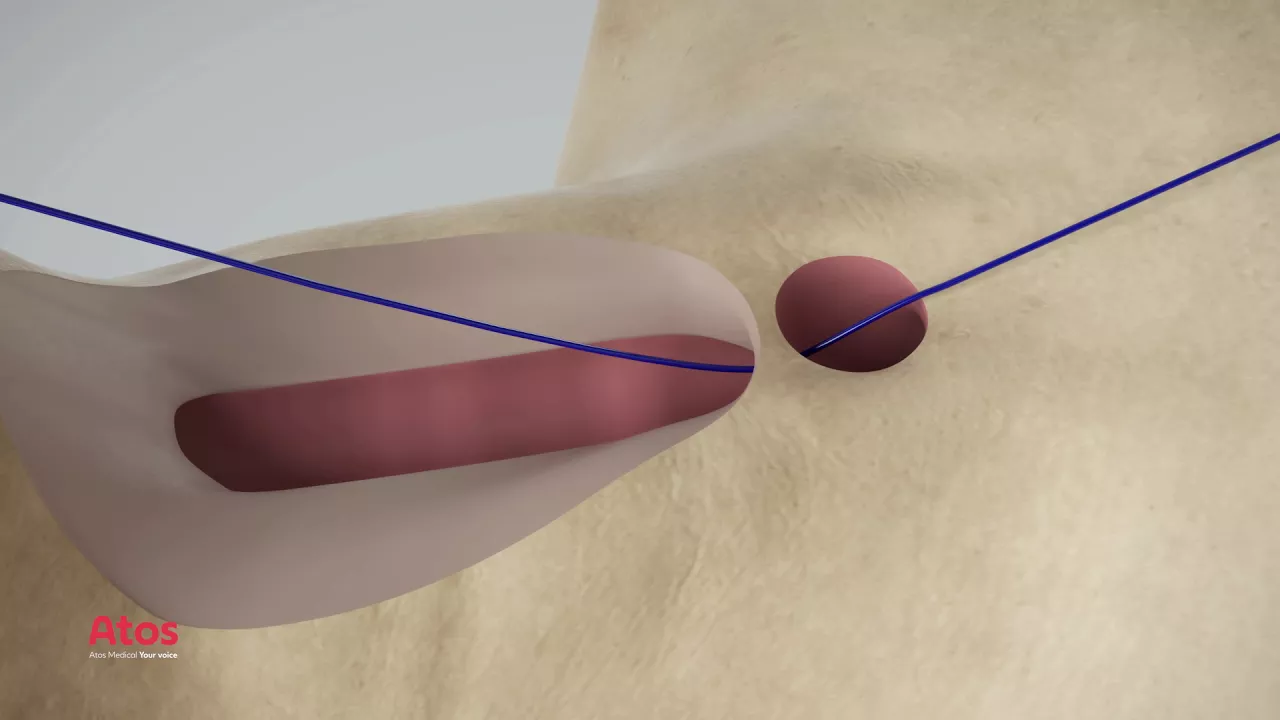
[Music] after removal of the larynx and creation of the trachea stoma insert the pharynx protector in esophagus verify the correct location for the te puncture by palpating the inside of the trachea the oblique front opening of the pharynx protector should be felt during palpation insert the puncture needle at the correct puncture site until the tip of the needle reaches the inner lumen of the pharynx protector push the guide wire into the needle until it extends approximately 20 centimeters out of the pharynx protector always verify that the guide wire comes out through the lumen of the
pharynx protector otherwise there is a risk for mucosal damage and the procedure needs to be restarted remove the puncture needle then remove the fairings protector only the guide wire should remain in sits you before continuing due to the risk for damaging the esophageal tissue do not remove the pharynx protector prior to needle removal insert the guide wire into the puncture dilator and push the guide wire until it extends approximately 10 centimeters through the dilator exit hole grab the tip of the guide wire and insert it in the hole next to the exit hole tighten the
guide wire and verify that it is secured to the puncture dilator dilate the puncture site by carefully pulling the guide wire until the dilator has passed the puncture site during dilatation support the te tissue to reduce dilatation force for better control firmly grasp the guide wire close to the puncture dilator carefully pull the guide wire until the tracheal flange of the voice prosthesis is unfolded in the trachea by the dilator loop [Music] turn the prosthesis in the correct position and cut the safety strap the primary placement of the voice prosthesis is complete [Music]