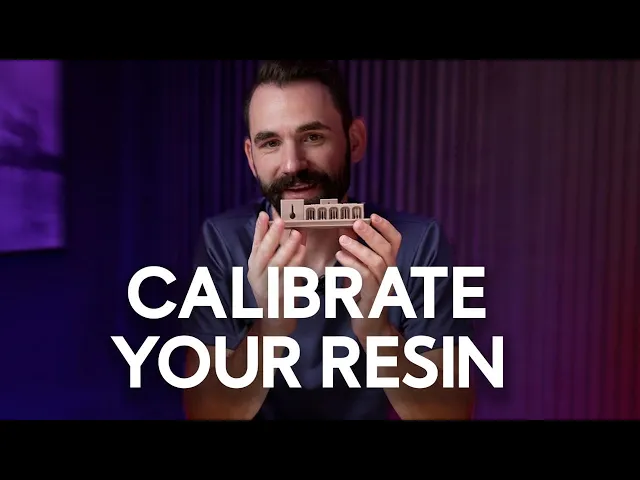
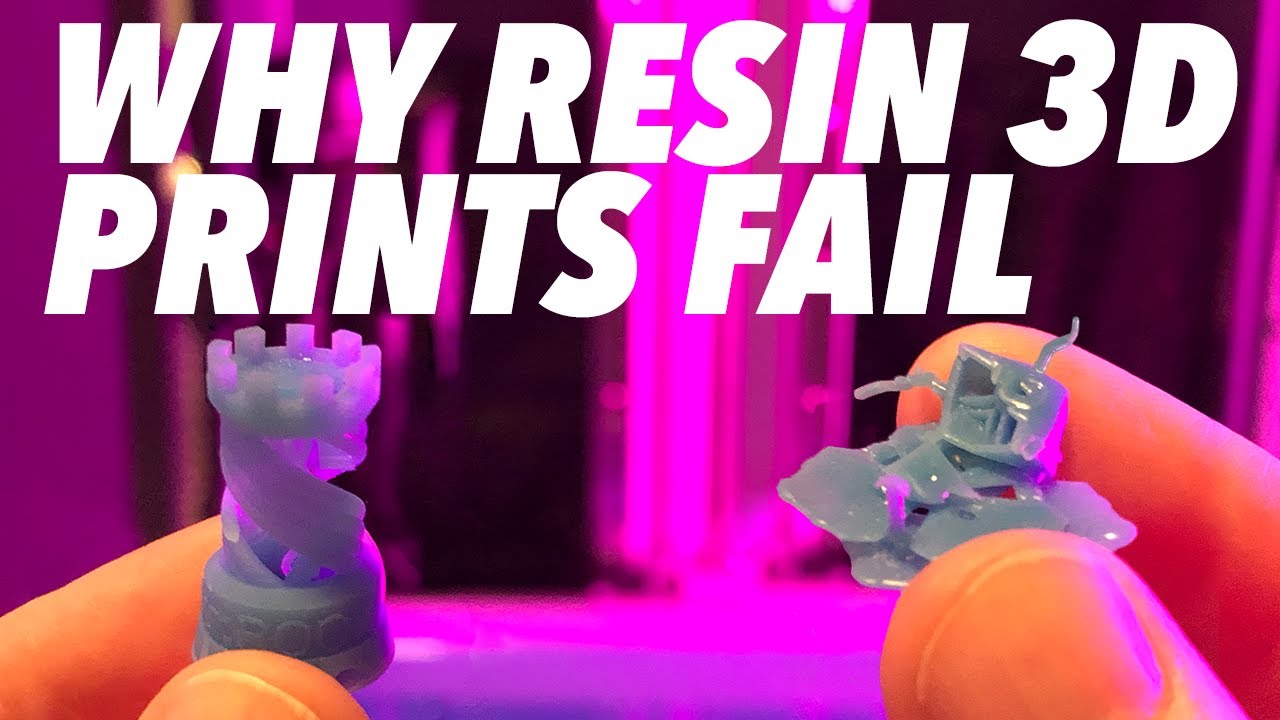
today I'm going to teach you everything you need to know about calibrating your resin 3D printer when you're calibrating your resin 3D printer there's really only one objective and that objective is to get the resin as hard as you can before it gets too big now I know what you're thinking Derek how do I do that well lucky for you I'm here to show you exactly how before I get started I want to clarify there are two zones that need to be calibrated the first one is the burn in layers these are the first five
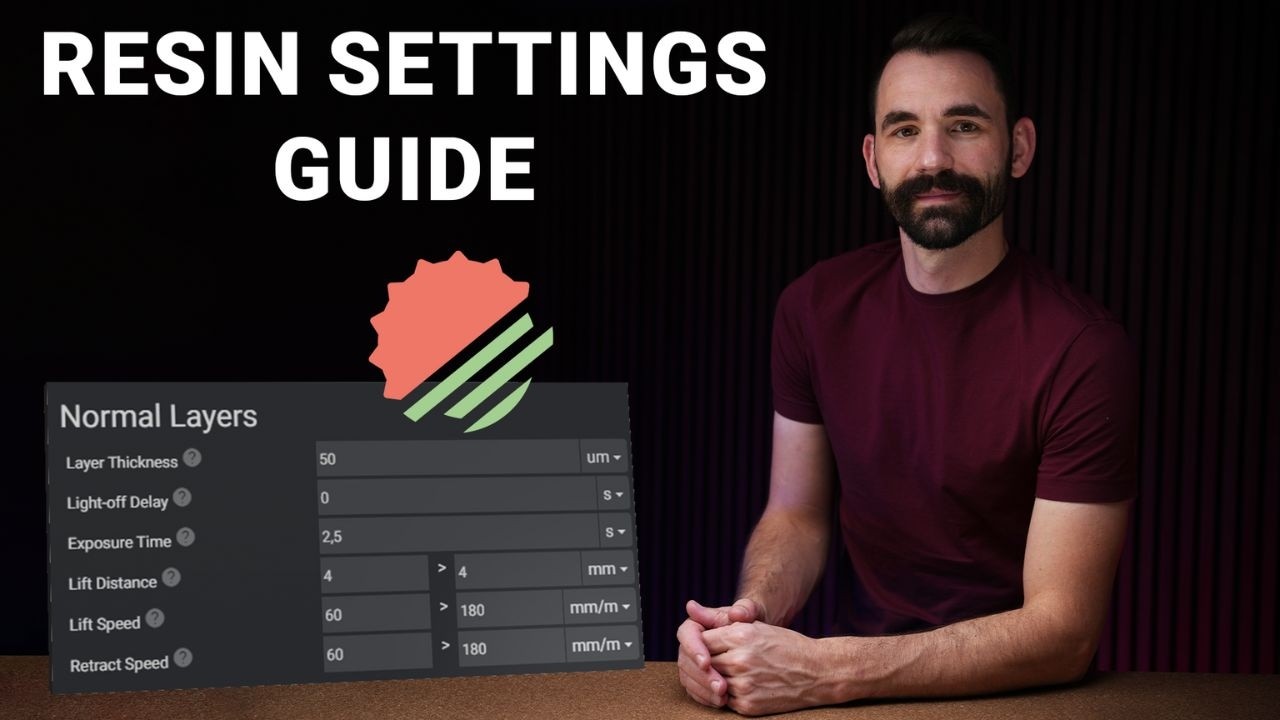
to 10 layers that are going to print and then there's the normal layers this is the remainder of the print this video is only going to be covering the normal layer calibration not the burden layer calibration that will be kind of an ACC combination of a different video as well as I've already done a video on if your build plate is out of level and there's some information in there about that now there are a lot of calibration Parts out there what you might not know is that most of them specialized in one thing or
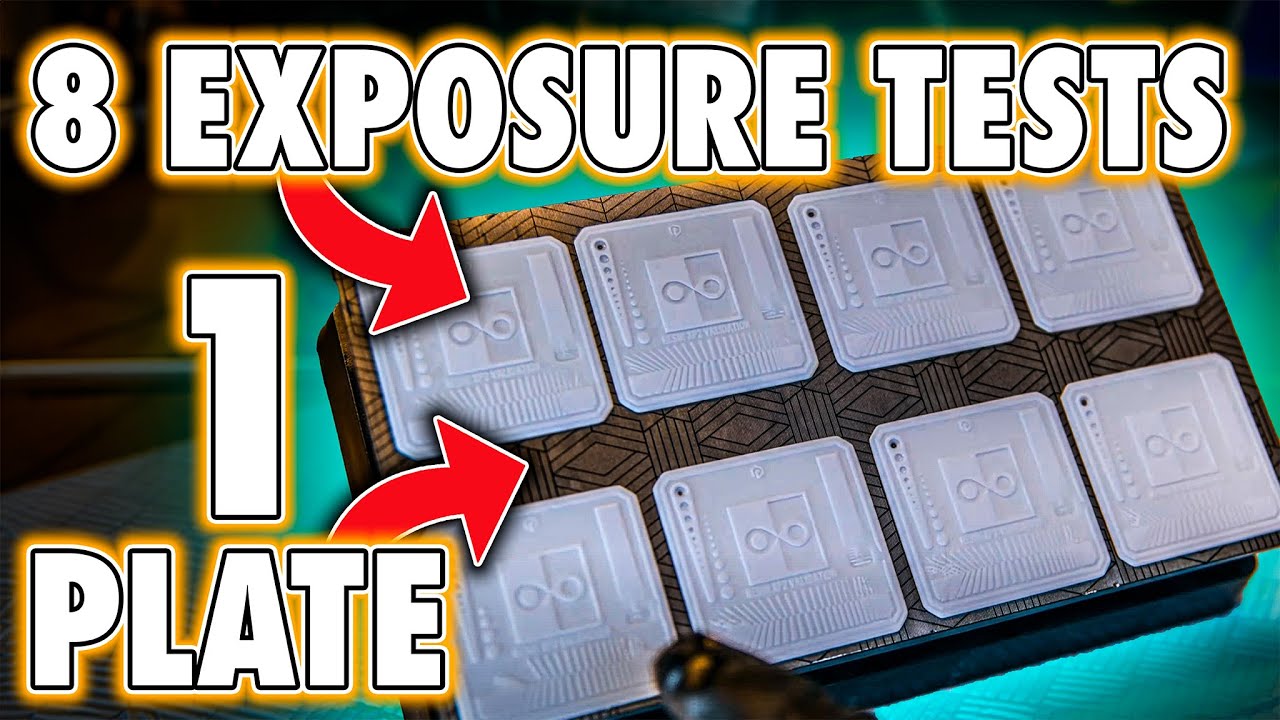
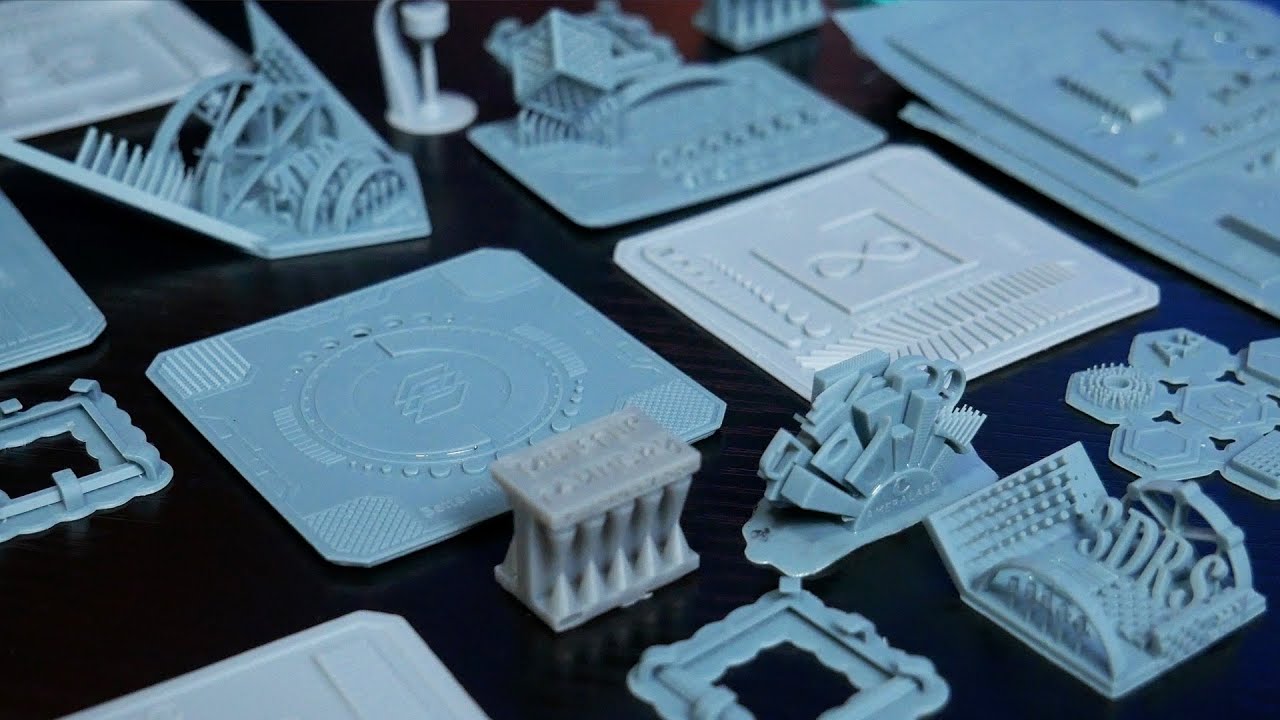
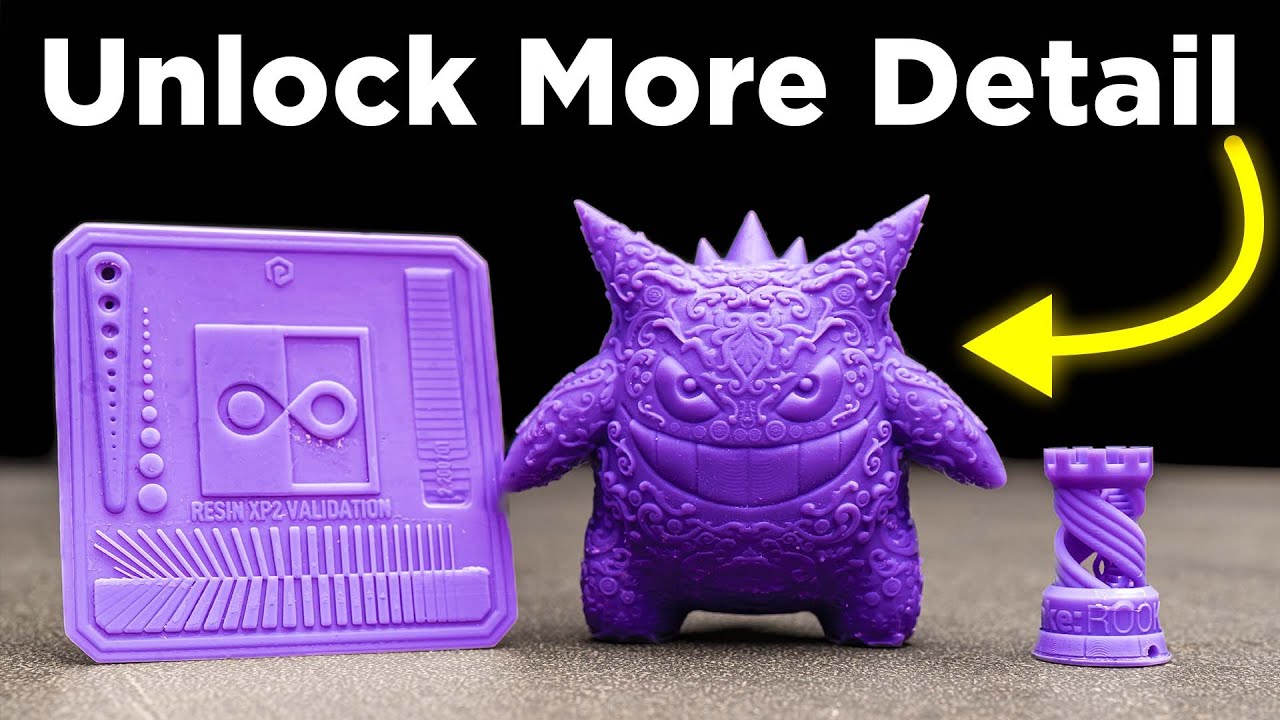
the other most calibration Parts out there specialize in what's called visual accuracy on this one what you're trying to do is get it to look like it should closely getting as close to dimensionally Accurate as you can visually see these calibration parts are usually these flat ones like the xp2 validation their Pro is that they print very fast and they use a rather small amount of resin because there's really not much here their cons are that you can't ever get perfectly accurate just by visually looking at it depending upon your eyes and the camera you
have you can get better the next thing about it is they don't take strength into account and remember when I said the very beginning what we're trying to do is get the resin as hard as we can while maintaining accuracy this right here will get ACC accuracy but has nothing to indicate the resin hardness and that's one of the big drawbacks of these flat calibration Parts in fact all of these share the exact same thing whether it be the one that I designed for running a multi- cure calibration or even the frozen ones now the
Frozen one and the um xp2 are my favorite of these flat ones they're very easy to read easy to clean and easy to work with I do like them but I said they all suffer from that exact same thing if we want to start testing resin hardness we need some sort of test that can test the strength now there's also calibration parts that purely test for strength and kind of disregard accuracy and some that you know of course we've already shown do accuracy and disregard strength again what we want is we want to test for
strength while maintaining accuracy that's the most important thing that's what we want to do so one that I like a lot and it's also one of the older ones I was first shown case to was the town now the thing I like about town is that it has visual components of both accuracy and not I think the the part of this test that most people pay attention to are the Checkers on the bottom and the uh pillars on the front so the idea is if you increase the exposure more you'll get more pillars but the
Checkers start to flatten out if you decrease the exposure the Checkers start to print more properly but you lose pillars so this is a little bit more of like a give and take so you get to pick you the user get to pick whether you want more hardness or more accuracy it's one or the other and that's you know that's kind of unique and nice in fact it's one of the few that lets you the user decide which one and Visually see which one you're getting or losing the drawback of this print is it's rather
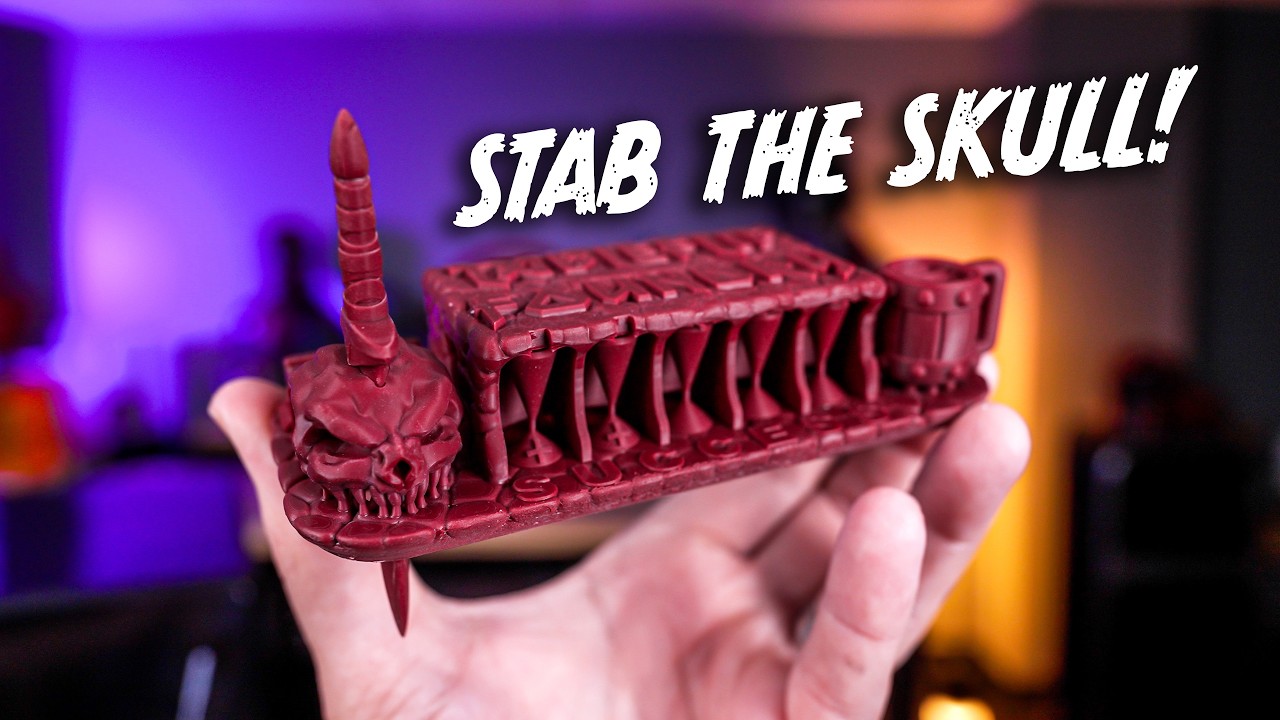
tall and can take a long time to print these pins right here are also um very sensitive they're very easy to prank you better be very careful when you're cleaning this or you might break the pillars and think that you did worse than you actually did and then that brings down to the one that I developed myself this is boxes of calibration this is a blown up version this is ridiculous this will tell you nothing it's just stupid but it's fun so whatever what this does is this lets you test for accuracy using the boxes
you can either use a pair of digital calipers where you just measure the boxes in the normal size is this tiny thing over here and in the normal size The Big Box should measure 8 mm and then the walls should measure 89 all the walls measure the same um sorry 98 98 mm for the walls uh and then the boxes measure 8 6 or 4 mm if you don't have a pair of digital calipers you snap the Box off and you set it inside of it now the reason why the box is square so that
you have the option of either or on every single test and so being able to measure the wall thickness or the boxes on X1 y gives you a lot of points to make sure you're accurate now the way this works is we remember what we care about is the hardness of the resin while maintaining accuracy that's calibration so the way this works is once the boxes are all within spec of measurement and I'll say give or take 0.4 mm is about what you're after you then look at these pillars now these pillars are the exact
same thing you'd find on Town the point of these pillars is the more pillars you have the more strength your resin has the harder your resin is so the objective is get as many pillars as you can but only while maintaining the dimensional size of the boxes the boxes in this way are a control and they make sure that if someone is if someone shows me a picture of this calibration and they have all the pillars but no the boxes fit well if I were to measure the pillars they wouldn't measure the correct uh size
so it's not really uh it's a strength test but not a tensile strength test at the beginning of this video I promised I was going to tell you how to get the most hard resin while maintaining accuracy and this is where I'm going to do that so the first thing we want to make sure to get the best accuracy that we can get is that we're not just doing what these flat calibration prints are telling us to do we're not just simply decreasing the UV exposure time cuz you may not know this but when you
expose resin to UV radiation two things happen the first thing is the resin gets hard it turns from a liquid to a solid and this the longer it's exposed the hotter it's going to get and hotter resin expands faster than cold resin also the more energy it's exposed to the longer the U UV light is on the more that resin is going to grow and grow and grow and grow in fact it can grow quite large if you expose it long enough you can probably not fully cure it an entire vat deep but you leave
it on long enough you might be able to the second thing happens is of course it gets hard so it physically grows and then it gets harder and so what we're trying to do is balance the two hardness versus that uh outof control growth that happens when we add in you know longer exposure time and heat well there's ways to do this and the probably the best way to do this is what's called light off delay or wait before print with what this does is when the printer goes down and the motor stops spinning your
resin and the printer is still moving the printer has to come back to square I have not seen a single printer to date uh in this price F we even more expensive that doesn't have some flex and movement so when that build Plate's coming down that printer's flexing and Bo and moving so when the motor stop spinning the printer is still coming back to square well that means that that resin's still flowing and even when that printer stops moving completely stops moving which takes a lot longer than you think that resin's still flowing now if
you're going to cure resin that's flowing you're going to never reach very good accuracy on accuracy I'm not talking about just getting measurable accuracy I'm talking about the quality of your prints I'm talking about Keys fitting on uh parts that have multiple parts that go together so you don't have to sand them down or you know wonder why this doesn't fit here you know nice and flush a lot of that has to do with curing flowing resin or not doing what you can to achieve accuracy through light off delay so light off delay is your
best friend and in fact that is the most powerful tool you have for accuracy outside of adjusting the UV exposure time the second thing which I kind of already mentioned is temperature if you're trying to cure cold resin I would say below 20° C you might have a really hard time you might have to expose it for a very long time in doing so there's going to be a lot of light scattering and it's not going to be accurate at all uh you'll eventually cure it but it's going to be pretty a pretty bad print
on the opposite end of that too hot I would say above 30° for most resins and some resins you want to keep it around 28 the opposite happens you can get so fast curing that you start getting what we call over curing or Z Bloom and this is what happens if you ever wonder why maybe some of your parts are really really thick thicker than they should be this is what happens when you overexpose a print for too long on the layers and it actually physically grows out on the z-axis heat makes this really really
difficult in fact if you're calibrating resin that's clear you generally want to keep your layer height over 50 umum you probably want to try uh 100 that's going to make it a lot easier to calibrate clear resins as they really like to bloom same thing with white resins or yellow resins they're all kind of notorious for this one so for those ones you probably don't want to use anything lower than 50 but I would recommend going up to 1 um or 100 the next thing is of course speed and lift if you're lifting too high
or too fast this can cause a lot of turbulence on your resin same thing with retract speed if you're retracting too fast or um you know what goes up must come back down so if I lift really really high I have to come back down really really high now if I've got a bunch of resin in my vat and I've got some really delicate Parts they have to plunge out of that resin and in that resin and you can imagine there's a lot of forces in there to displace all that resin over and over and
over again so if you keep doing that there's a chance that smaller bits can shift move or failed altogether and of course speed increases uh Force so if you're plunging into the resin really really fast there's going to be a much higher PSI and if you're pulling really really fast there's going to be much higher appeeling forces that can cause smaller components to break and a loss in accuracy now I understand this can get a little confusing so I made this chart hopefully to help us understand what's going on each one of these affects these
in a different way exposure time affects all three of them at the same time and affects them by the most light delay affects them least and speed and distance affects them less than light off delay let's say I'm using these XP validation or the Frozen test and what I'm going after is that it looks really great and my exposure time is probably a little bit on the low side because I'm focusing on resin blooming or is it the proper size what's probably happening is my success rate is going to be low and I'm going to
be slightly under cured and most people are going to have a Sprint speed that's may be a little bit on the faster end now the issue with this one is our success rate is low because we're only focused on the resin blooming we haven't focused on resin hardness and so something like this what it might look like is where the boxes would fit but there would be no pillars so if I want to fix this what I need to do is use light off delay going from light off Delay from 0 seconds to let's say
somewhere around 3 to 4 seconds is actually going to make the largest impact it's going to move down quite a bit moving it further up is only going to make it move a small amount so generally you're going to be best somewhere between 2 seconds and 5 Seconds for the optimate results so you can see now this all dropped so now everything is low so what we get to do now is we get to increase the exposure time increasing the exposure time is going to increase the resin hardness it's going to increase the size and
because of that happens our resin success rate is going to go up quite a bit using exposure time and lot have to lay is how we're going to affect the hardness the resin blooming and our success rate lift distance and speed this one's a little bit interesting if we print really really fast what's our prints are going to be fast but the resin's also going to get really really hot when resin cures it releases heat and the slower the print is the more time the heat has to dissipate into the environment so what's going to
happen is this is actually going to become over cured and Overexposed and our success rate because we're printing so fast is actually going to drop some in order to help this out what I see a lot of people do is they increase the UV exposure time even more making this worse and this worse and this goes up a little bit and they like to print somewhere in this area of course people who are going fast generally also aren't using L off delay and this makes this get even a little bit worse so what I see
is very similar to something like this with people who are printing very very fast on the opposite end if you're printing very very slow and you're using lots of light off delay what's going to happen is your resin's going to be kind of cold and like you have a heater in fact it could be so cold that it can be really hard to print so you could actually all end up all the way down here and you have to increase the UV exposure time to get these to Mudge even a little bit and what ends
up happening is you have something that's kind of a bigger issue but has to do with temperatures now if you put in a vat heater this can be fixed because now you're controlling the temperature and these can be very very accurate and your success rate can be very very high the problem is your prints are going to take a really long time and so it's generally not recommended to do that just because the print time even even if the outcome is really great the next thing to maintain accuracy is of course the physical printer itself
if we get to the physical world these things matter if your LCD is dirty your screen protector is dirty or your release film is dirty or scratched well you're not going to get very good accuracy out of that printer so maintenance of your printer is very important to maintain really good accuracy throughout the life of your machine the second thing is of course the technology of your printer some printers have better lighting engines the higher quality lighting engine the more accurate it's going to be and of course the LCD pay no attention to 8K 4K
12K you know that doesn't really mean so much but what we care about is the pixel size the xyu M something that's 50um of course is not going to be as accurate as something that's 14 or 19 which we find on some of the smaller more accurate printers this can be hard to tell it's generally it's a lot of it times it's measurable and it can be easily observed on a on hard surfaces but on organic surfaces with a lot of texture the difference between let's say a 40um printer and a 20um printer on XY
is actually pretty hard to see and you'd be surprised that you'd probably be happy with both well I think that about covers it so if there's anything that I said that sounds confusing please come reach out to me on theight slicer Discord or comment below also make sure to like And subscribe our YouTube channel so we can keep creating videos like this for you as well as our other social media and thank you for watching have a good day [Music]
![PERFECT Exposure times (calibration) - dial in your 3D printer resin [EASY METHOD]](https://img.youtube.com/vi/jOjB3Fr-0no/maxresdefault.jpg)