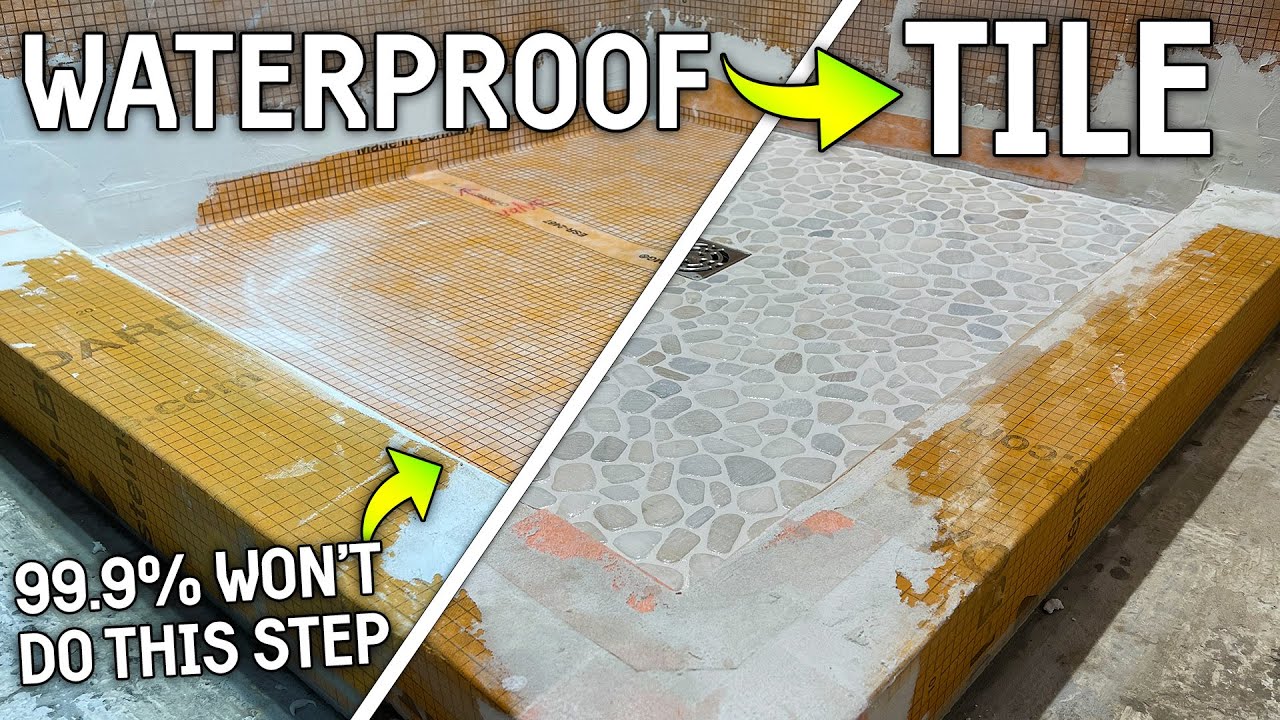
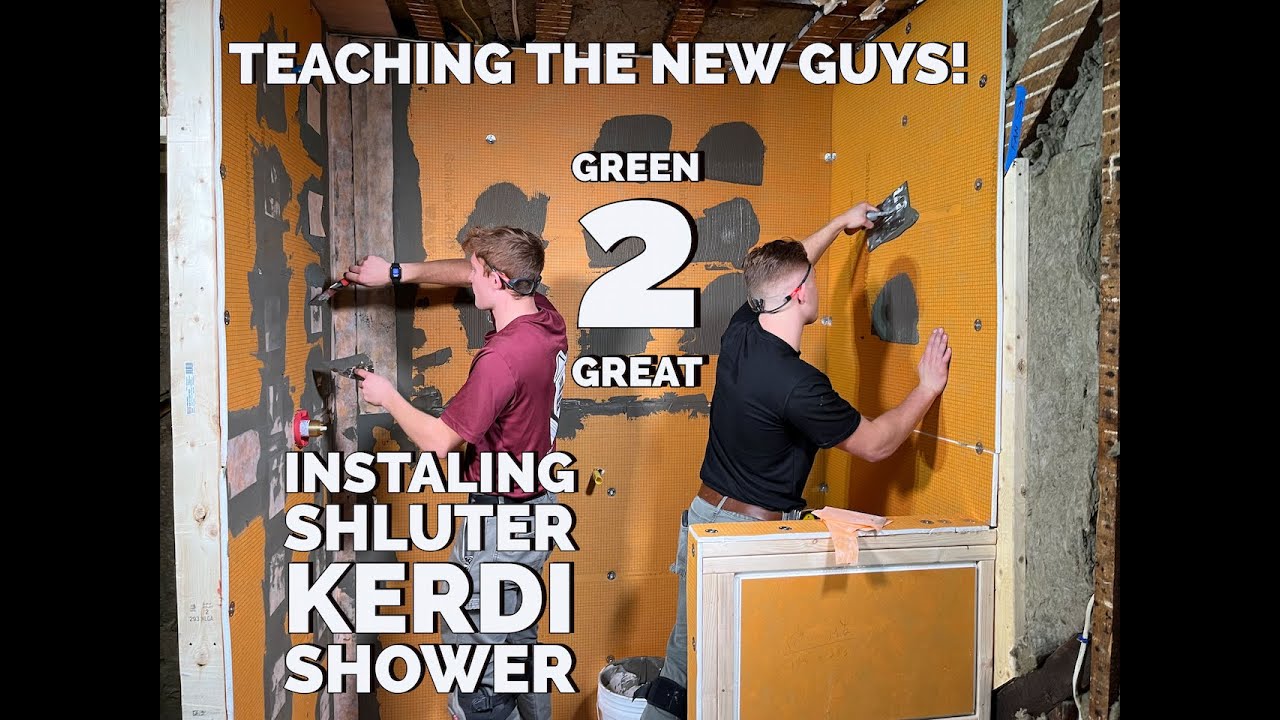
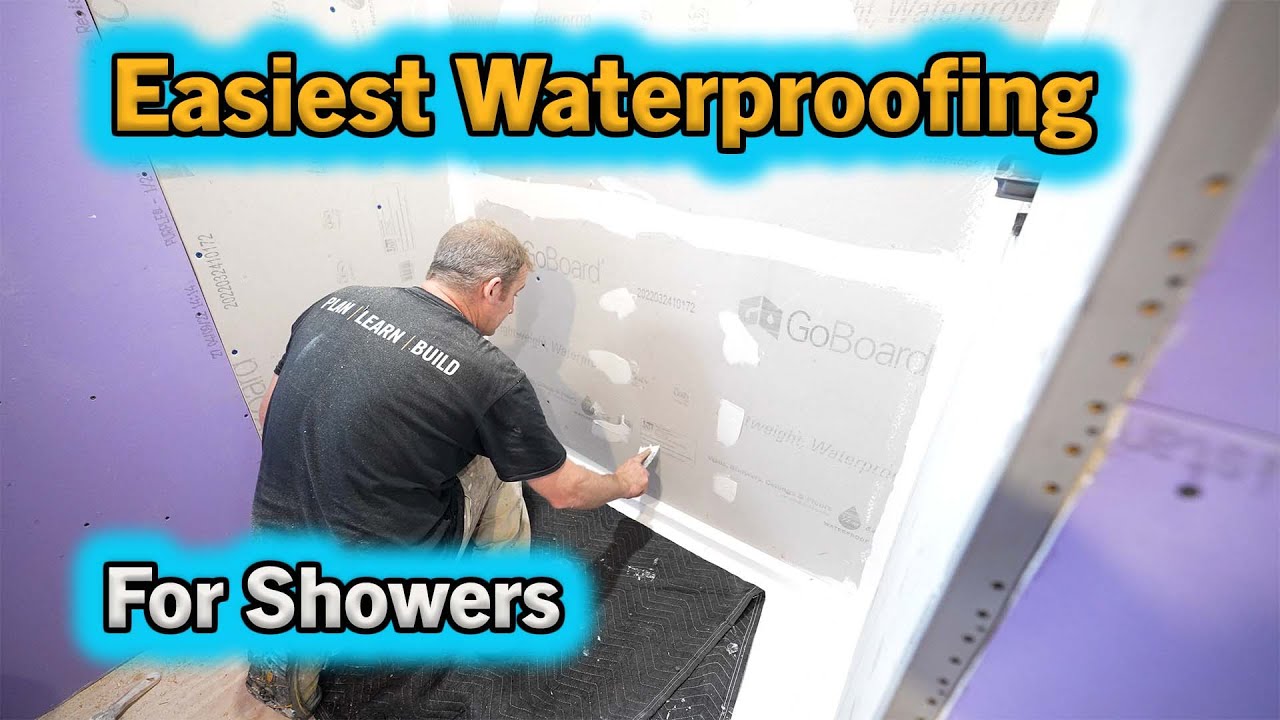
hey gang welcome back to our channel i'm paul with studpack and once again i'm standing in my mom's shower but this time it is a hundred percent done our last video was on the trim kit installation and we really took a deep dive into that because there's so many details but i told jordan i said look man we better show everybody some finished shots of this thing or we're going to start losing some subs you got some footage you want to show them i think i got some shots all right let's roll it [Music] [Music]
[Applause] [Music] we hope you enjoyed all those close-up shots now i want to explain a few of the details let's start at the top and work our way down to the floor you see this post right here of course they tiled the whole thing so there was no drywall patching or painting on this whole project which i loved and this piece of tile they put vertically and it saved them a grout joint up there i think it looks a lot cleaner and you notice in some of the close-up shots they also tile the top of
the wall so that's pretty cool right there also schluter ron deck trim on all the edges we used eight pieces in this whole project and these grab bars so these are inch and a quarter diameter a little smaller than the standard inch and a half because my mom's hands are small and they're knurled so she can get a good grip center line of the grab bars 33 inches above the floor got a two footer a four footer and then a two footer here vertically to assist as she's getting in and out of the shower now
let's come up here and talk about this accent strip when we made our cut originally in the demo video at the top of the old tile we cut right through the drywall and wallpaper at the top of the tile which was about right here now when we put seven courses of tile it didn't cover all that so when jordan and i were in the attic we found a box of these from the original job 20 years ago when they did the vanity and they worked perfectly to run that accent band and lift this towel a
little higher and now look what a clean detail we have at the top so that was a great find doesn't always happen like that right and remember also we found the exact same tile and what we did we removed a few of these took our kerdi membrane extended it onto the existing floor and then ran new floor tile into the shower so this is all waterproof right there so that's a great detail we were kind of struggling with how we're going to figure that one out now we're getting a lot of comments on the previous
video what the heck stud pack he went from framing to a finished shower and you didn't even show us the towel work well remember we said we're gonna have a tile subcontractor in here because we need to get this thing done fast but don't worry gang jordan i have another shower we're gonna build we're starting today and it doesn't even exist yet we're going to show you step by step a to z every detail and in fact i have all the material in the truck let's hop in there and take a ride over to our
next project already again back here at our main project and i am standing in our future corner shower and we're going to show you step by step how to take this blank canvas from studs and a concrete floor to a beautiful tiled shower with glass panels and a glass door let's get started all right as much as i want to go out to the truck and unload that backer board and start throwing up on the walls there's an important step we have to do first what is it it's blocking if you guessed that good job
game now in this shower we need blocking right here we're gonna have a glass door those glass doors come with hinges so i'm gonna put blocking all in between these two studs right here i'm also going to put in some grab bar blocking very important and in your shower you may need blocking for a shower bar with the adjustable arm just like we put in at my mom's so i say we measure this gap right here i know it's not parallel it's going to be a tapered cut always right so it's time to throw on
my tool bags measure this opening head out to the saw and start cutting some blocking [Music] all right cool we saved this 2x10 out of our demo could not throw that one in the dumpster this thing was probably worth what 80 and we're using it for blocking now this is a tapered cut three and a half here three and three quarter at the other end i connected the dots and i'm gonna freehand it on my table saw been doing it my whole life do not try this at home [Music] [Applause] all right gang here's our
tapered piece cut outside it's going to go right here for our blocking for our door hinges and the drop from this is actually right here you'll make good use of it and that's going to be for a vertical grab bar for future use we're just going to put a toenail on the bottom a toe screw into the seal plate screw it into this guy and then install this blocking may get some comments that it's not attached here on the top but we're gonna have a screw in the top on on the left side and it's
gonna be fine by the time we get the backer board in here all that tile this thing's gonna be solid as a rock so let me grab the screw gun and put some screws through here secure this one then put in our tapered piece for the door and then we'll add some grab bar blocking [Music] all right all our blocking is up you can see i've got 48 inches with an up arrow that means this line is 48 inches from my ceiling i'll take a picture of that boom i've already taken a picture of that
side already now i have it for my records and i can send that to the owner for their future records now before we start putting up backer board one more critical step that's going to determine the success of your project and that is is your framing plum and level and all that so we're going to put our level up here we've actually already done this and look at that that is very unusual that is perfect now they're not so level this way but they are level or they are plumb in the way that we need
it right we checked it all the way around we're good the other thing i want to check is are they in plane and what that means is if i put the level across them do i get any rocket and again we came out like awesome on this one there is no rocking check that out we are ready for backer board now if it's not plum there are several great videos on how to get it plumb and there are several methods you can wet shim your backer board you can use cardboard shims on the west coast
they sell them in this in the drywall stores nobody here's heard of them so we actually did a video like what a year and a half ago jordan and we were doing a bathtub and the walls were way out of plum so we used our table salt and cut like six foot long custom tapered wooden shims put them on there and it made for a perfectly smooth plum wall if you want to make sure you go back and check out that video it's awesome you sure you want to send them all the way back in
time to old stud pack yeah i love our old stuff man that's all that matters buddy all right all right there are a lot of great videos online about plumbing a wall before you tile sal de blasio has a bunch landberg tile tv he's awesome he's on the west coast he knows what he's doing but here in louisiana we are ready to start hanging back aboard we actually have it all staged in the master bedroom let's go check it out all right here's our backer board game we got five sheets and this is triton backer
board by my tech i went to prosource this morning to get all the material for the shower they had a little display on the counter about all of triton's products i was asking the guy behind the counter about it and they love this stuff it's about three dollars more per sheet than cement board this is about ten dollars a sheet what do you get for that three dollars extra you get a lot the first thing you get is a tremendous weight savings and you're gonna save your back check this out i can hold that up
with one hand wow try that with cement board the second thing you get for that extra three dollars is huge this is not crystalline silica based that's the stuff that's dangerous for your lungs right all that stuff and cement and the mortar that gets in the air and you breathe it in that's why you wear a respirator or use a vacuum to suck it up this is magnesium based how do you know that it's magnesium based you have like a nerdy little tester in that truck or something don't make fun of my truck dude i
love that truck actually we were trying to find installation instructions on this online one side is super smooth it's like somebody sanded it with 400 grit the other side is a little bit rough instinctively i would put the rough side out right to get more bite in the rough side with the thinset but we want to make sure we put it upright so we went online and we're trying to find information online installation instructions we couldn't really find anything so jordan said i've had enough of this i'm just gonna call him and i said well
good luck with calling him and in about 20 seconds he was on the phone with their receptionist her name was sarah she's unbelievable and she forwarded us on to pete and mike they were a wealth of knowledge check this out um have you have you used us before have you purchased us before uh no ma'am okay and uh what state are you in louisiana or what louisiana okay let me get you over to a sales person in that area and they can go over everything with you awesome great thank you this is mike hey mike
my name's paul i have a question about your uh backer board installation if you got a minute you have a question about our backer board installation yeah um we have a youtube channel we have the backer board i've never used it before we notice one side is smooth and the other side is textured does it matter which side goes out this is not your uh waterproof board it's your your other type oh man you uh hold on one second all right i appreciate it let me i gotta get somebody all right hi this is pete
with uh triton how can i help you hey pete my name is paul we're installing some backer board we've never used it before but are looking forward to it but i have a question i noticed one side is absolutely smooth but the other side is textured which side goes out that's a good question we actually don't mark it because you are good to use either side oh all right yeah we've actually tested in-house against like leading kind of cement boards out there uh on either side of our board the adhesion tested better than they're recommended
cool so uh yeah a lot of people if you're looking for a little bit more peace of mind because that one's one of those sides one side smooth one side's textured because that textured side does give you a little bit more surface area to work with right um a lot of people feel more comfortable using that side out okay just because it helps reduce the power slippage and enhance the bonding uh because of that additional square footage yeah or surface area yeah it gives you some bite right but it's by a very small margin okay
okay yeah yeah if you wanted to in general in general a lot of people use the rough side out for the walls smooth side up for the floors but you can use smooth side out either way rough side out either way people looking for a little bit additional peace of mind always just go upside down though nice so it's all it's all u.s patent everything sure sure um so the entire system and process is all american cool and we're carrying it over here in the us now all right well we may just switch to that
totally right we could yeah we sure appreciate your help and it was so easy to get a hold of you guys for technical assistance that's awesome but no i appreciate you using it i'll tell you what uh sooner than later we're gonna have our waterproof factory board available over the standard factory that you're probably using yep um a lot of people are going to start leaning towards the waterproof backer board really because we're actually going to go down on price with that and while the other one's going up right and it will be simply a
product of how it's being manufactured here in the states now we're able to save more right and we are the only cement board just you know served at triton we're the only cement board with a themed solution so we marry the two worlds um and that's cement board you've already felt kind of the benefits immediately of course your typical cement board and uh that's the product of the type of cement that it is so most boards are going to be portland days ours is actually magnesium based magnesium with that just tons of benefits people yeah
it is people's day you can cut that inside the home i'm not sure if you had the chance to score and snap it yet but you scored it so easily you don't need any kind of uh roto-saw right that's what we're about to do okay yeah i hope i see our board on your channel when i look you guys up absolutely all right appreciate the help man okay well take care okay y'all be safe cool yeah a little bit of a delay delay like we're on a satellite call or something but how awesome is that
you called in what 30 seconds we had somebody we're looking at youtube videos and trying to do some research because we want to give you know everybody the correct information right and i was like let's just try and call them i dialed and was on the phone with the receptionist in less than 20 seconds yeah i'm sitting there thinking yeah you're yeah so that's that's awesome yeah our job let's go try out the product so it doesn't matter right all right now that we have full confidence that we're installing the product correctly it's just a
matter of measuring cutting and filling in this space with our triton backer board [Music] [Applause] [Music] no you don't even need to do that just tip it up and snap it really yeah check that out how'd you learn that trick because i watched like 20 install videos yeah [Music] uh [Music] check it out four pieces in less than what jordan that's 12 minutes i think right easy this stuff is super easy to work with and check it out over here remember we talked about this part right here it's a plaster guard and the idea is
that when you put up the tile this is going to flush out with your finished wall surface so we measure all that ahead of time and we're right where we want to be and also the manufacturer of this triton board they want eighth inch spacing between sheets so in true stud pack fashion eighth inch spacers two more pieces and we are ready for waterproofing let's do it all right backer board is done we are moving forward with this project i used five sheets i have a few scraps but that's fine i'm gonna hang on to
them we'll use them later you see up here we have two pieces but the waterproofing is going to cover all that and we're going to show you all the details of how we're going to waterproof this so this is one of the situations where i went to the store i was going to use a certain product i had in mind they were out of it and i was forced to switch to something new that i never heard about before and that's how this industry works sometimes right but this stuff is fantastic it cuts easy there's
no dust you don't get all the little splinters in your hand from the cement board and the screws can be separate what we do top and bottom one in the middle and then two more in the middle of that so it's very strong and our next step is to put in the niche now we're gonna switch gears a little bit and we're gonna switch companies if my tech has a niche we would use it but our store didn't have one so we're gonna go with a schluter niche this one's 28 inches tall and it's designed
to fit between 16 inch framing i'm gonna flip it around for you what we're going to do we're going to get it plumb we're going to trace around this flange remove that piece of my backer board and stick this right in the wall let's get our level get this thing mounted and we're going to show you each step of the way [Music] all right our hole is all cut let's give this a test it now i know i'm going to get some comments about removing the insulation but i promise you this half inch foam board
that the back is made of also probably has the same r value as this whole junk we took out of there so let's put this in here check it out you know this is the first time we ever used one of these we've always custom made our own niches this is pretty sweet what a time saver that is it's worth 100 bucks for this to me all right now we got to fasten it to the wall so how we're going to do that schluter has these special screws and washers and that washer is going to
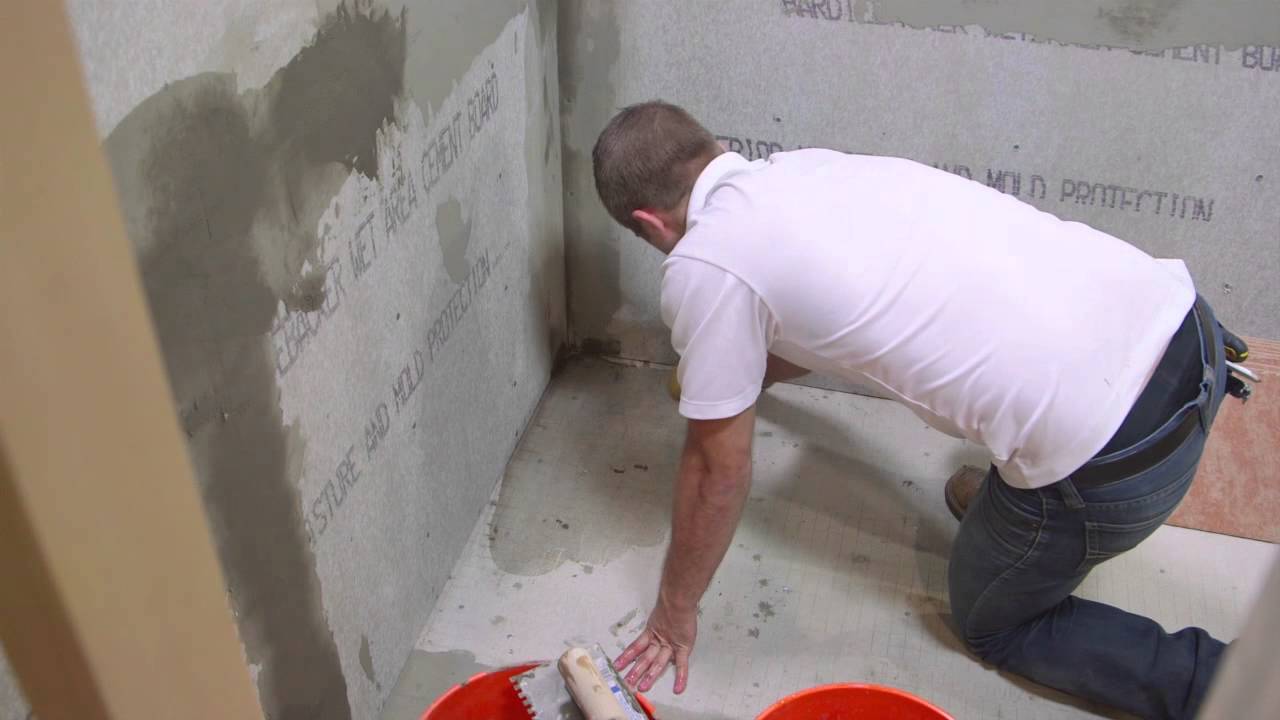
span this material and this material and lock it all down together all right let me grab my drill and check out on the back of this washer there are these two prongs they'll go easily into the schluter foam but not so much into this so i'm going to just put those prongs right in our seam just like that and i'm going to drive a screw in there nice this is a whole perimeter and then we're ready for waterproofing so let's say we head outside mix up our thinset all right my favorite step mixing thinset that
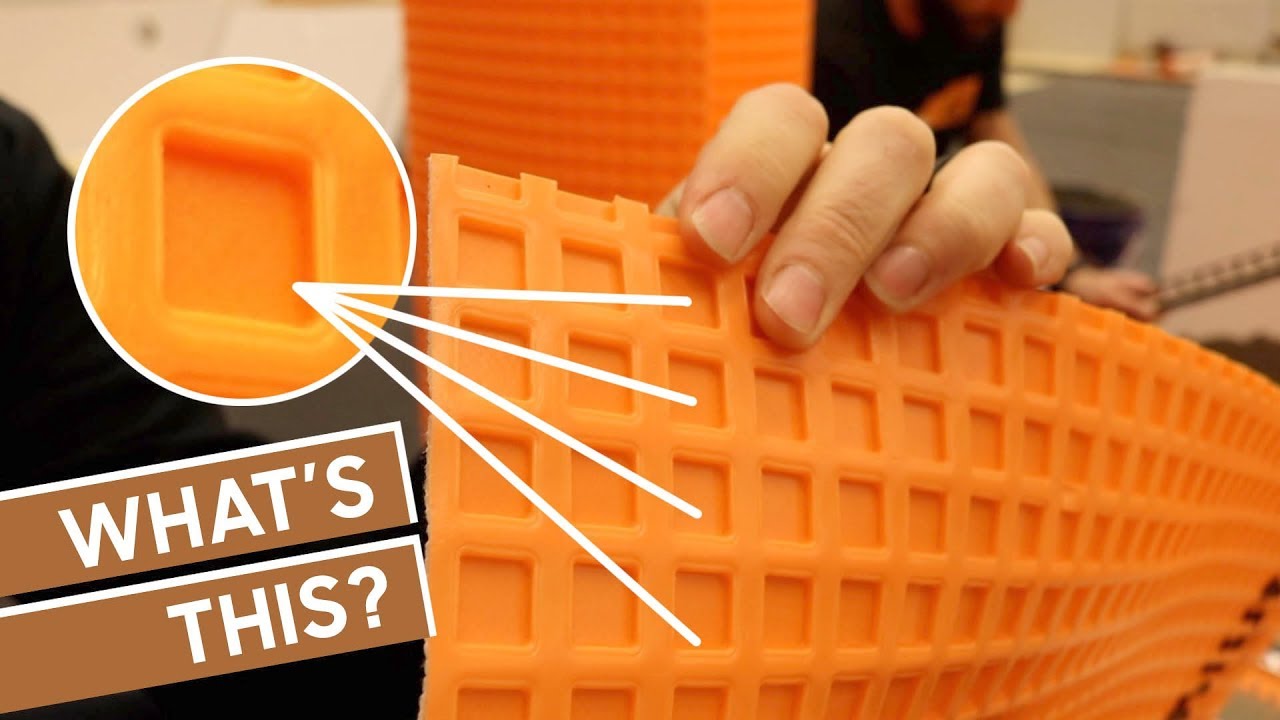
means we're gaining on it almost ready to set tile now we're going to cover that triton board with schluter kerdi waterproofing membrane the whole thing this is going to be our waterproofing system for that shower and we're going to adhere this to the triton board with schluter all set then set here's a bag of it right here now it's very important to read the instructions on any thin set you buy they're all different this one's suitable for tile and it's also suitable for the membrane i just showed you but when you're using it to adhere
membrane you mix it a little bit thinner in our case we're going to add eight quarts of water to this bag we're gonna mix it up and see how it feels you ready bud let's do it all right all right while the thinset is slaking let's talk about backer board tape we all know you're supposed to use this coated version if you're using cement board and check it out this stuff is self-adhesive on one side so you cover all your seams with it just like that inside corners as well and then you coat it with
thinset and let it dry and again if you're using cement board now you're ready for tile but we like to go with the additional step of putting a liquid membrane over everything we actually have a video on that we did it with aqua defense it's a great product but when i was at my mom's house those tile setters were doing the exact same system we're doing they put up triton backer board with a schluter curb and then he had some white tape but he turned it around and said look it's actually says it's for backup
board right there and that's what they used so what is the difference between the two they're both fiberglass ones coated one is not so if you're in the industry if you have a techie answer for us what's the difference please let us know below in the comments what do you think about this whole mesh tape thing jordan i think you're trying to mix two different systems i think the mesh tape is made for liquid membrane i think it's a completely different system than the schluter system like if schluter wanted you to use that then they
would have provided it but they don't because they don't think you need it and i don't think you need it either i think there's no point in trying to mesh two systems with this was kerdi board we don't need tape we would use kerdi-band i don't think it's going to matter in this particular application i don't think there's a point i think the kerdi is technologically advanced enough to where you just put the kerdi on and you're good to go so this is prehistoric yeah curtis the future throw it out the window all right all
right the thinset is done slaking i heard our little 10 minute timer go off let's go remix it bring it back in here and start putting up some kerdi membrane [Music] [Applause] [Music] what's good about it [Music] so [Music] all right all our walls are done very easy now the key is the coverage of the thinset that's key in any tile situation right whether it's the tile onto your backer board or your membrane or your membrane onto our tritone and we're using a schluter kerdi trowel it's basically an eighth inch square notch and these are
free at the schluter seminars if you ever have a chance to go to one check it out the seminars are also free and they give you a ton of swag like i said two inch overlap and we are ready this thing is bulletproof but before we waste this thin set i think we're going to use it to set our curves now we bought a schmooner curb as well they're four feet long we need two of them because of this corner shower they're six inches tall from the factory three and a half four and a half
inches wide so we set one right here on the front and nobody wants to step over the great wall of schluter right and we don't need it six inches tall if you had a bigger shower with a bigger pre-slope you're going to need the height we don't so we're going to do we figured out that we wanted about three and a half inches tall how do we get to that number well we know we're going to have three quarters of an inch here when we set our drain we figured that out that's the minimum thickness
of our pre-slope and it's going to slope up and away at a quarter inch per foot so let's just call that a half an inch right we're going to have half an inch of slope from the outer rim of here to our longest dimension three quarter plus half an inch inch and a quarter i want a couple inches of this sticking up above the pan we're going to show you all this later in the next video so we settled on a final height of three and a half inches so when we bring these out to
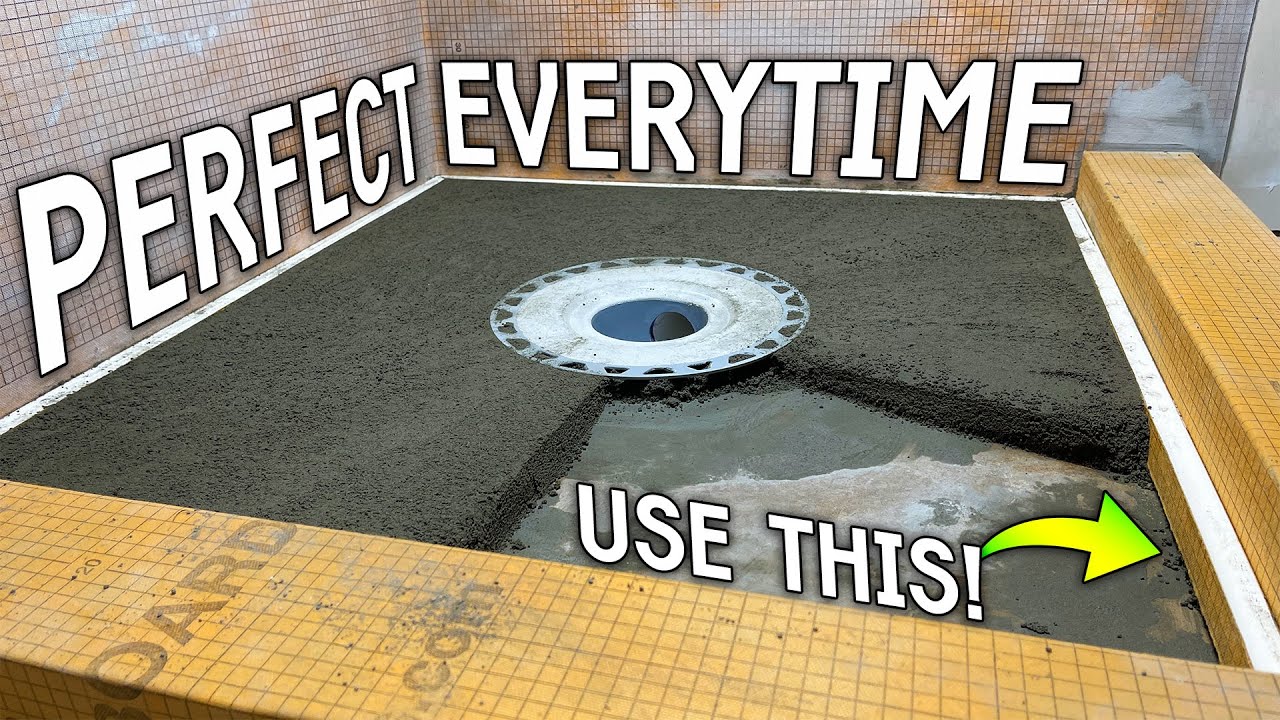
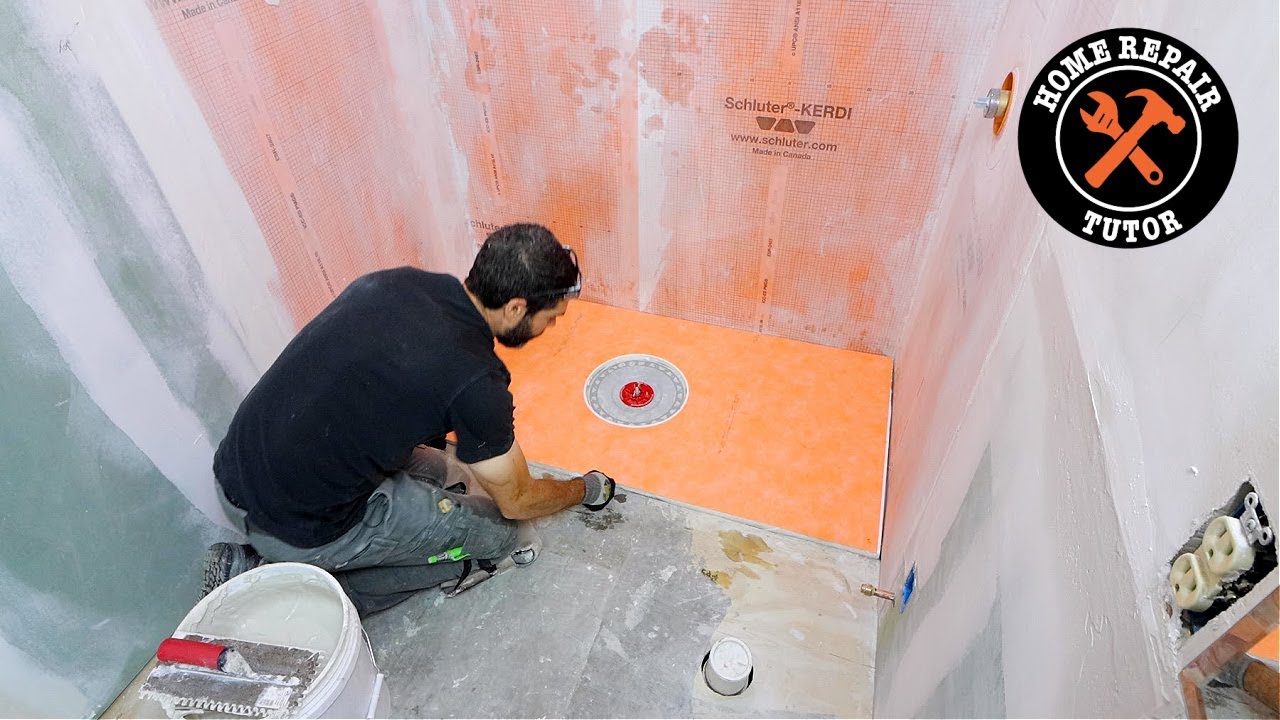
the table saw we're going to rip them to three and a half and we're even going to miter the corners and we're going to use our thinset whatever thinset we have left over we're going to dump it in here [Music] uh [Music] [Applause] [Music] [Applause] [Music] and i am fired up this storm looked like a shower in here finally huh we got the walls done well waterproofing anyway our niche is in we've got the curb in all that's left is the dry pack or the pre-slope whatever you call it a little bit of tile trim
some glass panels we're ready to take a shower so in our next video we're going to show you how to do the dry pack that's what this is called where the mud base slopes from the drain up so you get good drainage we bought two bags of the mud pack we're gonna do that tomorrow and we're gonna show you a technique that we've never seen before on youtube we are super excited to show it to you and it makes this thing so easy so waterproof that like button for us smash it when you're done drop
us a comment ask a question subscribe if you haven't already and we will see you on our next video [Music] you