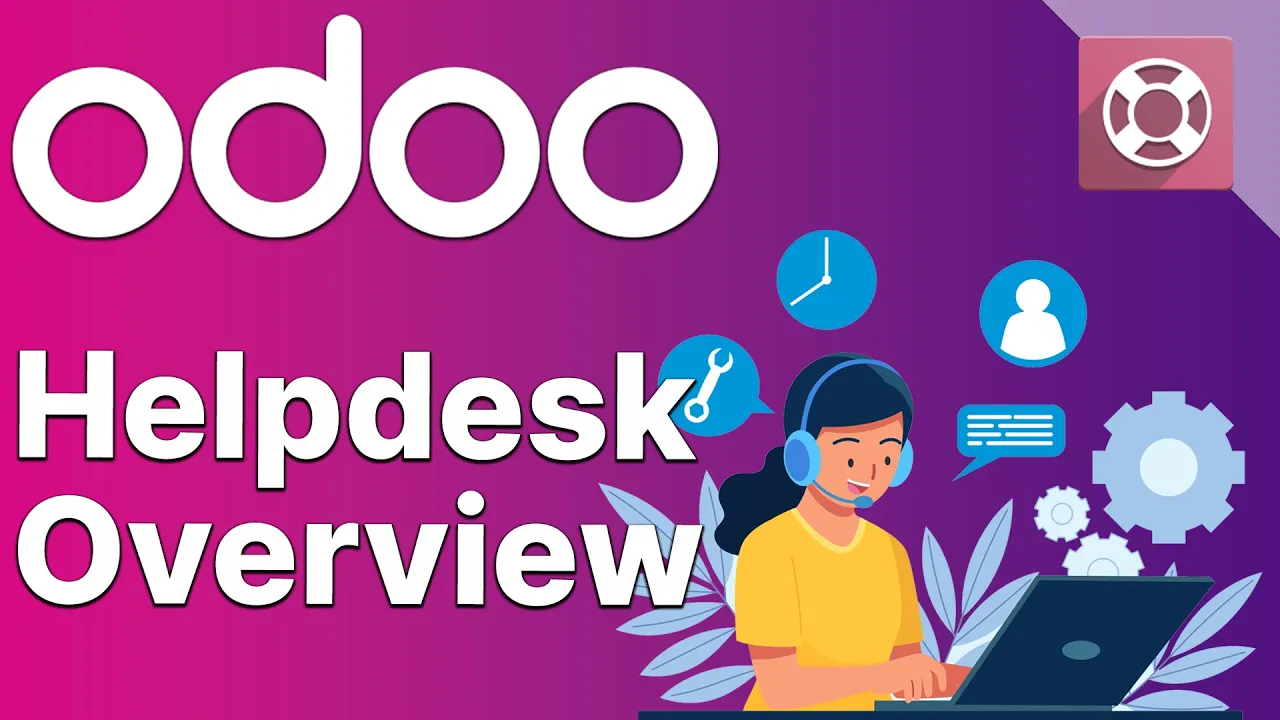
[Music] foreign expanding rapidly again how do we make sure that each customer is taken care of in the past I might have had a few people handling customer support but since my customer base is a lot bigger now I need an organized customer support team to efficiently address any concerns and we also have a very huge team at that so what is help desk well help desk is an app inside of odoo and with it I can easily create a customer support team and assign tickets to my team members I can view all tickets and
I can keep track of their progress and help us to ensure that no question goes unanswered now the reason why we'd want that is probably because of strong customer support team allows us to receive valuable feedbacks on products it increases sales and Everyone likes sales and it helps retain customers and we really like customers please keep buying stealthy Woods non-broken chairs now enough Chit Chat as I always like to say let's dive into the auto database to see how to set up my help desk team all right a doers now the first page that we
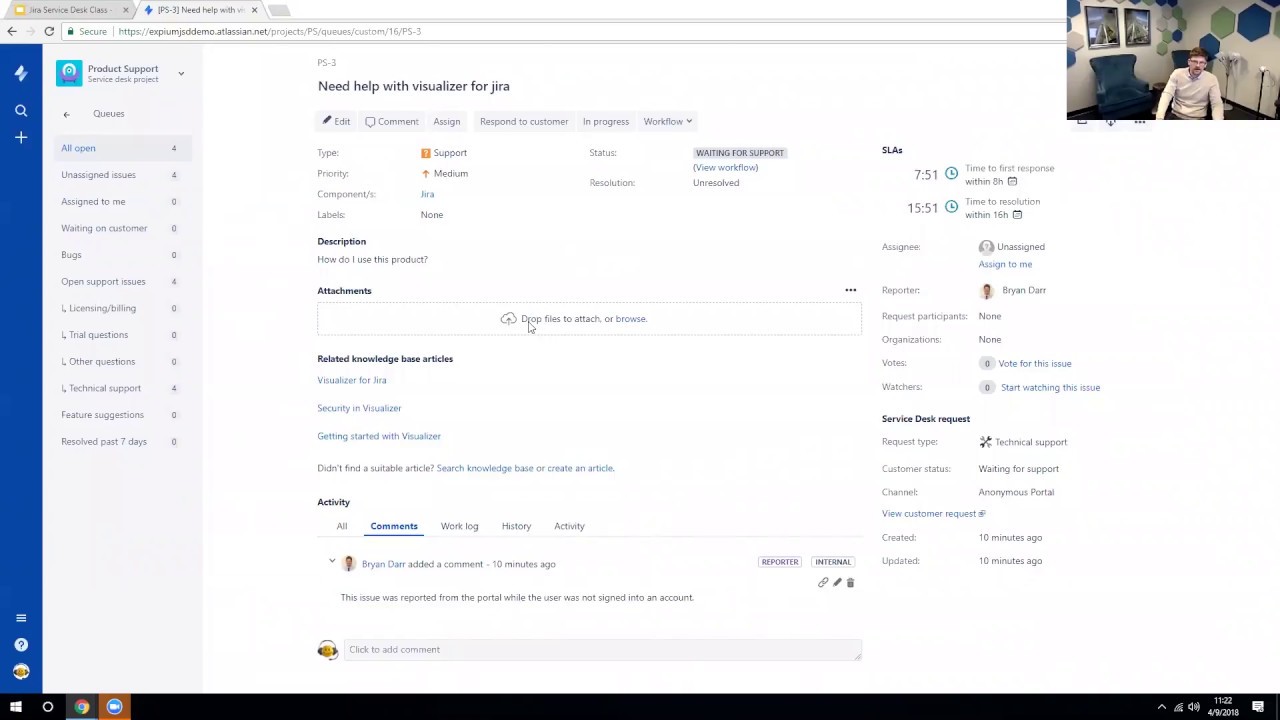
land on is the overview dashboard now here we can see some quick info on the tickets assigned to me I can even see other things as well as things such as my customer satisfaction rating and even my ticket success rate which I will always keep very high now under that if you look back over here we can see the help desk teams now I already have a general team set up and as you can see I can also create multiple help desk teams like my VIP Support over here to the right of it for customers
they get options you know and for customers who have paid extra they get VIP support from stealthy wood now you'll also notice I can actually click on this tickets button on each of these now if we click on the one for the customer care team well where does that take us well that takes us to see all the tickets for that specific team and once that this loads you'll notice after clicking into a helpdesk team odoo takes me to the team's ticket pipeline now here I can keep track of all the support tickets and their
progress in kanban view each ticket is a card that I can drag and drop through the stages I just grab something move it and then I move it back it's that simple but and this is very cool I can also drag and drop the stages to change their order in the pipeline just by grabbing one and moving it just in case now you'll also notice I can even click the add a stage button to create a new stage as you can see over here with the plus stage button now I can also even click on
the gear icon to edit a stage as well now when you do so in this menu I can also fold the stage and folding means I hide the tickets in the column I can even delete the stage in case we don't need it we're more efficient with leaner meaner now I even have the option as well to archive all the the tickets inside of a stage or unarchize them because we do both now when I click the edit stage I can configure some advanced settings as you'll see here now here we can change the name
and description and that's very important and up next as you'll notice over here I can even do things such as the folded and kanban option now if this box is checked the stage will automatically display as folded or also as collabs any ticket that is included in a folded stage is considered closed now since this is the first stage in the pipeline I want to keep this setting off now I can also share the stage across multiple help desk teams by typing the team's name in the teams field that way I don't have to recreate
the stages settings every time I make a new team and that's really crucial and useful you know redundancy is terrible now you can also View and edit all my stages across all the help desk teams by opening the configuration menu and going over here to the stages pages you know just using that email template field now you'll notice there with the email template field Odo allows you to communicate with your customers by automatically sending emails or SMS messages once a ticket has reached the stage and we've talked before about those oh doers if you need
some more information go check out those videos the real quick nice tldr now I can go in and edit this email template by clicking on the internal link button that's right next to it and as I've always talked about the little arrow you'll notice odoo takes you right to where you need to go now odoo has pre-loaded templates that we can edit I can change the body of the email and I can also add attachments I can also even use Dynamic placeholder generators and those well Dynamic placeholder generators they pull field saved on the ticket
to autofill information like the customer's name and that's what I like to call a very personal touch but I think this looks good as is so just gonna go back using the delicious breadcrumbs in 2023 2024 2024 odoo breadcrumbs are fresh year round now let's check out the SMS template I like to cover all my bases now we click on this little gear and we're there we're going to edit the stage now once that that loads up you'll notice I can edit the body of the message and I can even add emojis and who doesn't
love messages and emojis the window will track how many characters I use and if it will take up more than one message now let's let my customer know their ticket has been received and that we will be back with them shortly and I'll add an emoji just for fun here so our message should be we have received your tickets someone graciously will respond to you and now we need a little emoji and we're done now once I'm happy with my message I can click on this preview smart button that we see right over here sorry
about that you know a little pause there I was waiting for something to load but anyways once that we click on that preview smart button it shows us how my message will look to a customer and I think that's very crucial to know like how these messages will look it's beneficial in the sense that you can push out your final draft without needing to just push out a ton of like temporary drafts now it should be noted that you will need in-app purchase tokens to use the SMS feature and I will be a broken record
forever but please watch the video on those as well now we can just discard all this because I do not have in-app purchase tokens all right now let's create a new help this team to see other settings we can configure to start I'll click on the configuration menu and I'm going to select teams right here all right now we can see all of stealthy Woods help desk teams in a list view here I can create a new team by clicking on the create button that we see up here in the top left now this is
the help desk team form where I can configure the settings for my new team of course we have fields for a name and a description I'm going to name this team field service we've got a bunch of VIP servers we have General services but we need people on the deck and they'll take care of any on-site interventions my customers need so once we have that set up there's our name now I also have a smart button at the top of the form which I can click to take me to the team's ticket pipeline immediately but
we're not going to click that now in the first section I could set my assignment method and team visibility here we can control who the help this team is visible to in the database we can choose all users only invited users or both in any case now as you'll notice there's a little drop down there next to followers now this field allows us to assign users as followers for all tickets assigned to this team this can be a specially beneficial or helpful for a VIP or high priority team but since I am designing this team
for a high volume workload I'm going to ignore that setting for now we're just going to close that out now as you'll notice over here we also have an auto assignment over here automatic assignment now this option is where we can and you guess that we can enable automatic assignment for new tickets what that means with this option is as soon as a ticket comes in it will be assigned to a user this is a great way to ensure your team's workload is evenly distributed no more Adam or Steve carrying the load and perhaps Stacy
also full on carrying her whole team on her back now let's enable this setting for our field service team and like that we're done it was that easy just one click now you can see what we are given as two options for how to distribute the workload either each user is assigned an equal number of tickets or each user has an equal number of Open tickets now this is very important because it makes a very big difference now I'm going to keep mine as an equal number of tickets make sure to add all members of
this team in the field below automatic assignment as well now you can see I'm already added since I created the team but I will also add we're gonna add Audrey to the team and there we have it now with the team members set I can start receiving tickets like this there are other advanced settings on this page but you can check out our other tutorials and user docs to learn more I've run out of time outdoers I can always go back and I can even edit my team settings at any time now when I go
back to the overview dashboard like that I can see my new field service team here and that's it I have actually finally run out of time full on all in all ODU helped us is a powerful tool for boosting customer satisfaction we saw today how easy it is to set up a help desk team and to create stages in the ticket pipeline now stick around for more videos about help desk we're revamping stuff now thank you for watching and remember so do not oh don't eyebrow doers take it easy