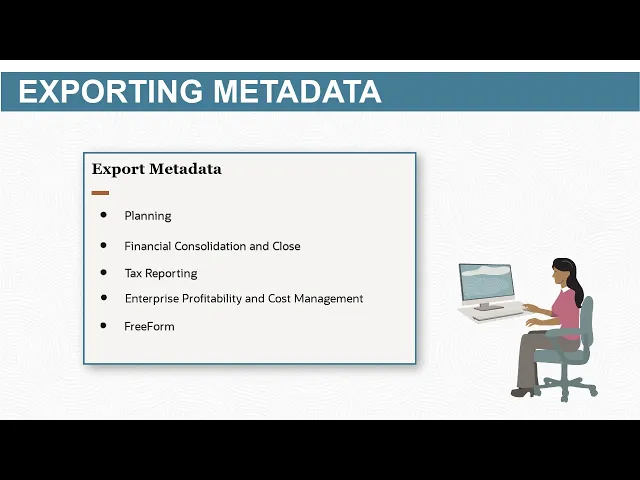
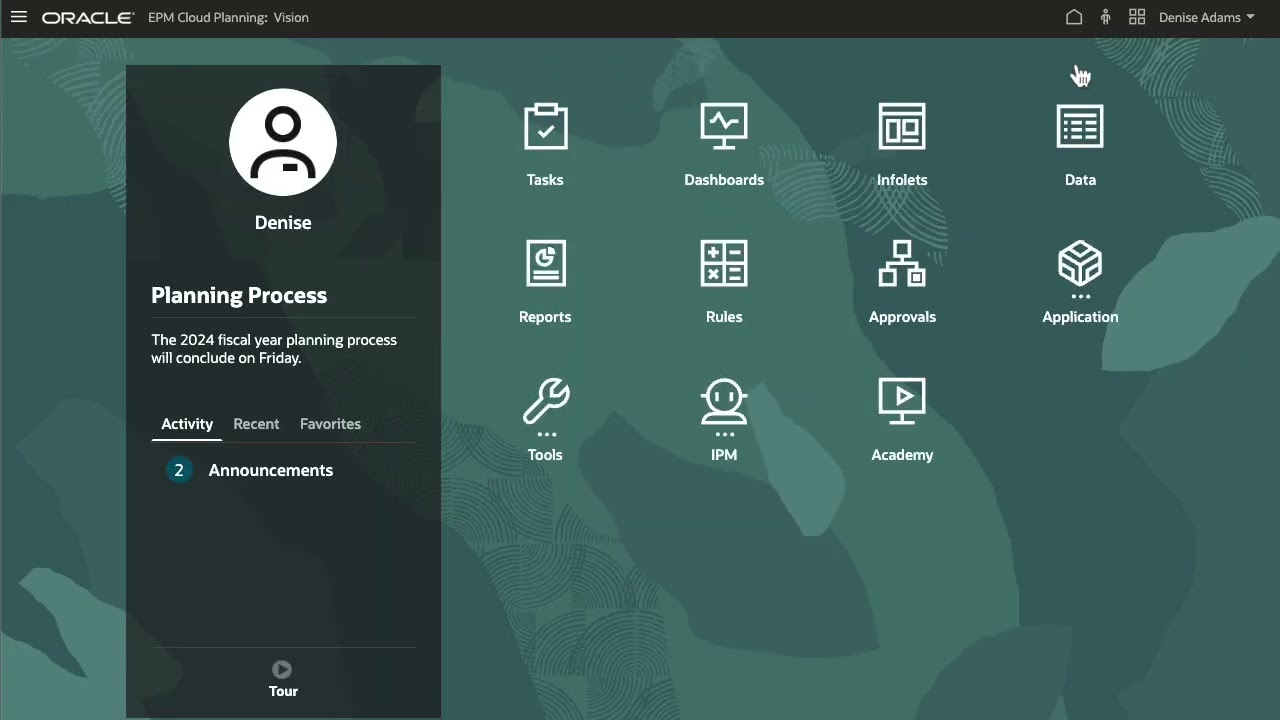
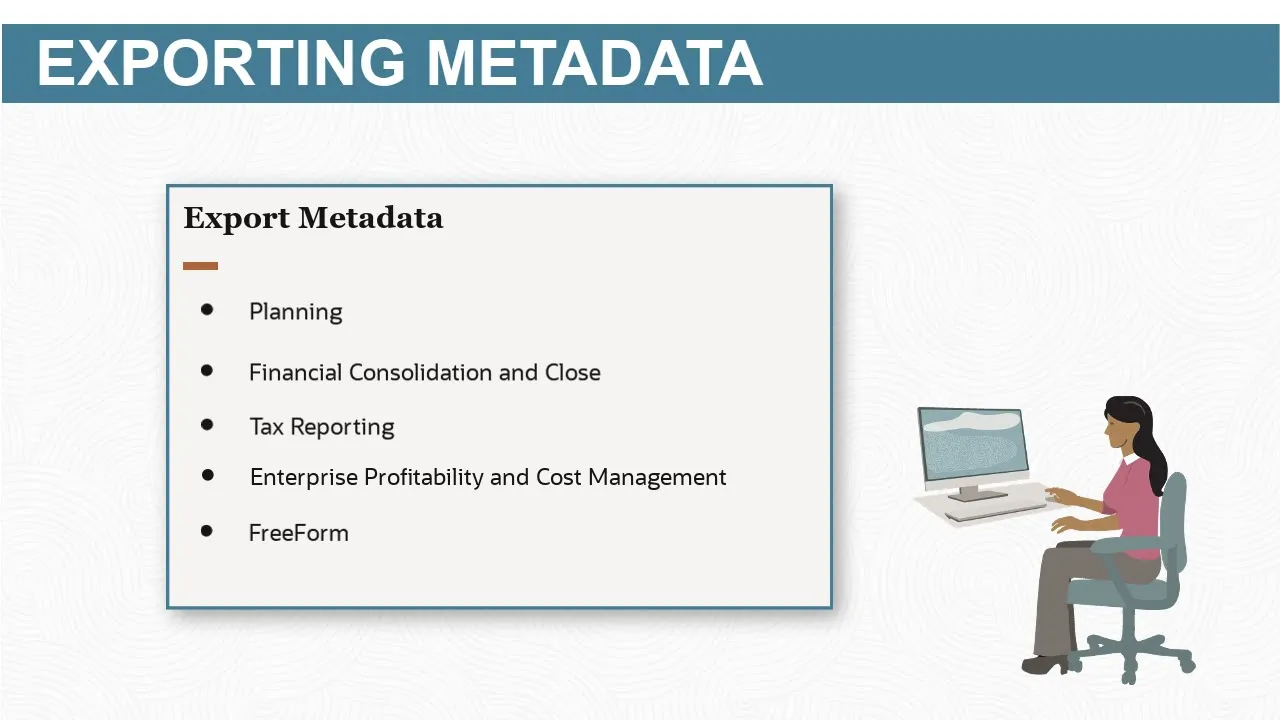
you can export metadata in planning Financial consolidation and close tax reporting Enterprise profitability and cost management and free form in this tutorial you'll learn how to export metadata in planning administrators can export metadata from planning applications to a flat file you can use the file when you migrate planning applications when you create new planning applications but want the same metadata structure as a template for New Dimensions as a backup for your metadata structure in planning I'll navigate to the export metadata page and create a new export job the location determines if you want to export
and download a file to your computer or store the file in the server exporting to the server allows you to save your job selections and run it at a preferred time exporting locally allows you to save the file to your local Drive we'll cover both methods I'll start with exporting locally you can export planning dimensions user-defined Dimensions attributes udas and smart lists you can select more than one item to export if you want to export all dimensions in the planning application select the dimension checkbox for each item you want to export select the file delimiter
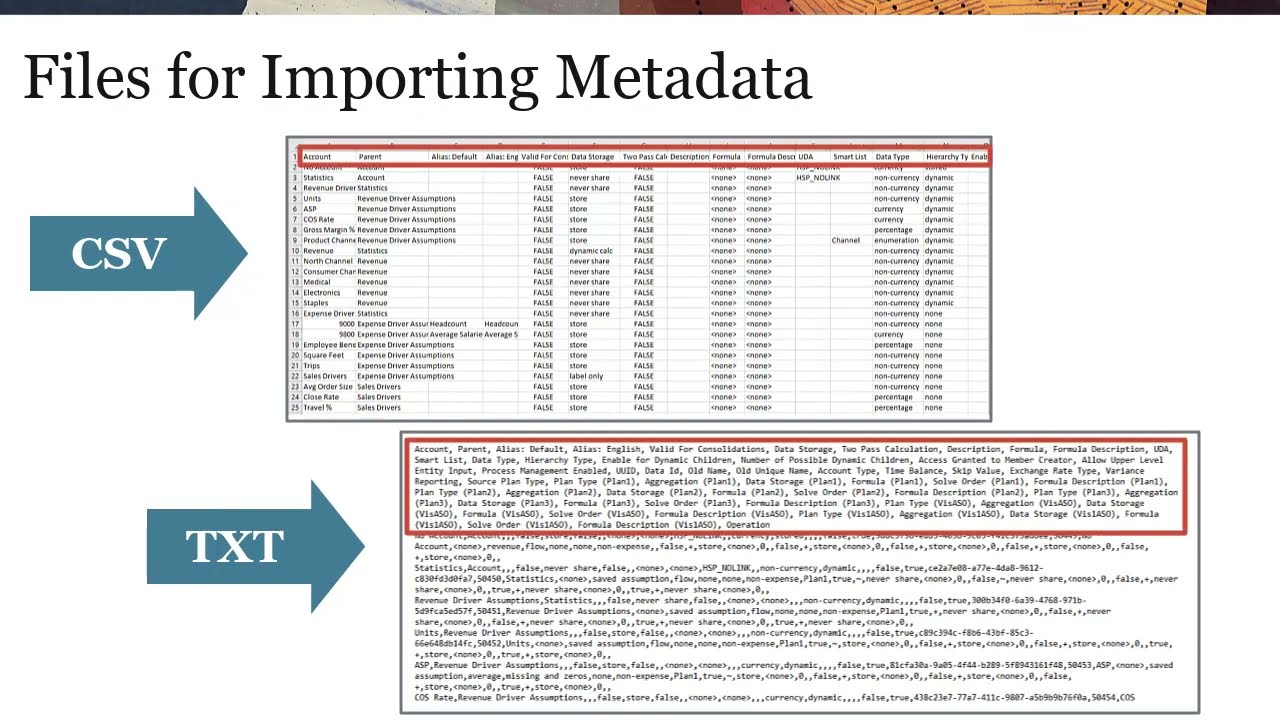
review your selections then click export you may be prompted to open or save a compressed file I'm saving the file to a local folder I'll show you the contents of the compressed file the account Dimension members are saved to the CSV file the exported file is structured based on the formatting requirements of the planning application let's return to the export metadata page you can refresh the page to display the updated last export status now I'll switch the location to export to the server then I'll save my selections I can now run or schedule a job
let's go to job scheduler select export metadata from the available job types you can choose to run the job now or schedule it to run at a later time when you schedule a job you can set it to recurve based on a calendar pattern you can also set an end date for the job I'll run the export process now from the list of available jobs select the job you created and continue review your selections then click finish to start the export process in job scheduler click refresh to display the address of a job after the
export process finishes successfully the job status displays as completed you can view detailed information when you click the job name you can download the exported data from this link now let's go to inbox outbox Explorer file stored on the server are accessible using inbox outbox Explorer here is the exported data file you can download or delete the file using the actions menu to learn more visit docs.oracle.com