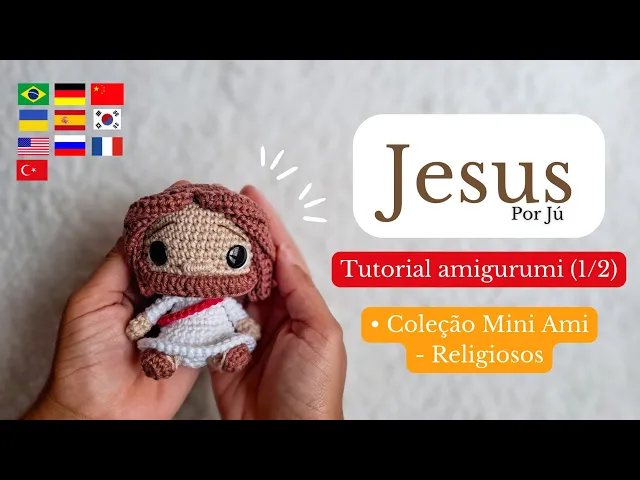
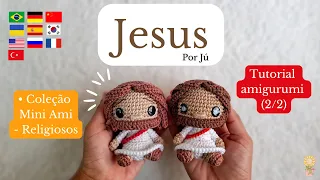
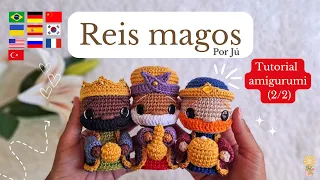
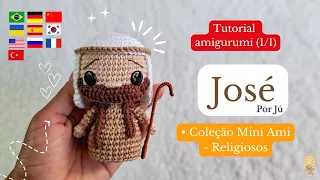
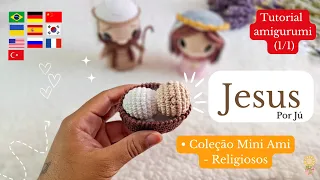
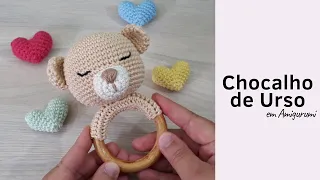
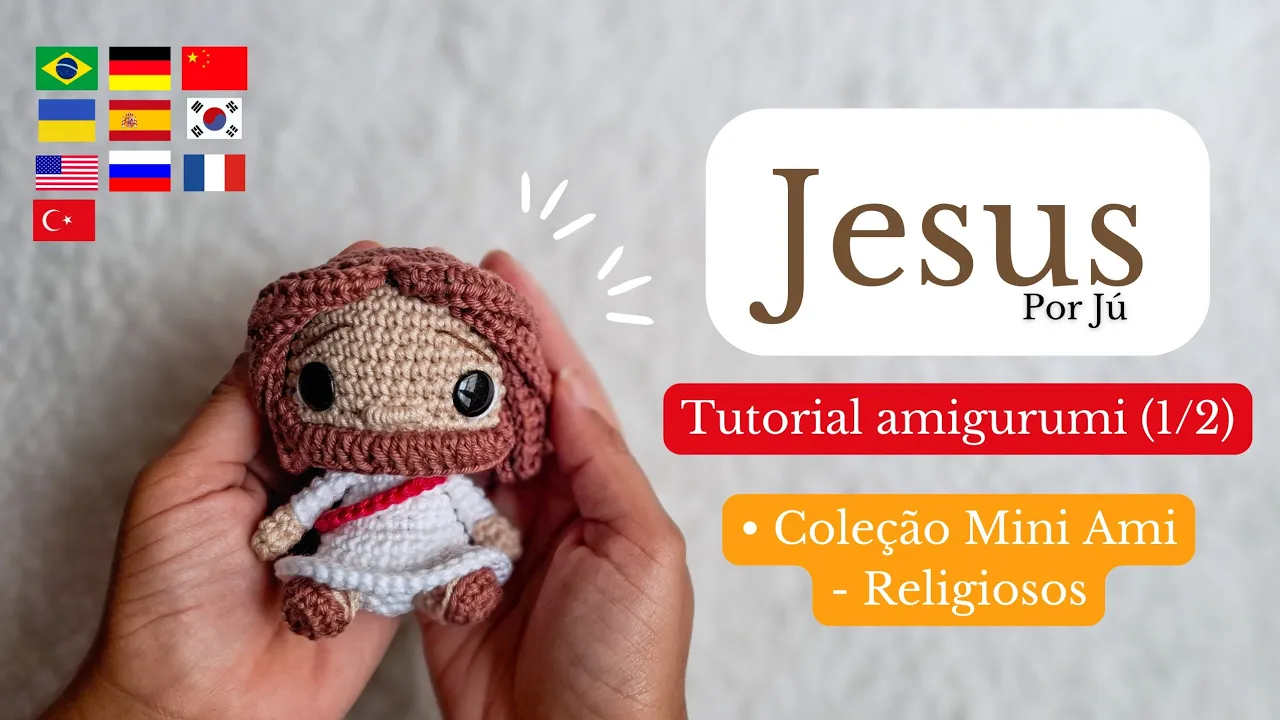
Hi, I'm jú, from Amigulove and in this class we will learn how to make the pattern for this Jesus, all the information such as size, materials used, are in the description, of the first version and the second, and we also have a design for this Jesus coloring pages, a personalized bookmark, a sticker card, these are three of the ones we have and the personalized box. Jesus is the second in the mini ami collection, but I wanted to bring him first, the Jesus box is like this, he is part of a mini collection that is the holy spirit, it will be a religious collection and little by little they will appear here on the channel. This is the side of the box, the back, the other side with the Our Father and the front, the link to the box and all these materials are below too, so just download it and have it printed, so We already have a video on how to assemble the box and better explain the materials that come with it, so I'll leave it here for you to access the videos on the box, so let's go to class now.
Let's start with the head. let's start by making a magic ring and inside this ring we will place seven single crochets, so I will make the ring and inside this ring I will place seven single crochets 1, 2, 3, 4, 5, 6 and 7, I will pull this thread to close the ring, but I won't tighten it too much because if you tighten it too much it will be a little difficult for you to insert the needle, in this first stitch so leave it a little loose and when you make this first stitch you will finish tightening it in the second row, we will make seven increases in each base point, we will place two double crochets together, we are left with this, at the end of this second row with 14 double crochets , 1 and 2, two stitches together in the same base point, now we have finished closing the ring, we will also mark the starting point of the row, you can use the row marker here, but I prefer to use a piece of yarn of another color with a thinner thread, I think it's much more practical, let's continue with the increases I finished the second row here, counting we have 1, 2, 3, 4, 5, 6, 7, 8, 9, 10, 11, 12, 13, 14. 14 stitches at the end of this second row, this thread left over from the ring you can cut after finishing the second row, I now pull the thread to mark the new row and now we go to the third row, in this third row we will do alternating, a single crochet an increase, a single crochet an increase, let's do this form seven times, a low point and an increase.
From this point on, I'll pause to finish so that the video doesn't get so long. So I'm going to finish this row and come back, so, I finished the third row here , we finished it with 21 double crochets in total, I'm going to change the thread again to the last stitch of the row so we can start the fourth row, in this fourth row we're going to start with a single crochet an increase, now we're going to do two single crochets and an increase, repeating two single crochets and an increase six times, so I'm going to do it this way five more times, because I've already done one here and I'll come back, I've done the two double crochets here and an increase five times, see how we end up, a single crochet an increase starting the round two single crochets an increase 1, 2, 3, 4, 5, 6 times, see that there is a little dot left here at the end, in it we will make a stitch low and so we end up with one single crochet here and one single crochet here, leaving us with two, we end up with 28 single crochets in total. Let's now do the fifth row, in this fifth row we will do three double crochets 1, 2, 3 and an increase, we will do it this way seven times, I did one then I will do six more, I will finish this row and I'll be right back, I finished here the fifth row, we finish it with 35 double crochets, we have 1, 2, 3, 4, 5, 6, 7, seven times of three double crochets and an increase.
Let's now go to our last row of increases, which is row six, in this row six we will start with two double crochets, 1, 2 and we will make an increase, two double crochets together. Now I'm going to do four double crochets and an increase 1, 2, 3, 4 and now an increase, I did a set of four double crochets and an increase and I'm going to do five more of four double crochets and an increase, I'll do it here and I'll be right back, I finished the five sets here, leaving us with six in total, see we did the two initial double crochets and the increase and here we start the set of four double crochets and an increase, 1, 2, 3, 4, 5, 6 and here there are two stitches left, so in each one we will make a single crochet 1 , 2 and we also end up here with a set of four single crochets, we finish this row with 42 single crochets in total and from From this seventh row to row 14 we will do a single crochet in each stitch, so all rows will be the same, just single crochet without increases, so there will be a total of eight rows of single crochet at the end of each row we have 42 stitches We're just going to do stitch after stitch, then I'm going to finish the eight rows and come back to continue. I did the eight rows and we ended up with 1, 2, 3, 4, 5, 6, 7, 8, 9, 10, 11, 12, 13, 14, 14 rows of 42 double crochets each, now let's go to row 15, in this row we are going to make three single crochets 1 2 3, now we are going to make an increase, we are going to make six single crochets 1, 2, 3, 4, 5, 6 six single crochets and an increase we are going to make six single crochets and an increase plus four times, finishing like this five times, we already have a small group, let's do four more, I'll do it here and I'll be right back, I finished here and there are three base stitches left so I'm going to do a double crochet in each 2nd and 3rd, we finish this row with 48 stitches and now before going to the next row Let's put the eyes, for the eyes I use the needle to open the stitch, let's place the eyes between rows 12 and 13 So I'm going to count from the magic ring which was our first row, 1 , 2, 3, 4, 5, 6, 7, 8, 9, 10, 11, 12, between 12 and 13 so, this is where the eyes will be between the two rows, I come with the needle and choose a stitch, I insert the needle to open the stitch, if you have a tighter stitch then it becomes a little more difficult for the eye to pass through, I'm going to insert the eye, I placed it here, and now I'm going to count seven visible stitches in distance between one and the other eye, the visible points are the points that we can see, as it is here, one that we can visibly see that the little eye is not covering 1, 2, 3, 4, 5, 6, 7, how the other little eye will come and it will cover a point so I know that this one will be covered, after the seventh point away so I count up to seven here and come between these two after the seventh and open this space just look at the visible points that the eyes are not covering, so 1 2 3 4 5 6 7 you saw that the calculation is correct, so now let's put the safety locks on the inside and on the other.
I prefer to outline the eye with white thread while I'm still making the head, because you finish it right here, so I'm going to do it now, I took the tapestry needle and two pieces of white thread, each piece is for one side of the I look, so I'm going to go here and go from the inside to the outside, I leave at a point and pass the needle around it like this, so I enter a point at the top and enter again inside the head. This way is more practical because you will finish it off here and this part is already ready, so you don't need to do it after you put the stuffing in, press it a little to make it firm and tie two knots, this thread can be left inside the head , look how Stay, I'll do the other side and I'll be right back, I outlined both sides of the eyes, let's now go to row 16, on this row we will do decreases, we will start with three single crochets 1, 2 and 3 and a decrease, the decrease we take one loop another loop and pull the thread making the single crochet , now we are going to do six double crochets and a decrease, 1 2 3 4 5 and 6 a decrease, we are going to repeat this shape of six double crochets and a decrease four more times remaining in total with five groups of six double crochets and one decrease, so I'll do it here and be right back. I finished the five groups of six low points and one decrease and we are left here with three base stitches in each one, we will do single crochets 1 2 3 and we finish this row with 42 single crochets, and now we go to row 17, in this row we will do five single crochets 1 2 3 4 5 and a decrease we will do like this , five single crochets and one decrease throughout the entire row, finishing six times, we finished this row with 36 single crochets, so I'm going to do it here and be right back, I finished row 17 now let's go to row 18, in this row we will only do decreases, so we are going to make 18 decreases, we will have 18 stitches at the end of the row, in this row where we are going to make more decreases the head will be more closed so as we make the decreases we will add the stuffing, so I will start here taking care to make sure the stitch stays very closed, so I'm already placing it here, I'm adding the filling and continuing with the decreases, always looking at the piece where the filling is missing to add it, be careful not to add too much filling and end up opening the stitches too much and it also takes on a different shape if you add too much filling I added the filling now I'm going to do row 19, on row 19 we're going to do a single crochet and a decrease six times, thus ending the row with 12 double crochets, so I'm going to do a double crochet and a decrease Let's repeat like this until the end, I'll finish it here and I'll be right back, I finished row 18, the head looks like this and before we finish the body we're going to embroider the nose and make the eyebrows, we're going to do this part to get the head ready, take a piece of thread the same color as the head, in this case Chestnut and use the tapestry needle for the nose, we will do between rows 13 and 14 which is row 13 and 14 we will use three central stitches to make the nose, so I will count two here look and two here leave the three central stitches, as I like to do with this thread, I enter here from the side , I pass it around the three stitches, look, I'm going to pull the needle and I'm going to leave a small piece here, I'm going to tie this thread with a little knot here using the small piece and the larger one, I leave this knot right in the corner, tighten it and give another little knot, this way I will remove this side of the needle and I will pass this smaller one, with this smaller one we take it inside the head and we come out in another stitch and we pull the Nozinho inside, staying like this , so the Nozinho is hidden inside the head, you can cut this piece and I'll put the piece of larger thread back on the needle, we've already threaded it once, we're going to thread it twice more, you can enter from either side, this way or this one, so I'm going in from this side to pull the thread here, I wrap it once and then again , so we pass the thread three times, now we're going to pass the needle around all three threads from the bottom to the top, and the thread ends up like this, so let's do it like this until it's complete and covers all of this thread, I'll pull it here to also cover the side and that's it, the little nose will look like this, this thread now just needs to be hidden, I'll pass it here once again, so that this corner is well covered too and I'm going to take the thread down there too and adjust the stitches and the nose looks like this, this remaining thread you can take here to the back of the head to make a little knot with the other, so I'm going to decrease it so I don't get in the way and leave the little piece here so I can finish it off later.
Now we're going to use the brown Cléia thread to make the eyebrows. We're going to do it from row 8 to row 11 diagonally, so let's count here 1 2 3 4 5 6 7 8 9 10 11 between row 11 and row 8 I'm going to come in from behind and pass the needle here through the little dot, a little dot after the eye I leave a little piece of thread and diagonally we're going to wrap four stitches, so we count 1 2 3 4 and I'm going to insert the needle here, I leave with the needle where I entered with the thread to finish off, I'm going to cast off here by making two, two or three knots and I hide this thread I'm going to take the other thread to make the other eyebrow and in the same way I'm going to do it on the other side, I go in behind the head, a little dot after the eye I count four points going up and I come out at the point again I did the two eyebrows here and I'll explain to you you guys one point, using this dark brown thread with the skin brown thread it doesn't look as flashy as in the case of this one where we use the almond thread, so if you want a more striking eyebrow you can use the black thread, ok Just a tip, now let's continue the body, for the body now we are going to use the white thread, so I'm going to make the change here, we change the thread as follows, I enter with the Needle as if we were going to undo the double crochet, pull the thread, I'm going to take the white thread and I'm going to pull it with the Needle, I did that, now I take these two pieces of thread and tie it into knots, you can finish off this brown thread and I'm going to tie a knot with the piece of white thread and the piece of brown thread, this brown thread you can now take it here and finish off with the little thread that we left behind from the nose embroidery, now let's go to row 20, in this row we will make 12 slip stitches taking the back strap, so I'm going to take the back strap of the stitch here and I'm going to do a slip stitch, I'm going to the next stitch, two slip stitches, 3 4 5, 6 7 8, 9 10 11 and 12 we finish this row 20 with 12 stitches, now we're going to row 21, this row will be a little different because we are going to do it by taking the front loop of the row that we made a slip stitch, then we will take the loop that faces you and we will make a single crochet and in the next loop an increase, here I will mark where we made the first stitch and I'm going to continue with a single crochet and an increase throughout the entire row, I've already done it once and I'm going to do five more, always taking the front strap, so I'm going to finish this row and be right back, I finished row 21 with 18 stitches, we're done with this one row, I will change the marker to the new row and on row 22 we will do 18 double crochets, single crochet over stitch, we finish this row here with 18 stitches, one stitch in each base stitch , I finished row 22, now let's move on to the row 23, in this row we are going to do five double crochets 1, 2, 3 4 and 5 now we are going to make an increase and I will repeat this group of five double crochets and an increase twice more , totaling three little groups in this way, I finished the three little groups of five single crochets and an increase and we finish row 23 with 21 stitches. In this row 24 we are going to do it taking only the back loop which is the little strap that is on the inside, so we are going to make three single crochets 1, 2, 3 and an increase now we are going to make six single crochets, 1 2 3 4 5 6 and an increase Let's repeat six single crochets 1 2 3 4 5 6 and an increase and here we finish with three single crochets and finish this row with 24 stitches in total.
Let's now go to row 25 where we will do the same way as this one using only the back loop, so we will only do one single crochet in each stitch without increases, I will finish this row and be right back, we finish row 25 with 24 stitches in the total, our little body will look like this, let's now go to row 26, we will now make two equal rows with single crochets, one stitch in each base stitch, it will be row 26 and row 27, the same, we won't just take the back loop , let's take the two loops of the stitch, I'm going to do these rows and I'll be right back, I finished the two rows of double crochet here, now let's go to row 28, from row 28 we'll start the decreases, so let's do three double crochets 1 2 3 and a decrease, we will now do six double crochets, 1 2 3 4 5 6 and a decrease, I will repeat six double crochets and a decrease, 1 2 3 4 5 6, a decrease and we finish here with three single crochets , we conclude this row with 21 stitches in total. Now let's go to row 29, in this row we will do a single crochet and a decrease, I did this and I will repeat it six more times, a single crochet and a decrease, in the end we will have seven groups of a single crochet and a decrease, I will finish here and now back. We finish row 29 with 14 stitches in total.
Now let's go to row 30, on this row 30 we will only do decreases and on this row we have also added the filling I finished row 30, we have seven stitches in total, I'm going to finish here with a slip stitch, we cut the thread, I'm going to remove the marker thread and we're going to close the inverted magic ring with the tapestry needle, so I'm going to pass the needle through all the I pull the threads and close them, here I go to another point to tie the finishing knot and I pass the thread inside the body and the body looks like this, now let's make the hem of the clothes with the white thread with the white thread I'm going to make a knot runner and I'm going to take this second row where we made the row taking the back stitches we have this first one, we're going to enter with the needle in the second one, I'm going to the back and enter here with the needle and pull the thread, it's important that you enter this point further top of the second row in the one that is higher than the others, the first one, you enter it, I will fasten the thread and here we will make seven double crochets, I start by making the point where I fastened the thread, so we will do 1, 2 3 4, 5 6 and an increase, I'm going to make two more groups like this, seven double crochets and an increase, leaving us with three, we've already done one, let's do two more, I'm going to do this row and be right back, once the row is finished we end with 27 stitches in the total, now let's go to row two, row two and row three are equal rows only with double crochet so we do one stitch over each base stitch and finish each row with 27 stitches too, so I'm going to do these two rows and now I'll come back so we can continue, I did it here until the third row, now let's go to the fourth, in the fourth row we're going to do seven single crochets, 1 2 3 4 5 6 7, An increase one single crochet, one increase one single crochet, we're going to do it six times this increase and a low point, we did two now we go three, an increase a low point an increase a low point an increase a low point we are here with 1 2 3 4 5 once again an increase and a low point and we finish here with a increase now we are going to make seven single crochets 1 2 3 4 5 6 and 7, we finish this row with 34 stitches in total, now in the fifth row we are going to make 10 single crochets 1 2 3 4 5 6 7 8 9 and 10, we are going to make an increase and three double crochets four times, an increase and 1 2 3, an increase 1 2 3 an increase 1 2 3, we did 1 2 3 one more time to complete the four an increase 1 2 3 we did the four times of an increase and three single crochets now let's make one more increase and finish with seven single crochets 1 2 3 4 5 6 and 7, we conclude this row with 39 stitches in total, now let's go to the sixth row, this is the last row, we will make 39 single crochets a single crochet over each base stitch, without increases, so I'm going to finish this row and I'll be right back, we finish row six here with 39 stitches in total and we're going to finish with a slip stitch.