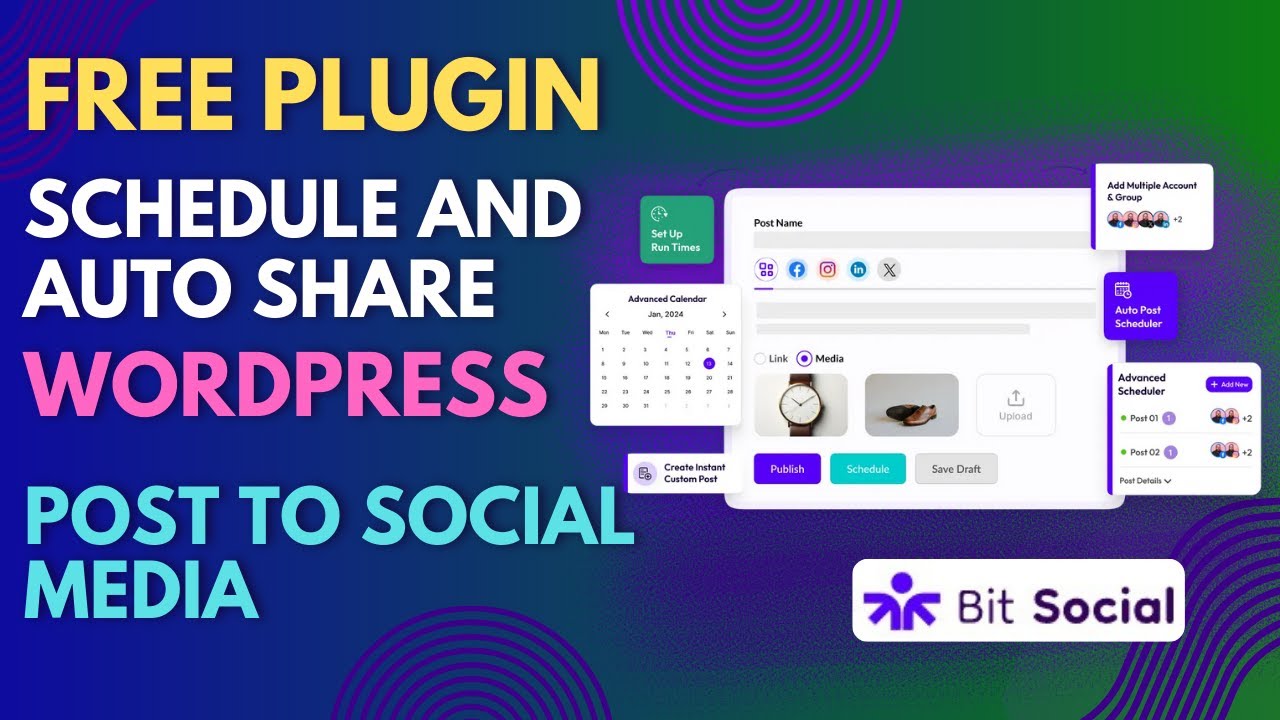
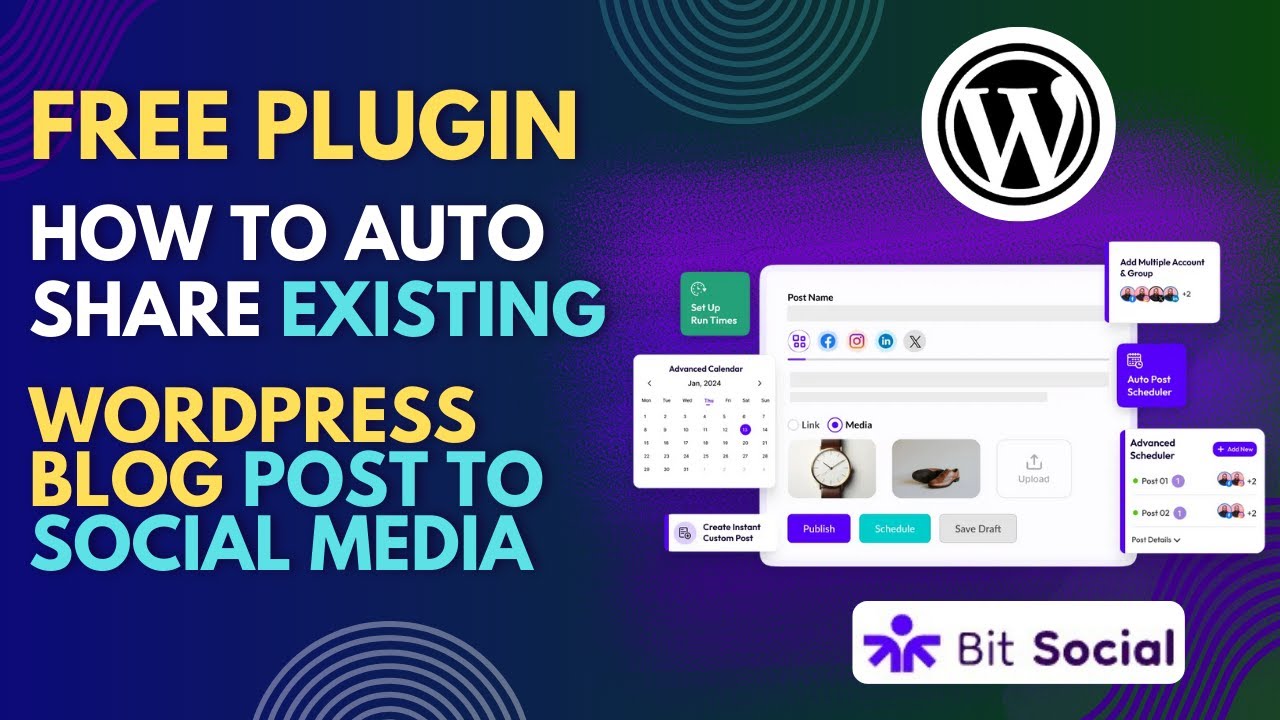
in this video I'm going to show you how to autopost Wordpress post to social media you will also learn how you can schedule your social media posts in advance how you can create posting schedules that continuously post old posts from your website to social media and lots of social media tips and tricks along the way you want to stay to the very end of this video to make sure you don't miss anything and as always there are time stamps in the description down below so you can rewind or jump forward to the sections that you
need hi I'm Bjorn from WP learning lab now let's get started on this video we have both the bito free plugin and the bito pro plugin installed and throughout the video I'm going to show you which features are pro and which are free or at least I'll do that to the best of my ability if we click on bit social Pro over here that'll take us to the plug-in settings and setup area this would be called just bit social if you only had the free version first I'm going to give a quick overview of all
the different areas of the plugin so it makes more contextual sense as we're building out our social publishing process so first of all this is the homepage area the dashboard the main dashboard of the plugin up here we have accounts this is where we add all of our accounts LinkedIn and Facebook are part of the free plug-in X Pinterest Discord Google business profile and Tumblr are part of the paid plugin we have WP autopost where we can choose our accounts on the left and we can have autopost settings here that means when you publish something
it's automatically published to social media WP post schedules this allows you to schedule posts into the future share now allows you to come in here and share posts immediately or save drafts for future content the calendar will show you posts that you have scheduled and that are coming up you can go ahead a lot of time that's October but we can go up to the year 2030 currently in the plugin and as the year 2030 approaches of course they going to add more years and you can schedule way in the distance we also have templates
this allows us to specify the content that's being published to various social media platforms again LinkedIn is part of the free version and so we can edit our LinkedIn post here we can for the posting type we can choose only custom message Link Card and featured image in the free version product image and all images is part of the pro version and then Facebook is also part of the pre version to create accounts for in bit social and same thing here the product image and all images are part of the paid version and then X
Pinterest Discord Google business profile Tumblr you can customize all the templates to your heart's content and those of course are part of the paid version the logs tab shows logs of what the plug-in is done as in posts to social platforms how the post went did it work out did it publish did you have posts scheduled that missed the schedule that that would all appear in here so you can get insights into your social posting and diagnose any problems there's a solid documentation area that has pretty much everything you need to run bit social and
bito pro on your website it even has instructions for connecting every single account type in the process to do that it has specific instruction areas for WP Auto post WP post schedule share now calendar templates logs and settings you'll notice that lines up with the overall sections of the plugin which makes it super easy to find the information you need inside the documentation so I'll link to this in the description down below so you can check it out if you want to for now we're going to head back to accounts and we're going to connect
some accounts click on the big connect Account button and we have two different ways we can connect there's the big purple button which works for everybody except for Twitter then there's a custom app button the purple connect button is one of those really simple connections where you click it you're asked to log in to whatever account that you're connecting to and then it just makes the connection so let's try that out see how it works we got a verification code we have to find here's the verification code I'll just copy that paste it in here
submit bit social would like to do all these things make sure you read through them and you agree and then click allow fetching data please wait choose what you want to connect to inside of LinkedIn I chose the wp learning lab page then I'm going to click on X you can connect to more than one in there if you want to and we have our connection here now we can turn it off whenever we want to just disable it and then turn it back on whenever ever you want to you can also discard it as
in delete it and it's super easy as you saw to connect accounts using the connect feature the custom app is more work there is a detailed document for every social platform so here we have how to connect your link in account to bit social there's the one-click method and the custom app method so down here custom app method it walks you through all the details on how to create the custom app the reason you might want to connect via a custom app is because it gives you a little bit more control over how your content
is posted to the social media platforms than the connect option does however for me personally the simple connection plus the templates that we saw a moment ago and being able to customize the templates that's more than good enough for me but you can connect however you want to and there are help documents just click on these doc links on any one of these little cards here it'll take you to the documentation for that specific account it'll show you the one-click method which is the one we went through in this video just now it'll show you
the custom app method or it'll describe it for you in detail so you can set up all the custom apps if you want to do it that way I'm going to connect to Facebook so we can post to there as well and see how the posting goes I'll let you go ahead and connect to all the rest and again LinkedIn and Facebook are part of the free plugin and all the others are part of the paid plugin and there are more connections to more social networks coming as well so I'll click connect for Facebook I'm
already logged in so it should be pretty easy now we're going to choose the appropriate page that we want to add to bit social and WP learn lab on Facebook is right there you're going to want to go ahead and add as many of your accounts as you want to be posting to with bit social now that we have those added let's go to WP autopost these settings are going to allow us to automatically post as soon as we publish something you can choose very specifically which accounts you want to post to you can check
the box to have just this one account be posted to if you have multiple Facebook accounts those would remain unchecked you could check the Facebook box here if you have multiple accounts under Facebook and then it would select all your Facebook accounts or it could select all your Linked In accounts and all your Twitter or sorry X accounts or you can select all to select all the accounts you have currently on your site so set that up how you want to set it up and on the right hand side are autopost settings there aren't very
many and they're pretty straightforward but there is a help document you can click to and check out right here that walks you through any questions you may have so the first one share posts automatically turn this on if you want posts to be shared as soon as you publish them the post types you want to share so by default only post which we create by going to posts and add new right there add new post if we publish a post or we have a post scheduled to publish and it publishes on its own in the
future that content will be used to create social media posts based on the templates we create if we want to add more categories we can add product this is part of the paid version adding product you can add custom post types if you have custom some post Types on your site I'm just going to put product in here because this is an e-commerce site for macaroons it's just a demo site there's no real macaroons for sale but I'm going to have product as our post type so we publish a product and then it'll be posted
to social media automatically you can enable the autopost log I recommend you do this you can find the information about the what's posted to social media in the log in this tab up here so you can diagnose any problems that may be occurring and post templates allow us to customize the look of the post we're going to do that right now and everything is autosaved there's no save button so I can click on this leave this tab if I come back everything we said here is saved you probably see many times at the up at
the top here setting saved a little drop down so there are no save buttons so here we customize a LinkedIn post it pulls in the post title in fact I want to change that to be product name because you're not publishing posts we're publishing products for this setup right now so far I don't see a way to have separate post types or separate templates for separate post types for example if you had if you wanted to share to posts or share your posts and products and your custom post types it would be cool if you
could have a template for each individual one but bit social is also brand new so I have a feeling that that kind of thing is coming in the near future so let's start this again product name product see saved successfully right there product description and I'm going to say before this check out our new macaroons newest newest macaroon product description will appear right here and I'll add the price over here too regular price added it down below put it up there delete this one and as you can tell there's lots of tags these tags pull
in Dynamic content so everything inside the curly brackets is going to be replaced by whatever is we're adding and they're and they're named pretty well so this will be replaced by the product name this will have the product price this will have the description I don't know if there's a dollar sign that's going to show up in front of this we'll see in a little bit when we actually post this so you can come back and change it if you need to add a dollar sign there or not the posting type you can post this
custom message if you want I'm just going to copy this so I have it on my clipboard or you can choose a link card or you can choose a featured image post type or you can choose a product image or all images those are part of the pro version you can also trim characters because LinkedIn restricts the length of the post to 3,000 characters if it's longer than that it won't be published to LinkedIn it'll just fail the trim message option makes sure you're below that limit so post no matter what you might not have
your full message there but at least it'll be posted so that's our LinkedIn template our Facebook template this one has a preview the preview for LinkedIn is coming soon and so is the preview for every other social platform they're all coming soon again bit socials brand new just released so there's great things to come so for the custom message I think I can use the exact same tags for all of them product name description price looks like it so I'm just going to paste this one that it created here it shows the preview this is
for the Link Card so it's got an image here and that image will be pulled from the post obviously or the product post and there's links down below we can also have a featured image card with no links the product image and all images if you have a gallery associated with your product or your post I'm going to choose the product image you can also trim message there's way more characters allowed for Facebook but we're nowhere near that uh character limit so to quickly recap we now have our post templates created we have our autopost
settings set and we have our accounts linked so I should be able to go into our products create a new product that we then publish and it'll show up on our social feed in Facebook and Linkedin and whatever accounts you have linked and set up to be posted to so I'm going to I don't have any new content to do so I'm going to move this to draft update that and I'm going to change this back to published in just a minute and we'll see if that works I'm just going to open my Facebook account
and my LinkedIn account to make sure we're watching for posts to arrive okay here's my Facebook page for WP learning lab here's our LinkedIn account and I so rarely use LinkedIn I have not even made a single Post in the past 90 days or ever really CU I just I never use LinkedIn anyway let's change this back to published and see if that's enough to run our bit social and have that social media post posted because it might require or might someone detect that we had this published previously and all I did was unpublish it
and republish it it might not like that very much or it might not detect that as a new post so we'll see uh one thing we can do is we can go to logs under our bit social menus here and we see there's no data yet oh wait there is data now success success so I think that worked let's go over to Facebook and refresh and we should see a post with some purple macaroons yeah look at that it's got our check out our newest macaroons it's got the finger it's got the name the price
with no dollar sign so we do have to add the dollar sign in the template and then it's got some lur ipom text for the description if this was a real macaroon business might want to change that to something a little more compelling but the auto posting worked for LinkedIn let's refresh this page and take a gander there's our post look at that all the same details looking good I'm going to like this I like that a lot it's great I like this one too why not so that was our Auto post so every time
you publish anything that falls Within These parameters the product post type and these social media accounts is going to be Auto posted whenever you hit publish on content next we'll check out WP post schedules let's create a schedule macaroons start date today sure that works for me post interval one per hour so you can change his number to whatever you want and then you can have the time frame is minutes hours days weeks months or years you can order posts by I'm going to say randomly there's randomly without duplicates in case you're concerned about posting
the same thing again I'm 0% concerned about that on social media you can start from the oldest to newest posts you can start from the latest latest to oldest posts as well I'm just going to choose randomly you can set a sleep timer this would mean times you don't publish so if you are publishing once per hour that would be 24 posts in a day but if you have a sleep timer that goes from say 10:04 in the morning is this 24hour time find out in a minute 1:04 in the morning yeah 24-hour time so
until 6:09 in the morning so during this time bit social will not be posting and that's for every day of the week you can also select specific sleep days choose one day of the week or multiple and then on those days there will be no posting going on under post filter we can choose more specifics about the posts we want to publish I'm going to choose type as products we can see here coming soon again bid socials BR spank and new so there's a lot of features that are still rolling out so we have the
ability right now to have posts on the free version that we post to social media products in the paid version and coming soon are Pages media floating elements my templates menus and menu items and probably even more beyond that I'm going to choose products you can choose by the category as well so if you have different categories of products you could set up a different schedule for each one you can have multiple schedules I believe we'll see when we click create and here it shows how many posts match the current filters 11 sounds good to
me here we choose the accounts we're going to choose all of them and the templates looks good to me get rid of that space at the beginning get rid of the space there get rid of this space and add a dollar sign you should do this in the main template but I'll is do it here bada bing bada boom click on Create and our post schedule has been created and this is the entire schedule we just set up right here as you saw on this first one you can specify exactly which category and which post
type you want to have published at in which time intervals so if you had many different pieces of content and you have many different categories you could have schedules that are different for each one of your categories and if you run into problems with the scheduling there's a link to a thorough help doc to help you with the scheduling app an important thing to note when setting up the SCH schules through here is that they run on the wp cron which is fired when someone visits your website so if you have a posting schedule right
now and there are no new visitors coming to your website or not within a certain amount of time that schedule will not fire it only fires when people visit your website to get around that we go to more and then settings you can set up an official Cron job with these details here this is your crown job code that you need and you set it up on your hosting server and it runs no matter what it's not dependent on visitors to your website if you want help adding this Cron job to your host I've got
a tutorial for that it's in the card up above and check that out if you want to set up the crown job if your website has lots of traffic I wouldn't worry about it just use the wp KRON job and just use the post schedules as is here you can also use the external KRON just turn it on right here and that's going to use I believe bit socials own servers or something something off platform off of your servers off of your website that's going to be automatically awaking your website externally so the schedule posts
actually fire you don't need both of these just set up one of them the external cron is easiest just click a toggle this is one's a bit more work but then check in the logs to see if there are any issues and if there are try to address them there's also support to help you on any one of these documentation Pages there's a little widget in the bottom right including a contact form and live chat so you can have help or get help whenever you need it so that's the wp post schedules let's head over
to share now share now allows you to share posts right now click on share post choose accounts I'm going to select all as always and here you can add a title this is a test post look at my great post use the same for Facebook you can have different messages for each one if you want you can add links you can add media I'm going to upload this stack of macaroons right here you have to add it to each one as you saw there and we have the option to save it as a draft set
up a schedule or publish now I'm going to publish now so we can see the results of our labor right away we can even go in the logs and it should show us this is a test post went to LinkedIn should go to Facebook as well but let's check LinkedIn first and go back to here I think oh there it is this is a test post get up to 10,000 more Impressions by boosting that's fantastic now if we go to Facebook I don't think it'll be there because it wasn't showing up in our log but
let's refresh anyway and it's there look at that it'll be in the log now there it is so our our scheduled post is not yet there let's see if we set this to one minute update so it should post in 59 seconds it should have posted by now and this website gets no traffic so we have be affected by our traffic issues let's go to the logs take a look nope it worked this is our scheduled post right here so I guess even though we have no traffic enabling the external Crown like we did really
helps so let's go check what kind of post it made on both LinkedIn and Facebook there they are look at that I put the uh dollar sign in the wrong spot so that's great it didn't pull on the price which is not an error of the plugin I must not have a price set for those so that's all the settings in a nutshell if you can set up one account and do all those things then you'll be easily able to add all the other accounts that they currently have all future ones they're going to add
and have your social media posting all taken care of super easily if we head over to bito the website we see there's an early bird offer coming in four days so I should have this published to the channel before then so you can get the early bird offer if you want it but on this page you can check out all the information regarding the bit social plugin and the bit apps team also has lots of other plugins too that you might want to check out and if you want to check out the free version first
it's on this WordPress repository page right here I'll link to it in the description down below so you can check it out and try it out on some of your websites and I think you'll be pleasantly surprised with how much time this can save you and if you're driving traffic through social media or selling products in your site it's going to be worth the investment to automate this for you to save your time and your money and get better results with less work if you got value from this video please hit subscribe and smash the
like button to let me know and then check out this playlist up here which is all about improving your WordPress skills so make sure you check that out until next time my name is Bjorn from WP learning lab keep crushing it and I will see you in the next video
![How I Made An AI VOICE AGENT [Quick & Easy] - Thoughtly & Launch Cart Review](https://img.youtube.com/vi/L5L64jvscZ0/maxresdefault.jpg)