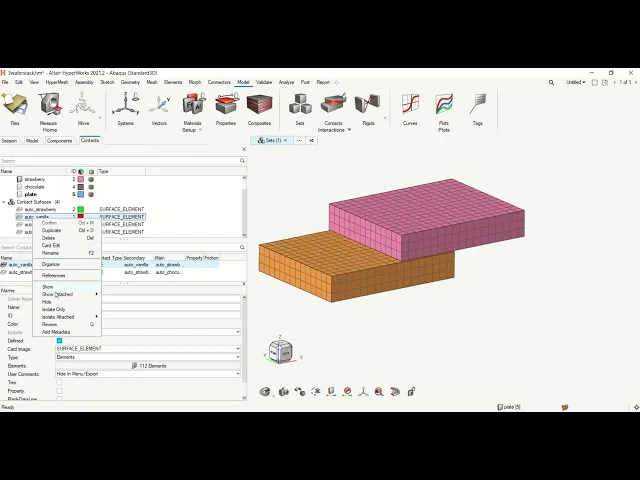
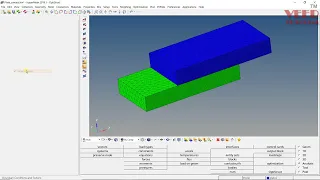
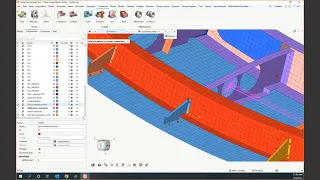
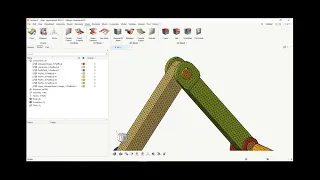
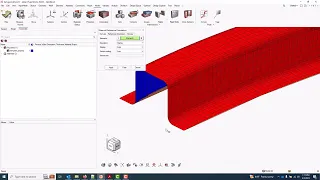
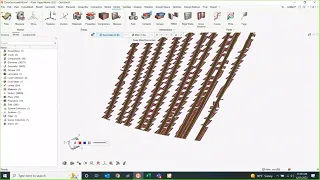
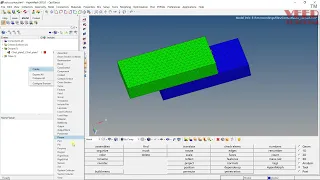
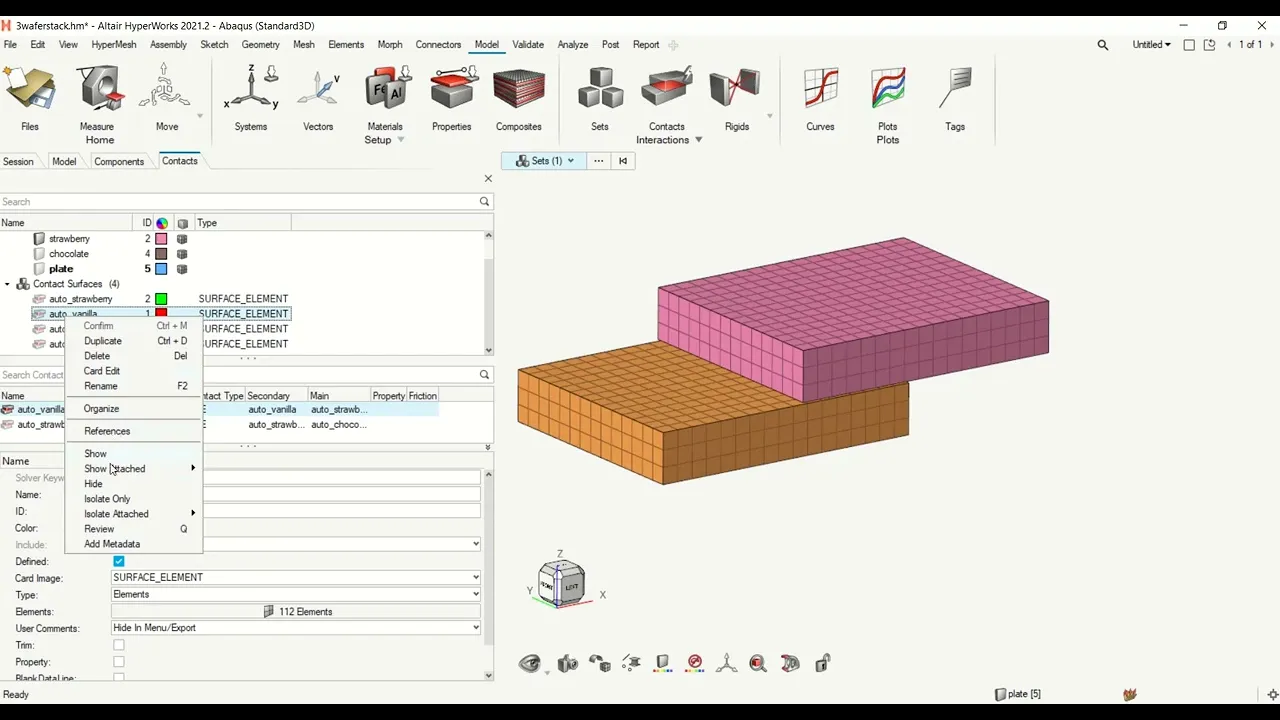
the first thing i'm going to do is open today's model it's going to be this three wafer stack and we have these three wafers i've called them vanilla strawberry chocolate and we've put them on a plate so these have a 3d hex mesh on them and this plate has just been 2d meshed not a lot in this model yet mostly elements but today we're going to talk about how we set up contacts so the solver will know uh that these parts should not just pass right through each other the first thing that we are going
to do is get out of here and we can create contacts manually we'll do this through model and we just hit here we'll get some menus that pop up this properties is just going to allow us to do extra things like specify friction and set some various parameters this is not very hard once you've set it up so we're going to focus here on actually setting up the contact itself in hyper mush we'll start with pairs here and in pairs we're going to be setting up both services so the master and the slave side surface
of your contact you notice here that the solver keyword for abacus is contact pair and you're asked for main and secondary ids we've actually switched to this notation instead of master and slave you can pick a main entity if you already have one but when we come here we'll see that we don't actually have any element surface sets that have been created already so we'll have to create them on the fly so we'll say create and let's say that i wanted to just go in and select individual elements i certainly could do that on an
individual level so if i wanted to come in here and click these i would get these pointed in the correct direction to make contact with something outside of this block but that's kind of cumbersome so a better way to do this is using one of the automated selections you've got different options here personally i like this faces option you can come in here select a whole face and hit ok i'm going to call this i'll have to come in here and individually name this if i want to set it up manually i'll call this strawberry
contact and this is going to be with that chocolate piece above it so i'll close this and we actually have a contact browser so you can come in here in the normal model browser and look for things but you can also look at them in the contact browser too it's just a nicer way to look at all things contact related so i've got this contact pair here and i have my one contact surface to find so what i need to do now is go in on the other side and to find my secondary contact so
turn this off so i can get to the underside of my second block and i can either just go in here and make a second contact surface and assign it to the contact pair but what i like to do just so nothing gets lost in the shuffle is actually come in here and just create it so i know it's assigned to the right contact pair so it'll be created within the dialog box again i like faces gonna come in here select those or i can middle mouse button to select and now i have a contact
pair and two contact surfaces from here i can review these and nicely see where contact is being made i can also look individually and on the contact surface and say isolate attached i can do it on the elements to see which elements have contact associated with them or i can do it on the entire component level so i could isolate the component attached to these contact elements that's great and it's really quick to do if you've only got a small set of elements that are coming into contact but in the instance where you'd have to
set a lot of these i'm sure it's not hard to imagine that this would get cumbersome relatively quickly and that's what we use auto contact for so i'm going to delete everything out that we've made here so we can try the automated version of this what we'll do is just go through some of the options to get a feel for what's in here the auto contact let me set that a little nicer the auto contact is this lightning button you'll hover over it says auto contact and you can select the pieces that you want to
make contact with so you could select maybe all of the model or only a certain subset if you've already got nicely defined contacts elsewhere you can say how far should i search between for instance this element here to find something to make contact with right now we're just going to leave it as the default of one to see what happens and you'll notice these solid elements are really close together so a proximity of tolerance of one is probably enough to find them a proximity tolerance of one here especially if we're actually looking at the physical
nodes is not going to be enough to capture it so we'll talk about the best ways to handle this what i call the plate piece a little bit later for now we're going to focus on creating contact of everything that's in a one unit proximity of the other parts there's different surface creation methods here if we extend the surfaces to features we're going to get this whole surface that's made in contact versus if we just say do not consolidate so we'll try this one first we're just going to get the elements in close proximity that
might be fine if we're just applying a normal force or something here and we don't expect this to slide if we're expecting a lot of relative movement obviously it would be advantageous to have that contact element extend out a little bit further as far as contact types we can do a sliding contact or some kind of tied contact for this one since we are saying don't extend maybe we'll set up that tied contact instead this surface prefix that is just going to create some kind of prefix sometimes they like to put auto out in front
of here so i know what has been generated by the auto contact especially if i have other manual things set up and then you have a check box here to say define with components so instead of contact surfaces you can just define the contact between relative components this is advantageous if you think you might be swapping out a part and a large amount of that part is going to have contact anyway that way when you swap out the parts it's the contact is tied to that part don't have to worry about if the contact's going
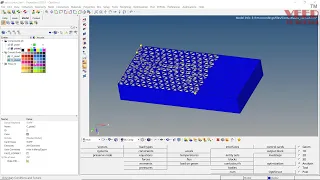
to be reapplied or not all right for now we're just going to leave it as contact surfaces and we are not going to consider self-contact there's nothing really in these blocks that i expect to bend so much that it would come into contact with itself so we'll hit create close and it happens so fast that you don't even see the status bar here but you'll notice four contact surfaces have been created we can go in and this is your first time looking at it maybe turn this off but we can come in and actually visualize
these by turning them off and on we can also use that feature before where i said isolate the attached components so you can see what component this specific contact surface is on and where it is in relation to the component perhaps also helpful is being able to go in and review these i really like this option to put this in review mode i can see exactly where contact is going to be made and just go through here and see that for all of them all right there we go so you can see it in relation
to all of the other components as well all right other things that you might want to do are editing contact surfaces so let me take this out of review mode let's just isolate the attached component here you'll notice these are also labeled helpful things if yours are not if your components are not color coded or there's a lot of them it's a little easier to see if i come up here to the auto contact and then change this to elements i can come in here and maybe there's some slight overhang on half the part that
i wanted to repair click that there's also faster ways probably to do this so from here i can either click this or hit the space bar and i get advanced selection options let's keep it simple and just say i want to select this whole face hit apply and confirm so now i have the whole face set up else that i wanted to show here if you wanted to just automate the process for this creation you could certainly do that and get rid of all the contact surfaces that we made so we'll mix up the options
that we choose this time a little bit and say this time we're going to make auto contact we're going to select all the components again but this time we're going to use shell thickness this will allow us to specify different things we could also have just increased the proximity tolerance if we shoot this up to like 15 it will capture everything no problem but if we want to come in here separately and make something for this vanilla wafer and the plate we can either tack on additional thickness to consider or what i kind of like
to do is use this multiplier so that maybe i add on like 20 percent of the value that is already associated with this thickness because i probably didn't model this with initial penetrations that just gives me a little wiggle room so like a 20 margin between the thickness of this plate and where the solid is in order to find that contact but instead of what i did last time i'm going to say extend surfaces to features i'm going to say this wafer is like sliding along here and i want a lot of contact elements that
are going to capture that contact all the way to the edge of the plate so tied contact which just keeps everything the same relative to each other not a good choice we'll choose a regular contact you also have the option to go for an element based surface or a node based surface your choice on that is going to be dependent on how you want the solver to treat that more so than anything to do with hypermesh i'll keep that as auto for the prefix and this generate property option if you did want to have things
like friction or something specified in this property you could use an existing property and select one that's already available or you could generate your own these are your different options here for contact properties all right we're going to go ahead and create these and you'll see now that we have this whole surface that's been created instead of just consolidating exactly where there's contact now now we could have all these wafers slide really largely in relation to each other if you've specified that within the solver and across the plate that is a brief intro into setting
up contacts manually as well as auto contact i hope this is useful to you and that you can use some of this in your workflow you