my last video on creating real stick figure animations did surprisingly well so obviously I wasn't the only one fed up with these Adobe Express stick animations but here's the thing I blitzed through the tutorial like I was late for something important thankfully a bunch of you caught on and requested a more detailed breakdown well ask and you shall receive folks today we're slowing it down and making things even easier to follow oh and if you haven't seen that video you're seriously missing out click this handy little popup or hit the link in the description and
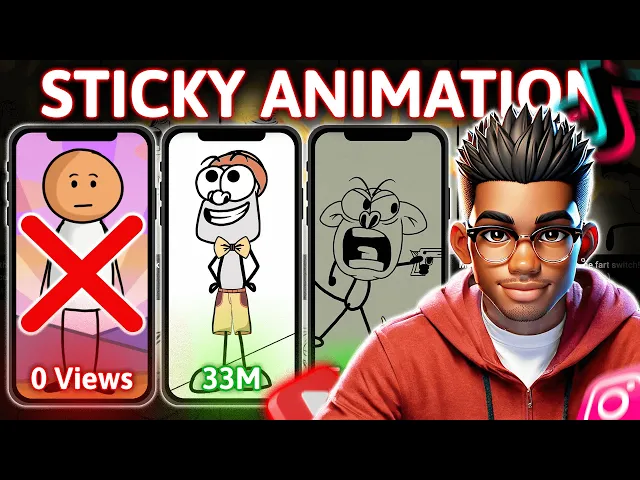
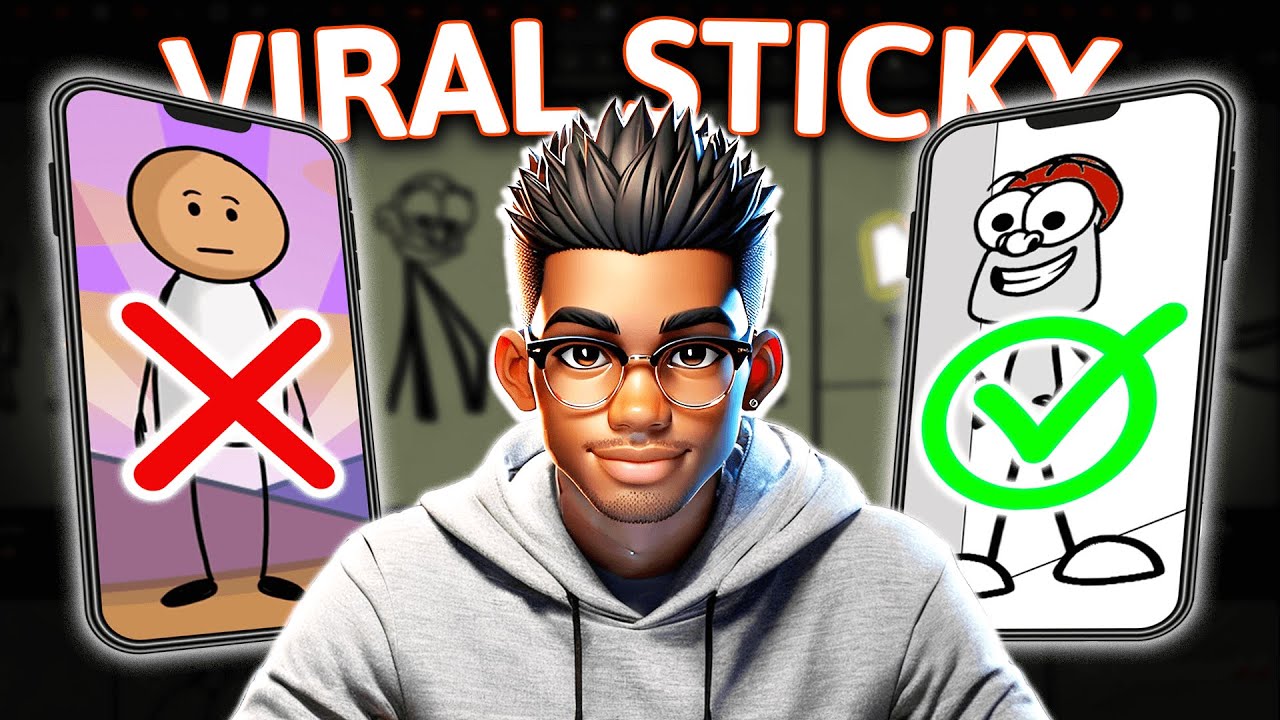
when you're done leave your test monies in the comment section if you're sitting there wondering why you should care about stick animations take a look at this these guys are crushing it in this Niche and the numbers are absolutely wild seriously their latest video got more views in a few hours than the overall views on my channel and sure maybe shorts don't pay as much as long form content but who cares when you're racking up views like that plus these types of videos are blowing up on Instagram and Tik Tok too to make it easy
I'll be breaking this process into a two-part video today we're focusing on creating the actual character characters stick with me till the end and you'll have everything you need to create your own stick figures so be sure to smash these awesome buttons so you don't miss part two where we'll get deep into animating your stick figures keep in mind that I'm no expert at creating these sticky animations but I'll do my best to provide you with real value throughout this video I'll also be leaving any resource files in the resource category of my Discord server
the link will be in the description and on my channel page now let's dive in I'll show you three ways to create your stick figures method one is the easiest approach but don't get too comfortable because methods 2 and three will have you doing a bit more work for this first one we'll go to either of these two websites select vector and search for a stick figure once we've found the perfect character download that bad boy and let's get to work we need to grab the PNG from the vector file so let's head over to
photo P if you haven't heard of it it's like the free version of Photoshop but without the Hefty price tag the cool part it opens pretty much every one of these file formats so we'll upload our stick figure and hide any unnecessary background layers like these ones no need to color the stick figure itself but once we're fine with the character just exported as a PNG on the method 2 we'll be using cre which you can download from their official site once it's installed fire it up and create a new document Pro tip aim for
a YouTube friendly resolution so this aspect ratio will do now if you have a tablet I highly recommend using it for your drawings the lines are way smoother and honestly it just feels better than wrestling with a trackpad but if you're like me and stuck with just a laptop don't worry I've got your back I'll show you how to get clean smooth lines using just a trackpad first you'll want to make sure the tool options panel is visible if it's not no biggie just activate it from this menu now let's check out the options to
see how we can smooth out our lines the stabilizer tool does wonders for your lines but it can slow things down a bit so we won't rely on it too much instead we'll use some other tricks to get crisp clean lines for this demo we're going to create two popular stick figure Styles but before we dive into that let's take a quick look at the tools we'll be using let's create a simple head using this circle tool just like that easy right now for the eyes we'll do the same thing pop in two smaller circles
and voila we've got a face coming together it's already starting to look like a person well a stick person now for the mouth this is where the magic happens grab this tool click where you want the smile to start go to where you want it to end and then click again finally hit enter and suddenly there's your mouth perfectly steady with no squiggly lines in sight but wait we need some personality here let's give this guy a smile all we've got to do is Click one side of the line go to the other end and
then click and drag it up to curve it like this we've got a smiling face now if you're feeling fancy and want to sharpen those edges grab the eraser set it to stabilizer and clean up like a pro see easy peasy all right now that we've played around with the basics it's time to get serious let's create our first character first up the head we're going for an oval shape this time and then we'll create a new layer for the eyes Pro tip layers are your best friend when it comes to tweaking things without wrecking
the whole drawing once the eye is drawn we can select this tool and use it to rotate the eye a little for some added flare next we'll duplicate that layer shift the second eye to the right and rotate it as well now for the lens same shape but this time we change the fill to ensure our shape is colored let's move on to the lips we'll pop open a new layer use our trusty line tool to draw the shape and repeat the process for the eyebrows again use the Eraser and the stabilizer tools to clean
these edges looking good already right we can duplicate the eyebrow layer mirror it horizontally and position it over the other eye now we've got ourselves a symmetrical Suave looking stick figure for the body it's time to break out the brush tool and let's draw the character's body oh and we can't forget the tie let's use the line tool to draw it fill it in with the paint bucket and boom this stick figure is ready for business we'll finish off the legs and arms and hey why not flip that smile vertically to give them a different
expression to balance things out we'll resize the head just a little and add the legs now don't forget most of this was done with just three or four tools it doesn't take a master artist to make this work this is only my second time doing it and honestly not too shabby so go wild with your stick figure designs add some color sprinkle in some details make it your own all right now for the third approach and here's where we get a little sneaky we're going to screenshot an image of our favorite stick figure character from
one of these popular channels once you've got your image you can upload it to a background remover or do it yourself using photo with the background out of the way head back to cre and let's start fresh with a new document here's the cool part we're going to use that image as a reference select this tool and upload our stick figure character we're simply going to trace over this character now I'll say this creating your own unique characters is always the way to go but I get it if you're just starting out it can feel
intimidating so tracing a reference image is a great way to practice learn the ropes and get comfortable with the tools to make things easier decrease the opacity of the reference image so it fades into the background and grab your favorite tool first things first make sure your brush size is on point you don't want to draw a stick figure with a brush the size of a paint roller once that's set click where you want to start your line move to where you want the line or curve to end and click and drag until it looks
just right super simple right once you're happy with it just hit enter and boom clean smooth line easy peasy now don't worry if you mess up we've all been there just hit Escape if you haven't finished the line yet or controlled or command Zed if it's already drawn I'll speed through the rest of the image using this process and you'll see how quick it can be once you get the hang of it next let's switch to the brush tool to tackle those details nostrils and eyes with just a few clicks our character's head is looking
snazzy and we're ready to move on to the body arms and legs now here's the fun part let's compare it to the original looks pretty close right the lines on our version are a little cleaner which is great especially if you want that smooth polished look for finer details like the eyebrows which should be thinner in some areas and thicker in others we'll create another layer use the Eraser and with the stabilizer on smooth out any wonky bits repeat the process on the other side and before you know it you've got yourself a stick figure
that's ready to jump into action and there we have it this looks fantastic and is primed for animation in the next video trust me if you're into creating animations you'll definitely love what we've got coming up and hey if stick figures aren't quite scratching that creative itch don't worry I've got something even better check out this video to discover how you can create mind-blowing animations entirely with AI tools trust me you won't want to miss this one

![I Replaced ALL my ADOBE APPS with these [free or cheaper] Alternatives!](https://img.youtube.com/vi/5EfqHg49kMk/maxresdefault.jpg)