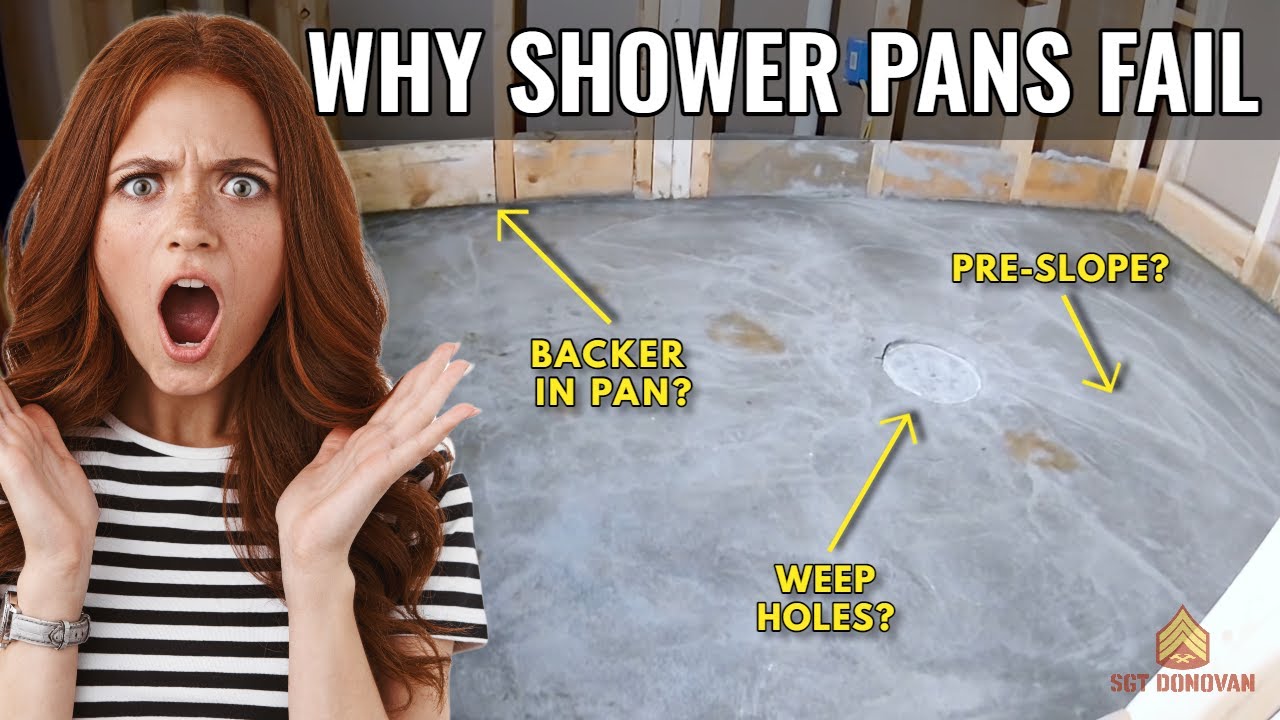
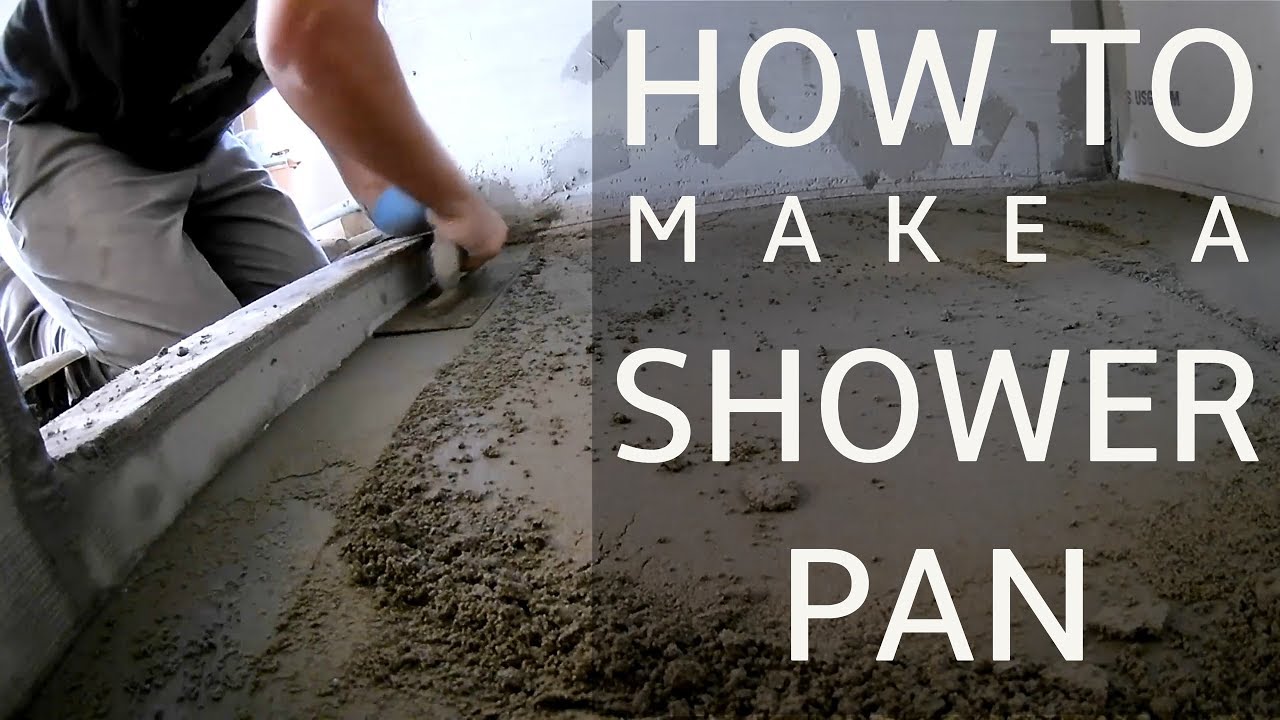
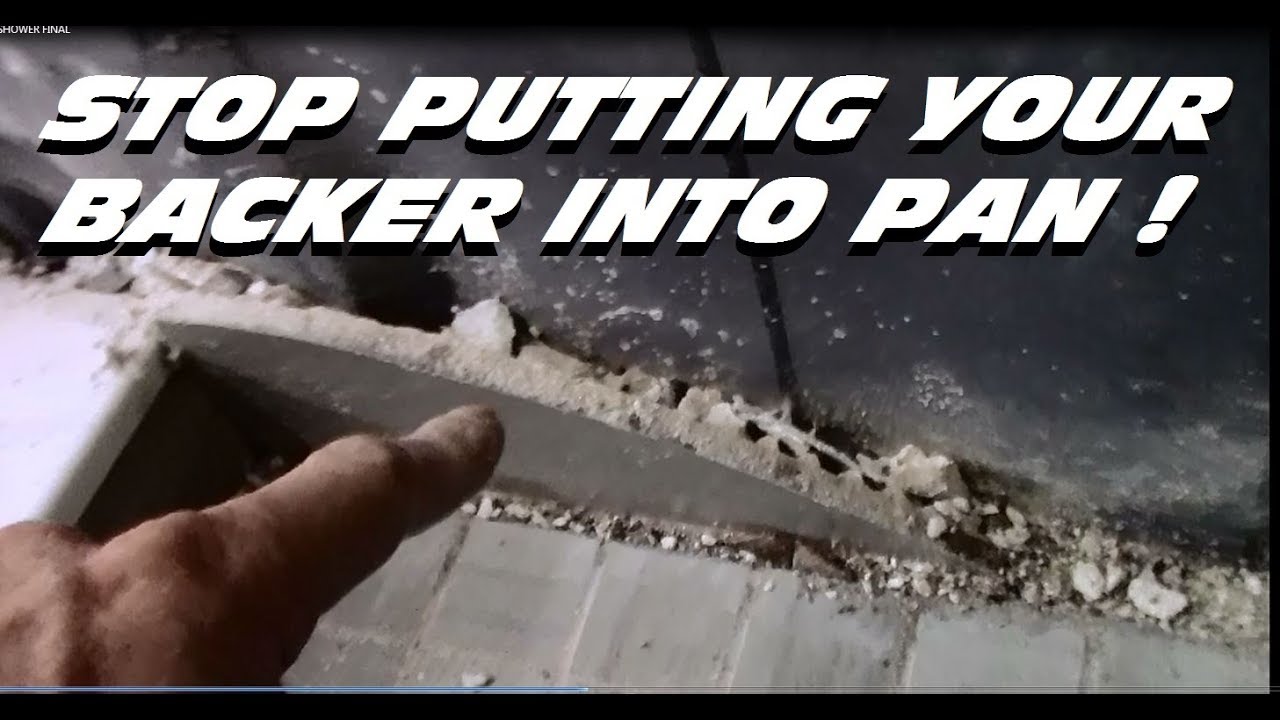
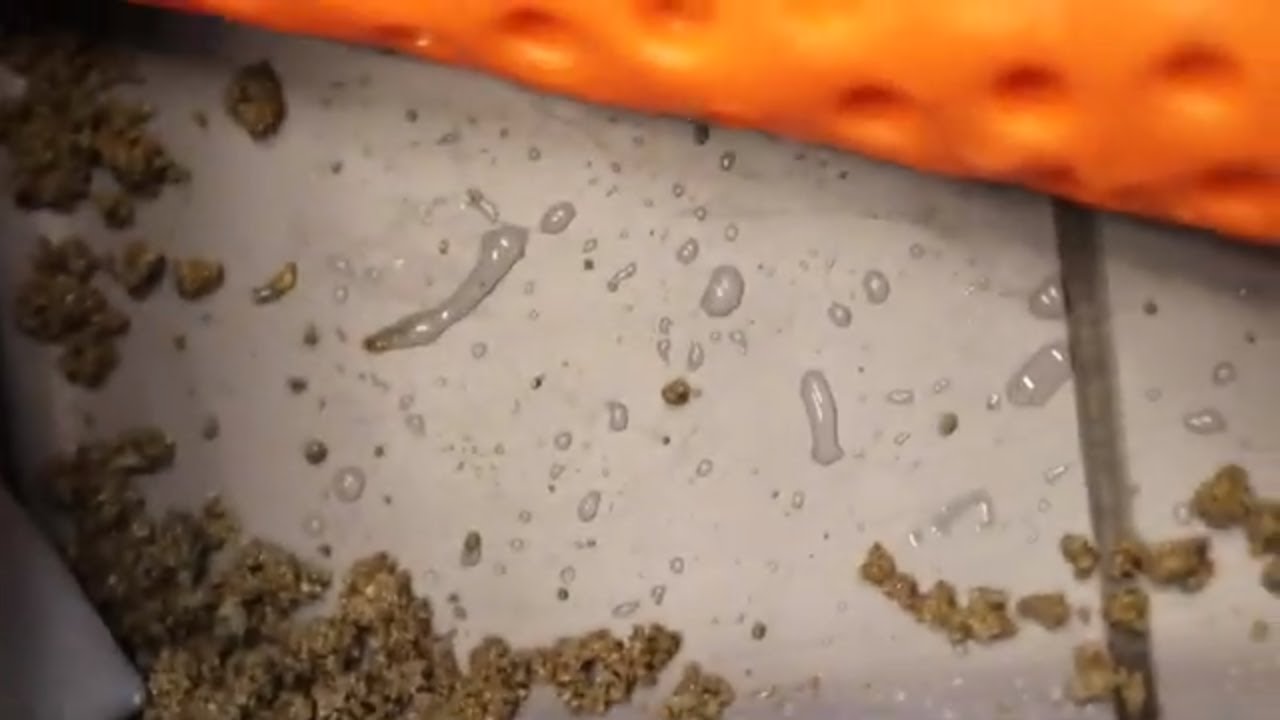
hey guys if you don't want your shower to look like this only after a few months of use you might want to watch this video is very common problem that a lot of homeowners have to deal with and it's caused either by two things that haven't been done number one there haven't been a pre- slope done underneath the rubber liner or number two we Pooles are clogged around the drain so those are two major causes that would cause staining on your shower like this so if you watch this video you'll learn how to avoid it
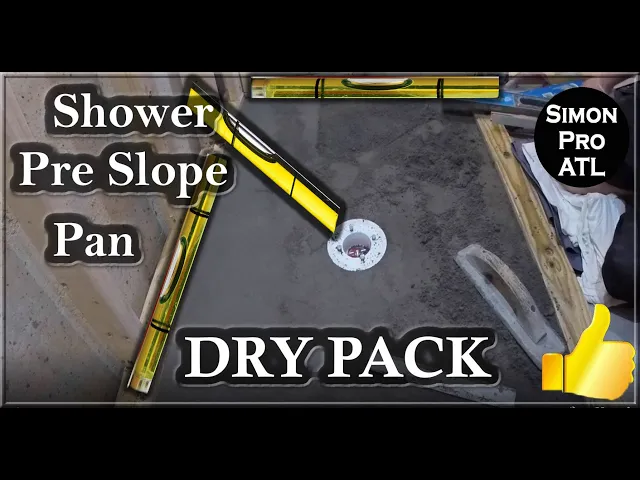
and how to do it right what the pre- slope does it basically levels the area around the shower walls and provides gradual slope towards the drain that it's waterproof and bonded with it okay guys whenever you work with a new area first thing is you want to find out what you're dealing with you want to take the 4ot level and just place it around the shower floor to find out how level that area is usually the concrete floors are going to be a lot better than your plywood s floor that sometime is from a quarter
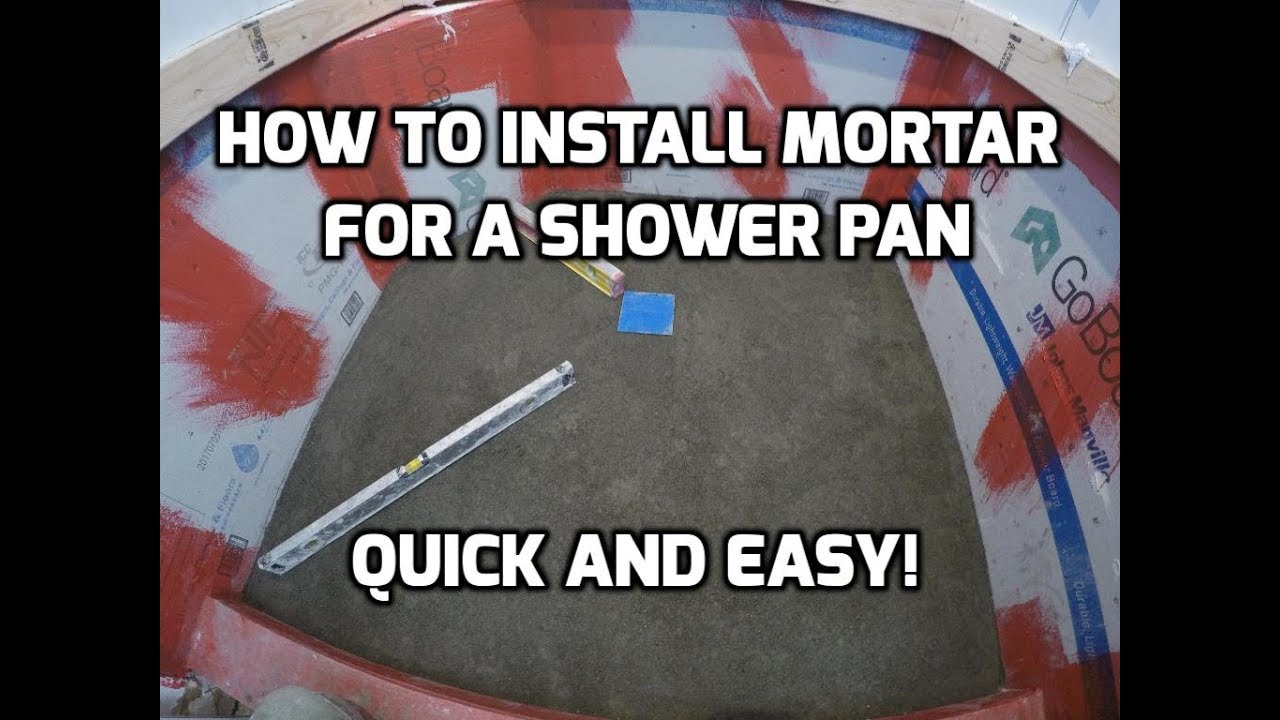
to half an inch or even inch out of level in another video I showed you how to install that shower drain and today we're going to build a pre- slope around it uh this is typical pre- slope that usually buil on a concrete or a plywood subfloor to Bonded Concrete with the motor I use a thin layer of modified thin set this prevents concrete from absorbing water from it it creates very strong bond between a slap floor and a motor pre- slope especially around the drain where it gets pretty thin before we started first we're
going to talk about the right tools for this project even if you don't have that much experience with a proper tools your work will look better and you don't have to put that much effort into it to spread the in set I will use a/4 in to 3in travel I also have two different travels that work with the motor uh they pretty special cuz they're thick and rounded I use two different size uh one is Stander and another is few inches shorter well I have to cut it from both sides because you can't really buy
it but it makes your life so much easier when you're building shower pads and pre- slopes like that uh one thing for sure just don't use that quinate travel to build the pre-op cuz I've seen other contractors recommending it what basically happens it that travel is too flat for that purpose and it's pretty sharp when you're working with it so you might end up cutting a liner without even noticing all I use that 6in drivew travel to spread that tet over the fiberglass mesh and that L one to clean the tin set or motor from
the bucket another very useful tool that you can use during building your shower panel pre- slope is to have a set of straight edge rulers all right they're basically going to show you how flat your surface is uh for that purpose you don't need anything fancy you can just buy a 4ot straight rulers from Home Depot and just cut it to desired length uh the most common ones that I use are 18 24 32 42 and 48 in all right whenever you build shower pan or a pre- slope you're going to use few different size
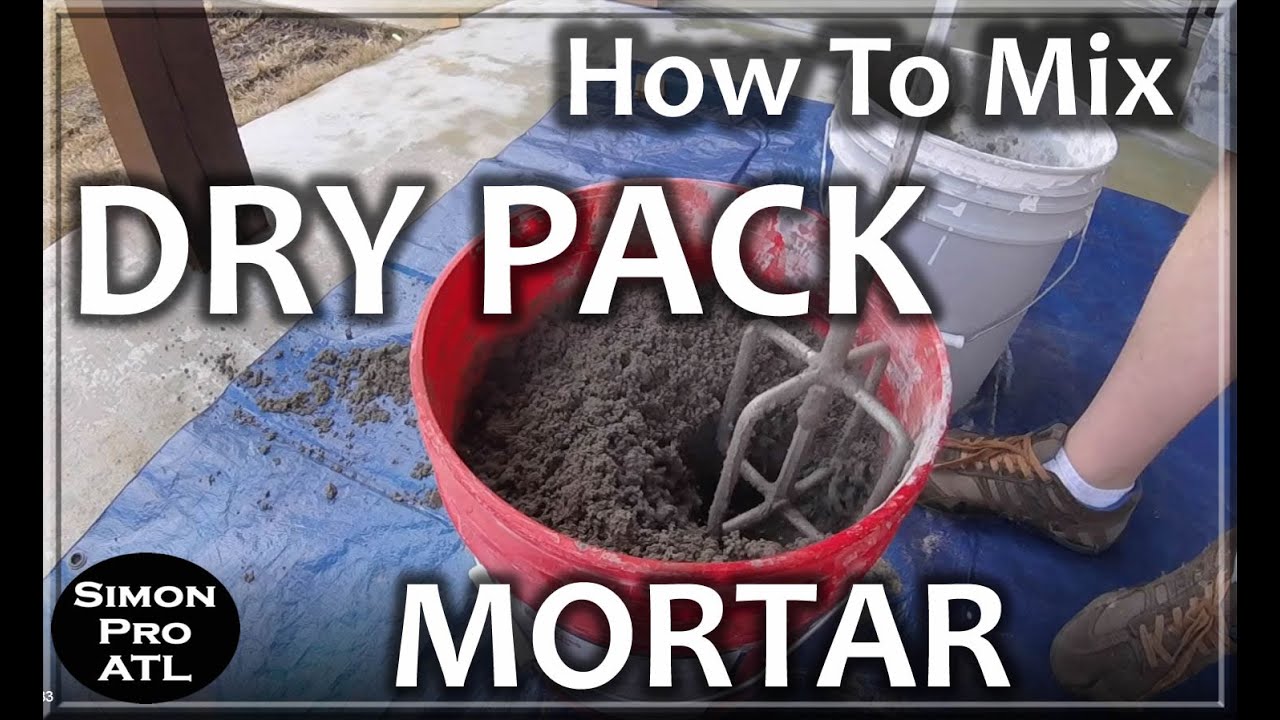
levels one of them you want to have the longest one you want to have it inch shorter than your shower length the second one you want to have it at least inch shorter than your shower width and then the standard two footer just to check the slopes and levels you also need some tools to mix your motor but it depends on the way you decide to mix it I have a whole video dedicated how to mix the motor in the buckets using the concrete mixer so first we're going to coat the entire shower floor with
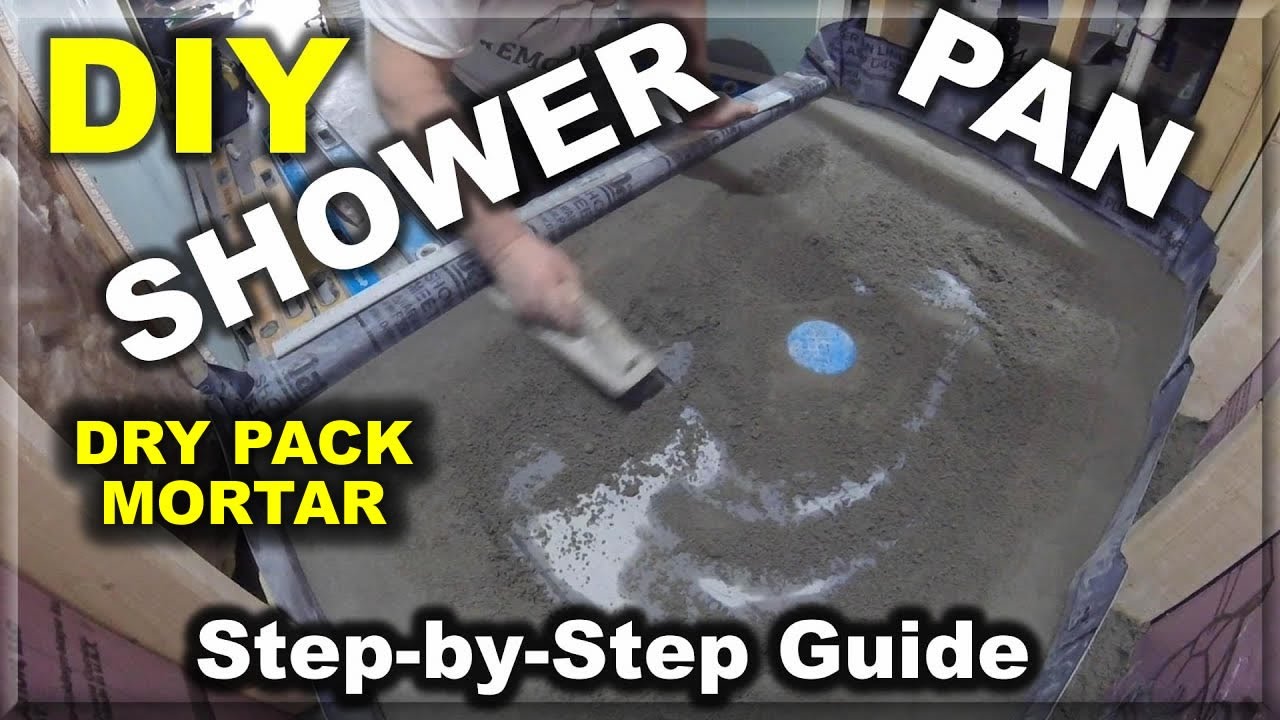
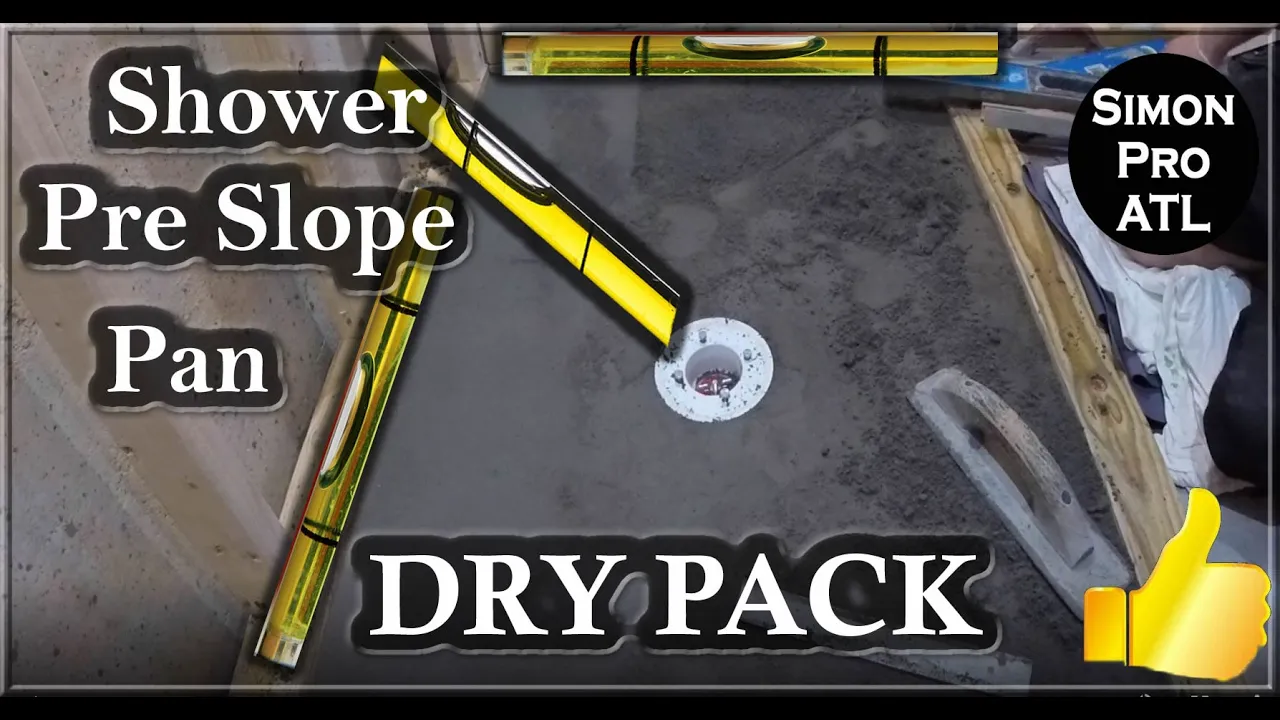
a quter inch layer of thin set on the average size pre slope you're going to need at least two bags of motor to so make sure you already mix it before you start spreading the thin set over the shower floor cuz that stuff might dry faster than you think as you can see this is a dry pack mixture and it's pretty easy to spread it around the shower base so when you working with it you shouldn't have any water on the surface uh first you want to spread the even layer around around the shower walls
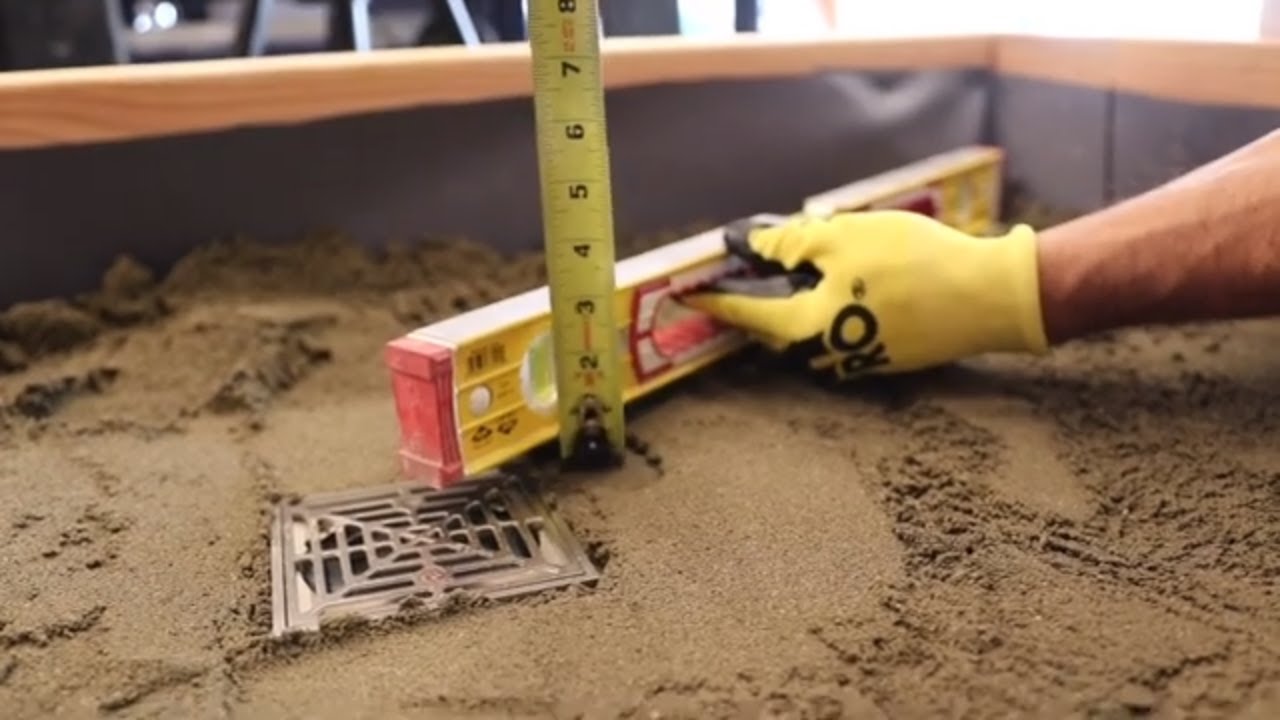
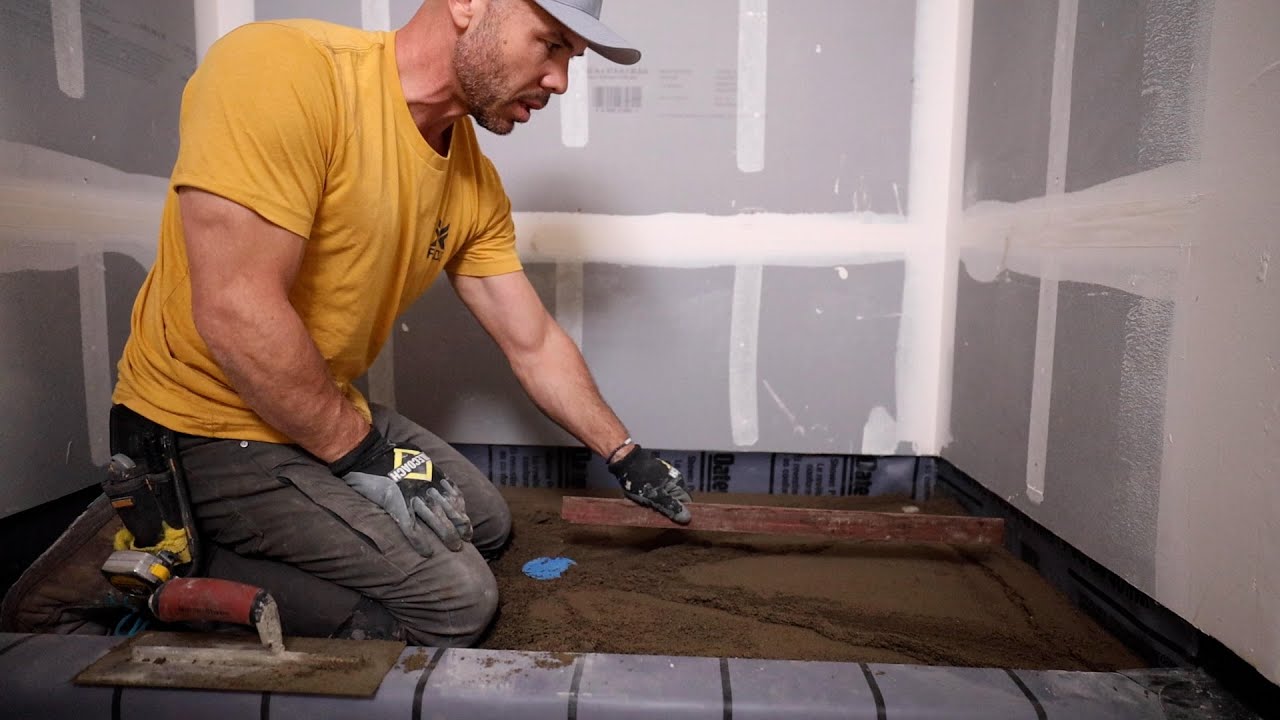
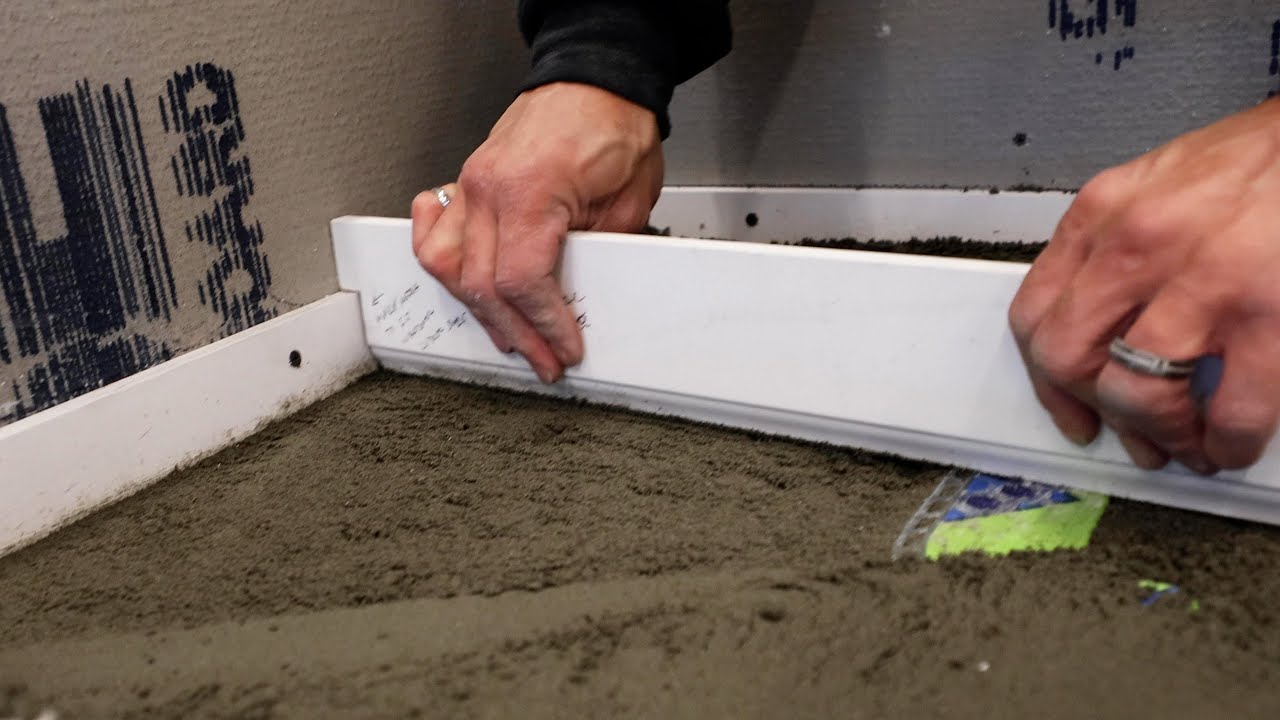
because that will be your starting point in order to have a proper pitch you got to have A4 of an inch slope per foot on your shower pre- slope or shower pen in this case drain sits about qu inch above the shower floor and the furthest wall is 24 in away from it in order to have enough slope that pre-s slopes got to be at least 34 to 1 inch thick around the shower walls so you're going to start working on the longest wall for first so set the thickness and start leveling that area once
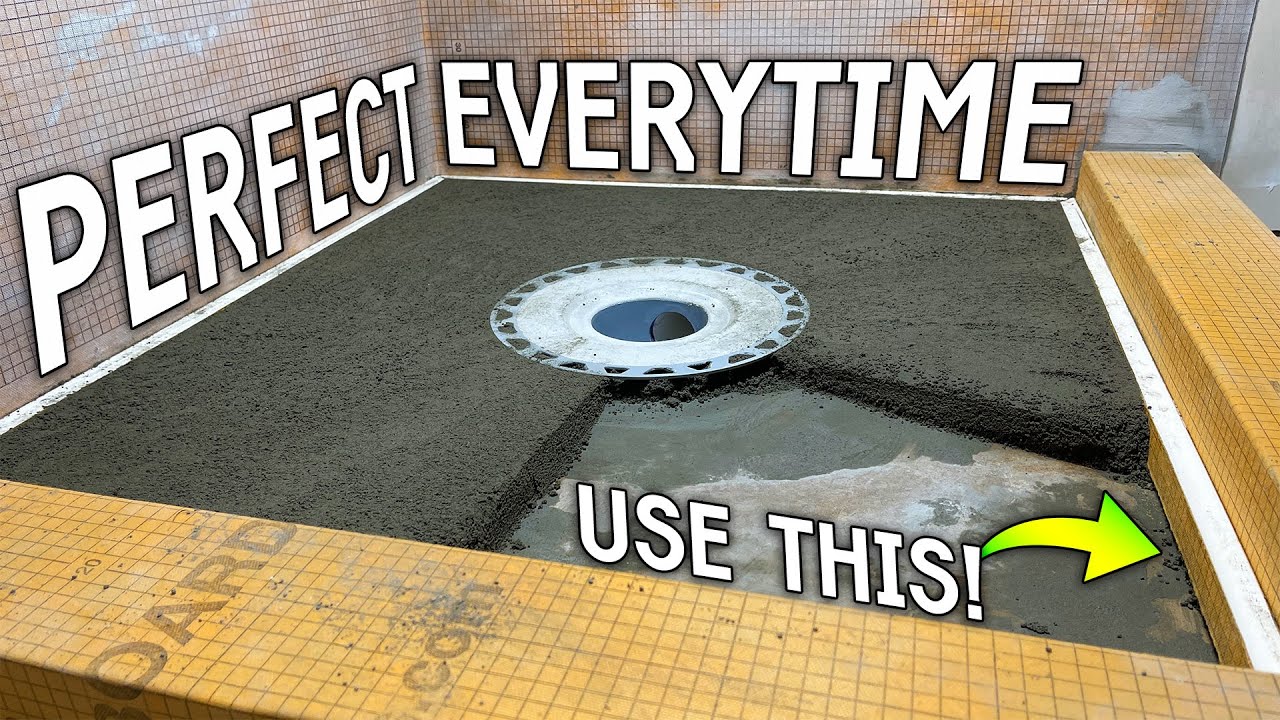
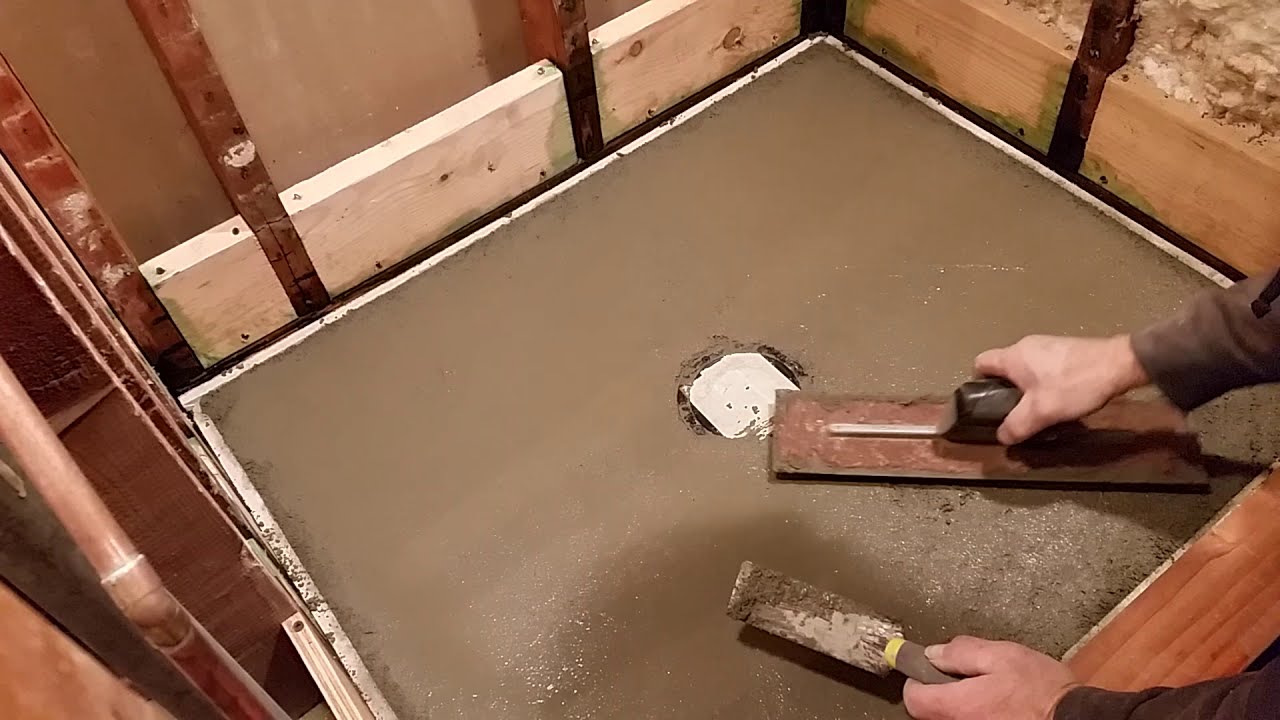
you have perfect level between two walls you can continue around the shower base that means you're going to transfer that level from one wall to another till we get perfect level all around the shower base and then from it you can build a gradual slope towards the shower drain and this is the time when different size rulers are very handy they will show you all the high and low spots on the pre- slope and around the shower walls especially they're important when they're smoothing out the surface toward the drain uh you can use the shorter
one to remove any high spots and if you have to build up some area just sprinkle some of that motor on the surface and then smooth it out with the Trel yeah just keep doing that till you get a smooth and gradual slope towards the drain to make the motor even stronger you can just take the travel and then gently tap the entire surface of the pre- slope this will increase the density of the motor and it will make the pr slope lot stronger and this is the one of the last steps before I cover
the entire PR slope with the one big piece of fiberglass mesh and then coating it with a thin layer of thin set uh you can buy this fiberglass mesh in any stacco supply store they come in different colors length and thicknesses I will try to have the links to all the tools and supplies used during the projects in the description below this step is not necessary but it will strengthen the entire pre- slope that is the foundation of the entire shower well guys my goal was always to build the ever project a little bit better
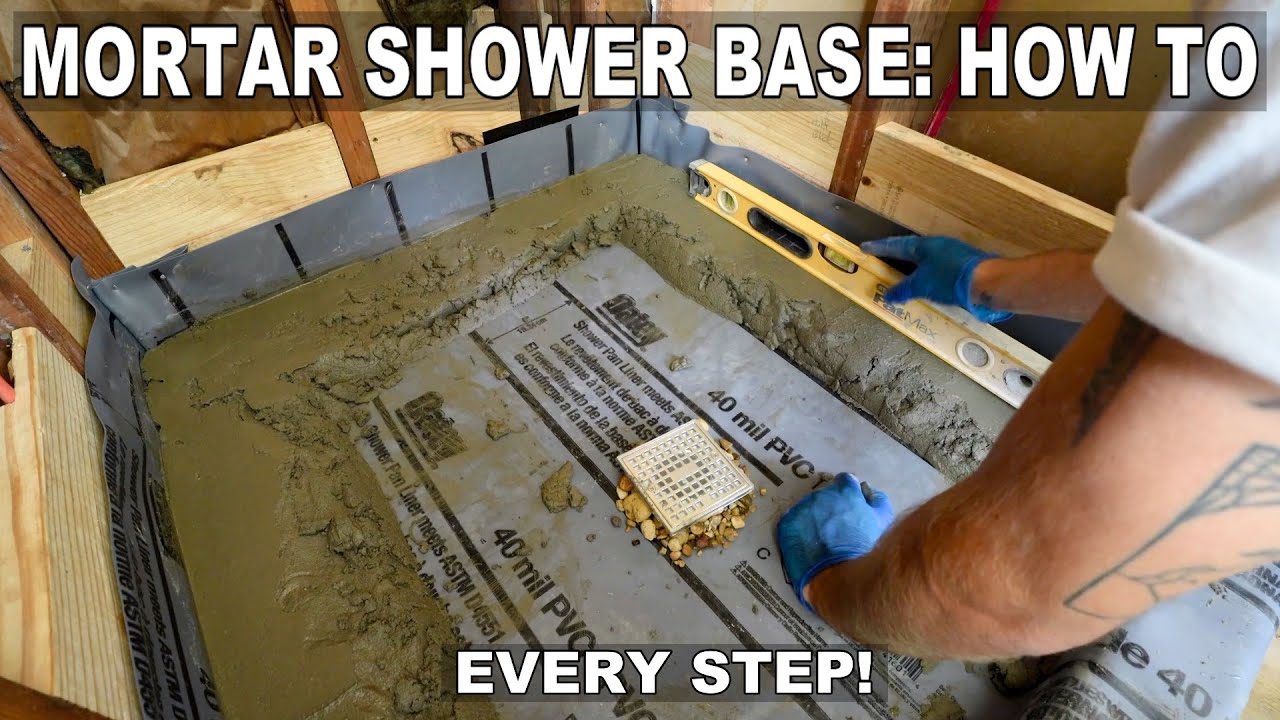
and over the years I got to this point some might consider as Overkill but what I'm about to show you I haven't failed yet yeah as I mentioned earlier I use a 6-in drywall Trel to spread the th set on top of the mesh you want to get a very thin Cod on it so you want to mix your T set very thin they going add a little bit more water that you would use uh to install the tiles that will help you spread it a little bit easier and you just want to coat the
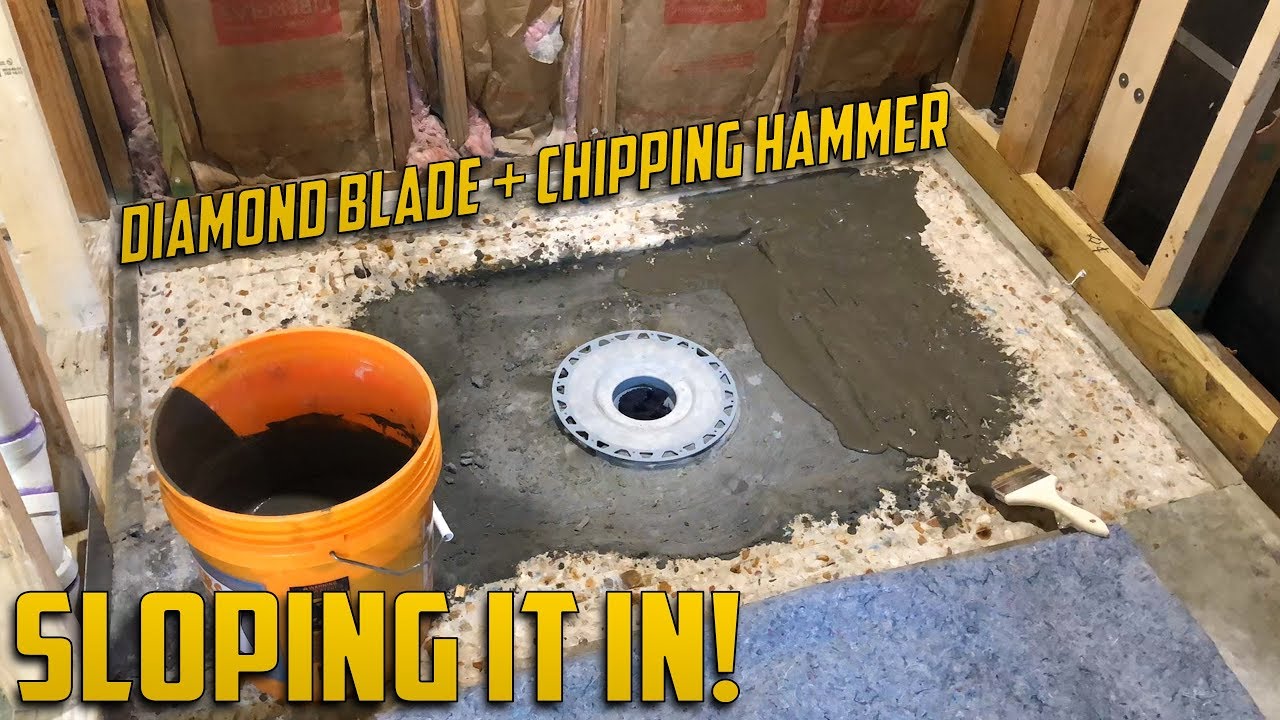
entire thing with a thin layer and then you can take the dump sponge and just basically run it on the entire surface just to smooth out everything perfectly as a last thing you just want to place the second piece of a drain over existing drain just to make sure the concrete doesn't go over that area where it sits all right the last step to prep our pre- slope is basically waterproof the entire thing so we got everything nice and smooth so you can take the 4in paintbrush and the aqua defense waterproof membrane that is made
by mape and just basically coat the entire floor you want to get nice solid thick coat on the entire thing and you might have to redo it sometimes that uh waterprof membrane will kind of shrink and when it dries so you might have to apply another coat to make sure sure it's 100% watertight the extra waterproofing underneath your shower pen liner will protect it in case it fails in the future or something happens to it so have another layer of waterproofing that slope and bonded with the drain and it also work as a antifracture membrane
so basically limits and movement from a floor being transferred to your shower pan so potentially can prevent it from cracking in the future and the main function of the pre- slow basically it provides the slow for the rubber pen liner and prevents water accumulating in it so if you learn something new just like the video or leave the comments if you have any questions and subscribe to my channel cuz I'll be uploading a lot more videos about bathrooms and showers in the future thank you and bye-bye