hello everybody and welcome to a brand new tutorial Series in this series I'm going to be showing you how to use the curses module now the curses module allows us to take control of our terminal doesn't matter what operating system are on Mac Linux Windows it will work for all of them and actually style it update it refresh it and do all kinds of awesome stuff so I'll show you a demo in a second of what curses can do but essentially when you're using regular python you're limited to printing stuff out and then getting input
and what that means is that if the user types something in you need to print an entirely new line to actually respond to that input you can't like clear the entire terminal and only have one or two lines in the terminal at a time you need to keep printing stuff out and you get really ugly output and it's really difficult to make a goodlook kind of terminal application but with this module right here you have full control of the terminal so you can clear it you can get user key strokes you can add coling you
can add styling you can bold you can underline you can change the color of text you can override previous text all of the stuff that you would want to be able to do and that you can't usually do you can do with this mod anyways in this series I'm going to show you all of the different features you need to know about it for now though I want to give you a quick demo of kind of what it's capable of so what I'm going to do here is just run this script it's called tutorial dopy
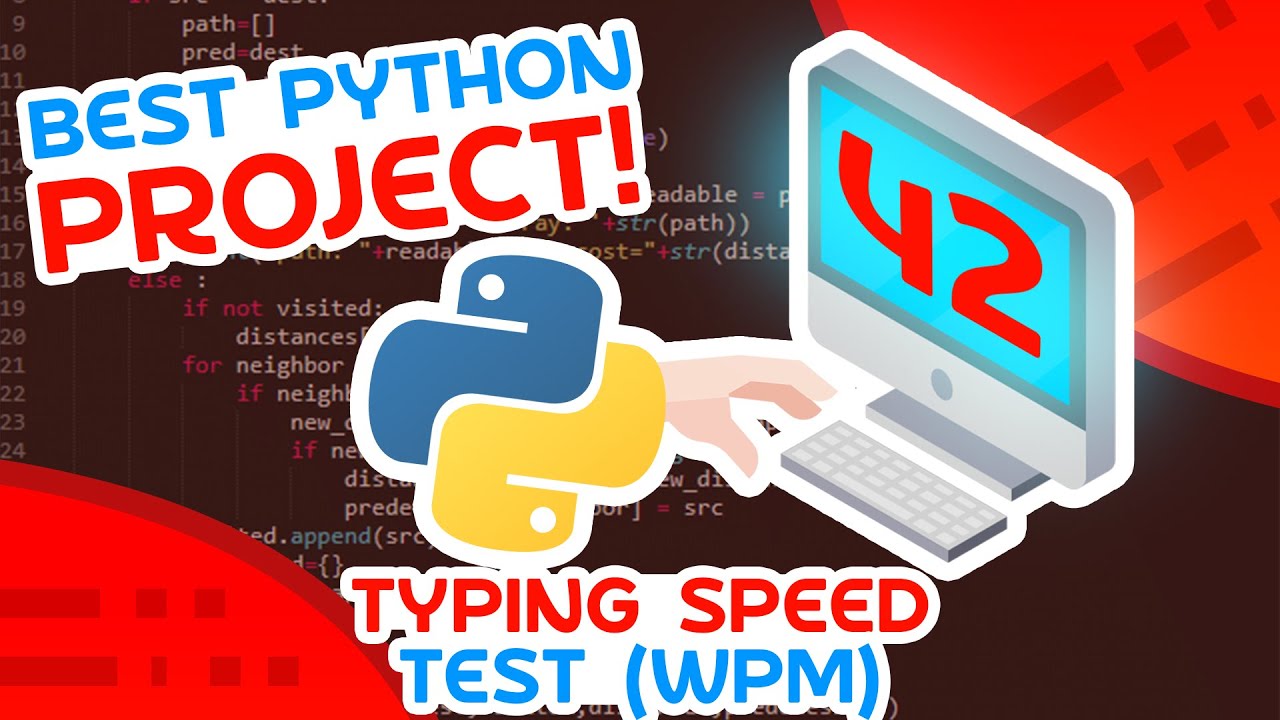
and this is actually something that I made in a previous video on this channel that was called the best beginner project or best python beginner project in that video we made a speed test typer so kind of like calculating your words per minut minute this is the finished product right here that you're about to see so if you want to learn how to build this you can actually go and watch that video I'll leave a link to it in the description and put it up on the screen but the point is we used the curses
module in that and there's actually a ton more stuff that you can do in curses that's not even a part of this project anyways you can see that we've cleared the entire terminal here so first of all that's nice we're not seeing kind of the uh I guess the working directory that we're in we're just in a terminal it looks like an application and if I hit enter here it's going to bring up a block of text now what I can actually do is start typing and notice that in live time it's updating the words
per minute and if I type something wrong for example I'm getting red text and I can override text that's already on the screen and kind of make it look like it's highlight so this is a very simple use case of the curs this module but the idea is that you can do something like this and it's just super super useful so notice here we kind of pause now it says you complete the text press any key to try again and if I hit enter here then it brings me back it clears the entire terminal brings
me a new block of text and then I can keep typing and everything's updating in live time on the screen so if you want to learn how to do this follow along with this series let's go ahead and get into the [Music] code all right so let's go ahead and get started now the first thing we're going to need to do here is install the curses module but you only need to do this if you're on windows so if you're on Mac or Linux it's already installed for you so you can skip this step so
if you're on Windows what you need to do is open up your command prompt you can see I have mine open right here and you're just going to type the following commands pip install and then Windows hyphen curses like this now I already have this installed so I'm not going to run it but once this command is finished you should just be able to use this module now if this doesn't work for you try this command python hyphen M pip install Windows curses and if that does not work for you I will leave a video
on the screen and a link in the description the tells you how to fix your pip now this is going to say how to install pame just follow along with the video and as soon as I install pame just do windows curses instead okay so now that we have this installed what I'm going to do is go here to Sublime Text and I'm going to start writing some code now I'm going to use Sublime Text for this video can use whatever editor you want VSS code notepad++ the default idle does not matter so the first
thing we're going to do here is we're going to import the curses module I mean we need to do that when we're going to be using this module we're also going to say from curses import and then wrapper like this now whenever we use the curses module what we need to do is initialize it now there's some manual initialization steps that we could go through but instead what I'm going to do is use this wrapper now what this wrapper does is actually take a function and it will initialize the curses module for us and then
pass kind of an initialized object directly to the function so a little bit hard to explain without looking at it so let's just see an example I'm going to say Define main inside of here I'm going to say STD and then scr like this I'll describe what that is in a second and for now I'm just going to say pass then I'm going to say wrapper this is a function so I'll just call it with the two parentheses and I'm going to pass my main function like this notice I'm not calling the main function I'm
just putting the name of main what's going to happen here is this wrapper is going to do all of the initialization for our curses module for us it's then going to call this main function and pass the initialized kind of cursor object if you want to call it that this is what's called our STD screen now STD stands for standard output so we have our standard output screen now standard output is just your console so whenever you kind of print something out you're printing it to standard output and then this is a screen now what
curses does is it actually overlays a screen on top of your terminal or kind of takes control of your terminal by using a screen so you need to draw stuff inside of the screen and then you refresh the screen as soon as want it to refresh and show whatever you've drawn that's kind of the general idea here anyways now we have everything initialized we didn't have to go through any real manual steps and what I can do is start adding some stuff to the screen so actually the first thing that I like to do here
is sorry say STD sc. CLE so I want to clear this screen so that it gets rid of everything that's currently there and then what I can do is add something to the screen for now though let's just see what happens if we clear it when we run this code all right so now that we have all of this code I'm going to show you how we can actually run this now running this is a little bit different than the way that we normally run our python code we can't just click the Run button or
run it in idle or press contrl B for example if I'm here in Sublime Text the reason I can't run it that way is because I need to run this in my terminal so I can't use some fancy kind of IDE command or anything I need to actually go inside of my command prompt or my terminal and directly run the code from there otherwise we're not going to get the output that we were expecting so what I'm going to do is I'm going to go to my command prompt here and notice that the working directory
for my command prompt is the curses tutorial now if you know how to get in the working directory so you know how to use the CD command just change your directory until you're in where your python file is and then what you can do is you can type Python and then the name of the file pi and run it now if I do this what happens is actually runs my code you can see right now nothing's happening now if for some reason you don't know how to get here which is totally fine I'm going to
show you how you can change the working directory of your command prompt so if I just open up a command prompt from scratch here so open up a brand new one notice that my default directory here is users SL Tim now this is specific to Windows if you're on Mac or Linux you're going to see a squiggly line here anyways the point is from here what I need to do is navigate to where I have my file now my file is stored on my desktop in a folder called curses tutorial so I'm going to use
the command CD which stands for change directory and I'm going to change directory to my desktop so I'm go CD desktop and the way you can autocomplete this is you can type a few characters so you know Dees and then hit Tab and it should give you the completion for where you want to go so I'm going to go CD desktop and then I'm going to go CD and then curses tutorial like that and now I'm in the directory that I need to be in now again if you're on Mac or Linux it'll be slightly
different the command is the same you can use CD and navigate to the directory that you want to make life easier for you I would say just put your file directly on your desktop then all you're going to need to do if you're on Mac or if you're on Linux or Windows is just CD into the desktop and then go Python and then the name of the file so it be tutorial 1. now if you're on Mac or Linux you might need to use the command Python 3 then that should be able to run with
you now for some reason this isn't working for you if you're on Windows what you can do is open up your Windows Explorer you can navigate to where the directory is so you can see that I actually have my curses tutorial directory open right here you can click on this little search bar and you can type in CMD directly so notice what I did here I clicked here removed everything did CMD and then what it does was will actually open a command prompt directly in this location so you can see we're at curses tutorial now
if you're on Mac or Linux you should be able to go to this from your finder and then just write click in here and click open in finder or sorry open Terminal that should open a terminal again in that location then you can run that python commit perfect okay so let me actually go here cuz I want a terminal open like this now as you saw when I I ran my uh code here what happened was nothing now the reason nothing happened is because I didn't refresh the screen so what I actually need to do
after I clear the screen is I need to say stdr dot and then refresh like that so now when I do refresh if I go back and I run this let's go Python and then tutorial 1. piy what actually happened here is it cleared the screen really quickly and then it restored us back to our previous terminal State now the reason this has happened is because we're clearing the screen we're refreshing it and then immediately the program is done so since the program finishes what happens is we go back to the previous terminal state so
we need something that's kind of going to make us wait for a second or wait for some event to occur before we continue otherwise we're never going to see what we're actually outputting it's just going to immediately bring us back to the previous terminal state so we have a few options here we could delay by a certain amount of time or we could wait for the user to hit a key and then when they hit the key we could exit the program so that's the method I'm going to go with I'm just going to put
at the end of this function here stdr Dot and then get and we're going to go with ch like this now this stands for get character it will actually give you the character that a user typed in we're going to have an entire video on this later on but for now what this will do is wait for the user to type something and as soon as they type something then we're going to immediately end the program because this function will be done so let's go ahead into our terminal here and try this again so actually
let let me make sure I save this code and then I'm going to go to my terminal and run this okay so now notice when I run this it brings me into kind of an empty screen I have my blinking cursor here and then as soon as I hit any key we immediately exit so that's what I was talking about we just wait for us to hit a key and then boom we will be done okay so now that we have looked at that let's see how we can add some text onto the screen because
that was kind of the whole idea behind this tutorial so what we're going to do is we're going to clear and then in between when we clear and refresh we're going to add some text now the way we add text is we do Str Str or STD strr Dot and then add string like this now this allows us to add a string of text to the screen so just like kind of our standard python print statement you'll also notice here if you try to do something like print this is not going to work because this
is a screen that's over top of the terminal when we print it's printing directly to the terminal and so we're not going to see it until this kind of program is finished you can test it out if you want I'm just trying to say you can't really use print or input like you normally would with this module okay so let's continue here we have ad string so what I'm going to do for now is very simply just add the string hello world okay so we're just going to put that in parenthesis or not parenthesis sorry
in quotation marks and then now when I go and I run my code notice we get Hello World added to the screen as you would expect we hit any key and then we are done so that's great but what if I want to place hello world somewhere specific on the screen I don't want it just at the top left maybe I want it in the middle of the screen or I want it in some other location well what we can actually do is we can add two arguments uh to the beginning of this method here
that tells us the row that we want to place this in and the column that we want to place this in as well so if we go back to the terminal whenever we run this let me run it here we actually have a coordinate system now the coordinate system is 0 0 is going to be our top leftand Corner which means as we go down our row is going to increase so as I continue to go down the screen my row gets larger and larger kind of like what line I'm on and then as we
go to the right that is going to be our column getting larger and larger so if I want to go in the middle of the screen I'm going to be at something like the 20th row and the 20th column or something along those lines it'll probably be a different number than that but you get the idea I'm going to start 0 0 in the top leftand corner so as I go down and to the right I'm increasing my Y and my X or my row and my C anyways let me show you here so let's
Place something at 10 10 and just see where this is actually going to be placed okay so let's run this and notice that we get it right here so we've gone 10 lines down and then we've gone 10 characters from the left and that's where we started placing this string so you can place stuff at any coordinate that you would like that is on the screen awesome okay so let's hit enter let's get out of that and let's place a few more pieces of text just to kind of mess around a bit so let's do
one that's going to be at 10 and then let's go with 25 uh actually let's go 50 and 25 let's go with Tim is great exclamation point for now let's run this code and notice now we have Tim is great over here so again just kind of one of the capabilities is we can place stuff at different locations all right so now that we've done that let's see how we can actually write text over top of text that already exists so you see that we have some text uh hello world that's at 1010 now what
happens if I try to place something else at maybe 10 and let's go with 12 and maybe we go overridden like that okay what happens when I try to place this text well let's give it a shot here let's run the code and notice that we have H and then since we place this at 12 we start writing this text over top of the previous text so that's something that we can do it's actually very useful that we can do this because that allows us to kind of hide text that's on the screen or overwrite
it in a different color like you saw what I was doing in uh the demo that I gave you previously okay sweet so that is how you add text in different locations on the screen all right so that's pretty much all I have for this video but I want to give you a quick teaser to what we're going to look at in the next video and this is actually adding attributes and styling to our text so for now I'm going to get rid of overridden and I'm just going to show you that if I do
something like curses Dot and then I think I can go aore bold this should actually make this text bold in my terminal so let's just give this a shot let's go here and let's run this and notice this text is bold this one's kind of more gray than this one now something else that we could do is aore underline this will be a bit easier to see so let's go aore underline like that and now if I get out of this and run this again we have underline text so very very simple example but something
that we can do I'm going to show you all kinds of different attributes in the next video as well as different colors so with that said I am going to end the video here I hope you found this helpful and I look forward to seeing you in the next python curses tutorial [Music]