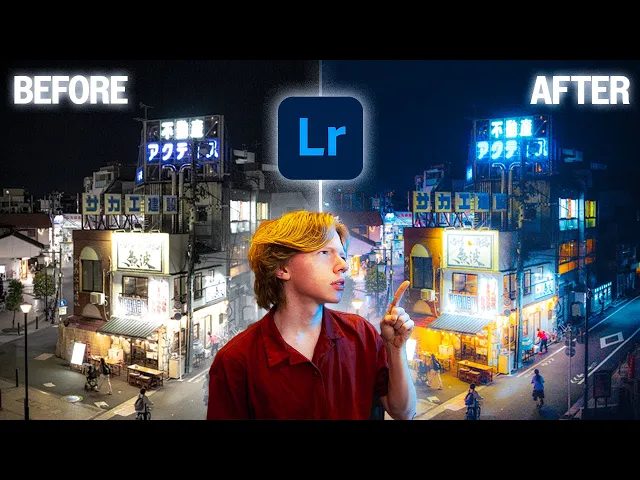
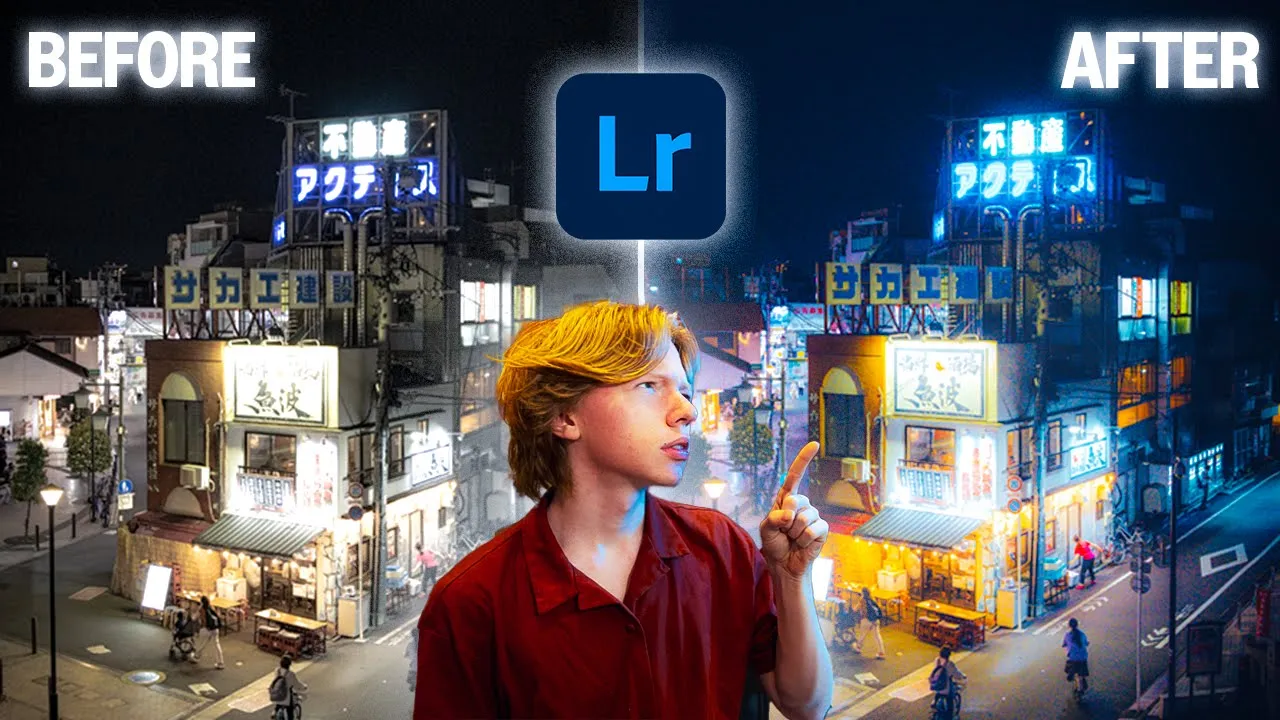
have you ever wanted to make your photos look like this or this or even this but I have no idea how to edit them like that and don't want to buy a Mis filter well what if I told you all you needed was one video and it's the one that you're watching right now I made photography an online photographer known for looking a lot like Ron Weasley and also giving you guys settings and teaching you guys how to edit your photos to look a certain way and the one I get by far the most is
how I get that dreamy glow on my photos throughout all my editing phases one of my most noticeable traits is how I edit color and how I make it have kind of a dreamy glow whether it's night shots or even landscape shots I use it on almost every photo and it's such a fun technique to make your photos shine even more and after this video you're going to know exactly how to replicate it on your own photos and I'm going to explain how it works exactly so you can use it and build your knowledge from
there this tutorial will be using the app Lightroom as you might know from that but also you can use it in any type of Lightroom if you wanted Lightroom mobile Lightroom desktop Lightroom for PC anything Works classic or not so I'm just going to be using classic for today but you can use whatever you'd like this effect is one of my favorites and I can't wait to show you guys so I think I should stop yapping and just get into the actual tutorial so let's get started now by the end of this tutorial your photo
should look something like this and I know that's a crazy transformation but it's really only a couple settings and it's a couple traits I'll explain to you as we go along so here we have a baseline photo with only minor edits to it and the first thing we're going to talk about is using Clarity and dehaze and I think you're going to use it in a way that you haven't before now famously with Clarity the first thing we want to do is make the photo more clear I mean as it's called clarity you probably want
to make it more defined more obvious more HD and sometimes that's okay and the photo like this up into Clarity doesn't do that much and isn't that horrible but in a photo like this uping the clarity just makes it look gross everything's so muddled together the darks are way too dark and it's overall just a mess and we don't want that it is such a common mistake when you're starting out editing to just blast that Clarity in every single photo because you want your photos to be more clear you want to more HD you want
to make them more nice but sometimes that's not what the photo calls for and understanding when you should do that and when you shouldn't is a huge Factor take this photo for example this photo is a perfect use of using Clarity because of its defined Sky to find edges and you want to make the details pop out of that car versus something like this you don't need the details to pop out there it's foggy it has lots of color you want to let that kind of speak for itself and a lot of the time when
you're having dream photos you want to have that color and light speak for itself this of course varies from photo to photo depending on your lighting conditions But ultimately I think that -40 Clarity and about4 dehaze is the perfect amount to have that little bit of extra glow and as you can see it's not a super noticeable effect but if you kind of zoom in you can see the smaller details of the light and the Shadows that we're going to accentuate later with the tone curve now what I think is one of the biggest elements
to this look that often goes unrecognized is the tone curve and how you use a tone curve to accentuate the light now I've gotten my fair share of comments being very confused what the hell this tone curve is but I promise you it's not as complicated as it seems it's just a harder way of doing exposure that takes some time to master just a basic rundown before we get into editing the photo your tone curve is basically editing your light directly as you can see the different points that we grab from are the different points
that get brighter and you'll see this a lot in presets and basic edits say for example the S curve is a very common way of making your photos a lot more contrasted and vice versa for making stuff less contrasted which is often used for stuff like black and white edits or wedding photography but what we're doing here is not only making it Glow but we're taking parts of the light that actually already exists and we're just making them a lot brighter and more visible in the photo all those elements of glow already exists in your
photos you just can't see them and especially if you're shooting Raw it's really easy to get them back if you directly edit them with the tone curve this isn't doable with something like the exposure tab because the exposure tab is just a general random of all the light it is taking the Shadows it is taking the lights but what we're doing here is finding those direct little pieces of light and editing them to be brighter and not only that we're going to use the color tone curve to take up the colors as well and make
them even accentuate further trust me this is way less complicated than I'm making it seem it's honestly just the way the light works in a photo and if you want to have the best results you can just copy what I'm doing on screen but if you want to know for the future if you want to make your own presets and have that own editing style it's good information to know because it's something I had to learn and it took me a long time to realize what the hell I was saying just 2 minutes ago so
trust me all we're going to do is lower the lights just a tad bit and raise those shadows in the journal tongue curve sort of like that that should be pretty good and all you want to do is make points at all the main points of light in your photo and make a little bit of an S curve and kind of have the highers be high and the lowers be low something sort of like this yeah and make sure that the colors evenly match without all the tone curves cuz your color tone curve is still
going to edit your colors but if you add them all the same the light will be the exact same and everything so you won't have to worry and just make them all the same so if you're just following along you can copy something like this and it should look like this now and I haven't fixed the exposure but once you rise it you can start seeing exactly what I'm doing here and if you zoom in those colors are really starting to pop out and the color tone Curve will kind of edit your photos with this
kind of color grade and if you like it nice but we're going to talk about how to change it with color grading and white balance in just a minute editing your tone curve this much will make your photos a little bit darker and this might be an issue if you shoot higher isos but if you have a full-frame camera if you have D noise you should be fine and we're going to up the exposure right now if you just raise your exposure you might be happy with the result but I find it kind of overexposes
the highlights too much because of the tone curve but if you just change the highlights and do these little steps it makes it look a lot better so what I do is pretty simple I just lower the highlights by about 50% I up the Shadows by however much is needed and I up the Whites by half of that and that in itself is usually pretty good it shows your you know your glow it shows all the elements you want to see and it's a very noticeable difference from the before and I find contrast is either
on one or the other side I think lowering it can look good in some photos and upping it can look great but I think in this photo lowering it is perfect because we have a lot of strong whites already we don't need a lot more contrast and now from there our photoos looking pretty freaking awesome and honestly sometimes I stop here but if you want to make it more specific and you want to get those nicer colors we're going to talk about that now with hsl color grading and white balance now much like other edits
a lot of the importance with editing comes from our oranges and our blues and I think that's the same thing with these edits you don't want to push the blues too hard or the oranges but I find that editing them to be a bit more bright and accentuated is always the move and after kind of eyeballing it seeing what looks best for the photo I'm pretty happy with it there and once we finally get down to color gring it is entirely up to you guys how you want to make your edits look this is the
most fun part because we've done all the hard parts of light and color and now you can just choose exactly what palette you want to have your photo be now for me personally I love Blues I love that kind of neon cyberpunk look and I find just putting it over to the blue and green area makes it look great almost immediately and just like that that is I would leave it there I'd probably leave it there but if you want to get a bit more customization with the color it is all up to you with
the highlights and midtones there's lots of options you can do lots of different colors the world is your oyster and go crazy I don't why I the world's your oyster that's and then from there you can just make your white balance look however you'd like it to you can make it look super warm super cool super you know green purple realistic I don't care the world is free it is all yours to change it and you know there's no rules so go crazy then from there save that preset name it something to do with me
because I'm cool just kidding don't do that and then put on any photo you want portrait landscape night photography it is all yours and here's a couple photos that I edited from today's preset how am I doing editing that I hate this guy and that'll do it with today's video and tutorial and if you save this long I have a surprise for you in the description is a full preset with every single one of these edits for completely free on my gum Road give it a test give it a try see how it looks in
your photos and ultimately if you like that photo I have tons of other packs for sale that have summer I have film presets everything you'd like and I'd love the support if you enjoy this video smash the like subscribe do all that junk that every YouTuber tells you to do and I'm sure I'll see you guys in the future with more editing videos like this but I hope to see your photos looking hella dreamy colorful and awesome I'll see you guys in the next one I I told myself I was not going to do that
I was going to bye guys byebye [Music]