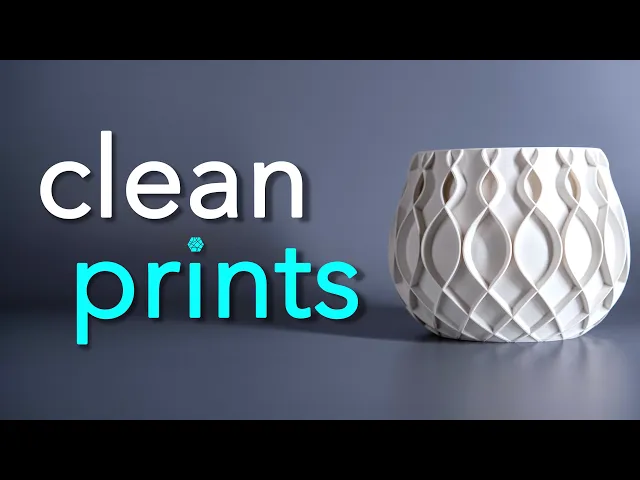
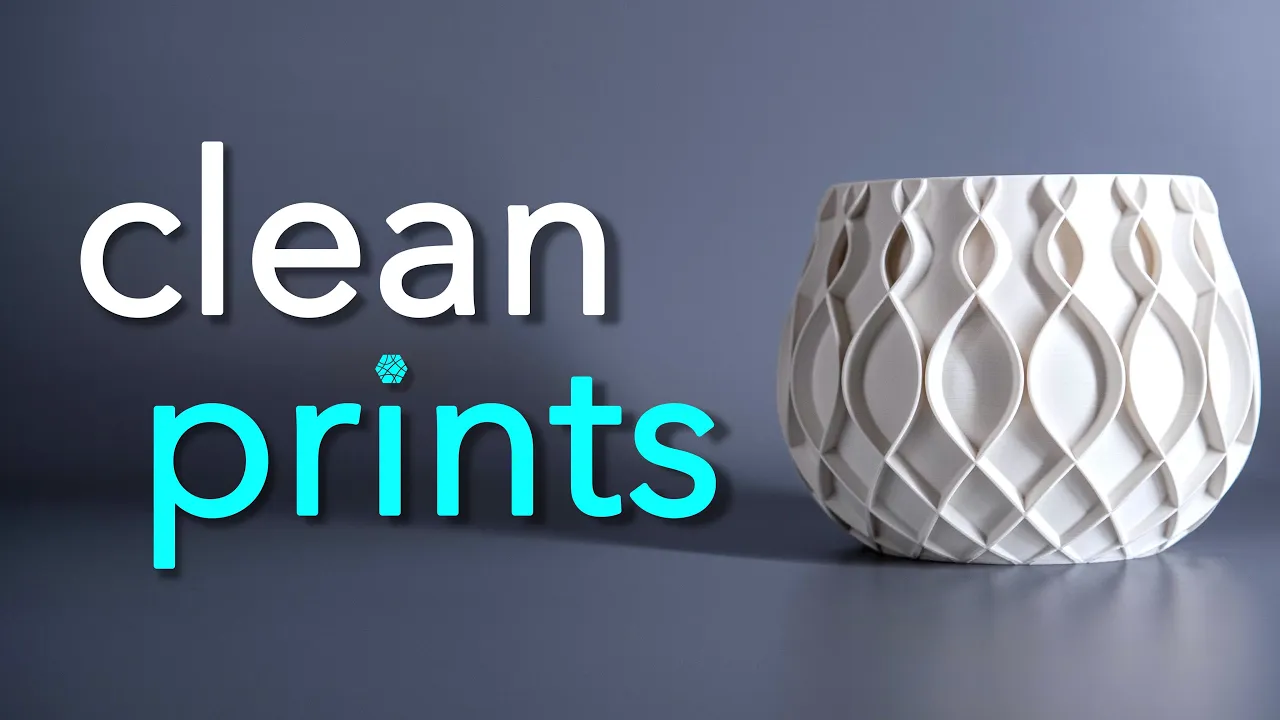
I will show you five tricks to transform your prints from looking like this to super clean prints looking like this in the process we will look at multiple misprints and greatly improve them by just changing one or two specific settings in your slicer we will do all of this in bambo studio but this is possible in every type of slicer the settings may just be located in different menus let's get right into it this is one of my rip planter designs designs like these are super popular and changing one single setting can go a long
way for your print quality we will start off by printing the planter with a standard bambo Studio settings using two walls and five top layers I only reduce the print speeds for the walls as the standard settings are a little too high for good outer wall quality the preview looks fine and shows no abnormal printing behavior for the print we will use white mat pla in combination with top- down Studio lighting to see every little printing error possible let's take a look at the printed result the print has abnormally High stringing all around the planter
which is even visible on the inside at the seam this looks more like a plate of spaghetti made with extra cheese by my Italian Uncle than a pretty planter and at this point I can already guess what some of your comments will look like but let me assure you this was printed on a bumble up X1 my filament was dried overnight and the Flor rate as well as the retraction settings are all dialed in my prints normally don't look like this so what what's the problem if we take a closer look at the preview by
visualizing the travel moves you can see the source of the problem the printer does a lot of filling moves which lead to the nozzle crossing the outer wall multiple times on every layer in return every tiny little excess filament on the nozzle will lead to the shown stringing problem to fix this we will go over to the Quality Tab and enable avoid Crossing walls set the value to 300 mm this would already be enough in bambo studio but in other slicers it can be a good idea to reduce the line width and force a circular
travel path of the nozzle a general rule of thumb for your linewidth is to stay in the range of plusus 0.5 times the nozzle diameter so for a 0.4 mm nozzle the acceptable range for the linewidth is between 0.2 and 0.6 mm a look at the new preview shows that nearly all wall Crossing movement is gone and the whole geometry is printed with two connecting print lines let's print the whole thing again and take a look at the result the stringing is completely gone on the outside and inside the seam also looks clean due to
the top lighting and the matte white filament the layers are more visible than usual under normal lighting conditions the print looks more like this but still enabling avoid Crossing walls made a great Improvement and I turn it on for every every single print next up is reducing the visibility of these layer Lines by changing one more simple setting this time we will use two calibration cubes as our test objects if we go over to objects and into the quality tab we can choose order of wall one Cube gets the standard inner outer setting the second
Cube gets a special Beauty treatment called outer inner the result is quite simple one Cube prints the inner wall first and the outer wall second the special Cube prints the outer wall first and the inner wall second let's print those little guys out and have a look at the results ignoring the shaking hands of a senior citizen in his 20s you can clearly see that the right Cube has better outer wall quality but this also has its drawbacks as the outer wall has no neighboring wall to adhere to overhangs tend to print a little worse
on the other hand the outer wall not being squashed the inner wall also leads to better dimensional accuracy overall this setting is great for prints like this or precise objects without steep overhangs before we go to the next trick smack that like button and leave some feedback in the comments below for more videos like this one to showcase the next printing trick we will print out this vase shaped object like always we will use the standard settings first the only modified setting is the top and bottom surface pattern being set to concentric trick as this
just looks better for round objects let's print it out using matte black PLA and have a look at the result you can immediately tell that the top and bottom part have a glossy finish while the middle part is matte but why does that happen you will see this problem mostly on Next Generation printers and looking at the print speed shows exactly what's going on for small layers the slicer will slow down the printer to let the previous layer cool down leading to the different print speeds of the outer wall at slow printing speeds the plastic
pushes slower through the nozzle which leads to a higher plastic temperature and a glossy finish the opposite is true for Fast Printing speeds which result in a mat finish and in my opinion can give your prints a more elegant look let's go over to the filament settings to get an even aut ofall printing speed and an even a ofall finish click on the cooling Tab and disable slow printing down for better layer cooling another look at the preview shows that the bottom area still has different printing speeds the top area is now just how we
want it the bottom area prints slower for a different reason overhangs are slowed on purpose to make them look a little cleaner our aim is to slightly increase the overhang speeds and reduce the auto wall speed to get a more equal surface quality I see this matte glossy problem all the time on this planter around here I hope this video will fix this problem for good the new preview looks great but before we take a look at the result in more detail a quick Shameless self-plug all my models shown in this video are downloadable through
the link in the description a commercial license is also available through thanks or patreon a heartfelt thank you to everyone who supports my work the print with a new settings looks way better but you have to be a little careful with the overhang speed depending on the model this was close to the speed limit as you can see by the rougher overhang quality also keep in mind that printing too fast in the upper area can lead to cooling problems and misprints like shown here I highly recommend using the similar Ora slicer as it has a
better implementation where this problem won't happen in Ora slicer we can go into the filament settings then press on Cooling and enable don't slow down outer walls a look at the preview shows that the outer wall speed stays the same for small printing areas but the infill prints way slower in order for the lines to cool down sufficiently this is a simple but clever ch change which hopefully soon gets integrated into bamboo Studio as well my fourth tip is to take 10 seconds for every print to choose the right top surface pattern most of the
time one of the monotonic options will lead to the smoother surface but for round objects like the strip tray the concentric option sometimes even results in a pretty pattern like shown here a little attention to details like this can take your prints from looking good to great and use the advantages of 3D printing to the fullest the last trick for great prints is to print only one object at a time like shown in the beginning travel moves can reduce your print quality if you do have to print multiple objects at once try to move them
as close to each other as possible to reduce the travel distances for small flat objects going to the other step and selecting BYOB print sequence can also be an option but be careful to have enough space between your objects or your extruder head will hit one of the prints making your printer sad in the process as we can see by the preview now only one object is printed at a time this eliminates all travel moves between the objects and can be a great way to improve print quality keep in mind that the following settings can
also have a big impact on your print quality there are lots of great resources on YouTube to get these right try these slicer tricks for yourself and thanks for watching a special thank you to all my Patron and thanks supporters who make these videos and Designs POS a