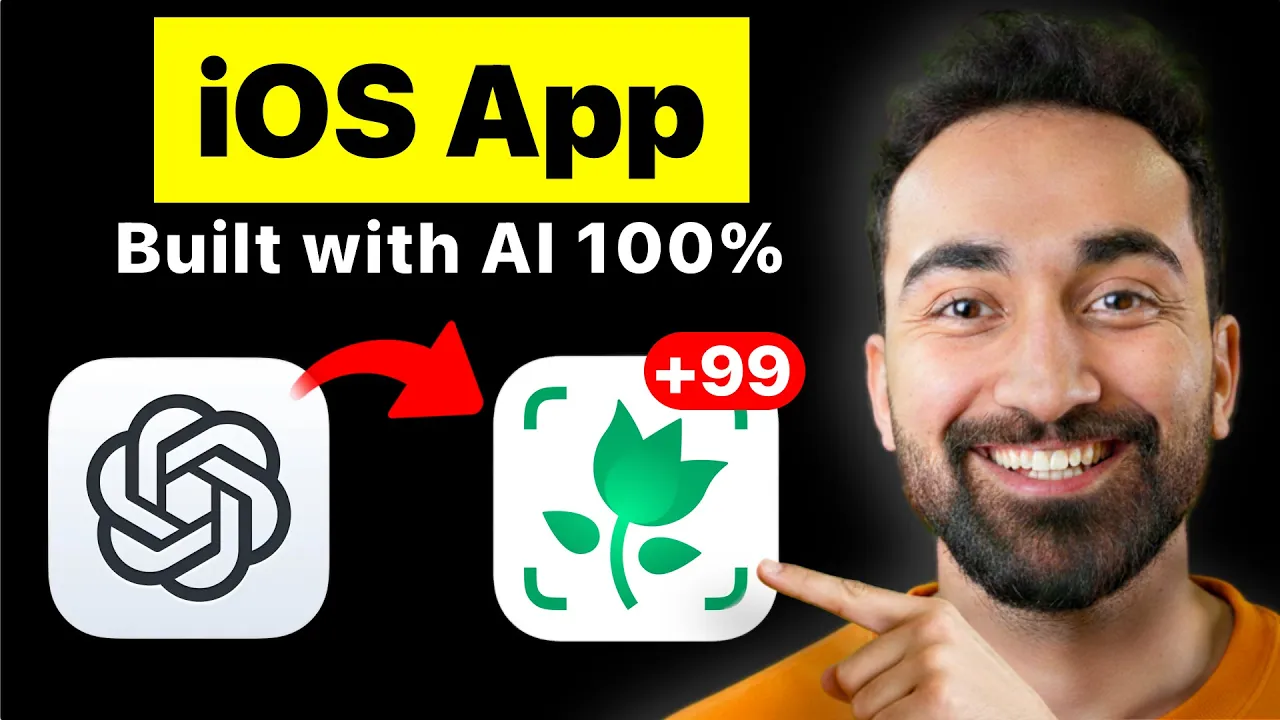
This AI plant identifier app made more than $5 million last month. And in this video, I'm going to show you how to build it completely using AI. We're going to be working with Chad GPT Codeex.
I'm going to show you the best way to start working with it on iOS, how to build with it and design, and finally create a fully working iOS app inside Xcode. Here is the app that we're going to be recreating today. This is an AI app that lets you take a picture of a plant.
And here is the clone app that we created. Now, if you go inside Google and find a picture of a plant and then take the picture over here, it's going to be able to identify the image and then finally will be able to give us all the results of that plant. And here it is.
We took the picture of the plant and now we have all the information of this specific plant that we took. Now, let's go and build this app. The first thing you want to do is to open Xcode and click create new project.
Make sure to select iOS and select app and then click next. And over here for your product name, you could write anything. In my case, I'm going to write plant identifier.
And for the rest of the settings here, it can stay all the same. Just make sure that the interface is set as Swift UI. And then the language as Swift.
And then click next. And over here, find the folder where you want to save your project. In my case, I'm going to save it under YouTube.
And now you have a brand new Xcode project. So the next thing you want to do is to go and install chat GPT codeex. If you don't have it already, then all you can do is just write chat GBTc codeex install on Google and just click the first link.
And over here you have two ways to install it. Either with npm or with homebrew. I suggest using homebrew.
And if you don't have homebrew installed, then just find how to install homebrew and then just do brew install codeex. So after you have codec installed, what you want to do is to cd or navigate inside that project, that new xcode project that you just created. So in my case, I'm going to cd into developer and then slash YouTube.
And if I do ls, then I can see my plant. I wrote plant identifier, but it's okay. The name doesn't really matter over here.
So let's just cd into plant identifier. And then do ls again. And over here we see two things.
One, the plant identifier xcode project and one the plant identifier folder where we have all of our important files. So what we want to do is to navigate inside the next plant identifier folder which over here lives all of our important code. So we want to make sure to run codeex inside this folder and not the parent folder.
This is all the code that we want to work with. We don't need to work with the Xcode project. So you want to write codeex and over here it's saying uh do you want to allow codeex to work with this folder.
So you want to say yes. In my case I'm already signed in so I didn't have to do all the signing in process. But if it's your first time using codeex then probably asked you to sign in and you just had to sign in using the web browser.
Okay, cool. So we have our codeex. Okay, cool.
So we have chdcex open for our project. Now the next thing you want to do is to create an agents. md file.
Essentially it's a file that will guide codeex on how to behave and in our case we want it to behave to write proper code. So this is what we can write. Create an agents.
md file that specifies that you are working in a iOS swift UI project. Make the AI behave like a senior software engineer that writes good code and build good designs. Okay, so this is pretty much what we need for agents.
nd file. So you don't really have to worry too much about this. We're just putting everything in plain English and Codeex will take care of creating the entire file with the specifics that we need.
So you want to press enter. So now Codex just create the agents. md file and over here as you can see it created a lot of guidelines like the best way to code, the best way to design the app.
So now every single time that you work with codeex, it will first read agents. md and follow all the guidelines. So then you can have some good code and some really nice designs inside your app.
So now that this is taken care of, we can start coding with chat GPT codeex. And this is how I work with AI. Every single time I create a new project, I start focusing on the design.
So I'm not talking about making the app look really nice with bright colors and fancy graphics. I'm more talking about the user interactions and making sure that I have all the elements, all the super important blocks inside my app. And then when I have the AI build me all the UI and the interactions that I want, then I can focus on the logic and doing all the AI implementation and all the business logic.
So let's start writing this for a plant identifier. Let's say build me a plant identifier app that can identify plants by the user taking a picture. Make this a twopage app.
The first page is the page that opens when the app starts. It's a camera view that lets the user take a picture. The second page is a details page where I can see all the details of the identified plan.
The idea over here is for the first page to take a picture and then send it to an AI to identify the image and then the information along with the picture is sent to the details page. Focus only on the UX and interactions. Do not implement any logic.
Keep it simple. Okay, so we have our prompt over here just to summarize everything. We want the AI to focus only on the UX and the user interactions.
And we're just saying it to keep it simple. In our case, we have a plant identifier app and we're saying that we want only two pages. One page to take a picture and the other page to identify the plant and see all of its details.
So let's send this prompt and see what Codeex builds for us. It looks like Codex finished coding its work. As you can see over here, we have the preview.
And it's showing a sort of a camera view over here. And we have another file over here. And I feel like this is probably the details page.
Yes, this is a details view. So now what I want to do is to run this on my iPhone because it is a camera app. So we can't really work with the preview over here or with the simulator.
So the best thing to do is to work with an iPhone. So just make sure that you have your iPhone connected and then find your iPhone over here inside devices and then run it on your iPhone. So here is the app.
If I use it on my iPhone, nothing really works. I pressed the button and now it went into a details speech, but I can't really take a picture. It's just a black screen.
So, essentially, Codex followed what I told it. It created the UI, but it didn't implement any logic or any super important things. So, the next thing we can do is to ask Codex to implement the camera so we can see the camera view over here.
So, then if we take a picture, it should send it to the details page. Great. Now implement the camera because right now it's only a black screen.
Chad GPD codeex is working on implementing the camera view. Nice. It looks like Codex finished its work.
Now let's go into Xcode and see what's happening. Looks like we have a lot of errors. Yeah, let's ask Codeex to fix the errors.
I'm not sure if it's going to work just like that by just asking Codeex to fix the errors. But if it does not, then we'll have to take screenshots and send it to Codeex. I have a lot of errors inside my project.
Fix them all. So, let's see if codeex can fix the errors. Just like that.
Yeah, I don't think it fixed the errors. So, let's just take screenshots. So, I'll take a screenshot over here.
Take the entire thing. Not my face. Now, let's send it to codeex and say here is the error.
Fix it. Okay. So, it just imported a new library.
Combine. It looks like the error disappeared. Let's see.
Let's build it by doing commandB. Okay, there's another error. Let's also take screenshots for these ones.
Take a screenshot and I'll send it to codeex also these error. So this is the thing with AI. I'll write code but in the end you have to build it.
You have to test it and if there is any errors you have to tell the AI to go and fix it. Okay, so it fixed the other errors. Now let's do command B.
Let's see if it's building. Okay, build succeed. Now let's run it on my iPhone.
Unlock my iPhone to continue. Okay, so the app just crashed. It's saying over here, this app has crashed because it attempted to access privacy sensitive data without a usage description.
The app's info P list must contain an NS camera usage description key with a string value explaining to the user how the app uses this data. Okay, I see what it's saying. Essentially, it's saying that if you build an app that needs the camera, then you need to ask for the camera permission.
So, I'm not sure if you noticed, but whenever you download a new app, and this new app needs permission for your camera or your photo library, then you get a sort of pop-up asking you to accept or deny the permission. So, in this case, we need the same. We need to add this key inside the info P list.
So, then we can have the same popup and we need that because in this app, we are using the camera. So, what you want to do is to click on your main project and then go inside info. So, over here, you want to click this plus button on the last item.
It's very small, so I don't think you can see it well, but this is what you want to click. And then you want to paste in this text over here and this camera usage description. And then press enter.
And then over here, you need a message on the reason why you need the camera permission. So over here, we could say to be able to identify plants. And that is it.
Now, if we run the app again, hopefully this time it should work. So now the app is running. Now, if I show it to you guys, we can see the popup that we're used to seeing.
And over here it's saying a plant identifier would like to access the camera. And then our reason to be able to identify plants. And over here we can allow or not allow.
And in our case we definitely want to allow. So if you do allow what happens now we can actually see the camera view. So this is looking great.
We have the camera working as expected. We can see myself inside my monitor. If I take a picture, what happens?
It doesn't send a picture, but at least it did what we said. It created the camera view inside our first page. Okay, great.
Now that we have that, the next thing we want to do is to go and implement the entire magic inside this application. So, we have our camera view, we can take a picture and now what we want to do is to take this picture, the picture of the plant, and then send it to an AI. And then this AI should process the image, identify the plant, and then give us all the descriptions of that plant.
So, there is a lot of AI models out there that can do the job. But in this case, we're going to be using Google Gemini because it's fast and it works, but more importantly, it's free. It's free for testing.
It's free for a couple of requests here and there. But when you're ready to publish your app and you have many, many users, then you're going to be asked to pay. But for now, we can test it all for free.
So, let's go into our terminal and say, "Great. Now, implement the AI processing and identifying using Google Gemini 2. 5 flash.
The image will be sent to the AI model and then sent back with all the details of the plant that will be displayed on the details page along with the image we took. Let's send this prompt. Okay, so after 10 minutes of coding, it finally finished its work.
It did a lot of things. Now over here it's saying that it added a camera service and then added a new plant service. So a lot of different things and over here it's saying that we have to configure something.
It's saying that I have to add the Gemini API key inside my info. plist. So the same info.
p that we worked before. Now we want to add something else inside. So essentially this Gemini API key is the key that you need to be able to call the Google AI APIs.
So let's go and add this inside info. p list. And then for the value we need to go inside Google AI studio.
So write Google AI studio and then go on the first link. Then over here you want to go at the bottom on the left side and click on get API key. And then over here you could create a new API key by clicking the create API key over here on the top right corner.
And then you could name your API key whatever you want. So in our case let's write plant identifier and then select a cloud project. Let's create a new cloud project.
Create project. Plant identifier. Create project.
And then we want to finally click create key. Nice. So we have a new key created.
Now we want to click on this new key over here and then copy paste the new key and then send it inside our info. p list. So now we have Gemini API key and then the value the new key we just pasted.
Now let's try to run this app inside our iPhone. Okay. Again we have a lot of different issues.
I feel like it's again the combine issue that it fixed before. So let's try it out. Let's write import combine.
This is probably the only line of code that we'll mely have to write. Let's see. Okay, it looks like it fixed the error.
So, if you have a similar error like this one where it's saying that there's a lot of combine issues, then just write this import combine or if not just take a picture and then send it inside codeex. So now I'll try to run my app. Build succeeded.
Okay, now let's go and test it out. Let's go on Google and write plant or something. So we have a picture over here as you can see inside the view.
Now let's take the picture. If I take the picture over here, let's see what happens. Loading for now.
Hopefully, it will process the image and then give me all its details. Okay, cool. So, we got some information back.
We got that it's a golden photos and then I'm sure there's a lot of description over here, but I can't really read it. It's all white. The text is white and the background is white.
So, there's an issue over here. But the cool thing is that we see that everything is working. We took a picture of that plant and then it gave us back the information.
Now, what we can do is just take a picture of all this information over here and just say that the UI is not the best. So, I'm going to take this picture and then send it back inside codeex and say great, it works, but the details view looks weird. I cannot read the text over here.
The backgrounds are white and the text are white. Fix this also. What is this also?
So what is this? What is the what is this text over here? I don't even know.
Is it is it just like a placeholder text or is that the name and Aladdin or is that the original name? I don't know. So let's say fix this.
And also what is this? Make it more obvious on what it is. Okay, let's send this prompt.
And hopefully now we should have a beautiful details page that explains everything to us with all its details and that we can actually read. Now it's working through the prompt. I see it's the scientific name.
It's saying labeling the scientific name. All right, it's finished. Now it's saying that the details page now respects dark mode.
All stat blocks uses color and blah blah blah blah blah. Essentially, it's saying that now the details page should look a lot nicer. So, let's go back inside Xcode.
Click the run button. Build succeeded. QuickTime player.
Let's see the iPhone. Okay, so we have the camera view again. Now, let's go on Google and take the same picture of the plant.
And then hopefully now we should able to see the new details page. So, let me take a picture. It's identifying now.
Hopefully on the details page, we'll be able to read everything. We should be able to see the details page. Cool.
So, here is the details page. And now we can read everything. And we even have the scientific name over here.
That's the the the text that I can't really read. And we have all the details for this plant. And we have the family, the native region, the light that it needs, the water that it needs, and all the different checklists on how to care for this plant.
And we even have this confidence score over here that is saying that's 95% confident that it is this plant that it identified. So here it is your own plant identifier app. We created everything in chat GPT codeex in a couple of prompts.
And as you can see everything is working perfectly. We can take a picture of a plant and then send it to Google Gemini and then receive all the information for that plant. It's able to identify the plant and it gives us all the information we need for that plant.