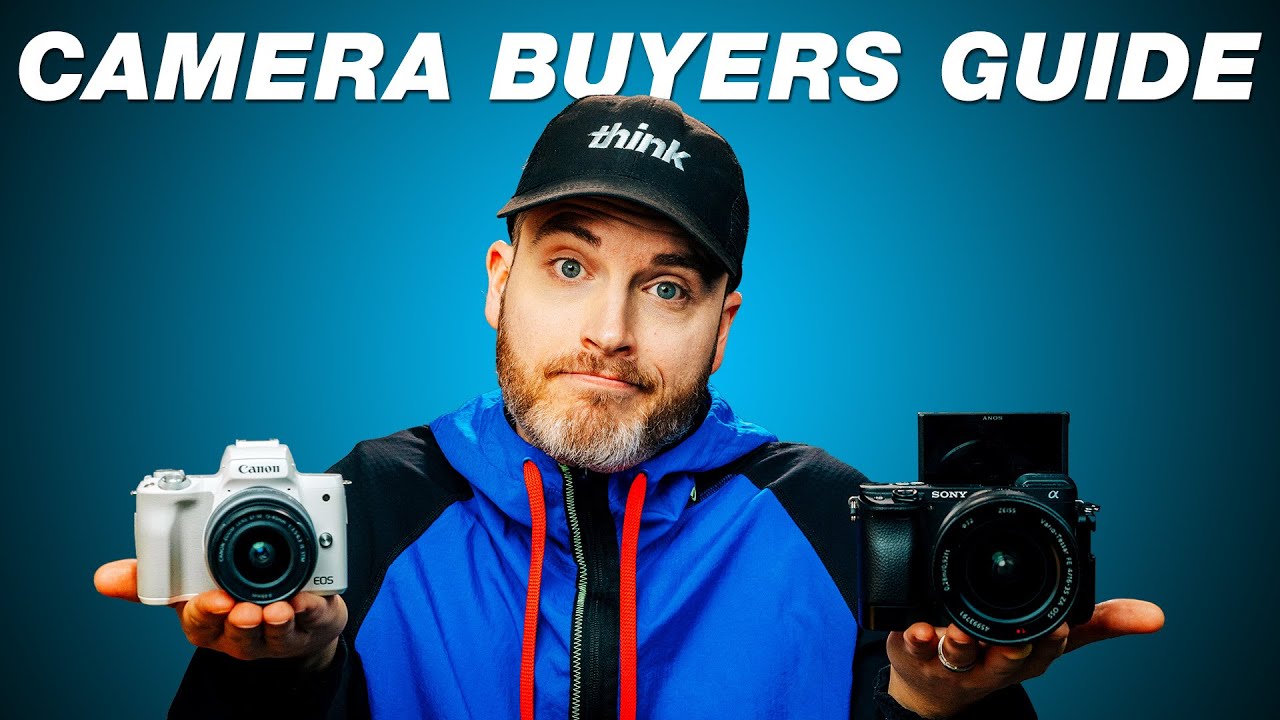
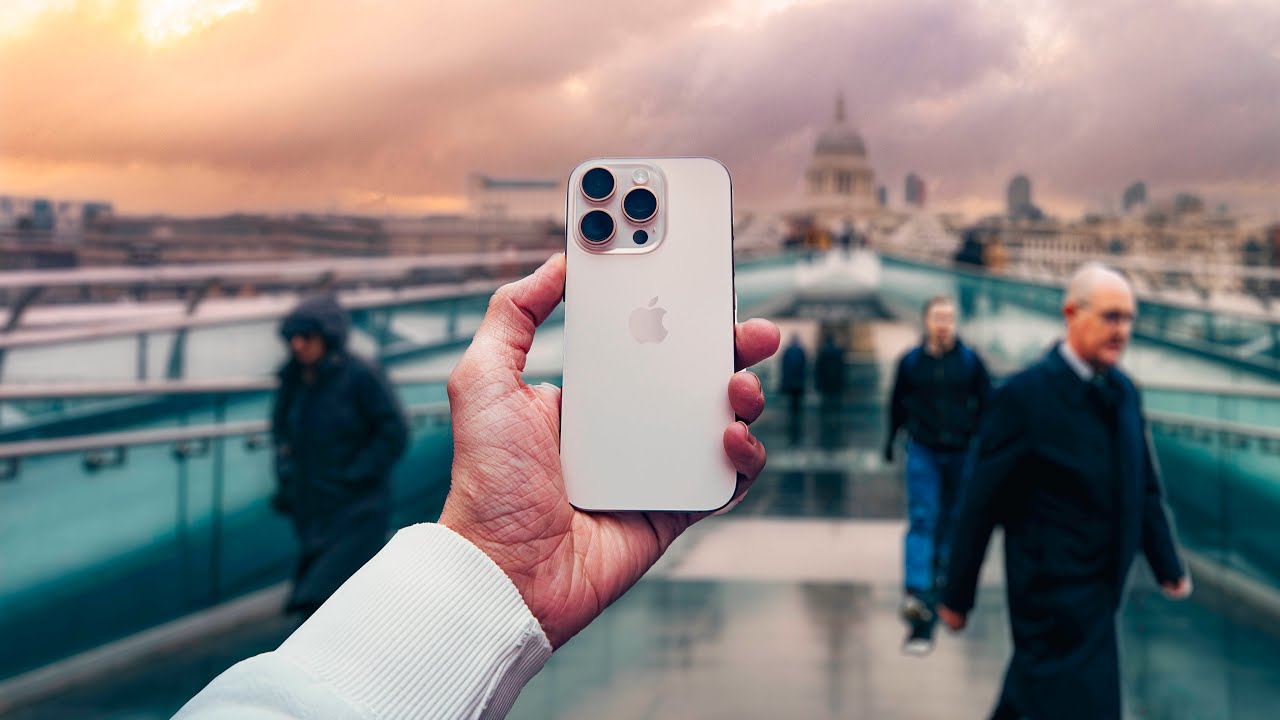
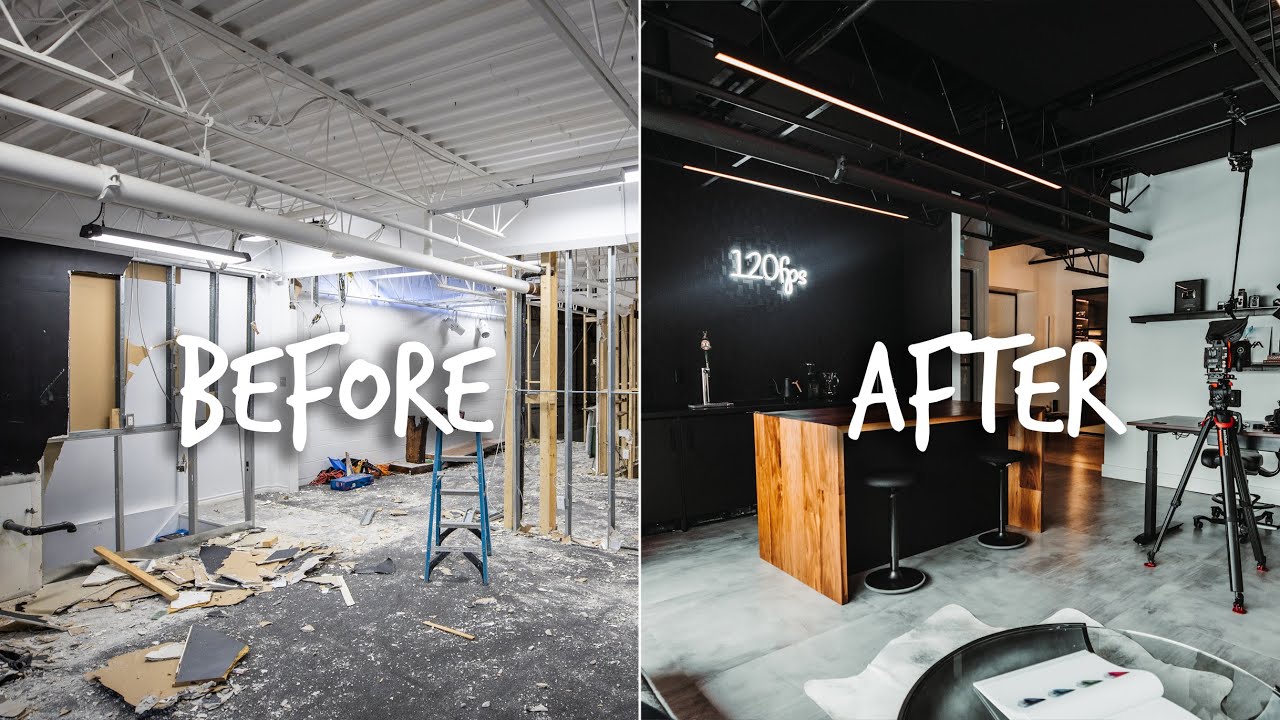
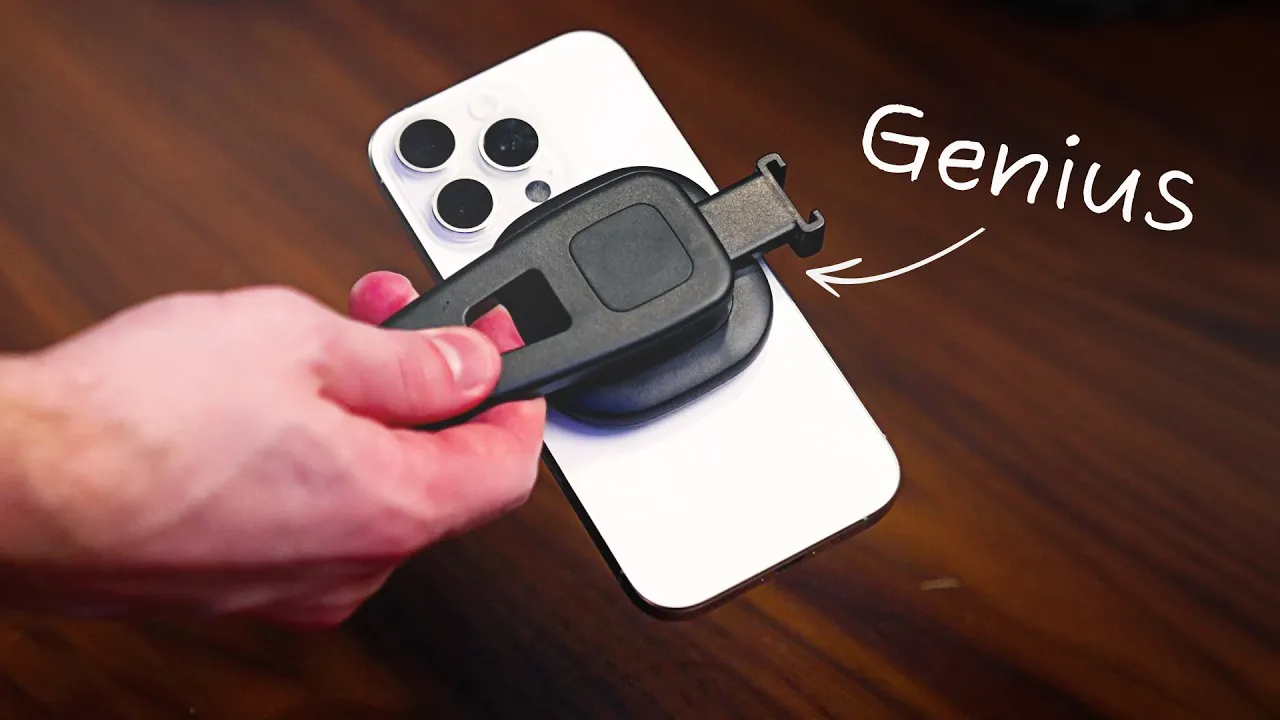
the iPhone 16 Pro on its own is an outstanding content creation tool but there actually a lot of helpful accessories that can make the process of making videos on your iPhone easier and higher quality so today we have a great list of gear for you that's going to help elevate your experience of shooting video with your iPhone you got to just press record starting off our list everybody needs a dedicated phone tripod and this one is actually pretty insane because it only cost $24 which is insanely cheap and it works really well it even comes with this little phone mount on top that you're going to be able to mount your phone to so that you can attach the phone to the tripod and if you don't want to use this for whatever reason or if you have a different phone mount this screws off from the top and now you're able to just use this as a standard tripod if you want so I chose the tripod that was 72 in tall but really you just need to figure out what height you are so I'm 69 in tall so I wanted to make sure that my tripod was at least taller than I was but there's smaller versions like 62 67 or even super tall versions that are 92 in tall so if you're randomly like 8 ft tall you can grab yourself the 92in version the 72in version has four different sections that you can extend to be able to dial in the exact height that you want for your tripod and it also has a little twist lock mechanism to make sure that your tripod is locked in place so for $24 this is a really good phone tripod and it has over I think like 30,000 reviews on Amazon and is an Amazon bestseller so we'll link this down in the description below so the next item on our list is a phone mount you need a tool to be able to mount your phone to your tripod so that's where phone mounts come in and now the tripod we listed the sun sign 72 in comes with a phone mount and this is the one right here but some people might think it's a little bit too cheaply made and I get that so we have a couple of options that are a little bit better that I actually really like starting with this one right here from small rig so the reason why this one is so cool is because it's a fully metal Mount so it's really well built it's going to be able to hold your phone and even rig out a couple accessories it does have a little cold Shoe Port right here so you're able to attach things like microphones or some of our other accessories that we'll talk about in just a minute the thing I love about this Mount right here is that it tilts up and down to dial in your preferred angle and you can also twist the device to make it vertical orientation just like that so that's the small rig Mount fully metal construction really well built but lately my favorite phone mount has been this one from ulanzi because it's magnetic it's mag safe so you don't have to deal with any of these like kind of stretchy like locking mechanisms the iPhone 16 Pro obviously has mag safe built into the back of the phone so using this ulanzi Mount they just connect perfectly together and now you're able to shoot horizontal or even quickly vertical video by using this magnetic attachment it also has a hot shoe up top so you're able to mount add accessories and overall this is probably my favorite foam out because of the ease of use I don't have to spend any time dialing in the clamp setting or anything like that I just literally toss my phone directly on this and we're good to go now our next accessory is from hollyland and it's the hollyland Lark M2 and this is going to improve our sound quality of our phone a lot of these iPhones actually have pretty good built-in microphones and the iPhone 16 Pro just added this sort of spatial audio system with four different microphones but even still the audio suffers a little bit and I'd highly recommend purchasing an external microphone or a wireless microphone to attach to your phone to get better sound quality so right now we are loving the hollyland Lark M2 system for many reasons the sound quality is outstanding we actually did a review comparing the Holly Land to some of the higher end systems from Road and DJI and Shore and the Holly Land surprisingly held up so well so right now this is my favorite budget system there's several different kits you can get you can get ones that are specific for lightning devices so this is the the OG Apple light so all the phones that are like iPhone 14 or older can use lightning or you can buy kits that are dedicated for USBC or you can get what I have which is a combo kit which comes with also a camera receiver attachment so you can attach cameras or 3. 5 millimeter devices to this but by far my favorite accessory and the reason why I love this Hol land so much is this little accessory right here so this is the USBC receiver so this is a full-on audio receiver so if I just plug this into my phone right now all now this is able to receive audio from this little microphone or even both microphones at the same time let me actually just set this up all right I've just plugged in the tiny little USBC receiver and now I can send this wireless audio signal from the lar M2 microphone directly to my phone and it sounds really good this is also has a little magnet on it so I could magnetically attach it right here to my shirt and just get kind of a lapel style sound coming out of this microphone overall sound quality really good highly recommend the hollyland Lark M2 now if you don't want wireless audio and you're going to be in a more Studio controlled environment where your iPhone is stationed to an exact location like a tripod or a desk Mount or something you could look at a shotgun style microphone like this right here this is the Road video M go to and this is an outstanding microphone for only $99 and you're able to attach both 3. 5 mm devices as well as USBC devices directly to the microphone so you could use this later down the road with cameras but of course you could use it directly with your iPhone via the USBC input slot all right so now I just plugged in the Road video mic go to to the USBC slot so now the audio you're hearing is coming directly from the Road video my goto plugged straight into the iPhone 16 Pro this is a great solution for those of you who make talking headstyle YouTube videos who don't want to necessarily be roaming around a room with a wireless mic setup and you want a little more Rich Fuller sound well the Road video M go to is going to give you that richer clearer sound and it only costs $99 and if you do use this mic and find that the audio sounds kind of distorted or too loud you can actually download the Central app and then decrease your audio gain in that app right there and that'll help you get rid of that distorted sound and make sure your audio levels sound a little bit more normal overall this is honestly an outstanding sounding microphone and now for those of you who might want to start a podcast with your phone this is a great microphone from Audio Technica this is the Audio Technica ATR 2100x and this is going to give you a really Rich Podcast sounding quality microphone but for only $49 which is crazy this thing is almost always on sale for around $49 I think it retails for around $79 but I've literally never seen it more than like $55 and $49 is typically what you can get it for and the price that we got it for at think media the cool thing about this mic is it works with your phone via the USBC input slot but also has an XLR slot if you ever wanted to plug this into different audio recorder devices and use it as more of a standard podcast microphone it also has a 3.
5 mm headphone jack on the bottom so you can monitor your audio signal directly from the microphone that's a super cool feature and now I just switched over from that five $500 sm7 DB to this $49 audio technical microphone and honestly I think it sounds really good for 49 bucks I've actually competed this microphone against a bunch of different other microphones that cost closer to $200 and I was very surprised at how well this microphone sounded so if you're a podcaster or even I actually sometimes plug this microphone in to my phone when I'm recording social media stories like for Instagram because it just gives me that Rich Podcast feel so if you want to try this microphone out we'll link it down in the description below now the next item on our list is this cage from small rig this is their Universal phone cage and really all this cage is going to do is add a lot of flexibility to your different rigs that you might want to rig up for your foam and it'll also add a lot of stability to your rig so one of the things about filming with phones is that your hands just aren't very stable so there's a lot of micro Jitters that happen when you're filming with your hands now this small rig cage and the specific variant that will link down in the description comes with these handles right here so you're able to get a really smooth motion as you're doing different camera moves so this is going to add weight to your rig to help with those micro Jitters but there's also quarter 20 threads and cold shoe mounts all over the body so you're able to rig this thing up with all different sorts of accessories I recently went out and shot a ton of footage with the iPhone 16 Pro and I Ed this cage for a lot of that footage and I think the footage turned out really really well and smooth so if you really want to elevate the look and the feel in the shooting experience of filming with your phone a cage is a great way to do that and the next accessory is actually another rigging solution which which is a gimbal so if you're somebody who wants to get really smooth motion out of your videos and make your videos feel more cinematic a gimbal is a great way to achieve this and one of our favorite gimbals here I think media is the Zune or xuin I honestly don't know how to say it everybody says it different but this is the Zune smooth 5S so this is their newest gimbal for mobile devices and I think right now it's on sale for $130 and could be anywhere from like 130 to 160 this could actually be one of the best vlogging tools for lower light situations cuz it has a built-in light on the front of the gim to light yourself while you're vlogging or if you're filming another subject in front of you it can light that subject as well it also has some built-in AI capabilities for real-time AI tracking of human subjects and overall this is a great mobile gimbal device so if you don't have a gimbal I'd highly recommend you turn on enhanced stabilization in your iPhone 16 settings this is going to help you get smoother motion out of your Vlog scenarios but if you want even smoother motion that's not software based and you actually have a piece of Hardware that's going to produce that gimbal effect the Zune smooth 5S is a great gimbal so our next tool is for those creators who want to maximize just the visual style and look and feel of your videos by leveraging an ND filter so an ND filter is just a filter that you put in front of your camera lens or sensor to be able to cut out light which then allows you to shoot in proper shutter speeds for videos so that's all it really does it is really important though if you want to get the most cinematic or natural looking video that doesn't just feel like the shutter speed was cranked so high and that there's no motion blur in the video so the filter that we recommend is from K andf they have a great Amazon store with all sorts of filters but this one in particular is a clip on filter so I'll show you in real time just how easy this is to use so all you do is you slide this onto your phone right here and then you tighten it against the uh the front of the phone and so now we have a ND filter screwed on directly to the front of our lens and so actually it kind of looks cool right here you can show how an ND filter this is a variable ND filter so it's going to cut out light from hitting the camera sensor and if you needed more you could twist it to let more light in and if it's too bright outside you can twist that to cut out light if you're a Creator who likes to shoot in manual video exposure in something like the Blackmagic camera app which unlocks your iPhone's potential to be more in line with what a mirrorless style camera can shoot in it's really important to shoot at those correct shutter speeds just depending on what your frame rate is so an ND filter is a great solution to make that shutter speed easier to achieve especially in outdoor environments so that's a really easy clip-on solution but there's also another solution from a company called s Landmark so this is my iPhone 15 Pro and they also have iPhone 16 series uh cases and I'm actually going to try to pick one up but the cool thing about these cases are around the lenses these are actually lens mounts that are threaded so you can attach different accessories and they have a ton of different accessories from ND filters to lenses so right here is one of their ND filters that can just screw on directly to the case and now I could use one of their ND and amounts directly to the cases that they provide and check out this other cool accessory I have from them this is one of their anamorphic lenses so anamorphic video just really kind of compresses your video file a little bit so that you can stretch it back out into a widescreen format and they make lenses that can attach directly to their phone mount so this is kind of a cool way to be able to get a different creative look out of your iPhone so I just want you to be aware that there's more complex systems like the ones from sandmark where they involve cases and attachments and filters and lenses or there's really Simple Solutions like this one that just clip directly onto your phone and then you can shoot at proper shutter speeds by leveraging the ND filter system now if you notice throughout this video we've been heavily focusing on these rear-facing cameras and not the front-facing camera that's obviously because the rear facing cameras are so much better for video quality when you compare it to the front-facing selfie camera but then the big problem becomes how do you see yourself if you're recording with the rear-facing camera you're not able to see yourself on the screen well there's a couple Solutions if you do have an Apple Watch you can use your Apple watch as a monitor because there is a camera control app on the Apple watch you can just open that up and even hit record from from your Apple watch if you want but that serves as a little monitoring device but I know that's like a couple1 solution so there's a really cheap solution right here from nice EIG so what this is right here is their selfie mirror so you can screw this into the cold shoe attachment of all of these phone mounts that we've talked about in this video and now you're able to tilt the mirror into a position where you're able to see your phone screen to monitor your video signal from the rear-facing cameras this mirror is only like $40 and it's well worth that $40 price tag to be able to have the confidence for seeing yourself knowing that your composition is correct in frame and then you're still able to use those rear-facing cameras that are so much better than the front-facing selfie camera I literally cannot speak highly enough of this mirror I love it so much we'll link it down in the description if you want to check it out if you want to pick up a high quality light for recording your YouTube videos the light that I'm currently filming on is the amaran 60D with one of their soft boxes this is a little bit more of a professional light so it's going to cost a little bit more than a more budget solution but if you want just one key light that you'll never have to really replace the 60D is an outstanding option we'll link it in the description but I also recently tested out this nice VD Studio lighting kit it's like a two- pack panel kit that has by color temperature so it has a cooler and a warmer and then a more Daylight color temperature and this thing is insanely cheap it's only like $50 for a two pack and it also comes with the light stands and these weird little like phone holder attachments as well so you could actually use this as sort of an all-in-one YouTube Studio solution with two lights a phone holder and light stands and the light quality is honestly pretty good so whether you want a really professional solution like this one from amaran or something that's a little bit more budget friendly either option is going to work great for getting high quality video and lighting is such an important factor for getting a better image out of these phone devices especially these phones have really tiny sensors so they usually suffer in lower light conditions so if you can blast yourself with a lot of really bright high quality lighting that's going to greatly improve your overall image quality out of your cell phone the next accessory that I find myself using all the time are these different sorts of cable adapters so this one right here is from ankor it's a USBC to 3. 5 mm adapter and the way I use this cable all the time is to attach different kinds of microphones to my phone if I'm wanting to record audio to my phone from a different style of microphone or if I want to plug in just like traditional 3. 5mm connector headphones to my phone and it not be a wireless Bluetooth system or a USBC set of headphones this is a great cable for that and I also just plug it into my studio monitor at my desk if I'm filming b-roll in my studio of stuff I want to just play music in the background and usually I connect my phone to my studio speakers but I need to plug this little adapter into my phone in order to be able to connect my phone to my studio monitors so this little thing is always with me I've actually purchased two so that I keep one in a travel kit and one in my studio at all times but that's one thing you're going to need to think about if you're going to use your phone for Content creation what are some of the adapters that you might need in order to maximize the potential of what your phone can do now if you're a vlogger you're going to of course want to look at the Joby gorilla pod this thing is a staple for vloggers out there and I love using the gorilla pods for even my larger cameras this particular gorilla pod is the gorilla pod 1K version so that K stands for kilogram so this can support 1 kilogram of weight which is actually 2.