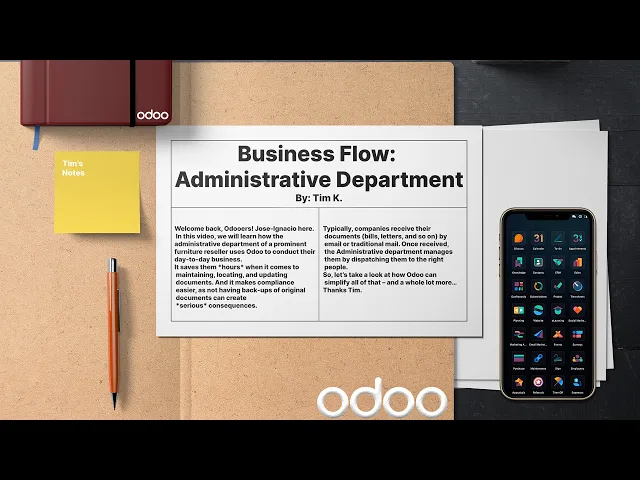
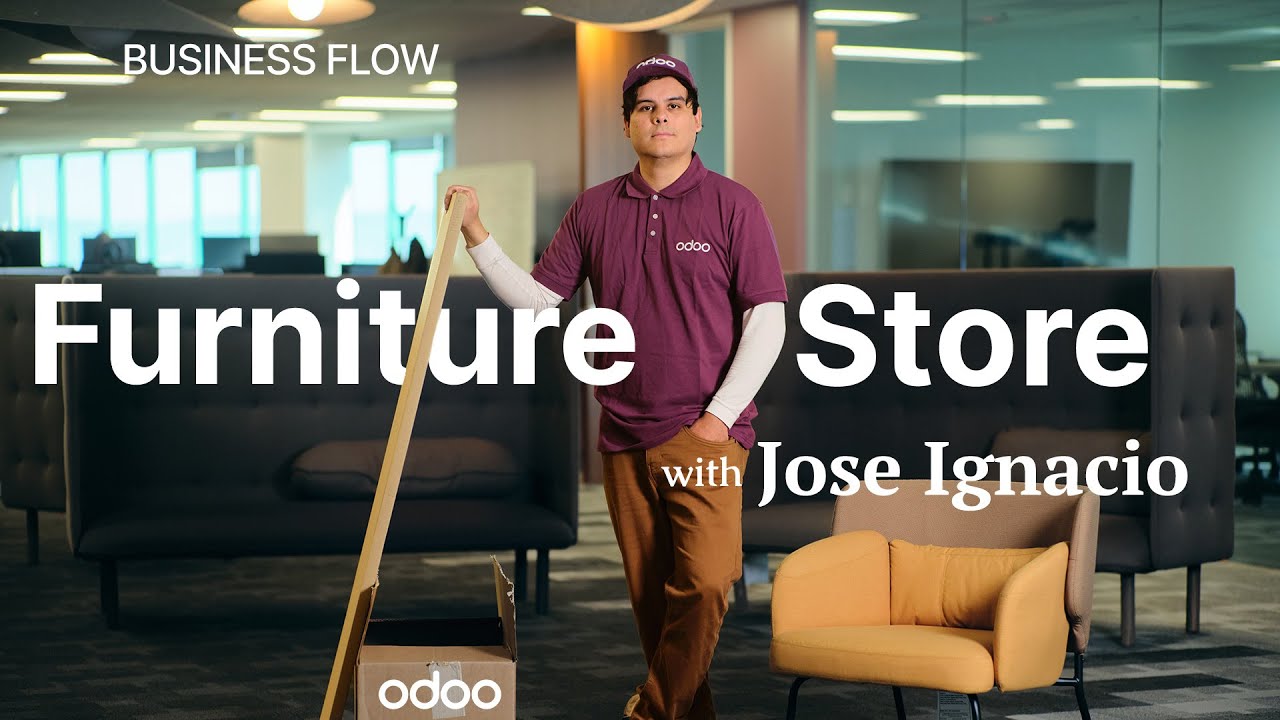
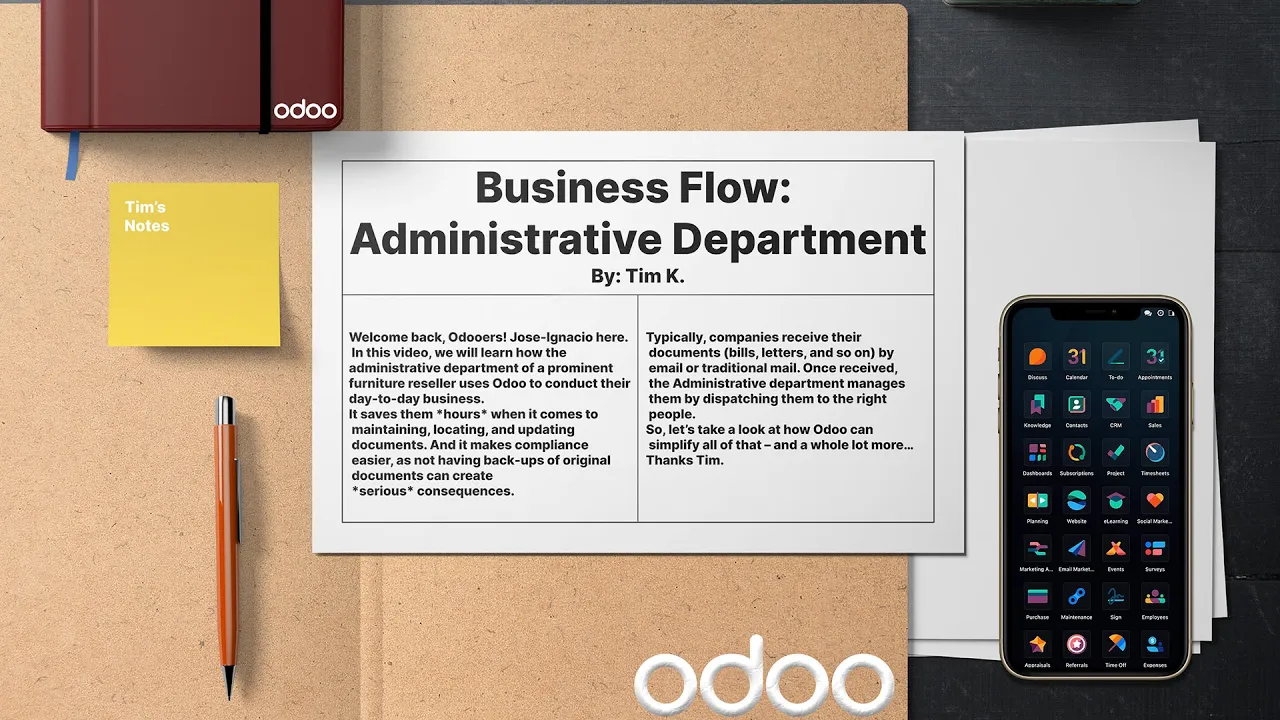
welcome back o doers my name is Jose gasio in this video we're going to be learning how the admin Department of a prominent Furniture reseller uses ODU to function in their day-to-day business as you may know digitizing a company has a strong impact on its productivity and profitability it's going to save them hours when it comes to maintaining locating and updating documents and it also makes compliance easier as not having backups of original documents can create serious consequences it also increases flexibility making remote work possible and on top of that it reduces their environmental footprint
typically companies receive their documents bills letters all of that stuff is what I mean by documents by email or traditional mail once received the admin Department manages them by dispatching them to the right people so enough chitchat let's go look at how ODU can help simplify all of that so we're going to start off on the documents app on the left hand side you'll notice we have a ton of different workspace fold ERS and the ability to sort them by tags or by what a document has been attached to when I receive a doc I
just select upload in the top left corner to load the document into my ODU database I can also even select one or multiple documents just by clicking on this little circle up in the top right corner of each of these docks now I can even open a folder and then drag and drop a dock from the sidebar into a different workspace folder if I needed to move it like going into marketing let's assume that we want to move this netw Suite uh picture over here that's that's how you do it we're going to leave that
alone now from here I'm going to select one of the existing files to show you the document preview window and what we can do with the document so let's select the all workspace and let's open up the sample NDA PDF because it is a document now when this file preview opens there are a few different options on the right panel we can actually see icons for downloading and also we can even replace lock the file and split the file there are also a few different options to change a name assign a contact change the owner
as well as reassign the workspace see which signature template is assigned to and a space to assign tags as well and then lastly we also see some different actions available for the document we can create a task we can sign the documents and we can even deprecate this document at the very bottom as you can see ODU keeps everything in one place for us all on this panel here now to be able to receive documents via email Odo allows you to have different email aliases so for example for the finance team I have the upload
by email option enabled and I set the email Alias to finance at whatever domain that we have over here so to check that out I'm going to show you what I'm talking about you go up to configuration and shares and emails and there's the finance team right there and as you can tell upload by email checked off and there is our custom one that I talked about it's Finance at admin 2. odu.com now once that you have that all of that works and attachments sent to this address are automatically saved under the right workspace place
for the right Department an email from a vendor could be forwarded to this address or to make my life even simpler I can share this email address with the vendor directly right now I think I should go show you my inbox to see how that email Alias works so I'm going to send an email with an invoice that I receive so let's select compose over here and it's going to go to that Alias I talked about earlier and the title is invoice and let's attach that right there let's see where we're at we got to
go find that file sorry about that bear with me perfect and we'll send it now once that we do that we can go back to our ODU Tab and see the invoice so here we are back inside of our documents dashboard we're going to switch over to the finance workspace folder and would you look at that we're going to open up our fresh books invoice voila there it is now for invoices and docs you receive by snail mail you're going to need to scan them don't you worry though scanning doesn't need to be done one
by one you can actually scan documents inside of batches just make sure your scanner device is connected to your database via the email a I and you should be good to go so right now let's actually click out of this document by selecting the X in the top right corner and after making sure that we're inside of the finance workspace folder we're going to open up our malsore inbox PDF over here now I have a question for you all to ponder what if you batch scan some documents but they serve different purposes or are meant
for different departments and that's no problem we can actually use the split tool to separate and aggregate the pages accordingly then we can send them to the correct department as you'll see inside of a moment the the document can be split and different actions can be selected for the resulting documents so first I'd either click on this split PDF button up at the top or select the scissors over here if I wanted to do that doing so actually reveals something else takes us to a different page over here we have a few different options and
we notice that it consists of different bills and letters we can click on one page for a preview by selecting it right there and even scroll through and we can also see the rest of them as well using our little arrows over here but let's jump back to see all the pages again right now because from here I'm going to click on our Scissors because we need to cut this right here so first I'm going to select between Pages four and five that's its own little thing right there and that's to rejoin them because this
is one bill I want to make sure those pages are together we'll go ahead and leave the other play play the other Pages split as they are and you know what I'm also going to click on this check mark for page six over there just to deselect it from the batch and create vendor bills for the rest so how do we do that well we just select the create Bill button up at the top and boom just like that everything is done and I'm going to send the last letter for further review later so to
do that I actually want to select it and then I want to actually move it to inbox right there perfect now let's hop over to the accounting app and I'm going to check out those bills that we just created all right now let's hop over to the accounting app and check out those bills that we just created created so we're going to go over here into the accounting dashboard and from this dashboard you want to select vendors up at the top and then bills let's find the one for Google over here take a quick look
and we can see that ODU automatically created a draft vendor bill for us over here and it also attach the PDF to the record now when I click reload AI data over here odu's artificial intelligence reads the PDF and extracts any information to fill out the fields on the vendor Bill if they're missing now keep in mind that this will use tokens each time a bill is Created from a doc these tokens can be purchased through the ODU website now that the data is populated everything is accurate over here we just confirm the bill and
just like that we're done so right now we just saw how ODU handles different documents received by mail or email and how easy it is to create vendor bills from those documents but wait there's more managing contracts is also part of an administrative Department's daily task with the integrated ODU Sign app documents can be digitally signed in no time at all so let's head back over there so I can show you what I mean so in our case HR needs to send a job contract that needs to be signed so to handle that we're going
to jump into our documents application right there and we're going to be inside of the internal workspace folder over here and open up the employment contract PDF now in the bottom right corner where it says actions got to sign it and so select that sign option now here I have the option to drag and drop a few different fields from the left hand side of the screen we're going to start with name for employee name and put that towards the left hand side and I'll show you why in a second going to put it a
little bit to the left and there's not one for address but there is one for text and an address is text okay so now that you've done all of this I need to basically resize them so to expand the fields to fit the blank areas in the document and make it look clean I just have to drag this little Black Arrow over towards a really long name maybe in the future you have a really long date I don't know a year you're filling this out in and massive address field and once that we've reached our
desired size and length we can move on I also realize this is an employment contract they almost always ask for initials so we're going to put initials bottom right and notice when I do that it's going to ask me which person am I using for responsible and in our case we can select customer Company employee standard in our case we're going to pick customer and then we're going to add it all pages right there and look at that on each page now we have it including the very third page okay lastly we need to add
the signature as well as the date field we're going to make this signature one kind of big too once again I already told you that the date is also going to be a big long one now we're cooking all right that was pretty easy actually in fact it was amazing all right so let's send this out by clicking on send up here at the top and we need a customer right there so I'm going to type in my very real email odor rules gmail.com oops small little dupsy forgot to create it gmail.com there we go
perfect all that is done hit send and we're on our way let's go look at that and sign this thing so this is what the customer will see first you open up the email and then you click on sign document button then once they you're inside of here you're going to see this document inside of your little signing area now when we select them notice it starts to autop populate some stuff but we're going to put our actual name and not the email when we click on date autop populates address doesn't so let's remind them
that we are in Buffalo okay now we need our initials if you recall and when we click that we have a nice little popup here where we can do our own little auto signature by just typing it in and since it's better handwriting than mine we will use it we're going to sign them all because I don't read contracts over here and then finally here we are at our employee signature where we're going to do the same thing and just not read just to move this along and we're all done right there so when all
the fields are filled out I can actually click on validate and send completed document and then it starts the process of sending this over to odu's magical servers and once that this finishes you'll notice that we have the option to view the document itself but I'm also going to get a copy of the signed contract in my email so I'm just going to go check that out later right now though let's go back to ODU so I can show you what it looks like over there so let's hop on into our documents application and internal
works place we're already there and would you look at that o doers it's our completed and signed employment contract we have everything there including our nice legitimate initials including the dates perfect now ODU sign is just one of the many possible actions that we can use for our files we can also create task from a document request approval everything is possible so let's see that in action and go back in there so I'm starting out again inside of the documents app inside of the internal workspace we're going to select our video ODU documents file over
here and if we would like to you'll notice the create a task action is actually at the bottom right corner so let's actually click on that so inside of here it takes us to a separate page wherein I can create a task card and assign it to a project I'm going to select a random project right there after that you can also add in any information like a milestone an asse customers deadlines tags you name it if you wanted to you can also add subtasks as well but right now let's follow the bread chromes back
over to documents and in addition to the standard action options you can actually create other actions for documents by going to configuration actions selecting new in the top left so from here I'm going to create a new action with the following settings so we're going to select schedule activity please just go so under the conditions tab that we're in right now we need a related workspace you need to select this first by the way or or else you won't have any of your pre-done templates down here if you would like to use them so for
ours oops I forgot you search via what you want inside of a template so there it is and then after we finish with that we want to go over to our actions tab now inside of here we have moved to workspace we're going to move it over to marketing right there and we also need to enable one of these options which is schedule activity at the very bottom down there and once that we did that you notice that we have other options like what type of activity it's going to be an email right there then
once that we're done with all of this because we're actually done we don't have to touch anything else right there I'm going to manually save by selecting my little Cloud icon right there and now this new schedule activity please action will be available for any documents that are in my internal workspace and contain the presentation tag so once that I click schedule activity action on a dock it will move it to my marketing workspace and sched an email to do activity so let's jump back over to documents make sure we're in internal going to select
one of these presentations right there and we're going to click an action which is schedule activity you'll notice right there and then once that we select that boom we see that the presentation was moved because if we select marketing oh out doers there it is right there as I'm sure you know going paperless and fully digital is the new norm and as you just saw with ODU it could not be easier to learn more about the apps that we saw during this flow and many others make sure to check out the rest of our e-learning
videos thanks for watching and before I let you go I'd like to give a special thank you to Tim you've been great brother see you on the flip side