Are you searching for a free AI generator that can create unlimited AI videos? Then this video is for you. Look at these video [Music] clips.
All of them were generated by a 100% free AI video generator called Juan 2. 1. With this texttovideo generator, you can create unlimited videos.
You can also turn any image into a video clip using the imagetovideo generator feature. And most importantly, it's uncensored. So, you can create mature content with this AI video generator.
In this video, I'll share a step-by-step method for creating highquality videos using the open-source AI video generator model, Juan 2. 1. So, subscribe to our channel and watch the video till the end.
Okay. Wan 2. 1 is an uncensored and open-source AI video generator model.
You can download the model and install it on your local system and create videos absolutely for free. However, it requires a high configured PC with a higherformance graphics card to run the model locally. Unfortunately, not everyone has access to a high configured PC and that's why I will use Google Collab to install and run the Wand 2 video generator model.
Google Collab is a cloud-based service that lets you write and execute Python code in your browser. It's a free hosted version of a Jupyter notebook, meaning you can work with Python code and combine it with text, images, and other media without needing to install anything locally. Don't worry, you don't need to go so deep.
I will provide a readyto use Google Collab repo so that you can easily access and create videos. The link will be in the description. Before that, let me introduce the sponsor of the video, Uni Converter AI.
Hey creators, looking for an all-in-one solution to handle your images with speed and precision. Today, we're diving into Wondershare Uni Converter's powerful image section. From converting formats to removing backgrounds, this all-in-one tool has you covered.
Let's jump in. Head over to Uni Converter, then click here and sign up for your account. First up, the image converter.
need to switch a PNG to JPG or resize images without losing quality. Uni Converter supports formats like JPG, PNG, BMP, TIFF, and more. Just simply drop your files here, choose your output format, and click the convert option.
The best part, it handles batch conversions, saving you tons of time. Next, the image enhancer. This tool uses artificial intelligence to upscale lowresolution images, restore old photos, color correction, or enhance faces with stunning clarity.
Click here and upload your image. Now, choose an AI model. Click preview and watch your images come to life.
You can process up to 20 images at once. Perfect for bulk projects. Got logos or text cluttering your images?
The watermark remover makes them disappear. Upload your image. Use the erase brush to highlight the watermark and let AI do its magic.
It's fast, precise, and supports batch processing for multiple files, delivering clean, professional results. The background remover is a gamecher for product photos or portraits. It strips backgrounds in seconds with no manual cropping.
Upload your images, hit start, and get a transparent background. You are also able to add a background picture or use one from these for ads or social media. Batch processing makes it ideal for e-commerce.
Then the batch image editor. Crop, resize, adjusting brightness or add watermarks to multiple images at once. It's a massive timesaver for content creators and marketers.
That's Wondershare Uni Converter's image section. Smart, simple, and powerful. Uni Converter is a must-have toolkit for anyone who works with images, videos, and more.
Try it today and transform your workflow. Download it now from the link below and try these features yourself. All right, let's come back to the video.
In the description box, you will find two more links along with uni converter one text to video and image to video generator. First, I will use the texttovideo generator. Once you click on the link, your interface will be like this.
This is the Juan 2. 1 textto video generator notebook. You may find it very complex.
Believe me, it's not. I will make it very simple for you. Okay.
First of all, we have to connect the notebook with the server. So, click on the connect button from here. It will take some time to connect to the server.
Once the connection is established, we have to run the environment and set up the video generator. So, come to the environment settings. Here you will find the Python code.
We have nothing to do with these codes. Simply click on the play icon from here. You will see a warning.
Just click on run anyway. Now it will take some time to set up the environment. So I am fast forwarding the video.
Once the process is completed, you will see a green check mark here. Now scroll down and come to the video or image generator section of the notebook. Here you will find some options.
First of all, we have the prompt box. Here we have to enter the text prompt. So, type what you want in your video.
I am typing a tiger walking in a dense jungle on a moonlit night. After entering the prompts, you can enter the negative prompts here in this box. You can notice some default prompts in the Chinese language.
I won't change anything this time. Next, we have to set the aspect ratio. I will generate a landscape video in 720p resolution.
So I am entering 1,280 as the width value and 720 as the height value. Next you can set a fixed seed number. After that you will find step settings, cfg scales, sampler name anduler settings.
After that we have frames. This is important. Here you have to mention how many frames you want to generate.
Set the value as per your need. After that set the FPS frames per second. A higher value will make the video smoother but decrease its length.
So set the frames and FPS value as per your quality and length requirement. In the end you can set the output format. Let's keep it MP4.
Once everything is set, click on the play icon from here. And here it is. One two starts generating the video.
It will take some time. Actually, it will take a long time. This is the only negative point I found about this tool.
However, since it is free, we can definitely wait some time. So, grab a cup of coffee or do other tasks. Don't interfere with the workflow.
Okay, here it is. The video is ready. Here you can see the result.
This is quite a good video. I like it. As you can see, this video doesn't have any weird morphing or distortion.
The character and the scene are very consistent. I love the result. There is only one issue with the video resolution.
However, you can fix it with Uni Converter AI. So now you can create this kind of video absolutely for free. There is no limitation.
That's amazing. To download the video, come to the directory panel by clicking here. Now open the Comfy UI and then find the output file.
Once you find the file, you will notice two files here. Download the first file and your video is now saved to your device. Okay.
Now let's generate another video clip. This time I will try to generate a bold video since it is uncensored. I am entering the positive prompt.
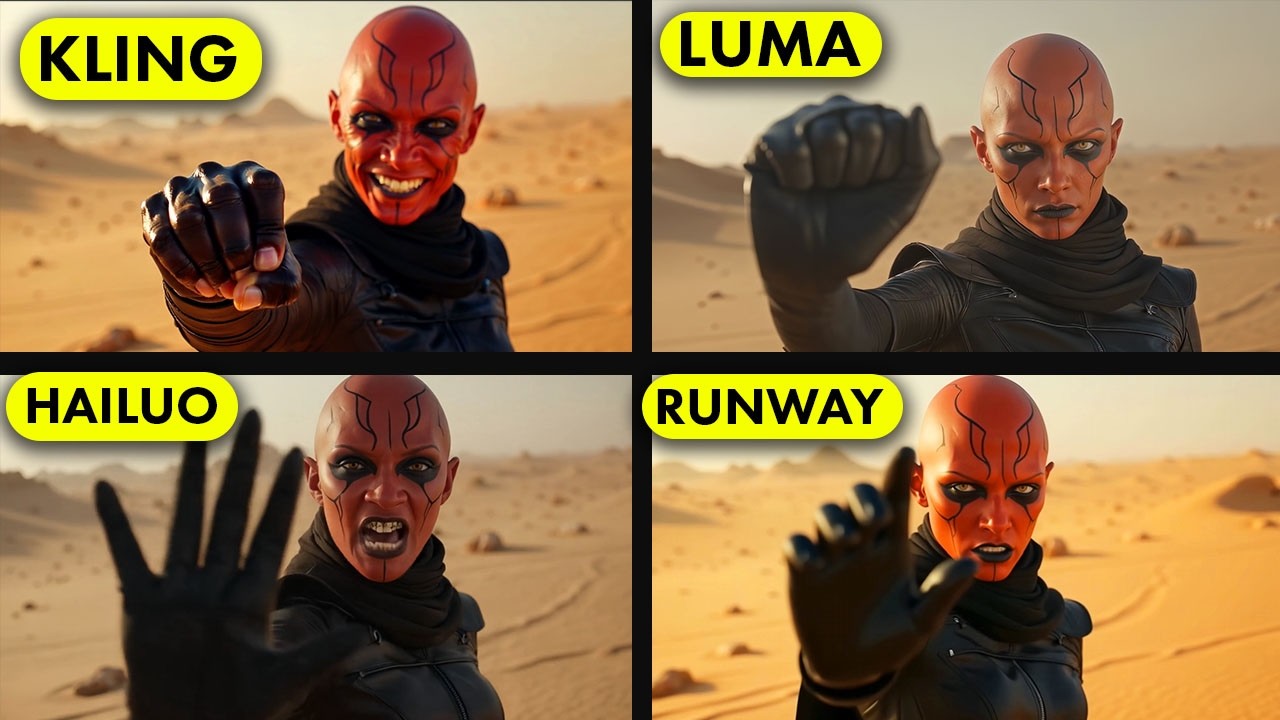
After entering the prompt, set all other settings and then click on the play icon from here to generate the video and then wait for some time and our video is ready. This is just amazing. So you can create this kind of uncensored video clip using one while you can't do it using any other popular AI video generator.
If you want fun then you should use this tool. Okay, this was the text to video generator. What if you want to turn your image into a video?
Then select the image to video generator notebook from the description box and you will be on this page. This is pretty much similar to the text to video generator. First of all, we have to connect the notebook to the server.
Once the connection is established, run the environment. After the environment is ready, come to the generate section. Like the previous one, we have to enter the prompt here in this box.
For example, I want to animate this image. So, I am typing the woman walking on the seaside. After entering the prompt, set all other settings and then hit the play button.
The video generator will run. After a short time, you will find the options to upload the image you want to turn into a video. I'm uploading the image.
Once the image is uploaded, it will start working automatically. And after waiting some time, I got this result. And look at the quality.
This is quite a decent video. There are some issues with the prompt adherence, but we can accept this. However, I think the texttovideo AI model gives better results.
In conclusion, now you have a completely free AI video generator that can generate unlimited, amazing, and uncensored videos without any restriction. The only issue is that it takes a lot of time to generate the video. However, we can understand some limitations.
If you are an AI enthusiast or content creator, you should try this tool. The link will be in the description. All right, friends.
I will wrap up our video now. Before that, I would love to hear your opinion about the Wand 2 texttovideo and imagetovideo generator model. Share your thoughts and results in the comment section below.
Don't forget to like this video if you found it helpful and subscribe to our channel for more amazing tutorials like this one. Thank you so much for watching and until next time, happy creating.