You can't learn how to trade over a weekend. That's just not possible. Can't go to the, you know, to a Hilton hotel and have someone talk to you in the front of the audience with cookies and soda in the on the back table in your little notebook in the chair listening to a speaker talk about trading.
That you can't learn how to trade that way. that can be the start of dispensing some information. But you know the way we really learn is the way it's more optimal the way we learn in school which is you know you don't cover trigonometry in kindergarten.
You cover kindergarten things first and even kindergarten things are done not in a weekend. It's done over a period of time. Then there's first grade and then there's second grade.
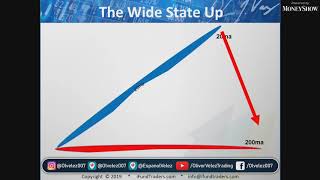
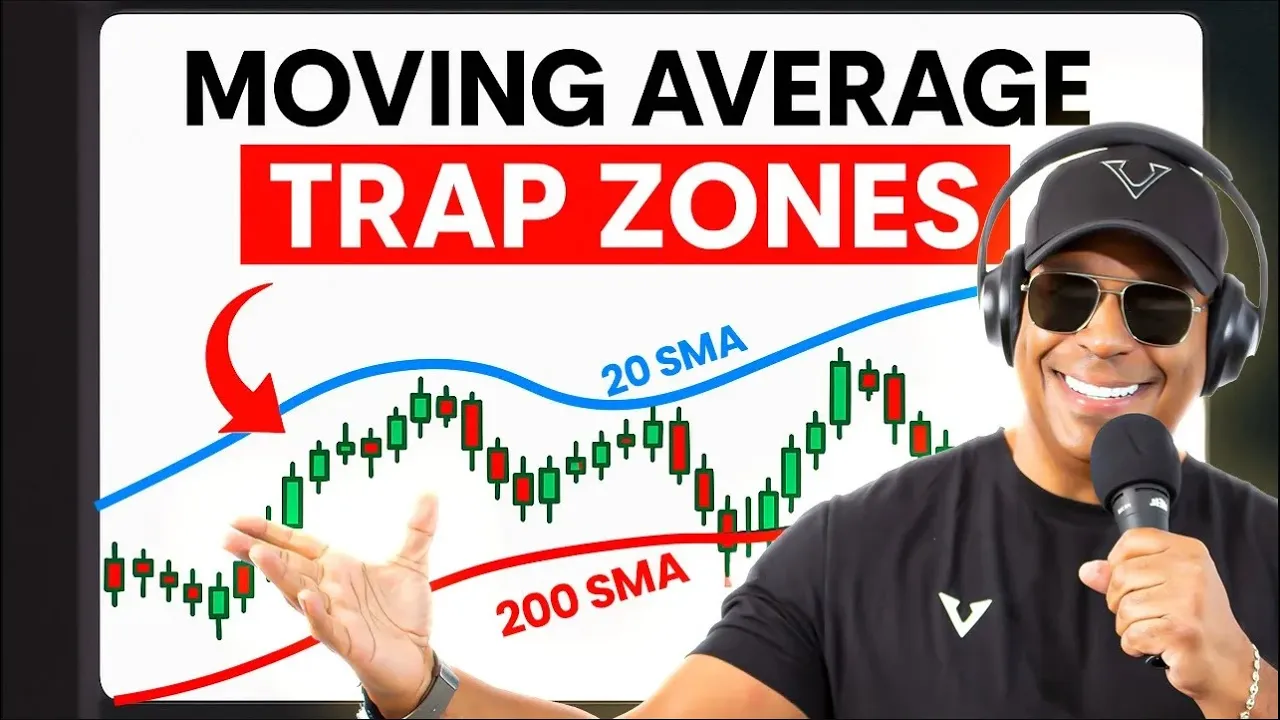
The first thing I want you to know is that the most common trap zone is the trap zone between your two key moving averages. So let's say you have a 200 here and you have sort of like a 20 here. This will be a very common trap zone where your stock is actually between the two key moving averages.
What a trap zone in essence is is you have something significant that is above the current price like the 20 and you have something rather significant below the price activity like the 200. It's also important to note that moving averages, like everything else, they are zones or areas. They're not specific points or specific prices.
That is why I'm demonstrating the moving average areas more as zones. And so, you're always in a trap zone when something significant, not insignificant, something significant is above the price and something significant is also below the price. And this will tend to trap your stock between the two things that are significant.
Now, it's not that it can't go through any of these things. That's possible. But the probability is that you get some type of pause at at or near the significant thing or some type of pullback or some type of difficulty when there's something that is representative of resistance above you and support beneath you.
All right, so this is the most common trap zone. You'll see two major moving averages. Our major ones are the 20 and the 200.
And boom. When you have this trap zone, the further a stock drops or rallies to one of the items, the more significant that item of support or resistance is. Let me give you an example of this.
If your stock has fallen a distance to reach the 200, the 200 is much more powerful. So if the stock has come a long way, if it's come from the heavens and then dropped to the 200, that 200 is far more powerful than starting from here. All right, make sense so far?
You see that's come from way up here. This one's come from here. This is more powerful scenario.
The 200 is far more powerful as support. when a stock has been traveling a while to get to it or from way above. Of course, this is the same in reverse.
The item that's making the top of your trap zone is far more powerful if your stock has come a long way or come from way below to get to it. If it didn't come from way below like this and it started to move up from here, now it's not as powerful because your start is from here versus your start from here. Okay, so that's something that's very important to understand.
You can be in a trap zone, but you need to understand when the trap zone support or the trap zone resistance is the most powerful and when it's not as powerful. Right? So, what I mean by powerful meaning that it's going to be more of like a brick brick wall or concrete ceiling.
Like it's going to be hard for this one to get through resistance having traveled so far to get to it. It's going to be much harder. All right.
This is going to be much harder to get through the 200 having traveled so far or from so far above to get to it. It makes your trap zone more powerful. That is trap zone type number one.
Moving average trap zones. You have price and moving average trap zone. Let me give you that example.
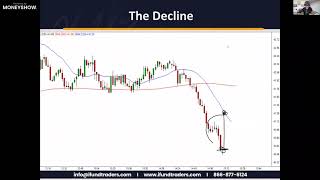
And we'll summarize these two as well. Price and moving average combo trap zone is like this. Let's say you have the 200 and then you have your stock and let's say you're you've got a 20 something like that but your stock has come from up here.
It's fallen sharply. Boom. Boom.
Boom. and it's come off. This is the price moving average trap zone.
See, the first one was moving average moving average trap zone between two moving averages. Now you've got moving average price. What's the price?
Where the beginning of where your stock collapsed sharply from creates this zone of resistance. The origin, what I like to always say, the origin of pain. Where did pain begin?
Pain started for the lungs. Pain started right there. Boom.
They started feeling the pain. If you were long, where was the beginning of that pain? Where did the collapse start from?
What's the origin point? That origin point is a zone is an area. You can extend into the future from that origin area and know that that is a negative painfilled memory point that if this stock were to come up to that area, it would typically have a hard time getting through.
The moving average support is beneath you. The overhead pain point of resistance is above you and the stock is now trapped between both. You got this one price moving average trap zone.
This was the moving average one. Moving average moving average. This is moving average.
Moving average, right? And this is price moving average. Now this is in the same in reverse guys.
So the same in reverse right with the price moving average. Don't forget that. So for instance you can have something like this.
Here would be the reverse moving average and your stock boom. So your stock sharply rallies. This will create a supportive memory point that your stock is now stuck between the 200 above it and this sharp reversal memory point.
If this is the memory point of pain, this is the memory point of greed. So basically this sharp move up here gives buyers confidence if the stock comes down there to try to nibble again. All right.
So support price support moving average resistance price resistance moving average Port.