In this video, I'll show you how you can work with local AI to improve your coding skills right inside VS Code. So let me show you what this can look like. I have this function right here.
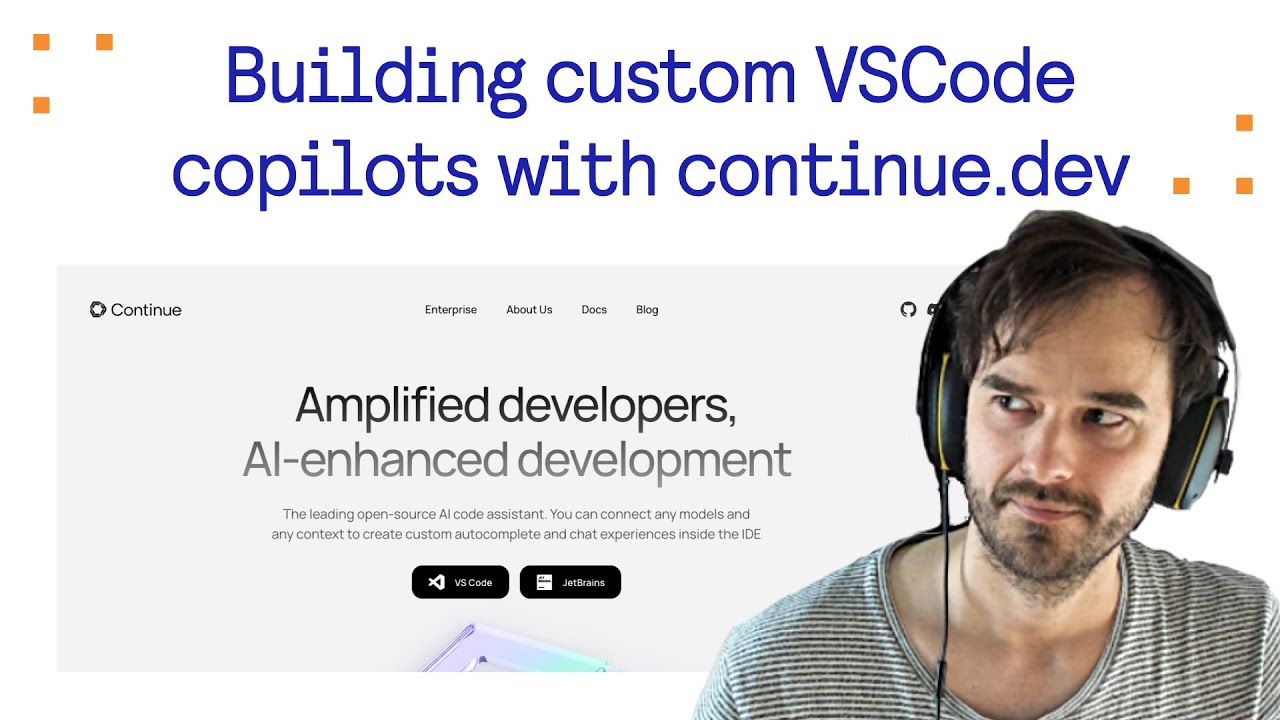
It's a Laravel function store. And now I hit command and L, and I could say, explain this function. And now this is a plugin for VS Code, also available for JetBrains called Continue, and I'll show you how to install this in a second.
And this is retrieving from Llama 3 right now, which is installed locally. And this helps understand code, but let me cancel this right now. You can see this explains now every single function in the highlighted code.
That's neat, but that's not Not really interesting, right? Understanding code is nice, but what's even better is if I want to refactor this, Command N I, refactor this code to be more efficient. And now check what happens.
The AI is working in the background. You can see it changing the code in real time. And since this is versioned in Git, I can see immediately what the changes are.
And I can accept or reject and so on and see. What the AI would suggest to be a more effective way to write this function. And all of this without internet access.
So all of this is local AI. You are not risking your code to leak into any model training or something like that. And I want to show you, let's accept this by the way.
This is now a way shorter function. I want to show you how you can install this. All right, let's get right into this.
The first thing we need is the local AI software, right? So this is Ollama and you can see it's on Ollama. com.
I put the link in the video notes as well, and you can download it for MacOS, for Linux or for Windows. Just download it and you'll see. It starts right, right here.
I'm not going to download it because I have installed UlLlama already. However, I did not Pull the models yet, which is what I want to show you in a second. But essentially you just download it and install it like any usual application.
You don't have to do anything else at this point. And then you want to go to continue. I link the GitHub repository.
I find this is the best. I find this is the best place because you have all the information in one go. You have the links to the website.
You have all the examples of what it can do to explain. Tab to autocomplete code suggestions, refactoring functions, all those things I explained very, very well in the GitHub repository. In order to install, continue in your VS Code or JetBrains, I'll show it in VS Code in this example.
We just open VS Code again. Go to the installations and then you search for continue, which looks like this. Continue ULlama and more.
31 rankings, 128, 000 downloads. And you simply click install. It installs right now.
It's enabling globally. Now that we have the VS Code extension enabled, let's download the models for ULlama. So first, let's make sure ULlama is actually running.
I can see it right here in the header area, and let's go with UlLlama list to see if there's any model already present right now. As you can see, I have deleted all the models that I've been using before. UlLlama and continue.
dev recommend two models to use in this setup, so we'll first go with UlLlama 3. Now I have Llama 3 installed, as you can see, and we'll have Starcoder 2 in the 3 billion quantization variation for the autocomplete. So let's run Ollamapool starcoder2 colon 3b so thatLlamama downloads this model as well.
And we'll use LLlama 3 for explanations for refactoring and things like that. And we'll use Starcoder 2 for auto completion functionality. And I'll walk you through the setup once this model has been downloaded as well.
The cool thing is, VS Code picks up those modules directly as soon as your LLlama is running and you have both. If you want to chat with them directly, by the way, what you can do is you can just have UlLlama run, and then say, run Llama3, and then you get a command line interface to chat with UlLlama. Depending on how beefy your machine is, the response times can be faster or can be slower.
So what I can do is say, hello world. And there's the response from Ollama. So that's pretty cool, but that's not what we are into right here.
We want to make sure that this is running inside continue. So I am still in the extension settings, as you can see, and I'm going onto the gear icon and opening the extension settings. And in here you have this walkthrough for the tab Autocomplete, which is what I want to show you right now.
So, in that we have a config. json file, and in config. json I'll show you where that's located in a second.
They give us two different ways to configure that. And one is the recommended is Starcoder 7B, which is available via Fireworks AI. I don't have an API key for that though, I want to have everything local, so we'll run with Ollama Starcoder 2 that we've just downloaded.
And we'll just copy this configuration right here and then we'll add this to the configuration. So you can have the customization, it shows how we can do this in Mac. It is in the user profile, continue, that's Windows, sorry.
In Mac it is in your home folder with continue and then there's a config. json. So when I open this, You can see it's already existing.
And let's see if auto complete is already in here. It is tap auto complete Model STARCO three B, but we'll just replace this. So for the A PIB base, we'll have local host Port 11, 4 3 4.
That's the default. Or Llama port, which you can check right here. It's actually not H-G-T-P-S should just be HT TPI feel.
And this should be good enough for the tab Autocomplete to be set up. Again, you can refer to the documentation. If I open this port, I get the Ollama is running message.
So this is definitely running. It is the correct address. And then we have the autocomplete for tab.
And there are tons of different options that you can customize right there, but we won't go through these in the, uh, in detail in this video. I just want to cover the setup right here, which we have done now. When I click on open, Ollama is running.
So again, this should be good. And now, if I want to use this, it's pretty easy. I can even use this as an example, this file.
We can just highlight. All of the code and then you can already see add to chat with command L or edit highlighted code with command I as suggestions from continue from the VS Code extension. So we'll just copy this or add this as context to a new chat and say explain these settings.
And you can see the chat window right here picked up. But when you click on this list, you can select the different models that are installed. And I have two instances of Ollama shown right here, which we can just remove.
Because this is not needed anymore. Clean this up a little bit. And then you have everything up and running at this point.
All you needed to do is to install the VS Code extension, then set up Ollama, pull the two models, update the config. json in your home folder. With basically just the API base right here for where your Ollama port is defined.
This is the default port, but you could change this obviously. And all that's left for me is to wish you lots of fun working through this. Again, in the GitHub repository you see all the different examples that you can do.
And this is what we use at Cobra DataWorks. When we build our AI RAC platform for our customers and when we customize the AI agents that we build for our customers, we use AI driven software development every day and I just thought I'd share this with you because what works for us might as well work for you. Thanks for watching this video.
Leave a comment if you have any questions, if you'd like me to cover different topics or related topics. And again, thanks for watching. See you in the next one.
Bye bye.