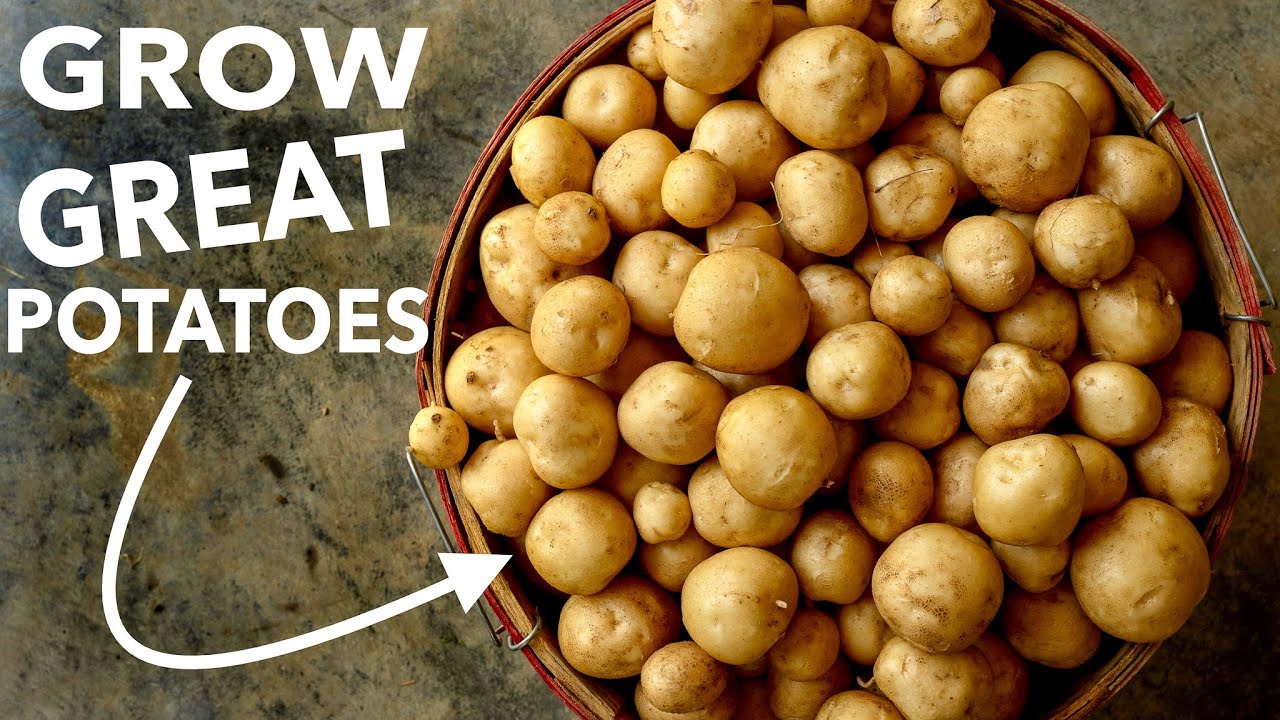
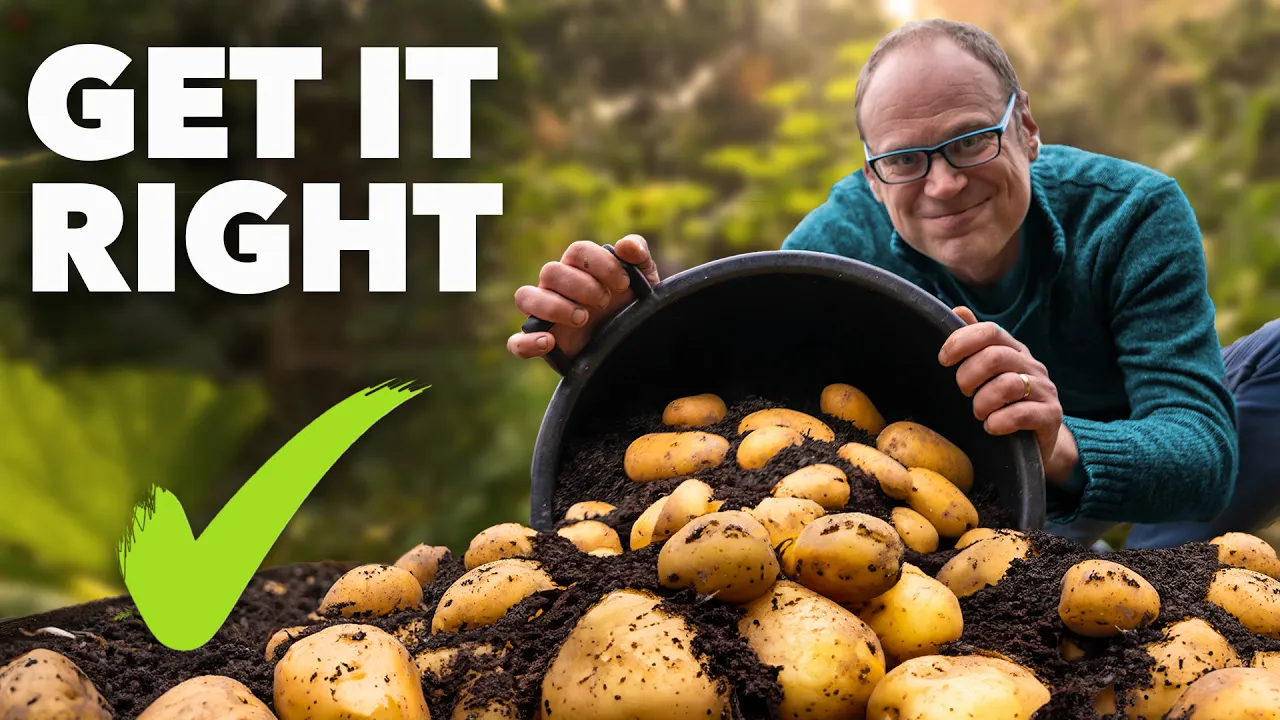
Everyone loves potatoes and anyone can grow them, so today we're doing a deep dive into the wonderful world of the humble spud! We'll explore what to grow, how to get the biggest, best and most blemish-free harvest - and if you haven't got much room, well we've got you covered too, because we will be planting up a few of these. And growing potato starts, would you believe it, right now!
I have been so looking forward to sharing this video. Why? Because potatoes are hands down the most versatile vegetable of all.
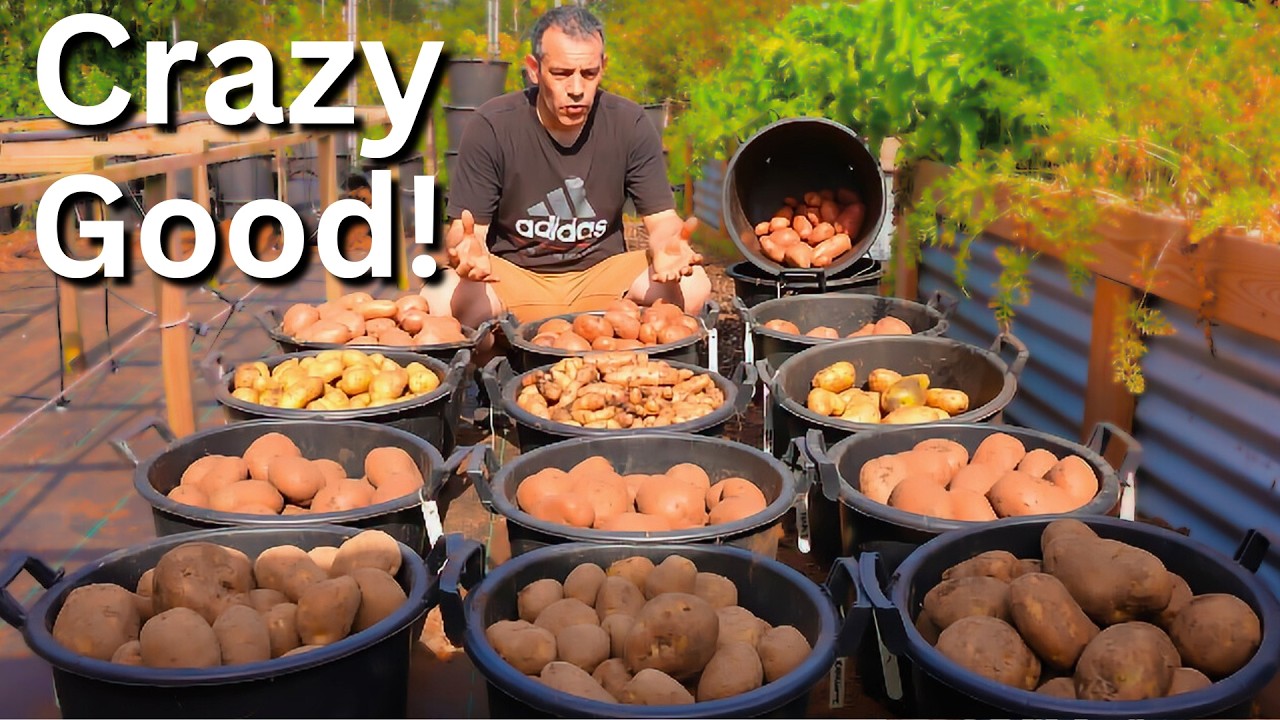
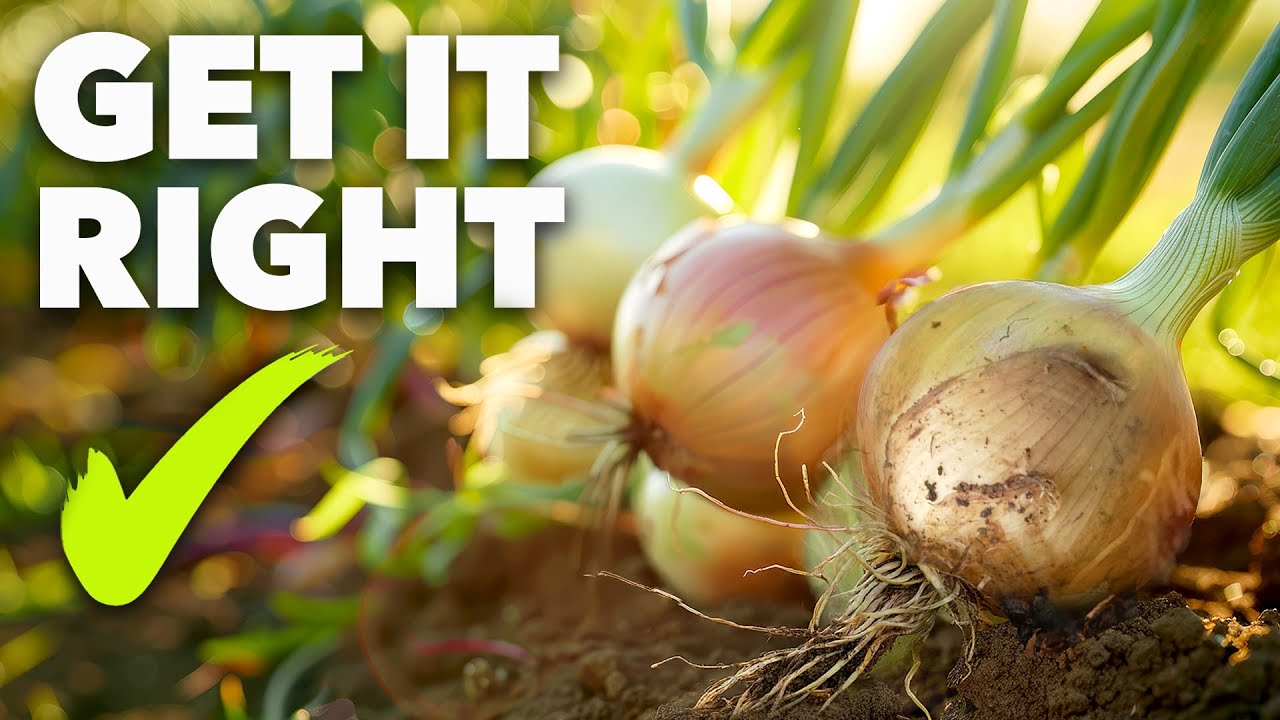
Let's start with a look at what you can grow, and I've got three different types here to illustrate my point. For the gardener's purposes potatoes are classified by how long they take to go from planting to harvest. First early potatoes, or early season spuds are quickest off the block, taking as little as 10 weeks.
Now these guys tend to have thinner skins, which means there's no need to peel them, and you'll find lots of salad potatoes in this category. And we will be planting some of these in a minute. Then you've got your midseason, or second early potatoes, which take 12 to 14 weeks from planting to harvest.
They're ready from around midsummer onwards. And then finally, our late season, or maincrops. They take a bit longer.
They're ready from late summer onwards and they need a bit more space, but the payoff is generally much bigger tubers that store for months and months on end in favorable conditions. With literally hundreds of varieties to try in each of these categories, my advice is to kick back with a nice cuppa and study the variety descriptions with care. Now perhaps you want a fluffy, floury potato that's great for baking and mashing.
Or maybe a firm and waxy potato that holds well when boiled and is perfect for salads. Or perhaps an all-purpose potato - perfect if you don't have the space but want to grow lots of different types and want it all. I also like to keep an eye out for varieties promising good resistance to disease and pests such as slugs and nematodes.
Again, the advice is to study the variety description with a discerning eye and make sure you're getting what you need. Me? This year I'm opting for a blight-resistant variety called 'Sarpo Mira', as well as some early season - first early - potatoes to plant now.
You've probably heard that you need to sprout or chit your potatoes, but is it really necessary? Well, it isn't really necessary, but earlier on in the season it can buy you a really valuable head start when temperatures are still quite cold. By sprouting your seed potatoes like this you'll maybe be one to two weeks ahead of unsprouted potatoes, and earlier on in the season, when soil temperatures are still quite cool, that can make all the difference.
Chitting is really very simple: you just want to lay your seed potatoes out so that the end with the most eyes - that's these kind of little dimple bits here - faces upwards, because that's where the little sprouts will emerge from. There's usually a very obvious, kind of upper side to the potato and a lower side, so just lay them out like that. Now with larger potatoes you can actually cut them in half, so long as each half has at least two or three dimples, or little eyes to them.
Chit your potatoes somewhere that is bright and cool but frost-free. I just leave mine out in the greenhouse here and bring them inside if a frost threatens. You could just leave yours on a cool, sunny windowsill inside - that's absolutely fine - but just don't keep them in the dark because what you will get then is long, soft and spindly shoots prone to snapping.
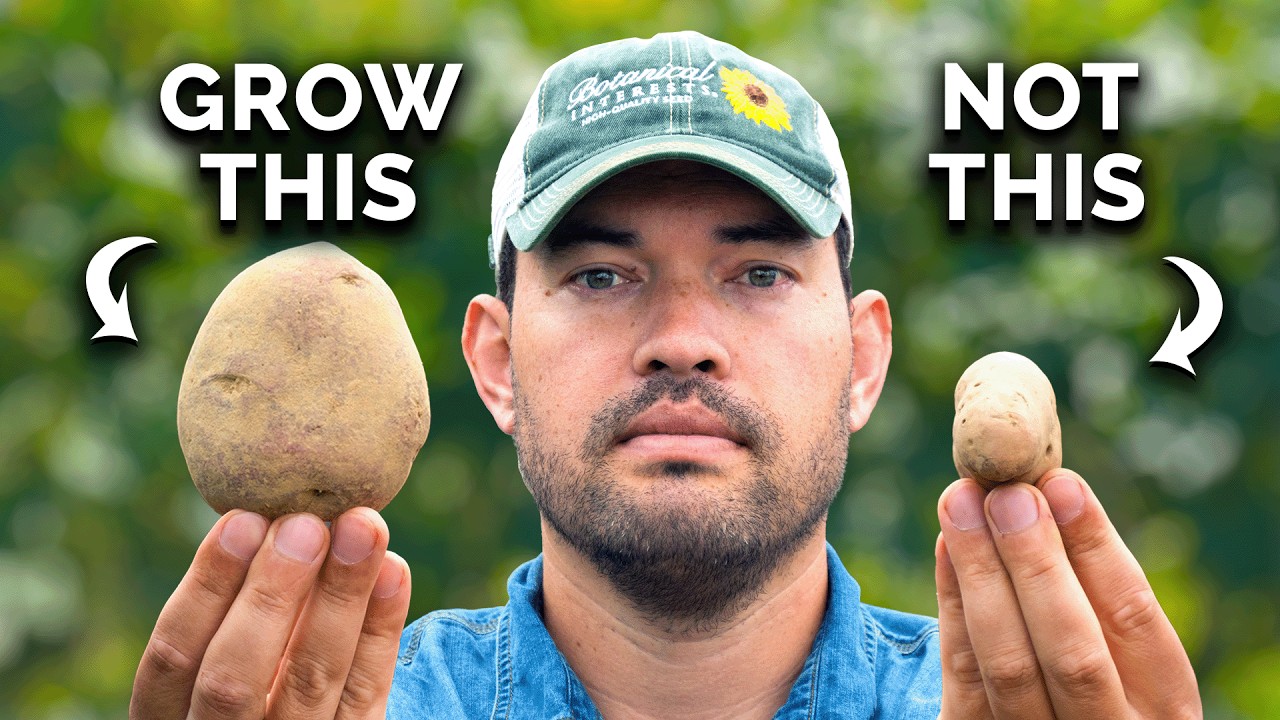
What we want are short and stubby ones like this. That's the golden standard. The more sprouts you have on your seed potato, the more potatoes you might get but the smaller they will be.
So if you want fewer but larger potatoes you have two options. You can either cut out some of the eyes at this stage - carefully not to cut yourself, like that. So that can't now sprout and you're leaving fewer.
Or if they have sprouted, just kind of rub off one of the sprouts like that to leave just one or two. Now I don't mind lots of smaller potatoes, so I'm going to leave mine just as they are. Just chit your potatoes the moment you get hold of them and keep them like this until you are ready to plant.
Did you know that potatoes are either determinate or indeterminate, just like tomatoes to which they are closely related? I didn't until recently, but knowing what type you have can greatly influence how you decide to grow them. But what does all that mean I hear you ask?
Well, determinate potatoes tend to produce their tubers more in one layer. Now because of this they'll benefit from a mulch to shade the soil, so that any tubers that poke through are nicely shaded and won't turn green. Indeterminate potatoes on the other hand produce their tubers in multiple layers, more vertically.
That means you get many more tubers, but to create more space for those tubers to swell you'll need to draw up the soil around the stems to create more room for them. Once you've got your head around all of this it's an absolute revelation, let me tell you! Now here's a list of some common varieties.
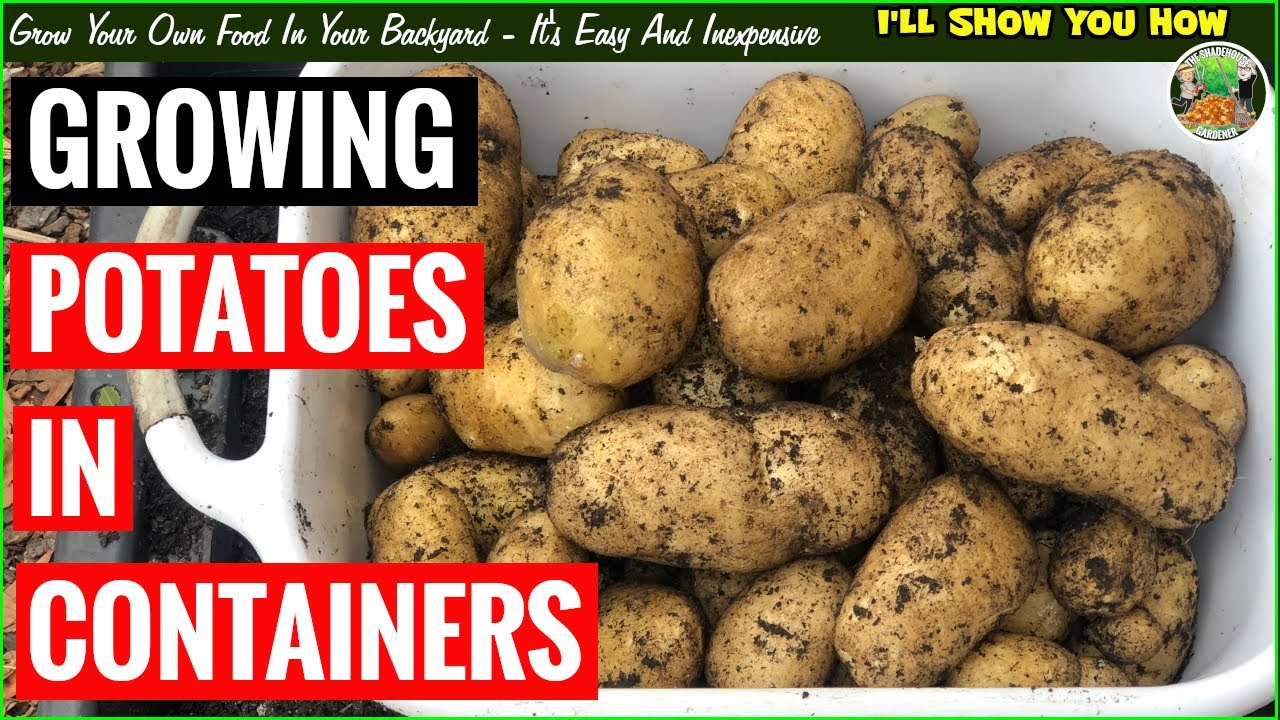
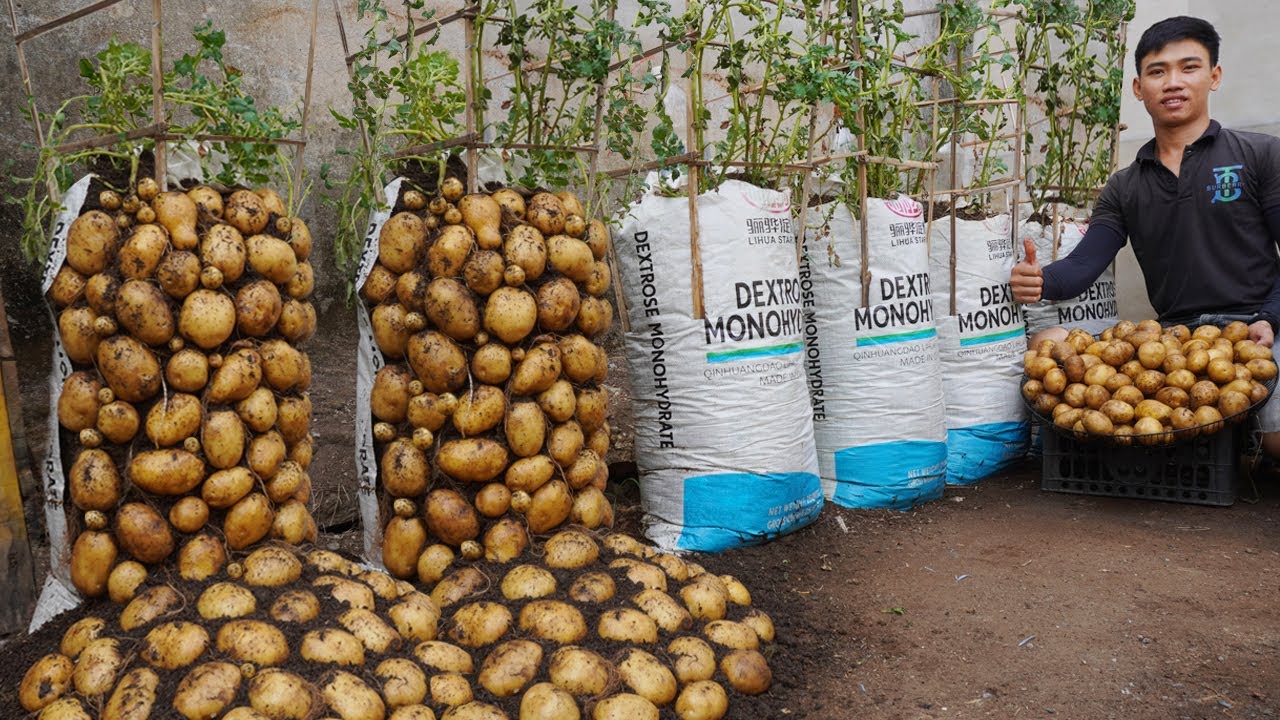
And there are lots of lists and tables out there, so do just search for your variety to see whether it is indeterminate or determinate, and choose your growing method accordingly. And more on all of this as we go through the video. The most accessible way to grow potatoes is in large containers or tubs like this one here.
This could be put any anywhere: on a terrace, on a balcony, or indeed any spare corner, which makes growing them this way very accessible indeed. This is a generous size at 30 liters or 8 US gallons, which means there's plenty of room for the tubers to grow and they won't dry out as quickly. And today we'll be planting a determinate variety of potato called 'Swift', but this method is going to work well for indeterminate potatoes too.
Let's start by preparing our growing medium, and for that I'm using some sieved garden compost and, boy, is this stuff beautiful! It's so crumbly. I'm also going to add in some old potting mix that I'm just going to reuse.
And then to bulk it all out some standard fresh potting mix as well. Now this three-way split saves on that new potting mix because it is quite expensive stuff, so it makes it a bit more economical. And then to finish it off just to give it a further boost just a really small handful of general purpose organic fertilizer, and I'm using some blood, fish and bone here.
You can also often find organic potato fertilizers tailor-made for this, but this stuff should do just fine. And now I've got to give it a really good mix up so everything is evenly combined Now pot-fill time. And to start I'm just going to fill a container about one third full with our mix here.
. . that should do it.
And now two seed potatoes are going to go in. . .
there we are. And now I'm going to fill it with another third of our mix, carefully so we don't topple over our seed potatoes and they're still still facing the right way up. And now this time in go another two seed potatoes, and this time I'm going to set them at sort of right angles like that, so when the foliage grows it's not kind of on top of each other.
With our two potatoes in I'm going to cover them back over right the way to the top. I got the idea for growing them like this from Tony O'Neill, and what I love about this idea is that, remember we're growing determinate potatoes and they form in kind of single layers, so by planting two potatoes here and then two here we've got two layers of potatoes. That way we're getting much more in the space we have available here.
Now if I was to grow an indeterminate variety in a bucket like this, well I could get away with just planting them at the bottom here because I know that as they grow they'll form tubers all the way along like that. Let's just finish it all off now by giving them a good drink of water. Now later on I will be adding a mulch on top of either straw or dried grass clippings, and what that will do is help to insulate it to keep it warmer, and then cooler as the weather gets hotter.
And it will also help to retain valuable moisture. Now it is crazy early to be planting potatoes like this. Potatoes are usually planted in early to mid spring, and not nearly this early.
That said, if you have a protected structure like a greenhouse or you live in a warmer climate then planting this early. . .
well why not give it a try. Now I'd better get these moved inside. Wherever you are growing them - even in a protected structure like this - watch out for frosts.
If a heavy frost threatens then pick up your potatoes and move them somewhere even warmer like, say, a garage. Or perhaps cover them with something like a fleecy row cover to insulate it. Potatoes do not like it cold.
Now with this super-early start in this protected structure I reckon I can get my potatoes up to two weeks earlier than potatoes outside. We'll see, and I'll be sure to let you know in a future video. It's just too cold to be planting them out here.
There's probably still another month to go until the frost risk is manageable. I'll be planting, when the time comes, some more first early potatoes here and some maincrops. In the meantime, the soil is nice and prepped with a good layer of compost ready to receive those chitted potatoes.
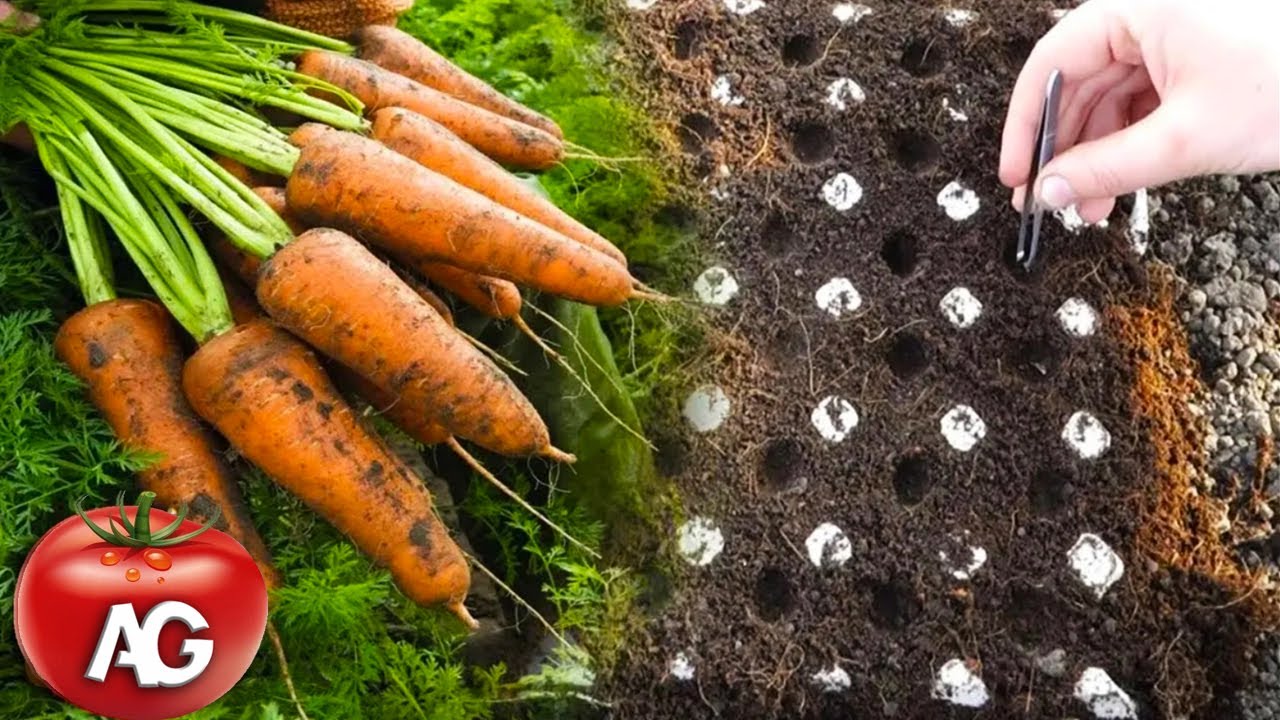
When it's time to plant them I will space my seed potatoes about 14 to 16 inches, which is 35 to 40cm apart, in a grid-like formation. And then I'll simply dig a hole aiming for a hole of 6 to 8 inches or 15 to 20cm deep, pop my seed potato in, and then just cover it over, nice and easy. That spacing is ideal for early to midseason varieties, or first and second earlies.
For my late season or maincrops, they'll be spaced a bit further apart, at 18 inches or 45cm between the seed potatoes. That allows the extra space for these guys to form their bigger tubers. If you're unsure how many potatoes will fit in the ground you have, well our Garden Planner can help with that to get the spacings just so.
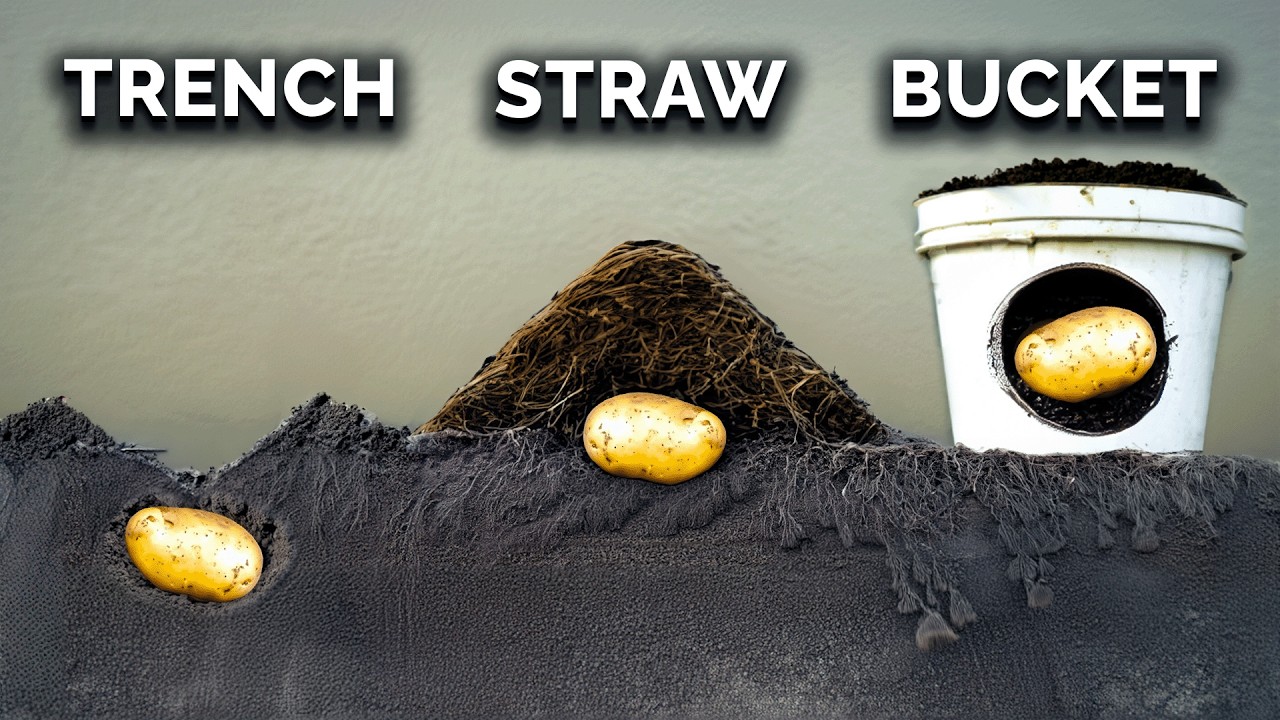
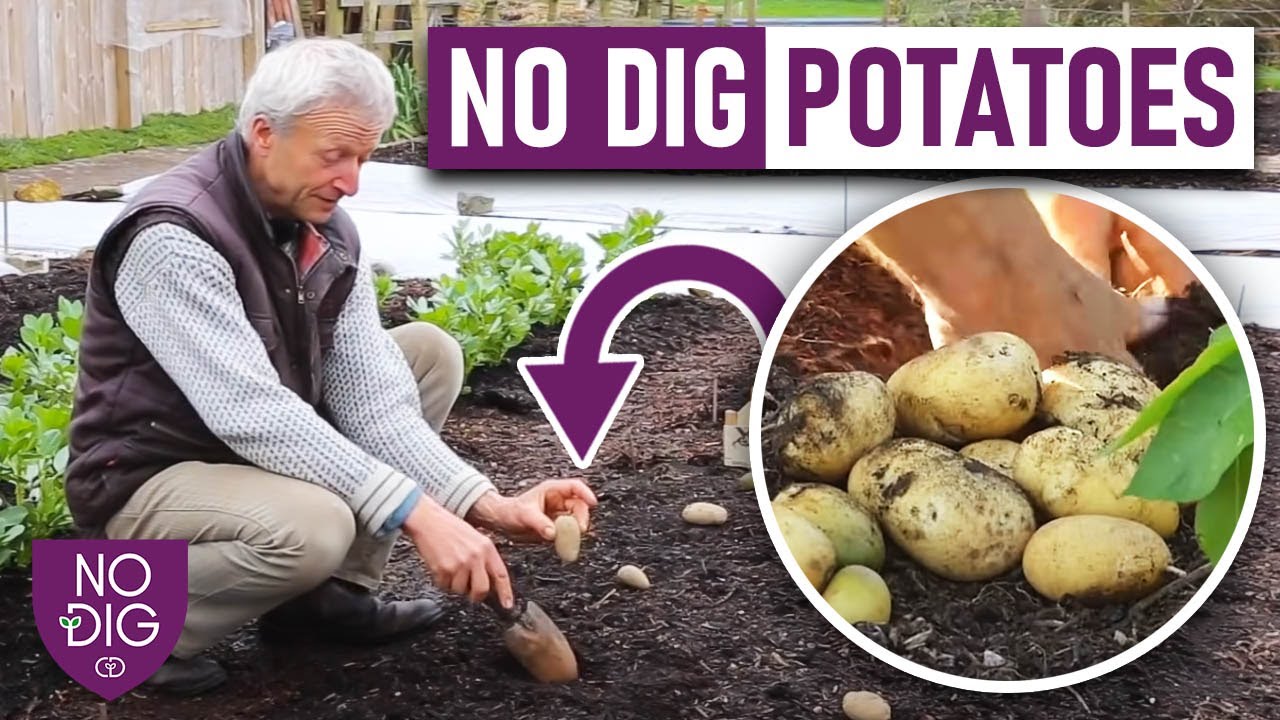
You can also plant potatoes in trenches cut into the ground, or even underneath straw. And if you'd like to know more about either of those techniques, I'll link to videos on them down in the video description below. For in ground or in bed potatoes there's then the question of whether to hilll or 'earth up'.
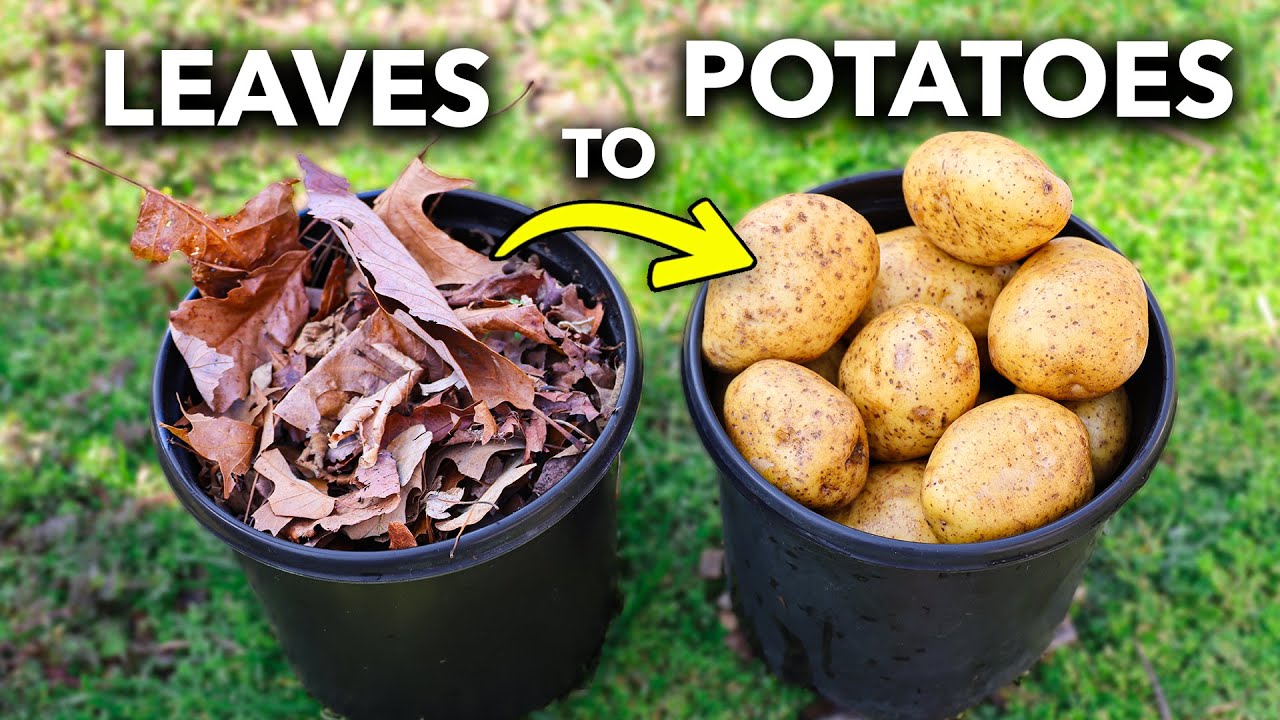
Do they need it? Determinate potatoes need nothing more than a mulch, and I will be using a combination of grass clippings, straw and dried leaves. Now if you remember they form their tubers all in one layer, so all we really need to do is make sure that any that do poke proud of the soil surface are covered and shaded from the sun so they don't turn green.
Indeterminate potatoes on the other hand produce those tubers more in a vertical formation, so the more space we can give the tubers to grow in, the bigger and better our harvest. Now this is where hilling or earthing up comes in. Just use a hoe to draw up the soil around the stems of the plant to create more volume of soil for the tubers to grow into.
You will only need to do this once, possibly twice, until you can earth up no more or the foliage above closes in and creates shaded conditions. Try to earth up in the morning if you can, when foliage will be fuller with water and so standing more upright, which will make the whole job a lot easier. And in all cases make sure you plant your seed potatoes nice and deep, cos that will give more room for your tubers to develop.
Wherever and however you're growing your potatoes, keep an eye on moisture levels. Now in most cases there's plenty of rain to keep them growing nicely, but they may need watering in dry weather and container potatoes especially will need regular watering. Aim your water at the base of plants to avoid wetting the leaves, which will create humid conditions and the perfect conditions for disease.
Now I will need to keep a special eye on my container potatoes, cos water will evaporate and get used up very quickly in that smaller space. The walls of the container are also black, which can warm up very quickly on hot days. So if that does happen I might move my containers into the dappled shade.
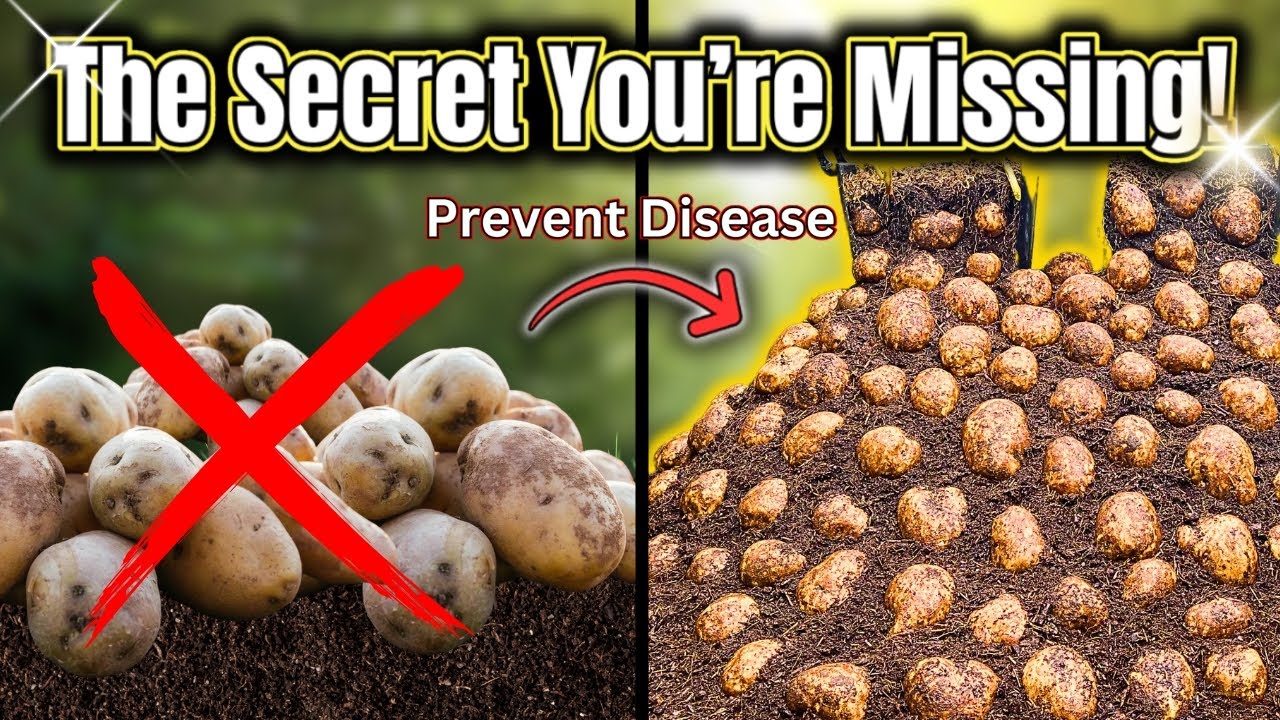
Potato blight, or late blight is perhaps the biggest concern for potato growers, but there are a few simple strategies we can deploy to avoid this fungal disease. The first is to grow early maturing varieties that will be out of the ground by midsummer, before the disease typically appears. The second strategy is to grow blight-resistant varieties, which is why I'm growing 'Sarpo Mira', one of the most resistant varieties of all, although there are plenty of other blight-resistant varieties available.
And, of course, be sure to aim water right at the base of plants so you're not wetting that foliage. If blight does strike, well don't panic. Just cut all the foliage back to ground level and then leave everything as it is for about three weeks so that any spores still lurking can die off.
And then go ahead and lift up your potatoes and eat them up as soon as possible. You can add blight-infected foliage to your compost heap, but just make sure to cover it with other materials so the spores don't kind of blow away and out into the garden. Which brings us nicely onto harvesting more generally.
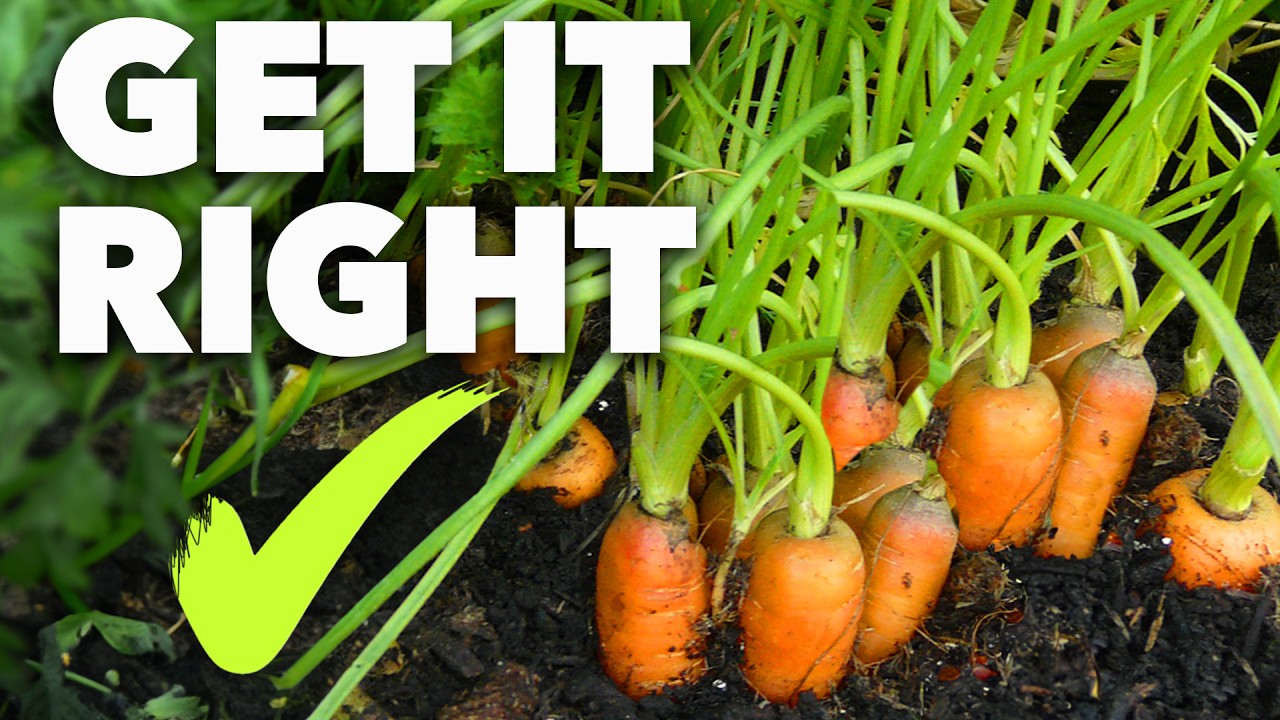
I like to harvest my early potatoes while the foliage is still very much green and lush and the plants are coming into flower. Container potatoes can just be tipped out and then the tubers gathered up. But for in-ground or in-bed potatoes extra care is needed to avoid spiking those precious potatoes with the tines of your fork.
Start carefully from the outside and carefully work your way in towards the center of the plant. I like to grab the foliage, if it's still intact, and holding it up get the fork in there and underneath, and gently rock it back and forth to loosen the plant and then pull it up. And then I can easily go ahead and gather those delicious lovely tubers.
Now do handle them with care, because you don't want to bruise them, and enjoy them as soon as possible. Late season or maincrop potatoes are harvested later on in the summer as the foliage is beginning to yellow and die back. Before you harvest them, maybe two to three weeks ahead, stop watering.
This will encourage the skins to thicken and toughen up, which is what we want if we're going to store. Then cut back the foliage, if there's lots of it, so you can see what you're doing. Then get in there and dig up the potatoes.
Once you have, just leave them on the soil surface for a couple of hours to dry off before gathering them up. Now you can store them in any breathable sack - something like this, or perhaps a hessian or burlap sack, for example. Now you can store potatoes, but only perfect, blemish-free potatoes.
Any that have got accidentally speared by your fork, that are burrowed into, bruised or perhaps green. . .
store those separately and use them up as soon as possible. I like to store my potatoes in here. It's cool but frost-free, well ventilated and, crucially, it's dark, so there's no danger of greening potatoes.
In there they will store for a good few months - well into winter. Now do you want more? Well, please dig into our potato playlist next.
I'll catch you next time.