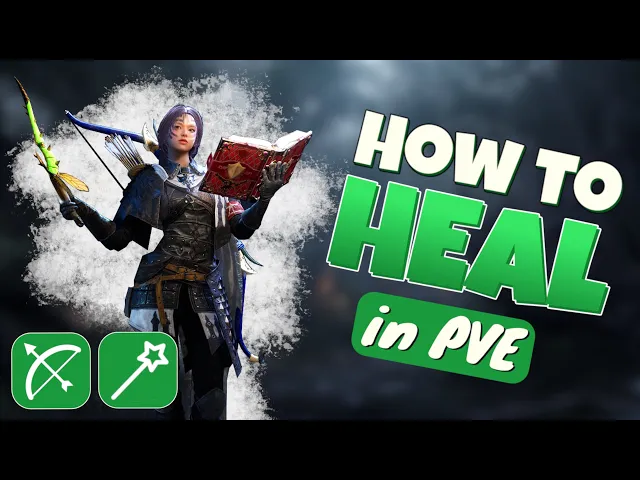
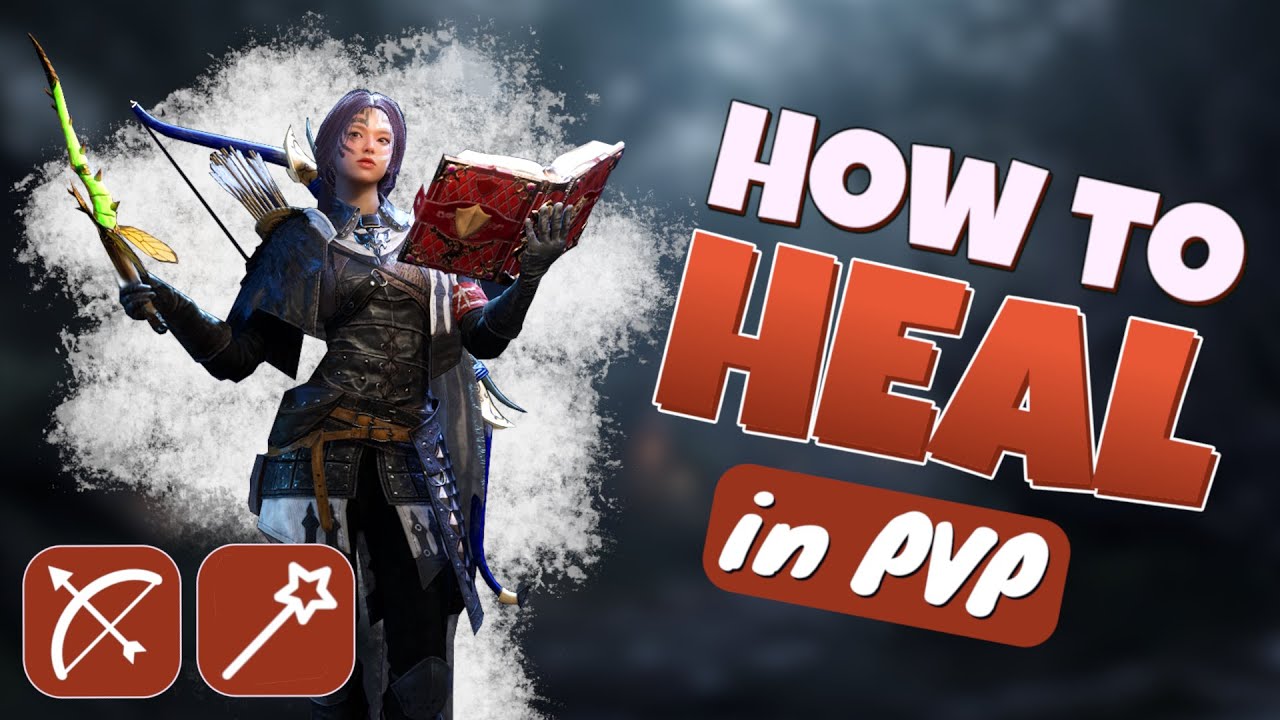
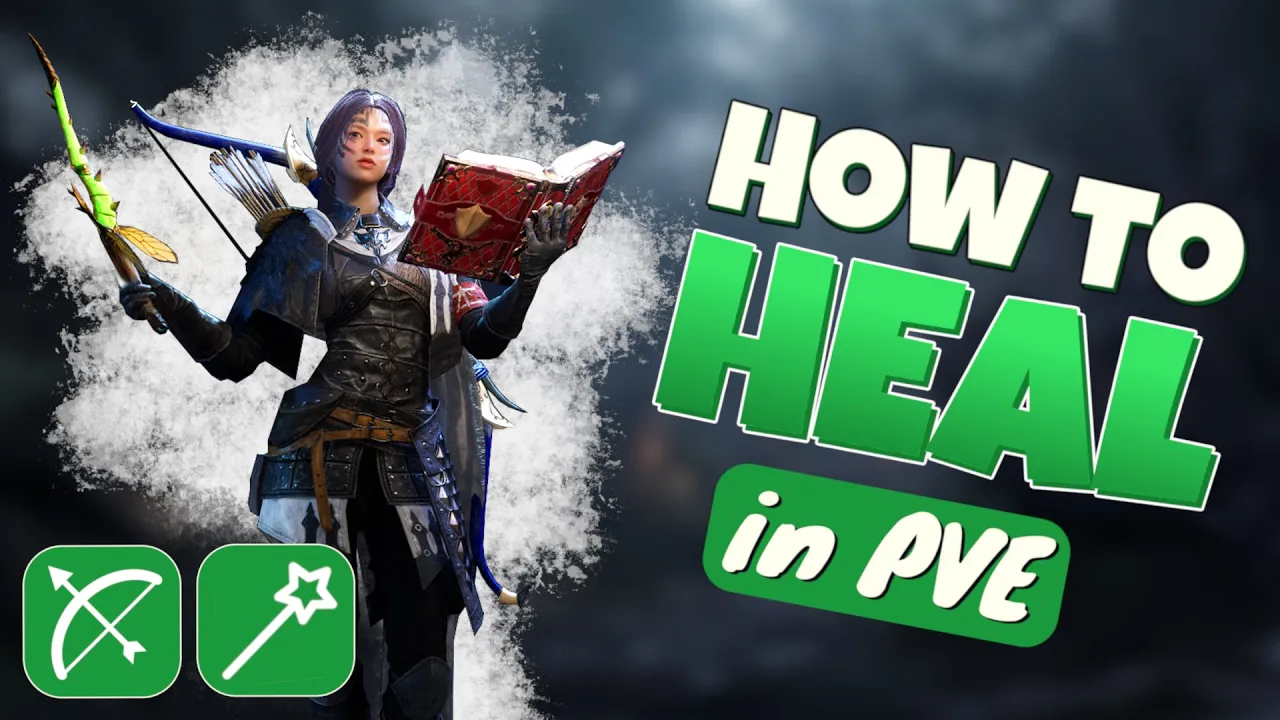
bone man is currently one of the top healing weapon combinations in PVE and PVP but it's not easy to understand what skills to take or how to spend your skill specialization points or how to gear with the almost Endless Possibilities you have in thrown in Liberty in this guide we will focus on building the perfect bone band heater setup for PVE and in the next video we will do the same for PVP so grab a snack settle in and let's get started okay first we have to understand some Basics when it comes to healing in
PVE and thrown in Liberty because it is a little different from what healing is in other mimal so you won't be constantly casting heals and dungeons because most of the damage is either blockable or avoidable early on when players are unfamiliar with mechanics they will take of course a lot of damage and you will need to heal a lot but as players learn how the Mechanics Work and how to properly block you will need heal less and less you still always need a Healer but you really won't have to actively heal as much anymore so
when it comes to PVE as a Healer it's not only about healing it's also about dealing as much single Target damage as possible so when we are doing now our build we of course need to ensure that we have enough heals but also try to focus on dealing as much single Target damage as possible because in Dungeons and Throne of Liberty it's always just about boss fights and here we only need single Target DPS okay with the basics out of the way let's have a look on what skills to take all the active skills we
can categorize in heal utility and damage skills so let's see what skills from each type we actually need for healing the V provides a single Target heal with two charges an AOE heal with a short cast time and the ability to place a healing area on the ground the bow on the other hand has a single Target H that can be stacked up multiple times and additionally has a large AOE attack that deals quite a bit of damage and provides a hot to all players hit by it so what heel spell should we use here
we will actually only use the three from the one the sing Target heal and the two AOE heals these spells are more than sufficient for healing in any dungeon so the bow heals are also nice but we just don't need them so we rather take some more damage spells with us okay let's come to the utility spots first starting here with the w we have two Shields one gives us heavily increased defense and increases all the incoming healing for a short amount of time and the second Shield just allows us simply to block some damage
so both really nice spots and can be really good in certain situations but most of the time they will be completely useless in PVE so we won't take them then we have time for punishment which is lowering the skill damage resistancy from our enemy which is incredibly strong because it amplifies not only our damage but the damage from our whole party so really strong spell here which we always want to take cursed nightmare allows us to sleep our enemies which is nice in PvP but really useless in PVE the last utility spell is karmic haste
which allows us to spread our curses to nby Targets this could be for example combined with our sleep again this can be really really powerful in PvP but it's really useless in PVE okay now let's come to the utility spells from the bow here we also have a variety of different utility spells nature bling can remove weakens and increase the life and Mana regeneration from all party members providing additional Mana regeneration for everyone in the party is just really strong because Mana can be a problem in and applying this buff constantly to to all your
party members is just really really strong purifying touch allows you to cleanse a crowd control effect from a single person this is just not needed in the beginning in PVE Blitz allows us to reset one of our cool to use this spell twice in a row so for example we could use fountain life then reset the cool down with splits and place even a second heal area really strong but not needed in PVE then we have deadly marker this spell allows us to Mark enemies so that everyone who hits the mark enemy increases their critical
hit chance and reduces their cooldowns this is so incredibly strong in PVE because again we will not only amplify our damage but the damage from the whole party for sure something we always have to take for utility spells the bow just has two more CC BS one can bind a single enemy and the second one pulls all enemies close to each other nice bats but cc is in most cases not really needed in PVE okay let's come to the damage SPS for the w we have three more curse bus Which also have a really nice
Synergy so we have two dots one single Target dot which we can stack up up to three times and an AOE dot which comes with a short cast time so just two simple dots nothing too special but now we have also the skill curse explosion which allows us to deal all the remaining dot damage on a Target instantly which results in a huge burst so usually burst is not so good on PVE but we can do here some nice upgrades later on which make them really powerful also in PV so we will take all of
those three now we have three more slots so let's see what the bow has to offer when it comes to damage spells decisive sniping is a single Target spell which needs to be channeled for a short time it deals quite a bit of damage and also increases our crit damage but it just takes too long to channel this spell and there are just better Alternatives that's why we take the three other remaining damage spells from the bow here seus KN is a simple bow shot with a really low cool down strafing is also sing Target
spell which shoots four projectiles up to two times and then we have brutal Arrow which is just a simple ranged AOE attack sounds all not too special but they are also getting a really nice Synergy when we are doing our skill specialization okay so that would be my active skills I would always take for every dungeon okay now let's have a look what skill specialization we should take starting here with the w damage spells so first we should take here the increased duration of touch of the spair because if the dot duration is longer then
our curse explosion can consume more dot damage and will also deal more damage then for the curse explosion we actually should take all three upgrades so the first one will reduce the damage from curs explosion by 50% which is of course not so nice but the dots will stay now on the target so we can constantly have all our dots on the boss but still use curse explosion all the time which of course will heavily increase our DPS additional damage increases our damage when Touch of these Bears now on the target this of course really
nice so we take it and the last bar makes the spell a single Target spell and also reduces the cool down in dungeons for bosses we of course only need single Target damage that's why this is of course totally fine for us so for corrupted magic circle we only take the first upgrade which makes it an instant spell and also a single Target spell again single Target is fine for us and now we don't have to cast the spell anymore which is of course really nice for us so all of those curse spells are now
instant and single Target and we can spam them just all the time on the boss just really really strong okay so let's come to the healing spots for Swift healing I would recommend for beginners to take healing transfer and range so when you start healing in dungeons you might be at the beginning a little bit overwhelmed by all the boss mechanics blocking all the fury attacks and healing at the same time that's by having additional range on your main heal and also always heal yourself even if you heal someone else can make heating so much
easier so of course you can change those specializations later on but for the beginning I would recommend you those two upgrades so for clay obervation I would also increase you the range of this spell it's also not 100% needed but at the beginning the positioning of all your teammates including yourself won't be always perfect that's why this kind of an upgrade can make healing a lot easier for the last he spell fountain life I would always use the upgrades Mana recovery and additional range the additional range is just so good because we can place the
area now directly under the boss and then it will always heal all the mes and also the tank at the same time and as already mentioned Mana can be a problem that's why the Mana upgrade is just really really good okay for the last spell from the V time for punishment I would only take the additional dation of the spell so we really want to have here high up time on the spell because as mentioned it highs the damage of our whole party and increasing here the duration makes it of course a lot easier to
have your high up time okay let's come to the bow specific ization starting here with our damage spells here we can really have some nice synergies so what I haven't told you about strafing is that the Spell applies a debuff called Target on the enemy saia's knock will consume those targets and deal additional damage now course we can upgrade safia's knock that it also reduces its cool down when it Target stack is on the enemy okay this is already really nice but we can now also upgrade strafing and brutal Arrow so that they are applying
a new debuff called Gale through another upgrade from Sephia knock the spell can now also consume those gay staks to deal even more damage so we are applying on our enemy Gil and Target stacks and we consuming them with sephus knock to deal additional damage and lower its cool down crazy strong combination which deals a lot of damage in PVE okay and then we will also upgrade his draing so that we can use it one more time okay then for Nature's Blessing we don't need any upgrades now the last upgrade we actually want to take
is from deadly marker which allows us to have multiple deadly markers on a Target so the spell is really strong and you will probably always have multiple B PL in your group and if you want to Stack those deadly markers then you need this upgrade so just always take it okay done with the skill specialization now let's come to the passives starting here again with the V here we want to take devotion of emptiness which makes during the day our heal stronger and during the night our curse BS here it doesn't matter if it's day
or night it's it's just always good for us then we want to take here WRA Beacon which increases the duration of all our curse belts that means both of our dots but also time for punishment which of course is really really good then we come to the most broken passive when it comes to healing in PVE and that's vampiric contract it allows us to heal a friendly player by around 50% of our damage when we attack a cursed enemy so we will have constantly all of our dots on the boss so the boss will be
constantly cursed now we can select for example the tank and then we heal him for 15% of all our damage this alone is most of the time enough to heal your tank so if he is not fading every Brock or misplaying every mechanic you don't need to actively heal the tank anymore so just a really broken passle Noble Revival will give us just some additional healing depending on our Mana which is of course always good then we have selfless Soul which also increases our healing power and Mana regulation as soon as we are casting healing
spells so more healing power and more Mana regeneration always good and now we have three more Slots free and those we would take from the bow rapid fire stance increases heavily our attack speed when we are standing still for 2 seconds this of course we can really easy trigger in Dungeons and would just give us a really good damage boost then we will take sniper sense which will increase our crit chance and also our crit damage depending on how far we away from our Target so the further you stay away from the boss the more
damage you will do just an easy way to boost our damage here again and the last passive we take here is Roxy's arrowead which gives us a chance at every attack we are doing to shoot an additional projectile which is also again a small damage boost and really nice all the other passives here are mostly defensive or have not so nice conditions when they are triggered so at least for PVE we don't need them okay lastly we have to consider what blocking ability we want to take the V block reduces our curse cool down and
can provide an additional heal with a stand block or additional damage with a ro block the bow stand block increases our crit chance and Deals some extra damage the RO block gives us an additional Dash that guarantees a critical hit on our next ability since we don't need more healing and just want to maximize now our damage output the Bose block is always the better choice here okay that would be my skills I would take here for every dungeon run you will deal crazy amount of damage provide more than enough heals and utilize the best
utility spells for PVE okay now let's quickly break down the best Mastery choices for both weapons at the beginning we will only have 13 Mastery points for each weapon so of course we have to level them but then we can spend 13 Mastery points when choosing what Mastery tree to take you always want to focus on the final point because it's always by far the most powerful for the both options are CC and weaken resistance bind duration or critical damage it's an obvious choice to go with a sniping tree since critical damage is just really
really good but also all the other Mastery points here in this tree are also really useful and giving us just a lot of additional damage for the last three points you have you the flexibility so feel free to use them as you want now let's move over to the V the final Mastery points offer us here cool down reduction heavy attack chance or skill damage boost for every other weapon you would always take your heavy Tech chance because the stat is just Giga Broken But as a reminder the masteries are only active when you're using
the weapon so for example when you're using a spell from the W then the masteries you are active that's why heavy attack chance and the masteries for the V is actually not the best option because dots can't trigger heavy attacks and if we look here then onto our spells we then see that we only have curse explosion and all our heel spells which can actually heavy attack and it's okay for heals but I would rather constantly lower my cool dos on my heals than randomly heal the double amount and probably overheal my target by a
huge margin that's why I would always take you the damage tree where we get the additional cool down reduction you could of course also go into the weaken tree because skill damage boost is also really really good but all the smaller Mastery points are way better in the damage tree the last three points you can again use however you want that's already it for the masteries so now let's talk about the gear you will need for healing in PVE in slow ability gear progression happens in phases so first everyone is starting with green gear then
blue gear then epic one gear and finally Epic 2 gear Epic 2 gear won't release for two to four months after launch so we really don't need to worry about it just yet add additionally for PVE green and blue gear isn't really too critical you can pick here Whatever item sounds good to you don't stress over it too much just avoid investing heavily into those items because the goal is to transition to Epic one one gear as quickly as possible so but of course always level up your gear first to the max level before you
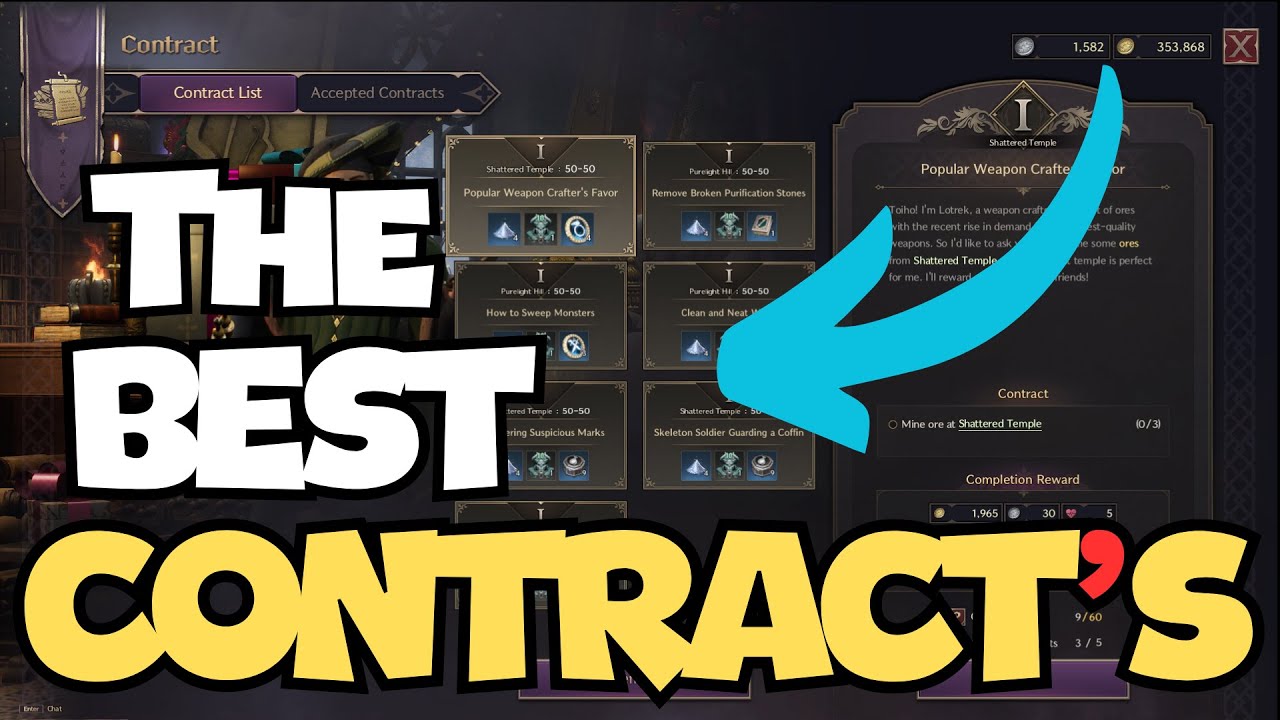
transfer it don't skip that part but just don't trade here any of the lower tier items we want to transition as fast as possible into the Epic gear this will be totally different for PVP that's why I you only created builds for epic one gear I've created two builds one low budget build that even a solo player can Farm in dungeons weekly contracts or in the open world and another build which also requires items from World bosses so here you will need for sure a guild to help you getting those items if you want to
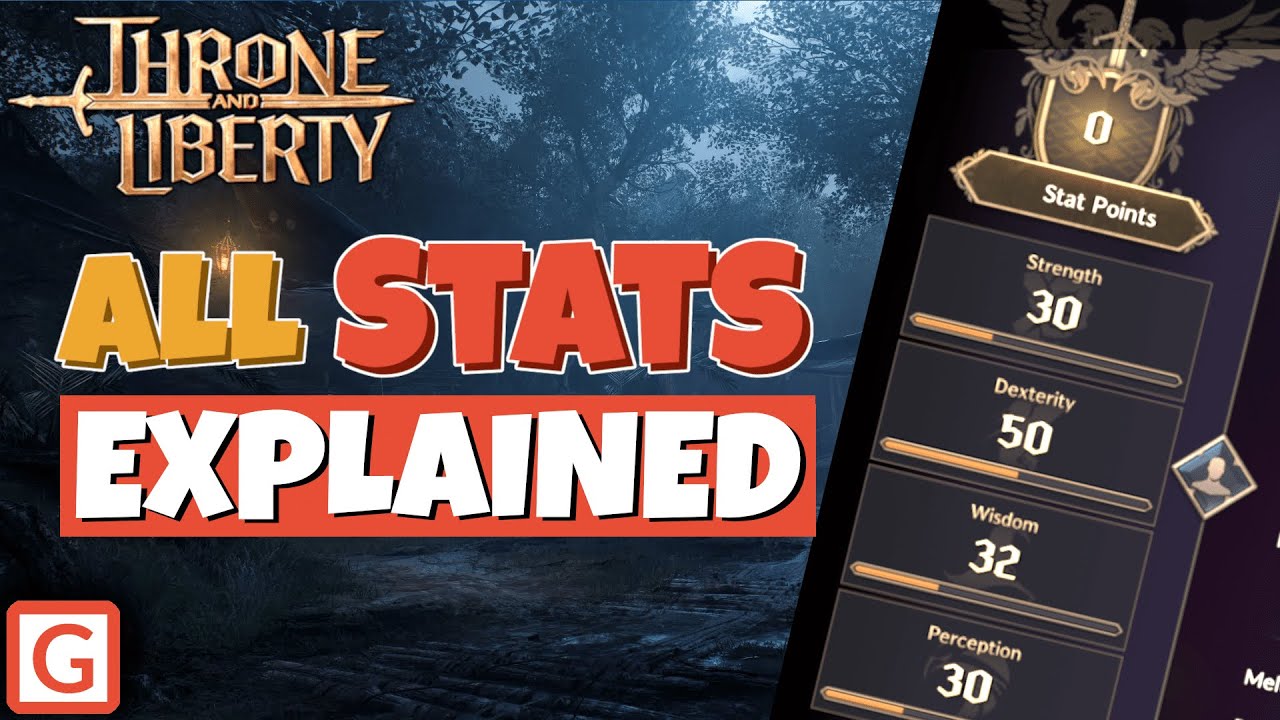
know where specific item drops simply click on the item and then click Vie in database button to see where the item is being dropped let's have a look onto the low budget gear you will notice that most of the items have your high Bas STS this is just because they are incredible valuable in PVE base STS help you reach your certain thresholds that provide great bonus STS and and they also increase your overall base damage which directly impacts the damage of all of your skills so especially in PVE where you don't need defensive stats always
prioritize High base stats items and that's exactly what we did here okay let's first have a look onto the weapons besides having good base STS these also give critical hit chance which is just really strong in PVE and our build is lacking that currently so that's already really really good for the bow there's actually an alternative and if you look onto the bow it also looks really nice it would give us additional 11% cooldown speed but there are two reasons why the CarX bow is better first we are getting dexterity instead of strengths which would
not let us reach the 50 strength threshold so we would lose 100 heavy attack chance we could get the 50 dexterity one but this one only gives us movement speed which is of course not so good on PVE and the second reason is the base damage as mentioned all your spells Scale based off the base damage so taking a weapon with a way lower base damage is in most cases not the play so always keep that in mind when you are creating your builds okay but for the W there is not really an alternative for
PVE but it also gives us just everything what we want okay so for the armor we will use two pieces from the transcendental set which will give us 7.5% coold down reduction Additionally the helmet will give us also 5% more coold down reduction this is just a really easy and cheap way to get a lot of cooler reduction which of course boosting our damage and also our healing output now you might wonder why aren't we using the full four piece set for additional healing power and the reason is simple the extra heating power isn't worth
it we would just lose so much other stuff here and it's also just not needed for the chest we go for the best damage chest in PVE which not only offers great base STS but also increases our heavy attack chance which is of course really really good again for the glov I would recommend here going for these blue gloves the bloody Shadow glovs are just really cheap way to get a lot of attack speed so there are of course also similar epic glovs which are really just slightly better but they will be way harder to
trade because the attack speed trades for glov will be really expensive early on that's why I would highly suggest you go for a long time for these bloody Shadow gloves so the boots are just a filler piece they are just easy to get and give a lot of Base STS and also for all the accessories there's really not much to say I've chosen them mainly because they are easy to obtain and provide High base STS okay now you might notice that I haven't selected you all the trades and that's because it's just not necessary so
to be honest you don't have to trade anything for tier one Dungeons but if you want to trade something then you should boost only your damage and your heals so stop by trading your skill damage boost on your rings and your necklace then of course you can trade your weapons and for the armor you can trade Mana rack Max Mana buff duration and so on but there's really no need to trade any defensive stats on your armor don't waste here you loosened and save that for your tier 2 Armor okay but this build will make
you a Godlike healer in any dungeon of course you could increase your damage here slightly with my second build but it's really just not needed but the links to both of those builds are in the video description now let's move to the final part of the guide where we share some key tips for heating which can be especially valuable for beginners first take it easy when you start healing dungeons focus on keeping keeping your team alive and playing the mechanics of the boss fights especially blocking all the fury attacks don't worry if you don't deal
a lot of damage it's much better to focus on Surviving at the beginning than to stress having a high up time all the time the second important tip is always to have the tank selected when you don't need to heal someone else remember you heal a percentage of your damage to the person you have selected since the tank is constantly taking passive damage from the boss keeping him selected will help you a lot here third make sure to stay in range of all of your teammates position yourself so you can heal everyone without needing to
move this way if someone gets hit by a boss mechanic you can quickly heal them up and don't have to run around which can lead again to not noticing a fury tag or what soever so if you smartly position yourself can make things a lot easier next don't worry too much about spell rotations so you can optimize the start of your rotation but the impact is really not that high because most of the time you will always spam your abilities on cool down and this applies really to all of your damage spells as well as
deadly marker time for punishment in Nature's Blessing we can really just Spam all your abilities constantly except for your heel Spells Of course next is to rearrange your huts so you can more easily see all the life bars of your teammates and can more easily select all of them this is of course really up to you but for me this just really helps a lot additionally what you can do is also show your life bar over your hat this is a setting not Everyone likes but of course that can also again help you a lot
okay that's everything you need to know when it comes to healing in PVE so bone R is just super fun in PVE and it's also really good in PvP that's why in the next video we will talk about how to build now in PvP this of course changes completely everything for the skills the gear and also the play style okay if you have any further questions feel free to ask me in the comment section then if if you like the video don't forget to like And subscribe and see you in the next one