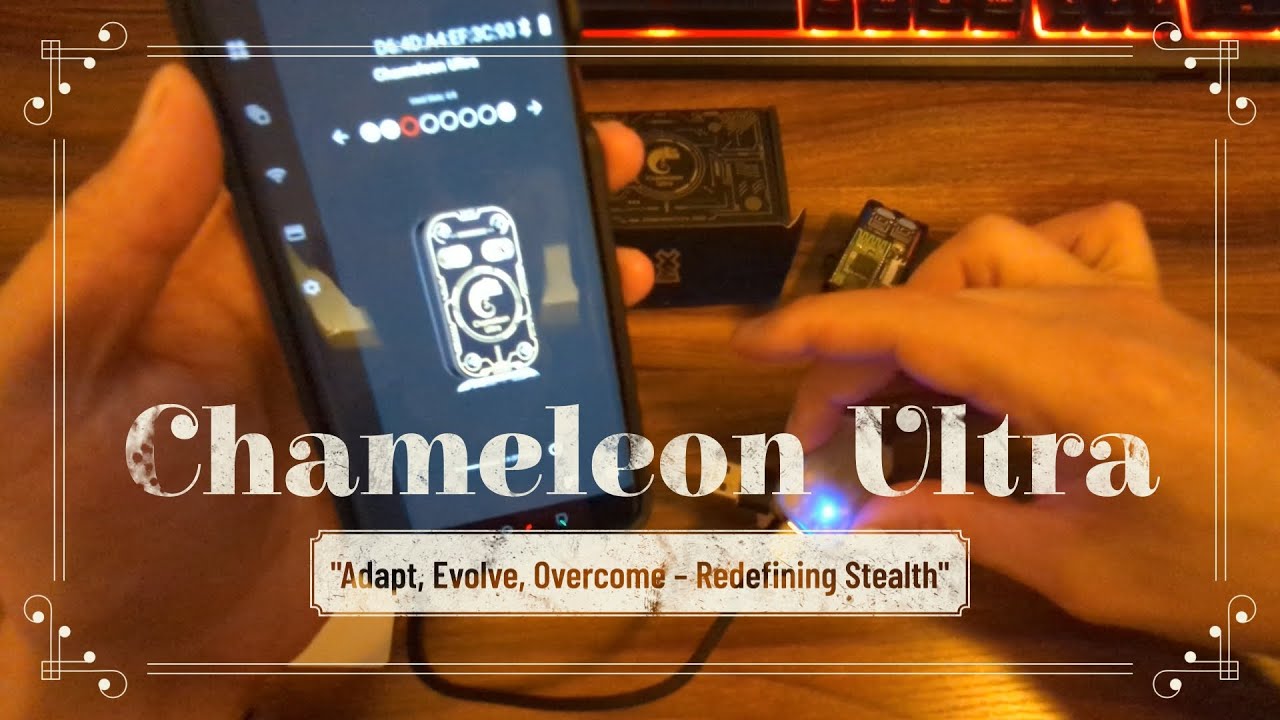
the cameleon ultra is the world's smallest RFID emulation device featuring Advanced capabilities like low and high frequency emulation Cutting Edge cracking technology and wireless control all packed in a compact key-chain sized fully open-source device today's video is how to cameleon ultra [Music] hi, my name is Sandy from LAB401. com today I am joined by gameTec-Live The Talented team programmer behind the cameleonultragui and we will go through all the settings of the app on PC Android and iPhone for you. To begin with where to download the app for iOS devices like the iPhone the iPad iPod touch and the Mac OS X 10.
14 or later you can download the cameleonultragui from the Apple Store the direct link is available here Additionally you can join test flight to get earlier builds of the application for Android users the cameleonultragui can can be downloaded from the Google Play Store the direct link of the app is here there is also an option to download a plain APK version if needed the chameleonultragui is available for Windows, Linux and Mac OS you can download it for these platforms from the cameleonultragui GitHub page. additionally for Windows you can use an Android emulator to download and install the cameleonultragui on your computer or laptop. now that the app is installed on your device you need to connect the chamelon Ultra.
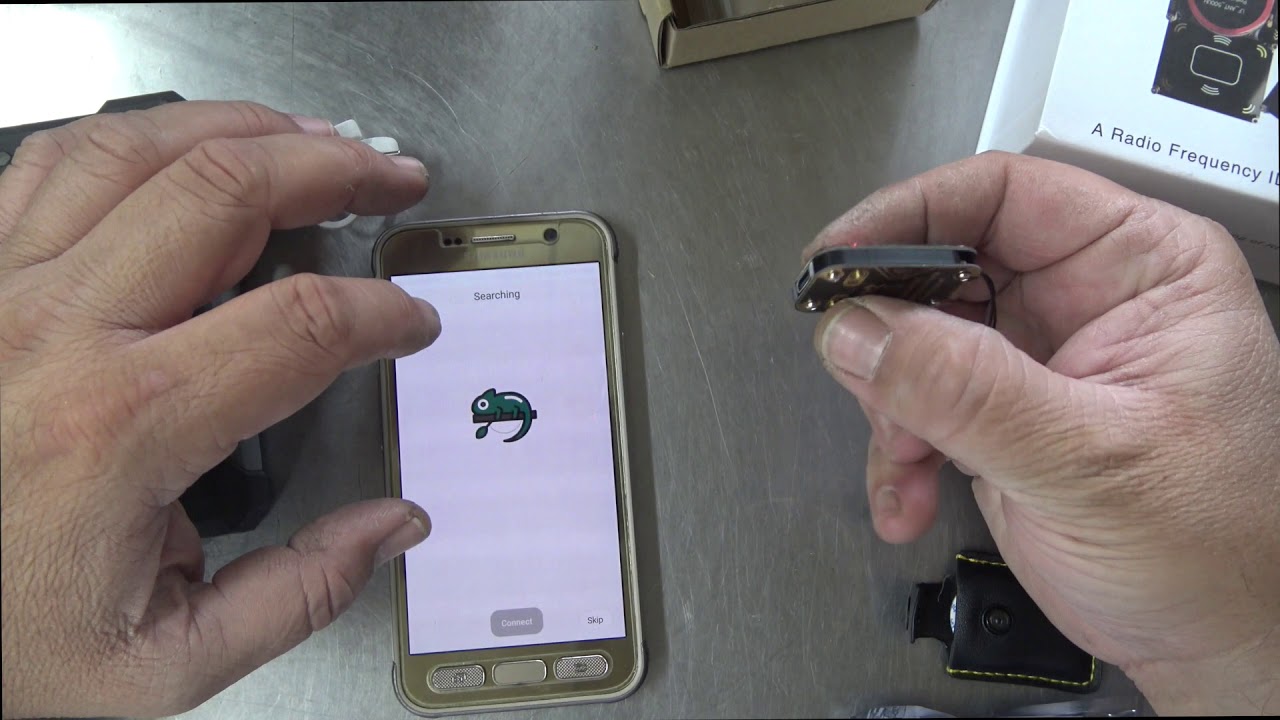
For that you can use two methods using a USB-C cable and plug the chameleon ultra to your device or connect through bluetooth. Bluetooth allows a wireless connection on mobile devices IOS and Android but it is way slower than a wired connection a wired connection on the other hand is faster and more reliable especially when you are working in an area with strong RF interference but you're Tethered on your device, note that wired is the only way to connect on desktop devices as there is no Bluetooth Library support for desktop when connected open the app an image of the device connected will appear. the app will control the chameleon ultra, the chameleon ultra lite and the chameleon ultra de kit also note that an image of the chameleon ultra will be displayed when you are using the chameleon ultra dev kit as there is no way to differentiate the dev kit from the chameleon Ultra.
to interact with a connected chameleon just click or tap on the image note that if there are multiple chameleons plugged or at Bluetooth range they will all show up on that page when connected the app will let you know if you are running a 1. 0 version of the firmware and offer you to update it you can update or skip. the app design is pretty intuitive there is a navigation bar on the left side showing six pages by default you will be on the home page of course, the right side of the screen will display the functions you can control on each page.
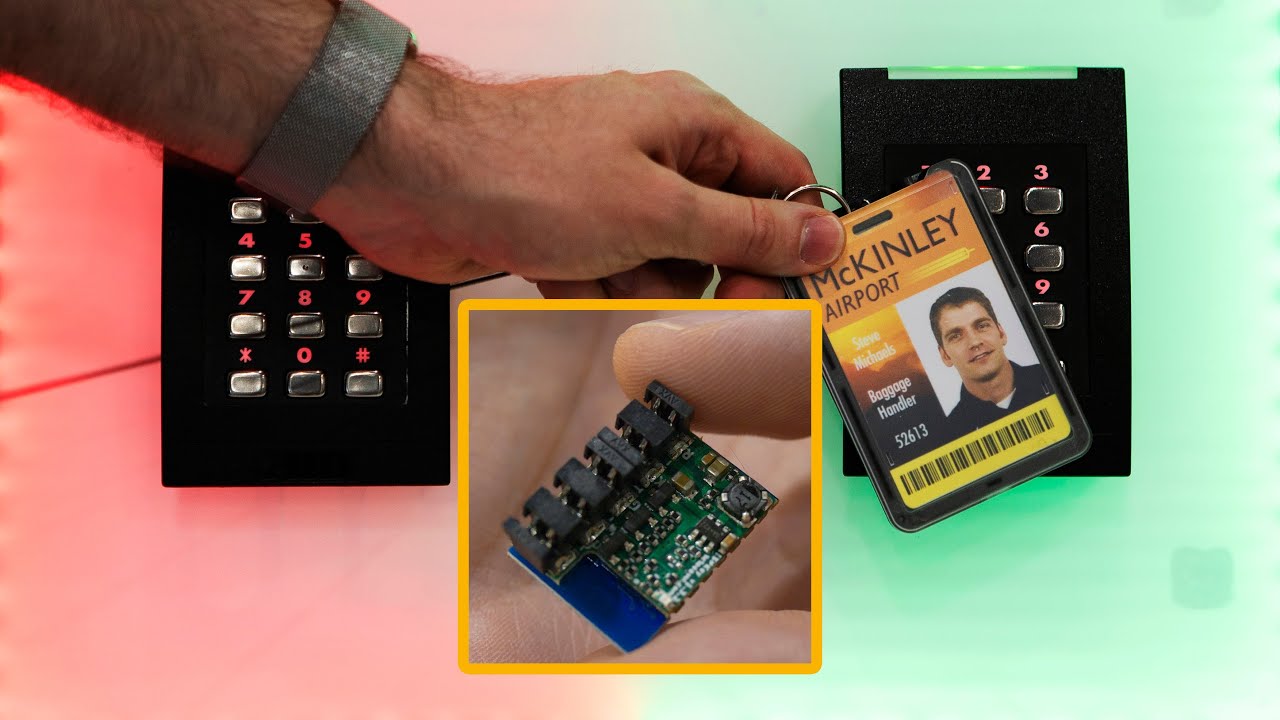
the six pages are home so the home page the slot manager the page to manage the eight Slots of the device eight high frequency eight low frequency assign cards to the slots and choose emulation modes Etc. then you have Saved cards where you can find your Saved cards of course but it is also the location of the dictionaries then you have read cards where you can read cards of course crack them use dictionaries to get missing keys and save them after that we have write card the menu to go if you want to write on a blank card and find finally the settings page on that page you can access the language UI design and settings management so import export the about of the app the build version and much more we'll check all that in details the home page will display crucial information about the chamelon device on top right the USB port number or Bluetooth ID used to connect to the app then you have the battery level and the voltage you can see the type of device connected the used slots indicator so 3/8 will mean three are used from eight possible the eight Slots of the device with different colors for the ones that are used and the one that are free with arrows on the left and right side to select a slot you can see the image of the device the current firmware version and an icon to check for firmware updates you can also find a switch from reader mode to emulator mode as you may already know the chamelon ultra has two chips the nrf52840 that handles emulation and a mfrc522 handling the reading and writing by the way the chameleon ultra lite is missing the mfrc522 so switching between those modes switches who is in charge of the antenna on the chameleon ultra board you can actually hear the relay click and therefore also switches the possible actions the chamelonultraGui does its best to handle the switching automatically but in case it is required to switch manually this button does it finally you can access the device settings using the settings wheel at the bottom right of the page let's take a look at the device settings sub page here you can access the firmware management you can enter dfu mode as you may already know dfu stands for device firmware update this button is intended in case you want to manually switch to dfu and then perform dfu actions outside of the app using NRF util or similar it's not limited to just doing firmware updates the second function is Flash firmware via dfu in this mode the device will enter in dfu mode and Flash to the latest firmware it connects to the internet and download and install the latest firmware from the official GitHub the first function is flash. zip firmware via dfu if you want to install a custom firmware you can choose this mode simply click select the zip file with your your custom firmware and flash next we have the animation control full is the full animation mode meaning it's a shorter animation mode and known is no animation at all the animation is being played when the device waks up so when you select no animation the device starts up instantly that might be the best option then we have the button config there are two buttons on the chamelon ultra button a and button B two states of the button press will be configurable normal press and long press long press is around 3 to 5 Seconds there are five statuses that you can assign to each state of button a and button B disable will disable the function so nothing will happen in that state forward will switch the slot forward backward will switch the slot backward clone uid will clone the uid of the card or the batch charge will display the current battery charge using the eight slots LEDs now you can simply assign a mode for each button for normal price and a long price next we have the BLE functions by default the BLE pairing is disabled when enabled the Bluetooth pairing is enabled allowing you to restrict who can connect to your device so they need to know the pin of course you can clear the bounded devices and change the password finally in other you can reset settings it will reset all the settings above or factory reset it will reset the device to its original Factory State okay let's change the page and go to slot manager in this page we can see the eight slots displayed with the basic information the slot number the tag name in The High Frequency spot and the low frequency spot and the settings wheel per slot redirecting to the slot settings to assign a card to a slot simply click on the slot that you want then you will see a list with the saved cards note that this icon means it's a low frequency dump and this one means it's a high frequency one click on the card and the dump dump is automatically assigned to the LF or HF spot of the slot let's take a look at that slot settings on the top right you can find the export slot data you can choose the frequency slot to export low frequency or high frequency after choosing the frequency to export you can decide to save to file to save locally export to new card will create a copy that you can name very useful after you made changes to the card with the edit slot data you can also decide to update the saved card back to the slot settings it showcases the HF and LF spot followed by the name of the card assigned and a switch to activate deactivate the spot, the pen will let you edit the slot data the X will clear the slot let's take a look at the edit slot data sub page this sub page display changes regarding the type of tag for frequency tag there is the uid and the type of tag that will be displayed for mare 1K we will have way more options showing up after the name of the badge used in a slot we can find the type of badge then the uid if you are new in RFID pentesting I'll explain a little more what is doing what the uid is a sequence of bytes that uniquely identifies an RFID tag or an NFC card it's pretty much like a serial number for the card the length of a uid can vary common length are 4 bytes 7 bytes and 10 bytes when a reader first communicates with a card it uses the uid to distinguish that card from all the others in environments where multiple cards are present the uid is crucial for the anti- Collision process ensuring that the reader can communicate with each card individually the uid is generally read during the initial stages of the communication process then we have the Sak Sak means select aknowledge after the initial atqa response so bear with me we will see what is an htqa response after if the reader decides to communicate with the tag it sends a select command to which the tag responds with the Sak the Sak is a one byte response that gives more detailed information about the tag such as its exact type and capabilities for instance it can indicate whether the tag is a simple memory card a more complex cryptographic card or a card with other specific features the sak helps the reader to understand how it interacts with the card what protocols to use and functionalities to expect then we have the ATQA ATQA stands for answer to request a this is a response from an NFC card or RF id tag when it is first activated by reader RF field the atqa is a two bytes response that provides the reader with the initial information about the type of card or tag it includes detail details like the cards RF technology compatibility and its data transmission rate the atqa is part of the cards anti- Collision mechanism helping to ensure that the correct card is identified and communicated with when multiple cards are present in the reader field then you can enter an ATS answerer to select ATS is specific to ISO IEC 14, 443 type A cards after the card has been selected by the reader using the SAK or select an knowledge the card responds with the ATS if it's operating under the iso 14443 -4 the ATS contains information necessary for the initialization of the protocol parameters for further communication the ATS is important for establishing a more complex Communication channel between the reader and the card especially for cards that perform higher level functions like secure transactions or data storage after that we have the mifair classic emulator settings gen 1 a magic mode gen1a magic mode refers to a specialized type of RFID tag that allows for greater flexibility and control over the tags data including the ability to rewrite the uid and other normally read only sections while useful for research and testing well they must be used with consideration for security and legal concerns then we have the Gen 2 magic mode Gen 2 magic tags are compatible with with most systems supporting mifare classic cards and offer improved performance they typically have better security features compared to the Gen1a tags use uid Sak and ATQA from zero block will use the uid SAK and ATQA this functionality is particularly important for custom applications security testing and scenarios where specific tag behaviors are required how does it differ from other fields well some cards report a different uid Sak and ATQA to the reader as they have in blog Zero by default the uid Sak and ATQA are set to the values read by the chameleon but you may want to use the data from block zero for specific applications collect nonces mfk 32 the process of collecting nonces typically involves interacting with a mifare classic card multiple times to gather in of data so nonces for cryptographic analysis each interaction involves a challenge and response communication where the card generates a nounce by collecting these nonces an attacker can analyze them to find vulnerabilities in a card security protocol particularly weaknesses in the random number generation or implementation flows in the encryption algorithm to use this function you enable MFkey in a slot settings then you present the chameleon ultra to reader note that it is also working offline so when there is no app connection connection then you return back to the slot settings and there is a new button recover Keys another page opens you can see the number of nonces the keys can be recovered from press it and the MFkey32 gets to work the progress bar is a nice touch it'll take a moment to recover all the keys when the keys are recovered you can of course save them you have three options save recovered keys to file add recovered keys to existing dictionary and create a new dictionary with the recovered Keys finally don't forget to remove the mfkey32 option from the slot you were collecting nonces from let's get back to the edit slot data the last section is the right mode normal the emulation acts like a normal card accept rights save them to permanent storage Etc decline tells the reader this is a read only card and decline writing deceive accept writes from the reader but don't save them when the reader tries to read the data again it's gone nothing happened and it didn't actually right Shadow accept rights and cash them when the reader tries to read it's still there but as soon as the device goes to sleep it's back to default as if nothing happened at the bottom right you can cancel or save the changes the saved cards page is composed of two sections cards where the cards saved are displayed and dictionaries where you can manage the dictionaries you can add a card using the plus button on top of the section simply press the button and browse to add a valid saved card to your computer or phone each saved card shows an icon for LF or HF card the tag name the type of card and an edit save and edit button when you press the edit button you are able to modify the uid and other available fields of the specific card when done you have the option to save or cancel the modification save will offer you to save as a .
bin or a . Json and the trash icon will let you delete the save tag in the dictionaries section you will see the save dictionaries it's the number of keys in the dictionary and free buttons edit save and edit pressing the edit button will let you edit the dictionary manually you can add delete modify the keys when you are done click save or cancel at the bottom of the page the save button will let you save the dictionary on your computer as a . dic and the trash icon will erase the dictionary adding a dictionary is fairly simple press the plus icon at the top of the section and select the file with the store Keys let's change page and go to read cards to read a card or a tag simply put it very close to the chameleon and press the read button corresponding to the type of frequency used by this card if you are not sure well just try HF first and then LF for LF card once read you have the option to save the card you just need to enter a name for that card and press okay now the card will show up in the saved cards for a mifare high frequency card you can save only the uid so no keys will be saved if you want to dump with all the keys of the card you need to check the display Keys a Red Cross means the key is unknown a green check mark means that the key is found let's take a closer look to the Keys section in order to find the missing keys of a card you need to use a dictionary if you select no dictionary then you won't be able to find them by default there is an internal dictionary in the chamelon you have the option to skip it though when you check the skip default dictionary function when you want to use a custom dictionary under additional key dictionary select a previously saved dictionary you can see that by default it is empty click and select the dictionary you want to use then press check keys from dictionary and the chamelon is recovering the missing keys after that you can dump the card or export the found keys to save a card dump press dump card save name the card click okay now the card will show up in a saved cards you can also save the card as a .
bin when you want to save the recovered Keys you have three options first one save recovered keys to file you press enter and enter your name second option add recovered keys to existing dictionary you have to press and then select the existing dictionary that you want to add the keys to third option create new dictionary with recovered Keys here you just have to enter the name of the new dictionary that you want to create next page write card writing a card is a simple three steps process and all the instructions are on the screen step number one select the card previously saved then press Next Step number two select Magik card type in this section pick the type of magic card you want to use if you know it if you're unsure you can also try the autodetect magic type function press Next Step number three write data simply press on write data and voila the chameleon is writing on the card and finally last page settings the first section is sidebar expansion expand show the icons and menu titles Auto automatically expand or retract the sidebar depending of the window size and retract retract the Side Bar then we have the theme section with 3 options system will pick the system theme light the light theme and dark the dark theme then we have color scheme you just pick the color you prefer it works with light and dark theme then you have the language so you just pick the language that you are more comfortable with then you have confirm delations toggles whether or not to display a confirmation dialogue when deleting a card then we have export setting multiple option there cancel if you want to go back to the previous page QR code press it then you have access to two parameters split size and error correction split size is the maximum number of characters per QR Code by default it is set to the maximum size 2048 the more characters the less QR codes needs to be generated to export all the settings then you have a slider for error Corrections here as well as the value increases more QR codes will be needed to export all settings under that you can find a test QR code when you press okay you will see the total number of QR codes needed to fully EXP import the settings to your phone here we have 28 QR codes that we will need to scan on our phone to import all the settings from the desktop json file will create a file that you can later Import in another chameleonultraGui JSON or JavaScript object notation file is a standard text format that is used to store and transport data as you may already know it's commonly used in web applications for sending data from server to a client and vice versa next section import settings where you choose how you want to import for the settings once again 3 options here cancel will let you go back to the previous page QR code press it and you will be ask to start scanning then scan the export QR codes from your desktop Json press and choose the . json file with the settings that you want to import from your device then we have the about section it shows the build information of the Gui the list of developers working on it the license a link to the GitHub and a section to thank the supporters of the project if you want to support this project yourself a link will be in the description below and lastly the code contributors and lastly you can activate the debug mode when you press it oh my God oh my God okay we won't go there in this video thank you for watching this video if you found it useful or informative please like share and comment and don't forget to subscribe to this channel we will make sure to keep you updated when updates will be released for the chameleonultragui and the chameleon ultra firmwares so stay tuned I want to thank again GameTec-live and the other contributors for their hard work and help to make this video possible if you want a chameleon Ultra a chameleon ultra light or a chameleon dev kit with the best price and the best service visit LAB401.


![[ iOS & Android ] Chameleon Ultra Fast Reading EM410X and Simulation - MTools Lite](https://img.youtube.com/vi/bvsViMNncok/maxresdefault.jpg)