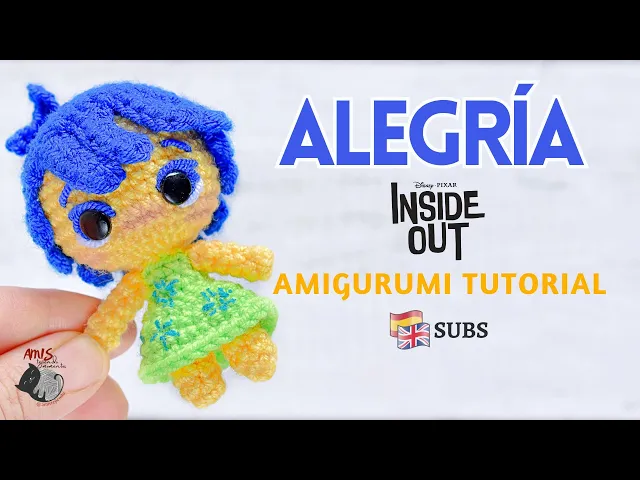
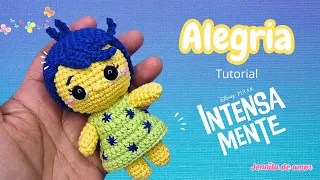
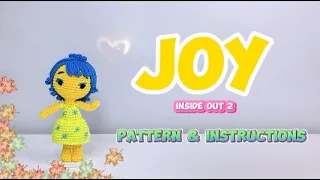
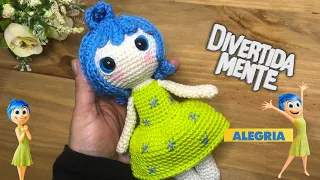
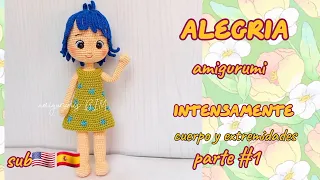
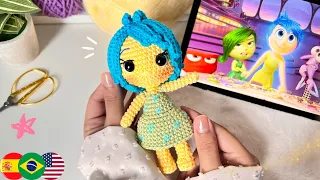
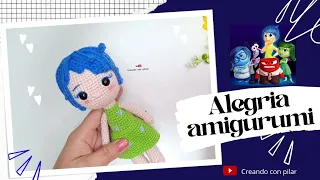
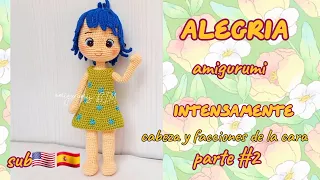
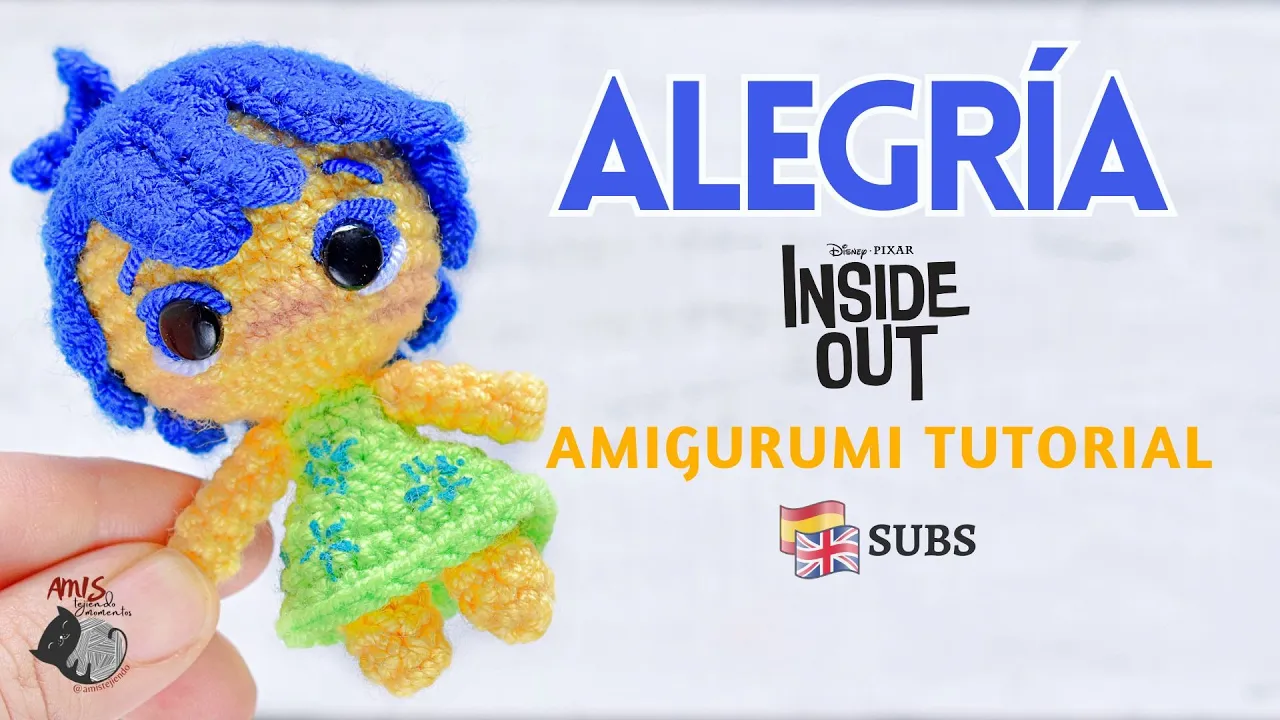
Hello hello, greetings and welcome back to the Amis Tejiendo Momentos channel, I am Esmeralda and today I bring you the tutorial to crochet this beautiful Joy, starting with the collection of the emotions of Inside Out in mini version, which you can perfectly use for keychains if desired. Joy is only between 8 and 9 cm high and is very, very tender, and very pretty as you can see. To crochet Joy I am going to leave you here the list of materials that we are going to need, don't forget to subscribe to the channel, leave your likes, your comments, which always help me a lot when you do it.
You will also find this list of materials in the description of this video. I am also going to leave you here the list of stitches that you should already know to be able to crochet Joy, that means that you must already have prior knowledge in making amigurumis, and an intermediate level of execution. This video has subtitles in English and Spanish, so I recommend activating them, because in addition to having the guide in writing, if there is an error in the tutorial, I will correct it through the subtitles.
And well, to start crocheting this beautiful Joy, we are going to make her legs. For the legs, we start in the yellow color of the skin, making a magic ring of 6 sc in round 2, we make 2 sc and 1 increase, 2 times, to have 8 sc and we make three rounds of the same 8 sc in the first leg we can finish and cut at that point, if you want you can fill the legs a little, I really don't consider it necessary, so I'm going to leave them like this, simply, and we're going to make another leg exactly like this one but without cutting, because we will continue crocheting, and here I have the two legs already ready, and what we are going to do to join them, simply hook at the corresponding point on the other leg, here, and then we are going to take into account that in each leg we have 8 sc, so what we are going to do is the 8 sc of this leg, then the 8 sc of the other leg, and thus we will have a total of 16 sc around in this round 6, which is the joining round with the last stitch we are going to change to the green color of the dress, and we are going to make 2 sc and 1 decrease, 4 times, to have 12 sc This is how it looks, and now in round number 8, crocheting in BLO, that is, in the back loops only, we are going to do 12 sc now, on round 9 we are going to do 4 sc and 1 decrease, 2 times, to have 10 sc like this, and now on round 10 we are going to do 3 sc and 1 decrease, 2 times, to have 8 sc, and with the last stitch we are going to change to the yellow color of the skin like this, and now in round 11, crocheting in BLO, that is, in the back loops only, we are going to make 2 sc and 1 decrease, 2 times, to have 6 sc like this, we are going to fill the little body, that is, this part here. This is how it looks, and now we would continue with the head, but before that we are going to make the skirt of the dress.
So, for that we are going to take the green yarn again, and we are going to hook it in the back loops that we left free, that is, here in this part where the color change is noticeable, we are going to hook the green yarn in the loose loops again in this part we have twelve loops available, and what we are going to do is 1 sc and 1 increase, 6 times, to have 18 sc like this, and we are going to make a round of the same 18 sc in the next round, we are going to make 2 sc and 1 increase, 6 times, to have 24 sc and we are going to make a round of the same 24 sc This is how Joy's little dress looks, this is what it looks like, we already finished off and cut there, and now we are going to continue with head. So, for the head on this round 12, we start by making 6 increases, to have 12 sc on round 13, we make 12 increases, to have 24 sc and now on round 14, we are going to make 1 sc and 1 increase, 12 times , to have 36 sc like this, this is going to be the total width of the head, we are going to stretch the stitches with our fingers, in this way, flattening this base so that they do not wrinkle, so that they do not look bad when crocheting. So, before continuing we take some time here to flatten these stitches, so that it is as beautiful as possible, and now we are going to continue and make seven rounds of the same 36 sc We are going to locate the safety eyes, for that we are going to use these little 7 mm eyes, we are not going to put the safety plugs in yet, and to locate them we are going to start counting from the first turn of the head, which is where we have the six increases or the 12 sc, from there we count five upwards and between rounds five and six of the head, with six stitches of separation between them, the safety eyes will be located.
So first we place the pins to make sure that these eyes are well centered and well located, and we are going to proceed to put the eyes, and this is how they look, and now we are going to make some details for the eyes. This is optional, you can also make them however you like, and for that then I am going to start by taking a strand of blue yarn, which is the same as the one we are going to make the hair with, and we take the yarn needle, and we're going to do the following: we're going to start by pulling the yarn through the upper middle point of the eye, here like this and we will put it back through this point here, approximately like this, and we do the same in the other eye. So, now for the eyelashes we are going to take out the yarn from the middle inner point of the eye, here, approximately here, like this like this, and we keep it approximately one point beyond where we have the blue yarn, that is, here like this, and we do the same in the other eye.
This is how it looks, and now we are going to do the eyebrows. For the eyebrows we are going to take out the yarn two turns above where we have the end of the eyelash, that is, here, we take out through that point we count two, and through the top point diagonally we keep the yarn again like this, and we do the same in the other eye. And that would be all for the blue part of Joy's eyes, and now we are going to make the detail of the eye in white, we also take the strand of white yarn, and we are going to take it out from the lower middle point of the eye, here in that point we pass it on the blue side and we save it in the same point where we saved the eyelash, here like this and we do the same in the other eye.
And well, to give Joy's look a little more expressiveness I'm going to add one more eyelash. So, for that I'm going to take out the yarn here, at the top point of the other eyelash, here, like this, and we'll put it back at the inner midpoint of the eye, here like this we give it a little more vividness to Joy's gaze, and we are going to do the same in the other eye, and this is how Joy's little eyes look, and now we are going to continue then in what would be round number 22, we are going to do 4 sc and 1 decrease, 6 times, to have 30 sc now, on round 23 we are going to make 3 sc and 1 decrease, 6 times, to have 24 sc we begin to fill the head, and now on round 25 we are going to make 2 sc and 1 decrease, 6 times, to have 18 sc we continue filling in, and now on round number 25 we are going to make 1 sc and 1 decrease, 6 times, to have 12 sc we finish filling in what is needed, and we are going to make 6 decreases in that point we can finish off, we are going to cut, leaving a tail to finish closing the head with the yarn needle, so we take the needle and we are going to pass the yarn through the six front loops of the stitches that were left, we pull, we introduce through the center of the closure, and we take out the bottom part at the back of the head and that's it, this is how Joy's head looks. This is what this little girl looks like, look how cute and small she is, and now, before doing the hair we are going to do her arms.
For the arms, in the color of her skin we are going to make a magic ring of 5 sc like this, and we are going to make four rounds of the same 5 sc. At this point we can finish off and cut, we are going to leave a tail to sew the arms to the body, we make another similar arm. Here I already have the two arms ready, and we are going to sew them on both sides of the body just below the neck, like this, then I am going to sew them and show you how it looks.
This is how the arms are already sewn, look how cute it is, and now we are going to do the hair. For that, in blue we start by making a magic ring of 6 sc on round 2, we make 6 increases, to have 12 sc on round 3, we are going to make 1 sc and 1 increase, 6 times, to have 18 sc On round 4, we make 2 sc and 1 increase, 6 times, to have 24 sc on round 5, we are going to make 3 sc and 1 increase, 6 times, to have 30 sc on round 6, we make 4 sc and 1 increase, 6 times, to have 36 sc and we are going to make four rounds of the same 36 sc This is the way the hair goes, if necessary we stretch it a little because we are going to put it on Joy's head from the back, for the reverse. So we are going to measure and stretch so that it is easier to locate it later, and now what we are going to do is the back part of the hair, which are strands.
So, in strands we are going to start making 5 chains and starting from the third chain from the hook, we are going to make 3 hdc, we skip two stitches at the base, in the next we make 1 sl st, and we are going to repeat the same procedure, that is say that we are going to make 5 chains and 3 hdc, until completing eight strands in this same way. So, here we already have the eight strands, and now we are going to make 6 chains and starting from the third chain from the hook, we are going to make 4 hdc, we skip two at the base, in the next we make 1 sl st, now we make seven chains Starting from the third chain from the hook, we make 5 hdc we skip two stitches at the base, in the next we make 1 sl st, we are now going to make eight chains from the third chain from the hook we are going to make 6 hdc we skip two stitches in the base, in the next 1 sl st, now we make nine chains and starting from the third chain from the hook, we make 7 hdc we skip two stitches in the base, in the next 1 sl st, here we have already reached the end, So here we can finish off and cut, if you are going to sew the hair to the head, leave some yarn for that, I am going to cut because I am going to glue the hair with silicone later. This is how the hair is ready, and as I had told you, we are going to glue this from the wrong side to Joy's head, then, with the same head we can apply pressure to turn the piece, in such a way that the strands do not remain hidden.
So, something like this, and we're going to make sure that the two shorter strands on each side are facing approximately the same direction. So, we place this like this. The idea is that those rear strands, the shortest ones, cover this entire part of the back, up to the sides, so we place all this well, like this and the tips of the front, the idea is that the two shorter ones go to this side, and the two longer ones are approximately between the eyebrows.
So, something like that, I'm going to gue this into position and show you how it's going to look. And this is how Joy's hair is located, in the end what I did with these four strands is that I put these two like this, to one side, but a little raised, something like that, so that they stick out a little on the side and can be seen like this, in this way, that it looks like this little wave, and that it leaves this opening, and I put the other two here in front, like this. I also recommend that you look at the final photographs that I upload to my social networks @amistejiendo on Facebook and Instagram, so that you are well guided by the final result, and now we are going to make the last strand that we are missing, and we make four chains starting from the second from the hook, we are going to make 1 sc here, now we are going to pick up four chains starting from the second chain from the hook, we make 1 sl st and 2 sc like this, we return to the initial chain, we make 1 sl st in the next available stitch like this, and now we make three chains we make 1 sl st and 1 sc next and in the last available chain we make 1 sl st, at that point we can finish off and cut leaving a tail to sew this to Joy's head and this is how this pice looks, we are going to sew it to Joy's hair approximately in this position, so that it is facing the eye, something like that, then I am going to sew it, and this is how this strand is now sewn.
Look how cute Joy looks with her hairstyle. This is what it looks like from the back, and now we are going to make the details of the dress. For that I am going to use light blue acrylic paint and a very fine brush like this one, and I am simply going to make some lines on the dress, forming circles imitating those that Joy wears on her dress, then you can also be guided by the original character, or look at the photographs that I upload to social networks so that you can make it as similar as possible like this and more or less this is how it looks on the front, and we also make some little flowers on the back, in this way, that would be all for the details of the Joy's dress, and now we are simply going to put a little blush on her face, and this is how Joy looks, I put blush between her eyes, here on the part of her nose and on her cheeks too, like this, and this is how this tender Joy looks, that would be all for this tutorial, is very very beautiful, and very tender and easy to make too, and well, I hope you liked it, if you liked this tutorial and it was useful, and you want to support my work, at the bottom of the YouTube player You will find the "❤thank you" button, and if you upload your photographs to social networks, do not forget to tag me as @amistejiendo or Amis Tejiendo Momentos on Facebook or Instagram, and well, we will see each other in the next tutorial, until the next!