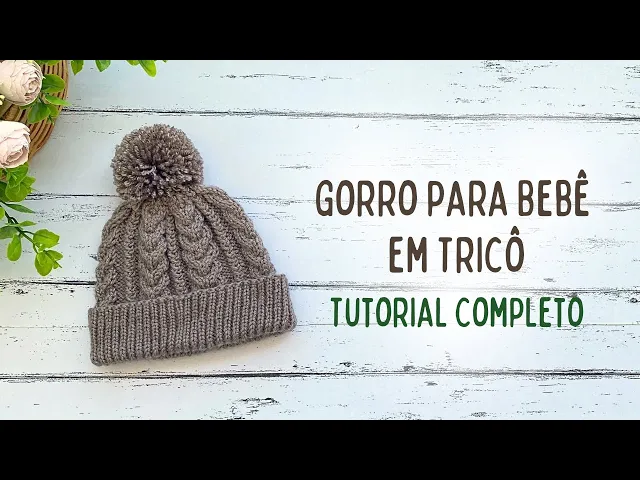
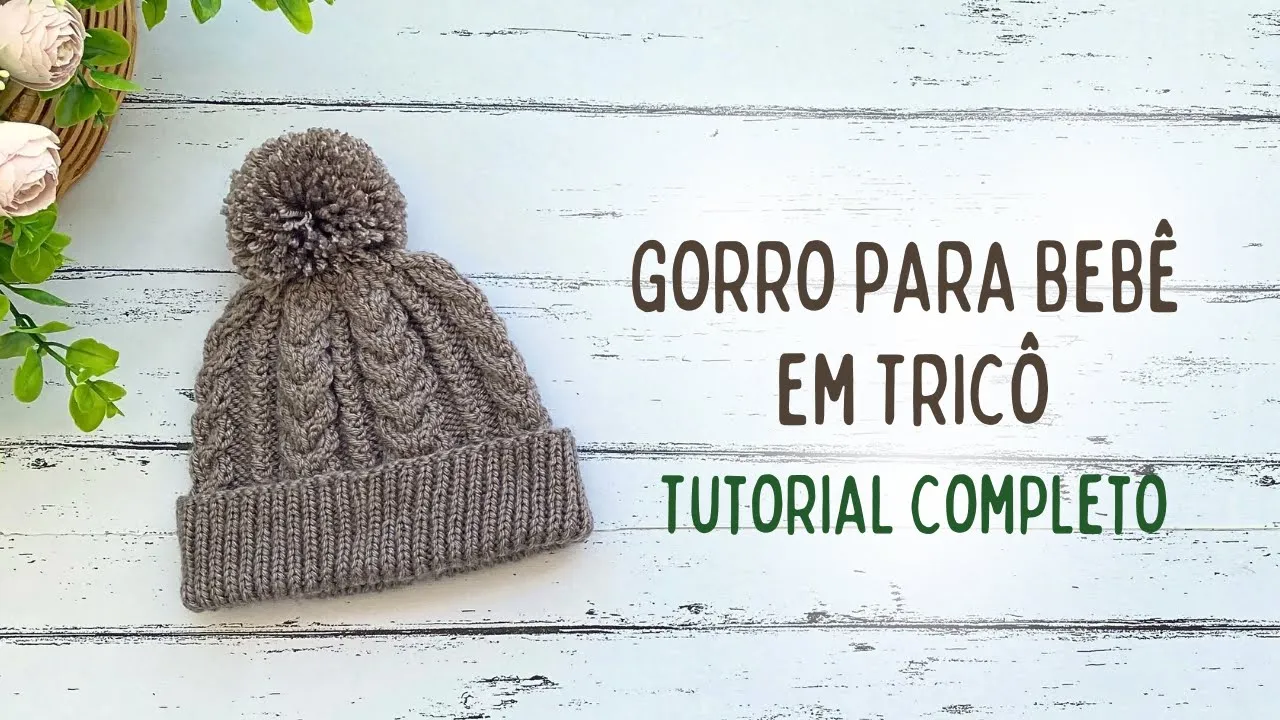
Hi guys, how are you? In today's video lesson I will be showing you the step by step of this hat. This hat is part of a set that includes other pieces such as my shoes and cardigan, the link to the other pieces I will be leaving here in the video description along with the written recipe which has all the information for you to knit in sizes from zero to 12 months this piece I knitted for sizes from 0 to 6 months as it has this elastic stitch here at the bottom and also here at the bottom it stretches a lot so it's suitable for a baby from birth to 6 months and you can also adjust it in terms of size to make it the size you want to adapt the baby's head and if you liked this piece, subscribe now on the channel and activate the bell button so you don't miss any tutorial and also leave your like and also comment on what you think and after all this Let's go step by step to start This work I put 112 stitches on my needle and divided 56 points for one side and 56 stitches for the other side if you don't want to knit.
Using the magic loop method, you can use a 40 cm needle to knit in a circular pattern, so here on the other side I'm going to add one more stitch to close the circle . needle and this side where I cast on One more stitch I'm going to take the penultimate stitch and throw it over the stitch I just cast on, this way I've closed the circle and I'm going to knit for a few rows in bar stitch one by one I'm going to start knitting a knit, then a knit stitch and repeating a knit, a knit, a knit and a knit, I will knit circularly in bar stitch one by one for a few more rows, I continued knitting in bar stitch one by one for 25 rows and now in this next row I'm going to start doing the details, I forgot to tell you that I knitted the bar stitch one by one with needle number TRS , now I'm going to switch to needle number 4ro and I'm going to knit this sequence I will knit eight stitches in knitting 1 2 3 4 5 6 7 o I will do three stitches in knitting 1 2 and 3 two stitches in knitting 1 2 and three stitches in knitting 1 2 and 3 and now I repeat this sequence again 8 knitting 1 2 3 4 5 6 7 7 and 8 knit three 1 2 3 knit two stitches 1 and 2 and knit three stitches 1 2 and 3 and I will repeat this sequence until I reach the end of the row 8 m and 3 knitting 2 knitting and TR knitting I finished knitting the first row of the detail the second row I'm going to cross the braid I'm going to pass two stitches to I will leave the auxiliary needle reserved at the back of the work, I pass the thread here in front of this auxiliary needle and I will knit two stitches in stocking stitch that is on the auxiliary needle, I place it on the main needle on the left and I will knit the stitches in stockinette Now I'm going to move the stitches again to the auxiliary needle and leave it reserved now on the front and I'm going to knit the stitches, I'm going to remove what's on the auxiliary needle, I'm going to put it on the left needle and I'm going to knit in stocking and here I crossed the horseshoe braid I'm going to knit three stitches And here where there are these two stitches in stockinette I'm going to do the crossed stitch I pass the first stitch without knitting to the needle the next stitch I do a stockinette stitch making a loop through the front of the needle and I'm going to pick it up the stitch I didn't knit play by above the stocking stitch and the loop it looks like this then I'm going to knit three stitches This is the sequence I'm going to repeat again I'm going to transfer two stitches to the auxiliary needle I'm going to leave them reserved on the back first I leave them on the back, I'll add my yarn here, in front of the auxiliary needle, I will knit the next two stitches in half stitch that is on the auxiliary needle and I will place it on the main needle and I will knit losos in half stitch, again from the stitches to the auxiliary needle, I leave it reserved in front of the work, first leave it reserved in the part from behind second leaves reserved on the front I do two stitches in knitted stitches that are on the auxiliary needle and I'm going to knit these two stitches in knitted then three stitches in knitted 1 2 TR and in the two stitches in knitted I'm going to do the crossed stitch I make the first stitch without knitting that's it second I do a stocking stitch I make a loop taking it from the front of the needle I take the stitch that I didn't knit and throw it over the stocking stitch and the loop and finally three stitches in knitting, I will repeat this sequence until I reach the end of the row, I finished the row with the crossings, the second row and now in this next row I I'm going to knit according to the pattern of the stitch where there's a stocking stitch, I'm going to do a stocking stitch and where there's a knit stitch, I'm going to do the knit stitch here, which is the eight stitches in stocking then three knits, 2 knits and three knits and this It's the sequence until you reach the end of the row, just repeat the stitch model, I finished the third row and now in the fourth row I'm just going to do the crossed stitch, the rest of the stitches I just follow the stitch pattern, so here in the braid I'm going to do eight stitches in stockinette three knitting stitches and arriving at the crossed stitch I do it again I make a stitch without knitting for the needle the next stitch I make a stockinette stitch I make a loop taking it from the front I take the stitch that I didn't knit and throw it over the stockinette stitch and the loop and three stitches in knitting So this is the sequence the crossed stitch I'm going to do a row every other row no row yes and row no and the crossing of the braid I'm going to do every five rows here there are 1, 2 and 3 and if you turn here you want to count from the back right, there will be a little hole here, then count 1, 2 and 3 when there is a c in the sixth row I will cross the braid again and here the knitting stitches I will repeat in all the rows and the crossed stitch I will do the row yes and row you didn't understand, ready in the next row I'll knit here in stocking stitch then I 'll do the crossed stitch again I'll continue knitting here then I'll come back to continue working with you I continued weaving according to the pattern so the total number of rows in the model is 1 2 3 4 5 6 six rows S row I'm going to cross the braid here, but the braids are done every five rows, okay, there's going to be this little hole here, then you count it 1 2 3 4 and 5, when you turn around, you can see there's a little hole. Count 1 2 3 4 and 5, then on the sixth row, I'm going to cross the braid, I'm going to put two stitches on the auxiliary needle, I'm leaving the thread reserved behind the work on the front side, I'm going to do two stitches in stockinette, ok the thread now stops here, moving forward, I will pass these two stitches from the auxiliary needle to the left needle and knit from the stitches in half steps again from the stitches to the auxiliary needle, I leave them reserved in front of the work and I will knit two stitches in half steps that are on the needle auxiliary I put it on the left needle and I'm going to do two knitting stitches again and it looks like this I'm going to do three knitting stitches here in the last row in the previous row I did the crossed stitch so in this one of the knitting stitches it's like three knitting stitches and here again I'm going to cross the braid and this is the sequence every five rows you're going to cross the braid and cross stitch row yes row no row yes row no row yes and row no until I reach the indicated length of the piece So I'm going to knit some careers and then I come back to To continue working with you, I continued knitting according to the pattern I knitted until I reached 17 cm and from now on I will start to make decreases in the first row, the braid part, I will not make any decreases, I will knit the eight stitches of the braid in stocking stitch arriving at the knitting stitches I will decrease a knitting stitch here a decrease in knitting stitch and knit a knitting stitch and here I will continue knitting the crossed stitch I reached the point in knitting again I will make a decrease in knit stitch one knit the decreases will be just one knit stitch in this row there is a decrease in knit one stitch in knit a decrease in knit stitch one knit here continue knitting and here again a decrease in stitch in knitting, a knitter does the crossed stitch, a decrease in a knitting stitch and a knitting, I continue doing this repetition until I reach the end of the row , I finished the first row of the decrease and here in the stitch in knitting remained two stitches in the second row now from the decrease here I'm going to continue doing my braid pattern so here I'm going to do the crossing since I completed the five rows and arriving at the knitting stitch I will knit two knitting stitches then there will only be one knitting stitch and here in the crossed stitch I will continue doing the crossed stitch in the two knitting stitches I will make two knitting stitches together so there will be just one knitting stitch So this will be the second row of decrease you will knit two stitches together so that there is only one knitting stitch I will continue doing it this way until I reach the end of the row I finished the second row of the decrease and here There was only one knit stitch left in the part of the three knit stitches in the third row of the decrease.
I'm going to start decreasing in the braid. I'm going to knit two stitches together. in stockinette I'm going to knit a knitting stitch and here in the crossed stitch I'm going to knit the two stitches in knitting stitch and again here in the braid part I'm going to do two stitches together in knitting four stitches in knitting [Music] and these two last stitches I turn and knit two stitches together like this so that this stitch is tilted to the left and this other is tilted to the right, there is a knitting stitch, two knitting stitches and a knitting, then repeat the decreases again, I will continue knitting like this until you reach the end of the row in the fourth row of the decrease, I'm going to do a stocking stitch here inside the braid, I'm going to do two stitches together in stocking or I can do a simple mate to make a slope come to the left like this and turn here these two points and make two stitches together in a knit stitch which will give a decrease inclined to the right and a stocking stitch a knit here the crossed stitch a knit stitch and again the decrease a stocking stitch a decrease inclined to the left and a decrease inclined to the right and a stitch knit one knit, cross stitch and one knit and I will continue doing these repetitions until I reach the end of the row in the fifth row of the decrease I will do a decrease inclined to the left and a decrease inclined to the right here in this part of the braid then the braid goes just have two points, one point in knitting and here the crossed stitch one knit and again a decrease tilted to the left and a decrease tilted to the right one knit the crossed stitch and one knit and I will continue doing these decreases until I reach the end of the sixth row of the decrease I will knit two stitches together in knitting, but these stitches will be inclined to the right, a knitting stitch, a crossed stitch and a knitting stitch and again a decrease, I turn my two stitches here, I take them from left to right and make two stitches together in knitting to get a decrease tilted to the right, a knitting stitch, a crossed stitch according to the pattern and a knitting stitch, I will continue making these decreases until I reach the end of the row and now the seventh and final row of the decrease, I will do a stocking stitch, a knitting stitch and two stitches together in stockinette which is from the crossed stitch is there and a knit there again 1 knit one knit two stitches together in stockinette from the crossed stitch the decreases will now only be from the crossed stitch and one knit and I continue doing these decreases until reaching the end of row, I finished the last row of the decrease and now I'm going to cut my thread, leaving the amount to pass all these stitches, I'm going to put this thread on the tapestry needle and I'm going to pass all these stitches to the thread, I pass from one side, I pull the needle from the other and I continue Passing the stitches to the Tapestry needle, ready, I pull the thread here, I adjust it and pull it so that it stays like this, I put my thread down on the wrong side, I pull PR so it doesn't escape and here I'm going to make a little knot, I'm going to make another knot so that it's well secured, ready and here I go hide this little thread look how the top and the cap turned out like this here I folded it here you can adjust it if you want more up or down to make it the size of your baby's head ok and I made a pompom here the pompom already has There's a video lesson here on the channel teaching how to make the pompom so here I made the pompom and I'll pin it up here if you want, you can Leave it with a pompom, if you want, you can leave it without the pompom, which is also very pretty.