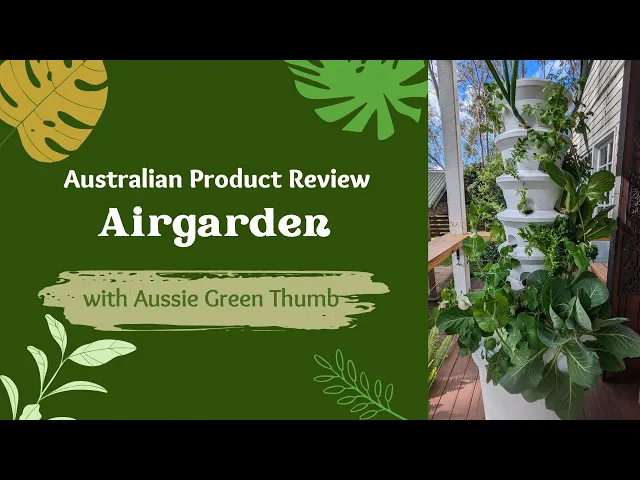
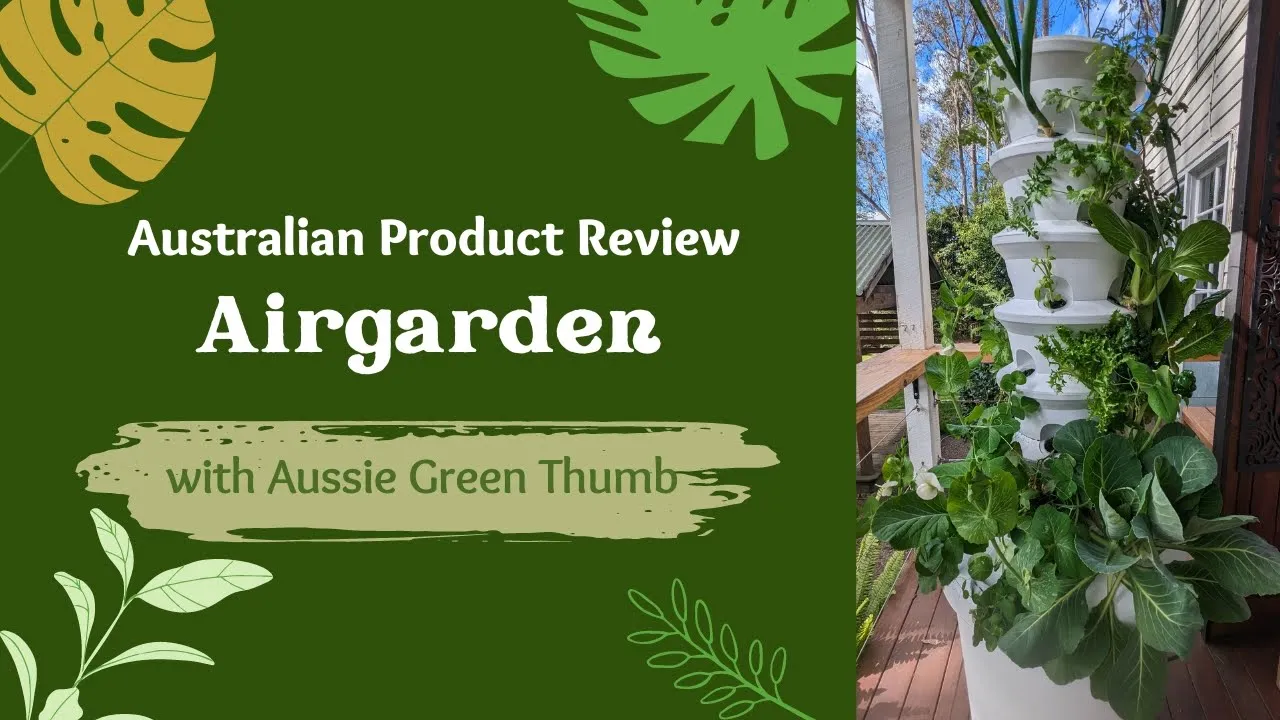
Hey everyone, Nathan from Aussie Green Thumb here. Four months ago, I started using Airgarden's aeroponic grow tower, and I want to create this video as a detailed review of my experience. Which will hopefully help you in making a decision if Airgarden is right for you and to help with the setup and growing process.
I'll start the video with a tower setup, then move on to planting, pest control, and harvesting. I'll share my thoughts on the system and the tips and tricks I've learned, which I wish I knew at the start. Before we get started, this is a quick note to let you know that Aussie Green Thumb has a bunch of new video content on the way, including more gardening product reviews, interviews, how-tos for gardening, and much much more.
So click subscribe to stay in the loop. Now, back to our product review of the Airgarden aeroponic growing tower. Hey everyone, Nathan here from Aussie Green Thumb, and today we're going to be setting up our new aeroponic grow tower from Airgarden.
The Airgarden is an Australian-made grow tower using aeroponics, which means that the plants grow with the roots exposed without any soil. With this grow tower, you can grow 30 plants in just one square metre. The Airgarden is suggesting that you can grow these plants three times faster than if they were in soil, and with very little maintenance, which is what we will be testing out in this video.
If you want to know more about aeroponics or the Airgarden, we have a great interview with the Airgarden founders, Prue and Tom, as well as a written review of the grow tower on our website, Aussie Green Thumb, all of which I will link to in the description below this video. These are our nutrients. This product is suited to people who want to grow their own veggies but have a small amount of space, such as a small yard, balcony, or apartment, and people who have little time to garden or are just getting started with growing.
With that in mind, let's set up the Airgarden. The first step is to put the bung tap in. There are no instructions in the box, but the instructions are in a very easy-to-follow video that Tom has done, which is on the Airgarden website.
I'll add the links to the post and to the video below. This is for later when we're growing. We've got the hose and adapters, which we'll put together next, and we'll put the wheels on, then the timers for later, the wooden spoons for later, and these half-inch adapters, which we will also need.
So that is when we are growing. That's just a nice bag to go do your shopping with. Once you've got the wheel on and it's in, and you spin it around and just make sure it's tight.
I don't think you want your wheel coming loose when it's filled with water and all your plants, so just make sure you put the washer on over the bolt. So now, flip it back over. I think it's good to have a knife or some scissors available to open everything up if you need to.
All right, so now we're going to attach our hose adapters to the plastic pipe. Unscrew this, put it in, give it a good push in turn, and make sure it's locked in. The worst thing is when one of these come out, as you know from when you have your garden hose and it pops off.
Next, we'll open up our pump. This here needs to be turned all the way around to max. So what we're going to do now is, let's give this a quick turnover and clear this out.
Put the pump into the middle of the reservoir, making sure to give it a good push. You want to make sure that it's secure here; you don't want your pump turning over. That's pretty secure, all locked in.
So you put the cable through, leaving a little bit of slack in there, just in case it pulls. You don't want to be pulling the pump off. It just sits on so then you can fill up your reservoir later on.
Turn this around, and lock your wheels in place. The next thing you need to do is make sure you bring the hose out with you. Here's our basics.
So there's a notch in here that you want to just lock it. The notch there, goes into there, and then we're just going to turn it. So it locks into place.
So that's it. And then with these, so you put your hose in, you got these pins that will just go into there. Make sure you line them up.
You want to make sure there are no gaps around the outside. So in here, there's a little mark. Just there.
Which we are lining up with this section here, and then it should twist across. So I thought I was locking these in all the way, I was just taking the little notch to the padlock, but they go all the way across to the other notch. So make sure you go all the way from one dot to the other dot.
That was our last one. So now, for this, we'll go from the top side, we go from here with this and screw it down so we can plug the hose in from the bottom. Screw it down until it stops, and doesn't go anymore.
And that's it. The Airgarden is set up. I'm just going to open up this.
I'm not sure what's in it, but I'm pretty sure that's the end of the setup. Now, we just fill the reservoir and then plug the power in. So that, I have opened upside down.
These are for growing your seeds in. I'll put them back in. This is your little seed container, so you can grow seeds and get the seedlings going before you put them into the Airgarden.
Now we've found the instructions of how to set it up. What's in the box, where to put your Airgarden. Which is saying you need a bit of sunlight, but we'll go through that in the next video.
For the growing side of things. Airgarden provided a few packs of seeds, nutrients, coir growing pods, a pH testing kit, some measuring cups, and a timer for the self-watering system. For our first round of planting, I decided to go with seedlings instead of seeds.
Let me show you how I got the seedlings ready for the Airgarden. To get these seedlings ready for the Airgarden, we have the coco fibre pellets. We're just going to give them a bit of water, and these guys are going to expand, taking about five to ten minutes.
While we're waiting for the coco coir to expand, we're going to get these seedlings ready. I've left them out of the sun a little too long, but what we're going to do is give them a bit of a wet to expose the roots. The Airgarden is a soilless system, so we want to get all the soil out.
We don't want to damage the roots. Try to keep them intact and get most of the soil out. Once they start to break up, you can go a bit harder, and the soil will come out a bit easier.
Those bits of barkwood just pick out by hands. There we have all of our roots exposed, and this one is now ready to go into the coir. So I'm pretty sure, the Airgarden is just one plant per coir.
In this one seedling, we have gotten two, So what we're going to try and do is just to separate these guys. And then we've got two different ones which we'll grow individually. Now that's ready, what we're going to do is pop these out from the bottom side.
Make them as tall as you can, give them a squeeze on the sides to loosen them up, let's make them a bit taller, and you just want to get your finger, and push it in, until almost to the bottom. I'm just going to keep going down, so I'm about there at the moment, so I think that's enough. and then, I'm just going to get this seedling, and try not to disturb it too much, just feed these roots into there.
and pinch around the top. I think that's good. Now we just let the seedlings grow in the coir pods until the roots come out.
Once the roots have established themselves, the seedlings and coir pods are ready to be transplanted into the Airgarden. While the seedlings are in this tray, you need to give them water every couple of days, then let them dry out before watering them again. Make sure you take them out to get some direct sunlight in the morning, not to be left out there all day in the harsh Australian sun.
A couple of hours in the morning is fine, then bring them back inside to a warm place. Check them every three or four days to see if the roots have started to come out. It's now day 12 after planting the seedlings into the grow pods.
As you can see here, we have roots coming out on nearly all of our seedlings. We've only got some snow peas, coriander, and basil that, no roots have shown yet. The rest of these are going into the cups and put them into the Airgarden.
This is our cabbage. So I'm just going to squeeze it in. There's a list in the booklet which tells you where to put different plants: big growing ones like cabbage, cauliflower, and broccoli go in the bottom; then your leafy greens, and then your herbs, and small plants go at the top.
The cabbage, come down here, goes in the bottom like so. These ones here, don't have any roots out yet, so we're just going to leave these for the mean time. We're just filling up our reservoir.
We've got the tap on so we're just going to get this ready and we're going to put in 190 to 200 ml of part one and the same amount for part two. The reservoir is now full, up to where the cable comes out, so in goes solution one. Give it a stir and wait a moment.
Okay, so it's now have been a minute or two, in goes solution two. So we're gonna wait a couple moments So we're going to take some water out of the reservoir and test the pH levels We want it between 5. 5 and 6.
5, ideally around six is perfect but anyway in that range is fine So what we're going to do here is we're going to put, fill the test tube up with half of the water and then, add in two drops of this indicator, put the lid back on and wait and it's going to come to a different color on here So we want this yellow one here at six pH measure of six so anywhere between five and six point five is fine If it's too high or too low, this one here it will bring it down so if you're over 6. 5 you'll use a little bit of this one and if it's too low you'll use a little bit of this one to bring it up so I think we're between 6. 5 and 6 on here we're more around 6.
5 mark so I think just have something behind it so you can tell what the color is because if I hold it up here I've got some trees there and it just looks green but if I hold it to the sky it still looks green to the paper and it looks quite yellow So I think that is quite good. I'm happy with that. And that's it.
Now, we'll set up the timer. Our timer is now set, we've done one notch down for on (which is 15 minutes) and two notches up. It's on for 15 minutes, off for 30 minutes because we are between 15 and 35 degrees at the moment.
so it's going to go plug it in got the notch onto the timer if it's on that it'll just be on the whole time That's it The pump has started, and it's good to go. So now just a couple days we'll put the other seedlings in and we'll monitor this one to see how it's growing this is the growth progress after five days and this is after eight days in the Airgarden you can see we still have some seedlings in the growing pods as the roots haven't broken through yet this is day 15. At this stage, we have seen some decent growth and all of our seedlings have made it into the Airgarden.
Certain things are really doing well, like these chives, this celery, this cos lettuce. It's exceptional. I've got a few plants here with lots of small shoots coming up.
I've taken some time to trim the larger leaves to promote new growth and I've used those cuttings to make a delicious fresh salad. So we've just arrived home after being away for 10 days. Before we left, we had some aphids on the rocket, which you can see here and here.
So we've sprayed a homemade solution on them, but then being away, we weren't able to observe the plants. You can see that a couple have struggled. The three rockets have struggled and one lettuce.
We're not sure if this is from being on the side that isn't facing outdoors in the sun, which is where it was set up and left for 10 days. On the other side, it is pumping, it's looking really good; all the plants are going well except for our powdery mildew down there on our zucchini. Everything is looks great, so I think it may have been a sunshine issue.
Our leeks and spring onions have gone sideways rather than pointing up now, so I'm not sure what's happening there. But apart from that, everything else is looking good. It's now been five and a half weeks since we got the Airgarden in our seedlings, and it's been four weeks since the seedlings have been in the Airgarden.
As you can see, a lot of it is going very well. We have already done two harvests and taken some of the lettuces and bok choy. As you can see, they're all going good.
The snow peas we haven't worked out how we're going to make them grow upwards yet, but everything else is going well, especially the coriander. I'm quite impressed with that. We've taken a fair bit of this as it's been growing, but yeah, we've lost most of our rocket.
We had aphids, as you can see, and I just noticed them again now. There's a heap of aphids just in there. We've got a homemade spray which we've been using, and when we sprayed them the day before we left, they weren't getting direct sunlight.
We had some casualties all on the same side, but apart from that, it's been very good. I think it's growing well. We've had two harvests already.
Next time, I wouldn't grow the same things; I would be more particular about what we're going to grow. I wouldn't grow zucchinis or cucumbers again this late in the season. We're in the mid-Blue Mountains, and it's a lot cooler here.
We haven't really had nice summer weather, so I think we're replanting some things for winter, like more rocket, spinach, and other winter things like broccoli and Brussels sprouts, which are growing now. We've gone from seeds this time rather than seedlings, just because we were a little impatient. We put some of them into the Airgarden through the pods rather than waiting till the roots really took hold, which I think hindered the growth a little bit.
But all in all, it's a great product. I enjoy it. It's a pro and con; it's on power rather than solar panels.
So one is near the power point nearby, which is why this one is on our front deck rather than the back deck, where there's a lot more direct sun. Because there's a power point here, the back deck doesn't have a power point. It does run through the night, and I'm not too sure if it didn't run through the nights on solar panel how the roots would go and if the plants would thrive as much as they are.
But yeah, I'm very happy with the product. It's very easy to assemble. I would recommend it if you've got a power point outside.
It's quite an easy setup. There’s a little bit of work with the seedlings, waiting for them to grow, and when you're excited, impatience comes into it. So the next round of new plants in here I think is going to be a lot more successful than this round has been.
We're organising it now so we'll have more of the same things so we can feed ourselves, like more rocket, more bok choy, and some more herbs, rather than these bigger things like chilies, where we've had one chilli growing. It's not really fruitful for this time of the year. We've got cabbages, snow peas, zucchinis, and celery.
These things, and we've got our leeks and spring onions, it's a bit more like, well, if we have fresh greens more, we will use them more, like the coriander and the herbs. We'll use a lot of mint, but waiting for a leek when you can just go buy a leek, I don't think the time is worth having it spent in here. So being very particular with what you're going to grow, like spinach and stuff that just keeps growing, and lettuces that you can keep tapping and growing and growing, rather than waiting for a fruit to come through, is a lot more beneficial for these products.
I'm very happy with the Airgarden. I'm excited to have it, and after this learning curve, I think it's going to grow a lot better. We've learned a lot.
An important thing I would recommend is keeping a gardening journal of when you fill out the nutrients, when you plant things, when you plant the seeds and seedlings, just so you can keep track. Especially with the water, your timing, there are a lot of things to keep track of, but it's quite easy. It’s only 10 minutes a week just to check the pH and the nutrients and see when to add them.
But at the start, you're learning to grow. It's a very easy way to garden. Once you have the seedlings in the Airgarden, it's easy.
When we're indoors, you've got to take them outside and inside. If you're working, it might be a bit of a pain, depending on the environment and where you're working. If you can have the seedlings in the sun for a couple of hours and then move them back indoors where there's still sunlight but it's warm, it's just a few things when the seedlings are getting ready to come in.
But once they’re in the Airgarden, it's very easy, except for the aphids. That's the only issue we've had so far, the aphids and when we moved it inside and it lacked sun. It's great when you're cooking dinner and you just want some fresh herbs or a bit of mint.
Let's just make a little salad, and you just come out and get some rocket, basil, and spinach, and make a mixed green salad. It's beautiful, fresh, and straight off it. As you can see, we've had two big harvests, and we've still been taking stuff off every few days, and it's going really well.
I would recommend the product for people who don't have a lot of time to garden. There's a lot less work with this compared to planting outdoors in your garden, where you've got the setup which takes about 20-25 minutes, then the seedlings which are a little bit of work. If you just go from seeds, it takes a little longer, which we're documenting now, and it's pretty much set and forget as long as you've got good positioning.
Every Friday afternoon, I'll check it, and that's it really. It's super quick, and then you've got fresh herbs and greens on tap. For people who want to plant but only have a balcony or some good sunlight indoors, I think it's a great product.
Another thing I like about the Airgarden is it's white, so we've had a couple of caterpillars come on here. When I'm eating my breakfast out here, I just have a look around, and I can see the droppings of the caterpillars. They show up really nicely on the white frame and the white base, so it's really easy to spot them.
I found four so far, and it's taken me about 15 seconds. That there is really handy. With some of our other gardens, you don't know when you have caterpillars because the droppings camouflage.
Aside from checking the pH levels once a week, you also need to trim the roots of your plants to keep them thriving, about once every two weeks. When the weather is warmer, you'll need to check your water a bit more often. We've got new roots here which are great.
They’re growing a bit old, so give them a trim to encourage regrowth and prevent root rot. This is the Airgarden at nine and a half weeks. You can see the cabbages are doing well, the snow peas are taking off, but the spinach is doing quite well.
We've got a habanero chili almost ripe. The coriander has been a highlight for me. You can see the celery here taking off as well, which is cool.
This is our shallot getting ready to go. You can see our leek popping down the top there. I left two in one just to see what happened.
They're half the size of this one here, all planted at the same time. We've got these seedlings, so we've had six gaps from when we went away and some of them died. So now we've got these seedlings.
It's been six weeks with nothing growing in like, 20% of the Airgarden. I would recommend buying some spare pods, and then you can grow your seedlings so that they’re ready to go before the Airgarden is empty. So we've got this that I want to pull out, but I didn't want to pull another thing out and have, pretty much an empty thing.
We had some flowers, but some other things, like our basil, hasn't really done too much. It's got a bit issues with its roots. It's got a little bit of root rot.
I’ve tried to clean it a few times, but it's just not really coming back, so that needs to be pulled out. When some other things are growing first, I didn't want to have an empty Airgarden, but we'll get some new pods. For the next cycle, we’ll let these ones dry, and that’s a wrap for our Airgarden review.
Overall, we're stoked with the progress of the Airgarden and are looking forward to continuing growing and harvesting with it. You can find the link to our review along with all the relevant resources in the description below. If you like this video, please give it a thumbs up and subscribe to our channel.