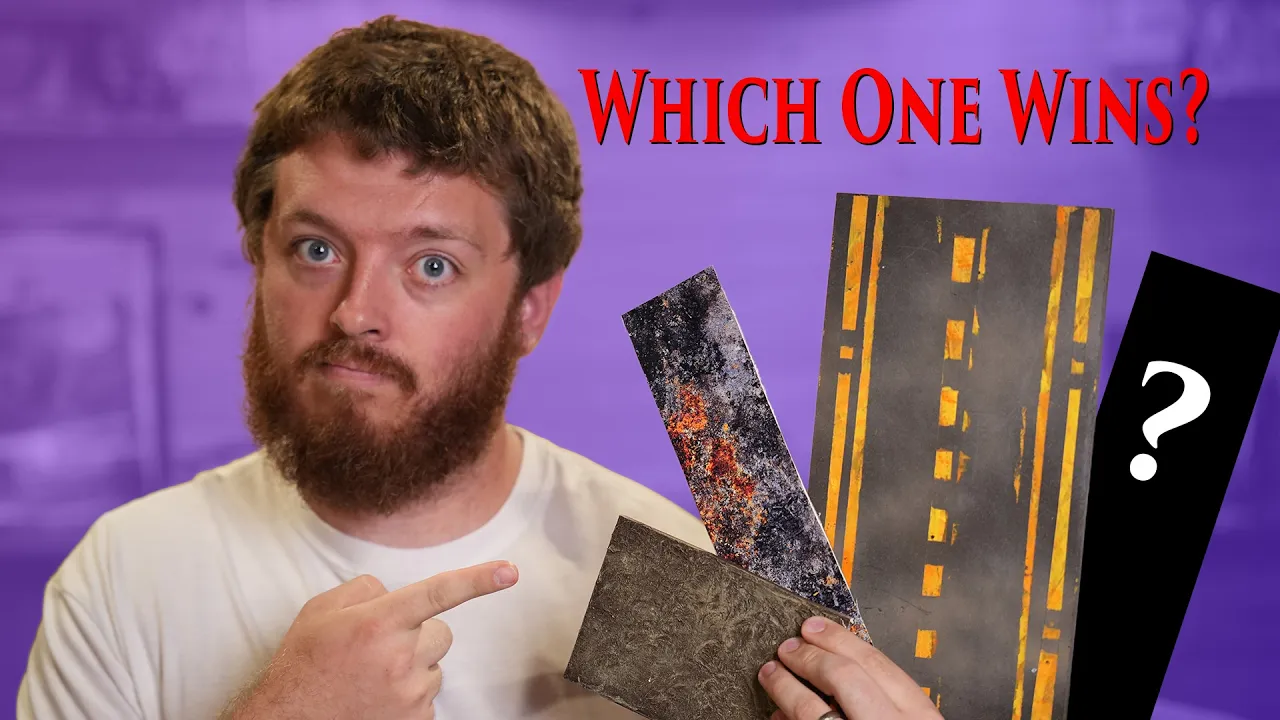
So, GW just rolled out a brand new edition of Warhammer 40K. That means all of our previous footprints are useless. So, that means we have to buy some more.
Unless they're sold out. It's out of stock. It's unavailable.
Who knows when it'll be when it'll be back in. I'm going to show you how to build a table's worth of terrain footprints in three simple ways. And if you stick around at the end, I'll show you a bonus technique as well.
Number one, back to basics. Just like arts and crafts in elementary school, we're going back to cardboard and paper, boys and girls. Simply either purchase some extra cardstock online or do what I did and cut up an unused cereal box.
Then print on some regular old photo paper and simply glue it on top. A quick Google image search will bring up all kinds of textures. I find it best to pick something that's monochromatic, not super busy as it detracts from the models that are sitting on there.
You want the terrain piece to stand out from the battle mat that it's playing on, but you don't want it to be an eyesore. So, using just simple PVA glue watered down, I brushed it onto the back and I brushed some onto the cardboard and sandwiched them together. Make sure you lay something heavy on top or else it will begin to curl and warp around the edges.
Also, looking back using a glue stick would have been just fine. If they bend or break, who cares? You're only out the paper, the cardboard, and the little bit of glue that you used to adhere them together.
Just make more of them. There's very little investment required to do these compared to like models or like actual terrain pieces. If you're on a budget and need a high volume, this is the direction I would go.
Also, as a little bonus, you can flip them over and do a pattern on the other side as well. And then you have two terrain footprints for the price of one. Okay, this next option is a bit more involved, but it's much more durable than the first.
This is actually what I used for last edition's footprints and I absolutely love them. I have some quarter inch MDF sheets that are about 11 and 1/2 by 11 and 1/2 inches square. For these, I took some dollar store craft paint in a rattle can and just kind of went to town on them.
I didn't really have a plan. I spray painted them all first to give a base coat and then went in with a sponge brush and just dabbed on color. And as you can see, it looks pretty good.
I went the extra mile with these, too. I even taped off some hazard stripes. I I even tried to make a stencil of an aquila.
It didn't work, but hey, I tried. These are super heavy duty and they can withstand all kinds of beatings. If you use a roll up battle mat like I do, uh and sometimes the corners fold up on themselves, go ahead and place them on the corners and they'll help smooth out the battle mat.
Okay, this final technique is something new that I've really wanted to try. The creators over at Custom Miniature Maker on My Mini Factory have been making these incredible texture rollers for years now. I wanted to give them a shot.
I'd already cut the MDF footprints and we're applying a mixture of PVA glue and air dry clay together and then attaching them to that footprint. The worry I have is that the clay will be too brittle and it won't adhere properly to the MDF. That's why I'm adding the PVA glue.
This set that I have is called Distress Signal and I've got tons of other textures and designs from foliage to mechanical to a floor full of skulls. I'm not sponsored, but I am very excited to try these on future projects. >> [music] [music] >> All right.
>> Okay, this is literally crumbling as I push on it. Okay. Do you see the texture?
>> [music] [music] [music] [music] >> Okay. Okay, we're getting somewhere, I think. I think I need to get I think I made the clay too runny.
That's faint, but it's not bad. Painting these bases is going to be a breeze. First, I primed them all brown, and then I went to dry brush with a golden brown, and then with a khaki color just to bring it all up.
This footprint looks incredible, and it wasn't a huge time investment considering that they'll be used every time that I play 40K. Now, onto our secret fourth technique. If practical hobby shortcuts are something that you're into, then that's what this channel is all about.
So, please like and subscribe. Every single subscriber matters to a small channel like this. I'm at 121 subscribers, and that's incredible.
Thank you guys so much for the support, and hopefully I keep making content that keeps you interested and inspired to play games with your friends. All right, lastly, uh if you've been around you probably know it. Ironically, the easiest method to make terrain footprints, it's the most expensive.
3D printing. If you already own a 3D printer, this is by far the fastest way to make a complete set. Wonderful files that you can print in about a day, giving you a reliable, durable, and inexpensive set of footprints with basically no effort.
Okay, so which one wins? If I had to recommend one, it's the night before you're playing your first game and you need terrain footprints now, do the cardboard method. These are fast and easy.
You can put on a TV show, it's mindless, and you can knock them out and they look fine enough. If you need something that's incredibly durable and that will stand being tossed around in a backpack, I recommend just doing the MDF method. You don't have to do stencils even, you can do a lot with just paint on this.
I was ultimately disappointed in the clay roller. I think the texture um and the premise of using the texture is great, and I wonder if the PVA glue that I added made it stick to the roller more than it should have. Um I'm going to do some further tests.
I want to try this again, so I can't I can't recommend this just yet. I've got some more kinks I need to work out in it. If you have a 3D printer, and if you've got maybe 100 g of filament left on a spool, then these terrain footprints are a no-brainer.
Just just do these. Like they're so fast, they're they're durable, they're plastic, they're not going to they're not going to break in a backpack. You can put them all in a sandwich baggie and call it a day.
Like these are these are going to be my secondary footprints um that I'm going to bring to game nights with me because I already have a full set of MDF that are cut out. So, having a spare set is always beneficial for the group. Let me know which one of these peaks your interest and that you are going to make.
Let me know in the comments down below. Thank you so much for watching. I'll see you guys in the next one, and make sure you go play some games.
I just I wanted this to work. I really wanted this to work. I need to give it another go.
I want to use it on the sister bases. Like that's ultimately the end goal cuz I've got like 50 or 60 something bases that I need to make. And like to be able to do the texture on that on just one big sheet and just roll it out.
That's a no-brainer, right? So I thought at least.