welcome back to our formulation lab you've now watched lessons three and five so you've seen me make our lovely natural face cream that's packed full of beautiful Botanical ingredients we are so very nearly finished with the whole formulation the only thing that we have left to do is to make sure that it's safe as you also saw in lesson six it's incredibly important to preserve your formulation because it protects you the people you share your formulations with your customers and your business if you start one now preservation as a topic may not be as exciting
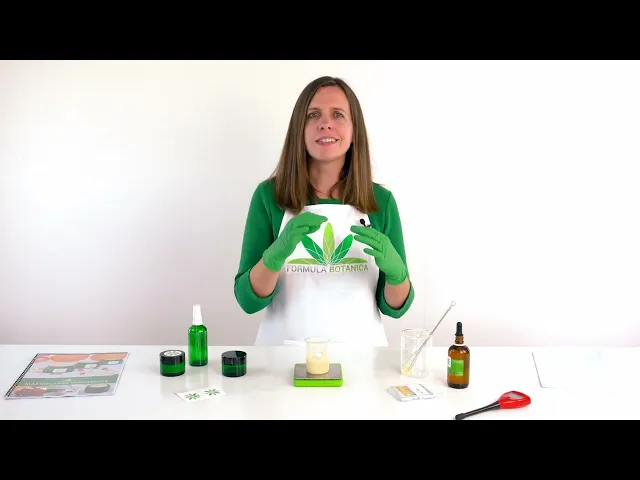
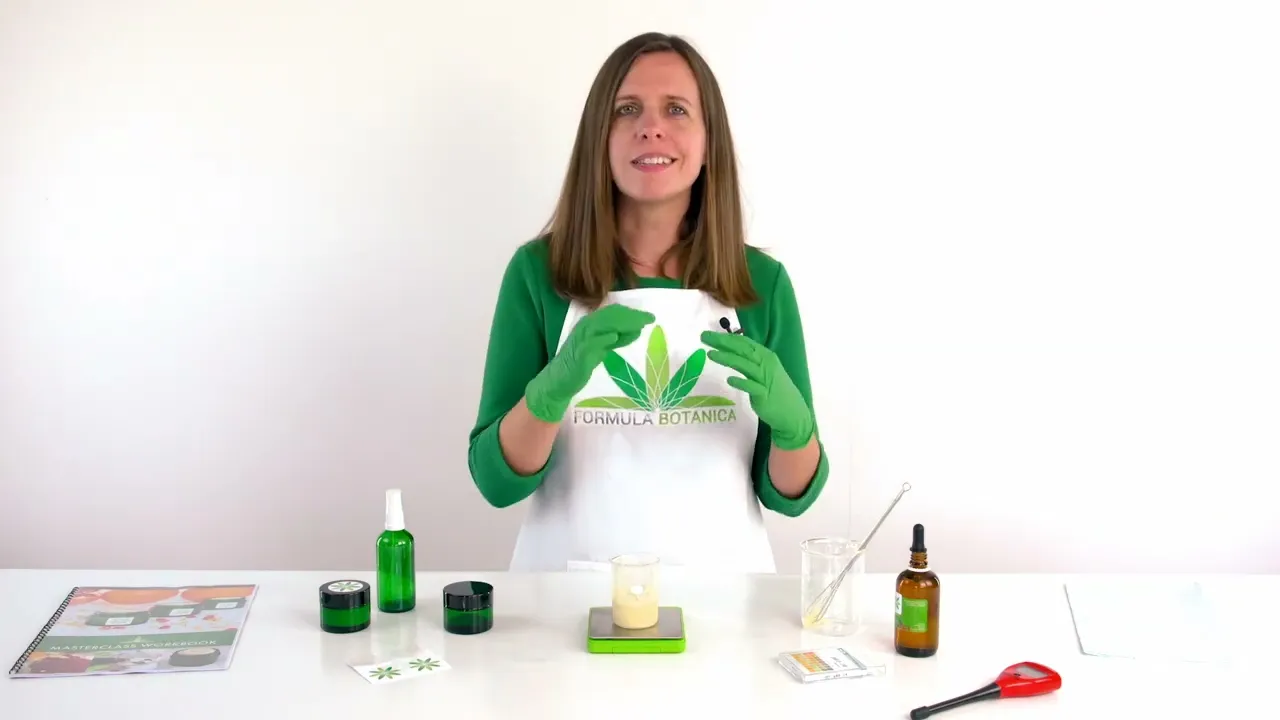
as using Botanicals I get it but it's still something that we should all be proud of because it means that our formulations are safe to use and it's also really simple to do so it's not something that you really need to worry about once you follow the basic checklist that we provided with lesson six that you've completed in your workbook so here's our face cream in the beaker where we left it in lesson five look at how beautiful it is look at this gorgeous consistency in there imagine being able to share this with a family
member or a friend and imagine even being able to sell this kind of face cream this is why formulation is so empowering but before you can do that we now have two more steps to take and then we can pour our finished face cream into its final container and we can label it one of those steps is that we need to measure our pH so let's talk a little bit about that before I show you what to do [Music] firstly let's talk a bit about what PH is so pH is a measure that tells you
how acidic or alkaline your water containing formulations are it stands for the potential of hydrogen ions pH potential of hydrogen which tells you what the hydrogen ion concentration is in your formulation because you need to have water to have a pH this means that anhydrous products in other words formulations that don't contain water such as facial Oils body butters balms they don't have a pH so pH is measured on a scale that runs from 0 to 14 where zero is very acidic and 14 is very alkaline pure water is neutral at a pH of seven
and sits right in the middle of that scale now we measure the pH of our formulations for three reasons firstly when we create formulations for the skin we want them to work with our body's natural microbiome our skin naturally has a pH of somewhere between about 4 and a half and six so we don't want our formulations pH to go below or above that as otherwise it could irritate the skin that's why as an example acid peels which have a very low PH can often cause peeling of the skin secondly the microbes which can contaminate
our Cosmetics also typically thrive in the range of about five to six so while we'll be trying to get our formulation pH into this narrow range you also need to understand that the bacteria and fungus which can cause our skincare to go bad also thrive in this range that's why we need a preservative we add one before the microorganisms have a chance to grow in the formulation so the preservative can prevent them from growing and then finally very importantly each preservative also has an optimal PH range so if you use a preservative in a formulation
and the pH Falls outside of that optimal range then the preservative won't work properly and the product will likely become unsafe to use so if your preservative only works in a PH range of five to six and your formulation's pH is four then you know that you haven't preserved it properly we want to know the pH of our product so that we know it's safe to use on the skin and so we know that our preservative will work so get yourself some pH strips like these to start with and then once you become a formulator
get yourself a pH meter like this one the simple ones don't cost much they're really easy to use and they can ultimately help you create skincare formulations which are not only good for the skin but which will also help with your products overall stability and shelf life so we have have now reached the point of preservation as you know at the moment the Emulsion that we made isn't safe to use and would start to go bad within a few days even if we kept it in the fridge do you remember the base cream I showed
you in the last lesson that I made a month ago not pretty right and you don't want this to happen to your emulsions either so now we're going to preserve this face cream naturally which means it will be safe to use and if you decide to formulate your own version in the future maybe even safe to sell we're working with a broadspectrum naturally derived preservative called preservative Eco or geogard ECT these are just two of its many trade names and you'll find this information in your workbook for today's lesson to so the inky name for
this preservative is Benzel alcohol salicylic acid glycerin and sorbic acid which means it's a blend of four different preserving compounds this preservative is popular in the natural skincare sector as it generally works really well it's easy to use and each of its compounds can be derived from natural sources however police please do note that salicylic acid so one of the compounds in it should not be used in products for children under the age of three and also Benzel alcohol has quite a strong scent because it is also a fragrance compound for instance benzil alcohol can
also be found in yangang yalang and Jasmine essential oils so once you've preserved your own version of this cream make sure you complete the activities in your workbook because we want you to evaluate how it smells before and after adding the preservative as this is also something you'd consider when designing your own formulations to use andell I am now going to preserve our face cream with this preservative remember make sure you have your workbook to hand so that you can fill in the blanks while you watch this episode so I'm now going to add half
a gram of this preservative to the formulation as the supplier recommends that you add 1% for broadspectrum coverage we've made 50 gr of face cream so that means we add 0.5 G of preservative to it that's 1% the role of thumb when it comes to adding a preservative which is also what we teach in our award-winning courses is that we add as much as needed and as little as possible so I am adding the preservative into the Emulsion using a glass pet and I'm weighing it at the same time and that is now completely added
so I'm going to stir it properly into the Emulsion and make sure it's fully dispersed through the cream so that it will be completely safe to use the final step is that I'm now going to measure the face creams pH now in an ideal world you would do this before and after preserving your formulation but we're simplifying things here so we're doing it just at the end as a check to make sure that our face cream is in the right PH range for the skin which as you remember is roughly some between 4 and 1/2
and six now I could use a pH meter like the one I showed you in lesson two this one but I want to keep things really simple here so I'm going to use a very basic pH strip and I'm going to dip it into my Emulsion however I also want to use this Emulsion as a face cream and I don't want to potentially contaminate it with my pH strip before I've even started using it so to avoid that I'm going to take this clean glass rod and I'm going to scoop up a tiny amount of
the cream and add it to my pH strip this is a simplified version of pH measurement and if you study with us then we'll help you fine-tune your skills further but for now this is fine and we will help make sure that our face cream is safe now I'll keep the cream on the Strip for about 10 seconds then I'm going to gently wipe it off onto a clean piece of kitchen paper to remove the cream and then we can take a reading to see what the pH actually is it's currently showing as having a
pH of around about five which is absolutely perfect and it means that we don't need to adjust the pH upwards or downwards if we did then we would add a few drops of a PH adjuster such as lactic acid to lower the ph or sodium bicarbonate to raise the ph but in this case we are fine and we don't need to do anything else I don't want you to worry too much about pH testing at the moment though because that's something that you can learn once you continue on your formulation Journey after this master class
and we teach all of that in our award-winning online courses we purposefully chose the specific ingredients for this formulation so you wouldn't have to worry too much about pH at this stage so just understand that there is much more to learn here and we're just touching on the basics but if you want to keep formulating you'll need to understand a little bit more about pH measurement so our beautiful Botanical face cream is now finished well that simple we use one hydrol one oil one Amala fire four Botanical extracts and one preservative 18 ingredients all that's
left to do now is to pour it into our final container I've got two types of containers here I've got a glass bottle with a pump mechanism and I've got an open neck jar like this one now I'm going to choose a jar for my face cream because it's easier to show you but you could also add it to the bottle with a pump and experiment with slightly less emulsifier maybe to make the Emulsion thinner the best type of cosmetic container is of course one that uses this kind of pump mechanism which generally keeps oxygen
away from your formulation and although this pump mechanism isn't airtight it does keep more oxygen away from the face cream than if you were using an open jar oxygen is one of the main elements required for the growth of bacteria and fungus and it also accelerates the rancidification of oils in your formulation so if you can keep oxygen away then you help prolong your formulation shelf life however for some products such as facial scrubs or lip balms this type of container is clearly unsuitable and you will need to use a wide neck jar with the
lid just remember that when you store your skincare in an open jar you will introduce microorganisms every time you put your hands into it no matter how clean your hands are so consider the ingredients you use and whether they provide breeding GRS for microorganisms this will also help you determine what sort of packaging you need so for now I'm going to pour this face cream into this jar so you can see it properly when it's finished here we go I'm going to use a small spatula to scrape out the last bit of cream from the
beaker so we can put that into the jar and now I'm going to gently tap the jar which will make sure that the cream settles properly into the jar and now we're done all that's left to do is label my jar on our finished face cream so you're probably wondering what shelf life this face cream has and this is a question I receive all the time from people and the answer is that you can't calculate a specific shelf life without undertaking cosmetic stability testing so by running tests that speed up real life conditions you can
see exactly how long it takes before your formulation goes bad or rancid you can run some of these tests in your own Artisan lab by keeping your formulation on a low heat for a prolonged period of time as well as running other tests that freeze your formulation or expose it to light once you know how it reacts under these test conditions in its finished packaging you can then put a realistic shelf life on your skincare formulation in fact we teach a whole course on this called the certificate in cosmetic stability testing it's so incredibly important
now with all that said though most properly preserved water containing organic skincare formulation should be able to easily achieve a shelf life of around about 6 months this does however depend on the ingredients you use and the way you preserve them and the way you package your finished formulation we have stability tested this particular face cream and we've put it our formulation through many cycles of heating and freezing to ensure that it's stable for us to teach you how to make it this will likely be slightly different for you because you'll be using different packaging
you might be substituting some of the ingredients more on this in lesson eight and you might be working in different conditions to us so just remember that testing is fun because it's part of being a formulator but for now we've taken care of the testing part for you in this master class and once you become formulator you'll be able to do this too so I really hope that you decide to make your own version of this wonderful face cream it feels heavenly it looks gorgeous it feels so good on the skin I've actually been using
it myself for many weeks before we even film these lessons and I absolutely love it too so make sure that you have a go-to everyone can formulate and so can you because it's fun it's easy and it's empowering however I bet you're now wondering what other ingredients you can use or you might be ready to formulate but you can't quite get all of the ingredients so which oils hydrosols emulsifiers preservatives essential oils and other Botanicals could you perhaps include and how do you stop following our formulation and start creating your own you can now start
to think about customizing the formulation that we've taught you so you can stop becoming a recipe follower and start becoming a formulator and then once you've made it Uniquely Yours you could even start to think about selling it and that's what lesson 8 is all about when I'm going to give you a whirlwind introduction to a whole range of other ingredients and show you how you can start to customize your face cream and formulate your future you are going to feel so inspired and your online shopping basket will be filling up rapidly I promise because
buying Botanical ingredients is addictive so I'll see you here for the next lesson to show you how you can customize your natural Emulsion and make it truly your own [Music]