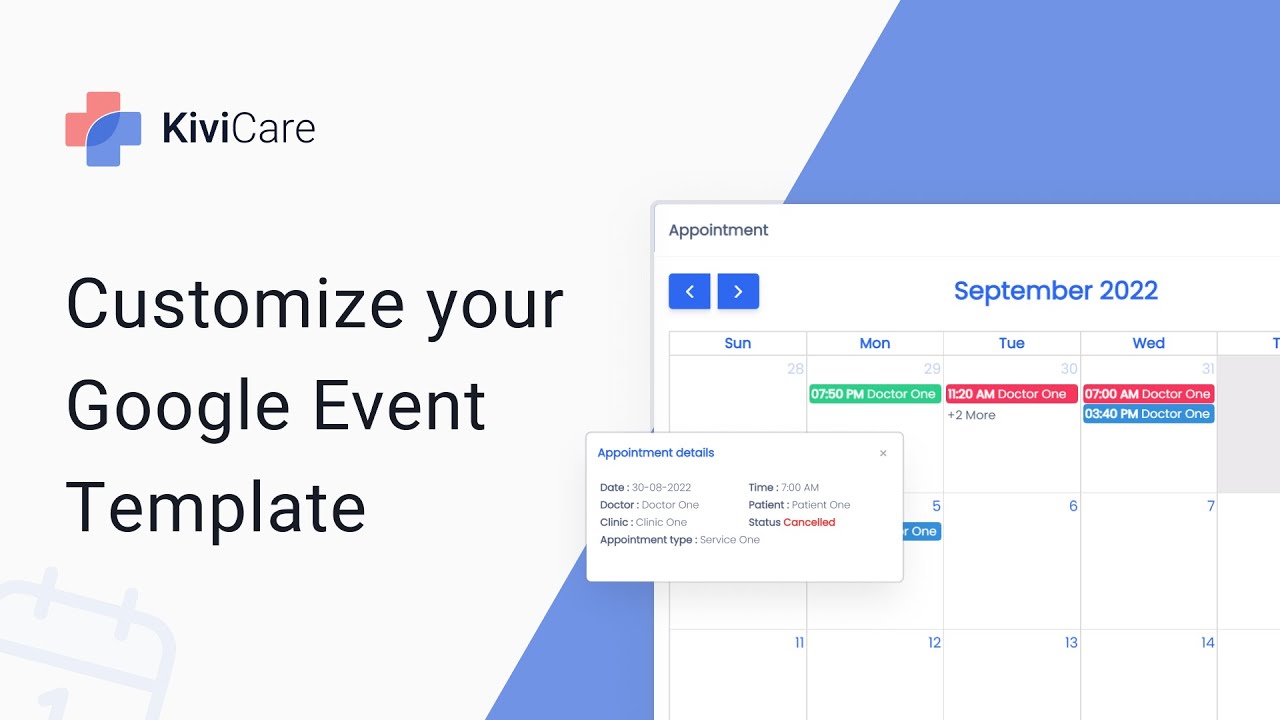
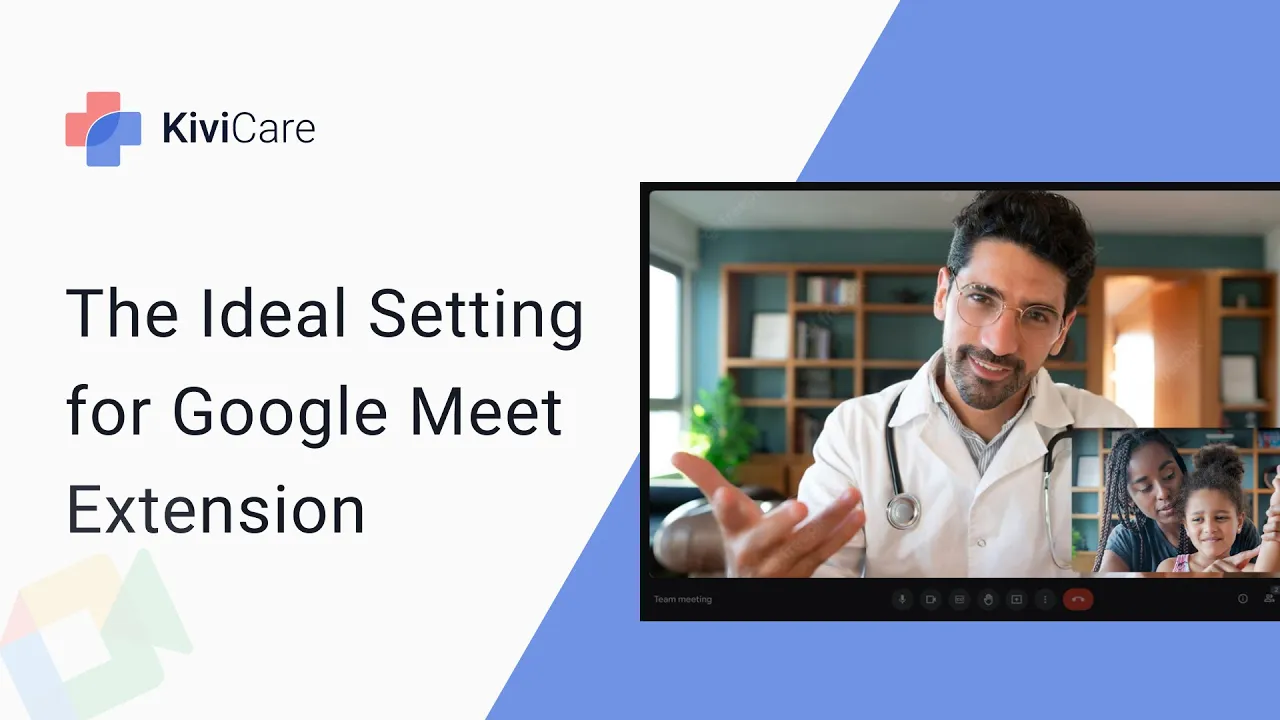
hi welcome to Kiwi cat the most simple and affordable self-hosted DHR solution for clinics and private practices kiwika supports telemedicine service and there are two different options to start this service that is Google made and zoomed element in this video we will see how to set up Google mid in kiwi care so let's start with going into the settings of TV care admin I'm there in the Google mid option where you can see we have the first option that is Google mid configuration so we will just enable it and we have to configure our Google
mid and for that we need this client ID client security and app name if you know how to generate them you can just directly do it and add them here and if you don't know so we are here to help you you can see we have this added disk guide and there is the key so in the documentation we will select this link that is console Cloud Google you can see this documentation is on Google Calendar but in Google The Google Calendar and Google mail settings are similar so we'll just click on that link and
in the Google Calendar first we will go into the Kiwi care test which is on the top and even the select our project that is giving attached and now we will go into our credential and there we will just create new credential and we'll click on both client ID but there is a note here which says if you want to create your oath ID you need to First configure your consent screen so we'll just click on that and we will select the user type there are two different user types first is inteller and second is
external so if you are just using the Google made for your test you can choose internal but we will use it externally for the other outside people so we'll just click on the external and we will create the oauth content screen now the next thing is you have to gain some information like the app name your support email then if you want to give the logo you can also do that then you have to give the app domain so we will give the abdomenclink that we have for our side and then going below that is
authorized roommate so on in authorized domain you can see there is one red line which is saying missing domain so you have to just copy that uh link that is showing there in the authorized domain part and just click on ADD domain and it will do the work and after adding the domain you can just simply give your contact information which is the email ID and just click on Save and continue and then it will take you the next step which you will also click on Save and continue further then the third option is a
test user so in the oath you have to give a test user ID then only you can work with it so you have to add the user to go further so we'll add our email ID that we have and it needs to with the Google Mail ID so we'll just do that and we will add it here and we will click on Save and continue and you can see both content screen is been added and now I will just go into to the credentials and we will click on create credential from the top and we'll
go into oath line ID now you can see we have the option to add so we'll firstly select the application type which is web application and then the name that if you want to change you can change it then you will add the authorized JavaScript origin URL so we'll just write the URL that we have for the Kiwi cam then you have to authorize the redirect URL that we will just write this same that we have in authorized one and we will just create the client ID and after clicking on create it will give this
pop-up in which you will have the client ID and the supply and security there is an option to download them but you can also copy them directly from you you can download it for your safety if you forget them in the future and then we will click on OK now we will go into enable API and services and we will click on plus button and variables go into the Google Calendar API and we will just enable it from here and after enabling the Google Calendar API we will go into our QVC settings and we will
copy the client ID and the client secret key and we will just give a name to it and we will click on Save and our Google mid configuration is done from the admin site now we have to do it same for the doctor side but before that we will again go to the Google Cloud site and here we will go into the publishing status you have to publish the status because if you want to add the users directly from outside you need to enable this it will allow the Google account users to directly log in
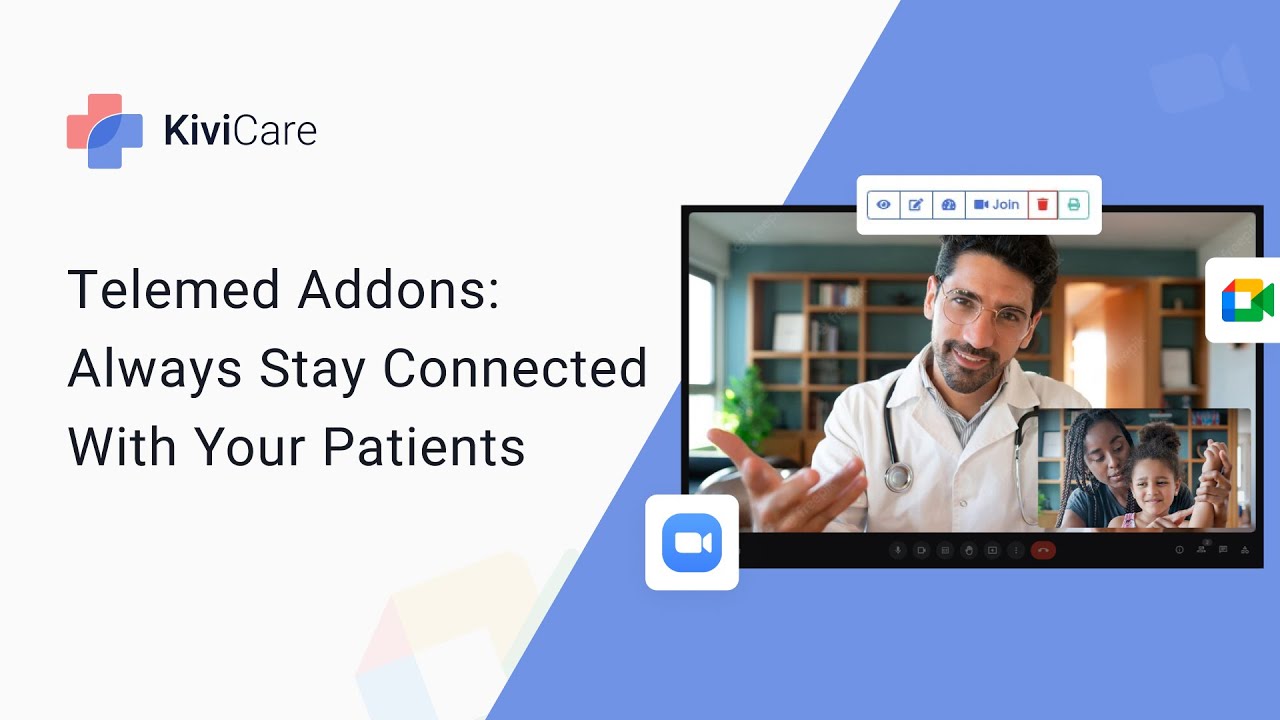
and use the Google mid servers so we'll just simply enable it by clicking on the push app and confirm it from here and now after confirming it we will go into our doctors Tab and in that we will go to service and in the settings we will go into the telemet option here you can see our Zoom telemed is on right now but you have to turn it off because in kvk you can't use both the service simultaneously you have to use one at a time so we'll disable the zoom and we will go into
the Google mid here you can see that you have to connect the Google account of the doctor from here you can just click on it and select your Gmail ID and give the information that they ask and just click continue and your Google account will be added and your Google bit configuration is also done from your doctor's side and now you have to give the consultation fees here and just click on Save and your telemed service will start right away for the Google mid in key now let's go again into the Google mid settings and
there is one more thing which is Google meet event template this is an email template that will be sent to the doctor and the patient when new telemed booking is done you can see we have written the service name and there are some user keys that we have given you can use them or change them but you can't use external one you have to just interchange this sentences and user key that we have given and you can just click on Save after doing any changes if you are changing it you can directly use this one
too so this is how you can use the Google mid settings and use telemet service for your clinic so try giving a free demo today [Music]

![I Replaced ALL my ADOBE APPS with these [free or cheaper] Alternatives!](https://img.youtube.com/vi/5EfqHg49kMk/maxresdefault.jpg)