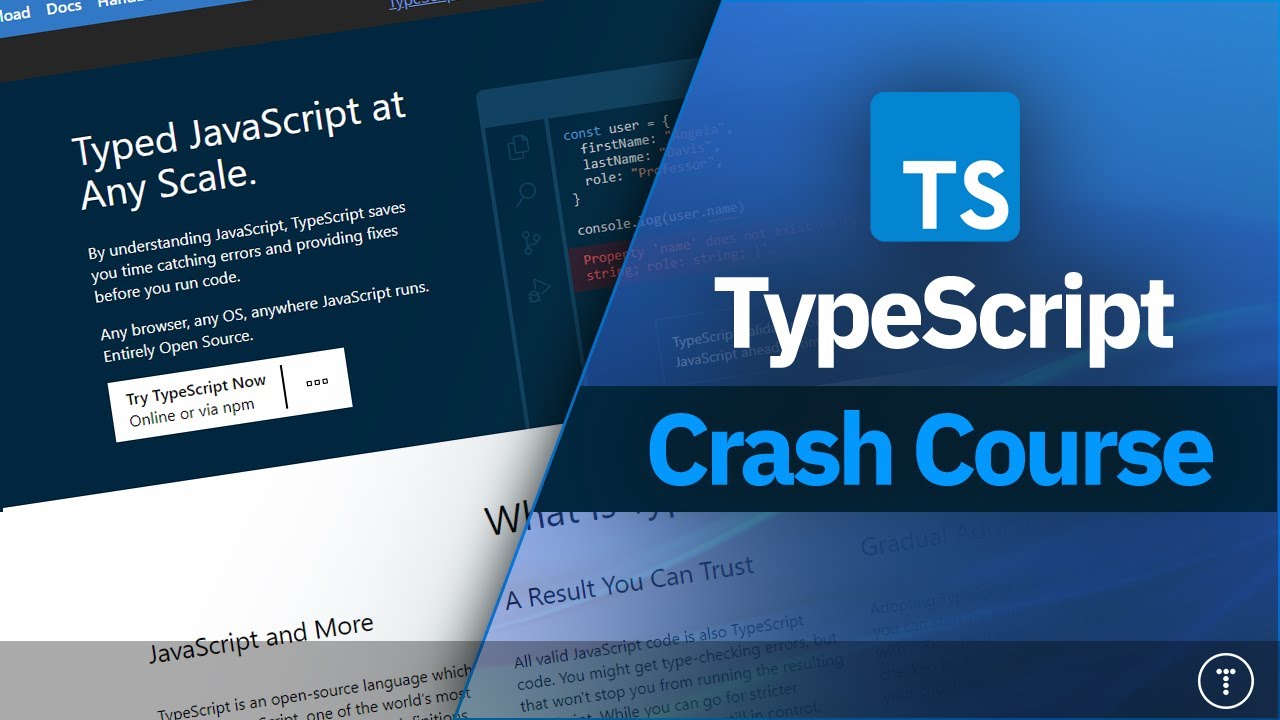
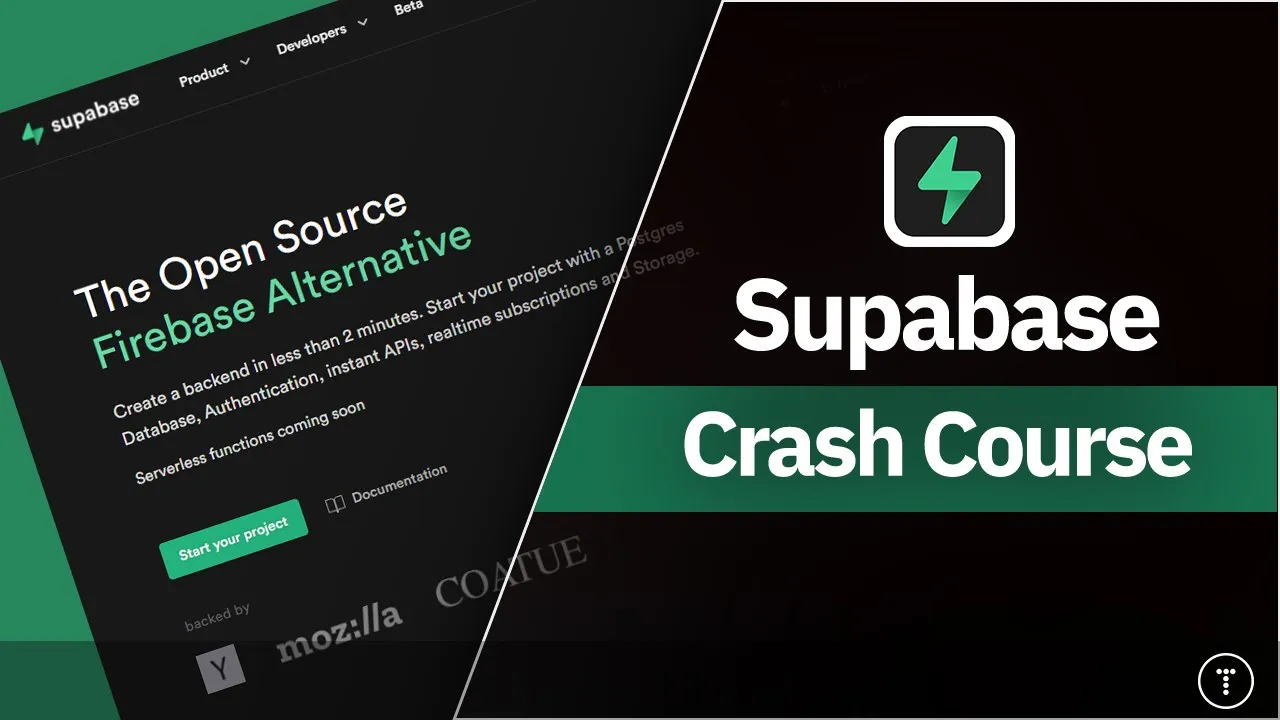
[Music] hey what's going on guys welcome to my super bass crash course so in this video we're going to go through and talk a little bit about what superbase is what it offers how it works and we're going to log into the control area and create a table with some fields we're going to look at users and policies and so on and initially i was going to do a react application that uses superbase in this video but i decided to break it up so in the next video we'll do the react application and we'll be using the superbase javascript client library to interact with our database but i want this particular video to just focus on super bass alone and in no way is this sponsored i haven't contacted the owners of super bass or anything like that it's just something that i've been seeing a lot of lately especially around twitter so i decided to check out and i think it's something that you guys can find useful so what is superbase it is defined as an open source alternative to firebase now i'm sure a lot of you know what firebase is but if you don't it's basically a back end as a service you get real-time databases you get authentication file storage and so on and the thing with firebase as much as i love it i think it's a great platform you have what's called vendor lock-in because firebase is owned by google so when you create an application with firebase you're essentially tied to google and if they decide to you know stop the firebase project for whatever reason then your you know your application is pretty much screwed and it's not easy to export data and permissions and all that if you want to move to some other platform so superbase offers an open source alternative with real-time databases authentication with multiple service providers file storage and serverless functions which are not available yet but are coming soon and as far as the database goes it actually sits on top of a postgres database which is a very scalable relational database and you can log into the the super base control area and you can create your tables and your fields and you can manage your users and policies and all that you can write custom sql queries and we're going to jump in and look at that stuff in a few minutes and then another really cool thing about superbase is it uses something called postgrest which will take your postgres database with all your tables and columns and automatically generate a rest api from that with filtering and sorting and all types of stuff so we're going to take a look at that as well so you can access your data through that rest api and then you also have your you know your javascript client library that you can use within your application which i'll talk about as well as far as user authentication goes as soon as you create your database it will automatically create a users table or an auth. users table and when you create an application superbase will assign a user an id as soon as you register and you can reference that id within your database so for example in our react application we're going to have a profiles table that references the user with a user underscore id field and as far as methods to log in there's a bunch of different ways email password magiclink which is what we're going to be using it's basically a passwordless login and then you also have oauth providers like google github facebook and you can enable those from within your settings from within superbase now as far as access control goes i really like this it uses postgres it uses the rls feature or row level security so any policies that you create you just create directly with sql i believe with firebase when you add your permissions it's done with common extent the common extension uh common language extension or something like that common expression language which you know if you need to for some reason move to a different platform obviously that is going to be really difficult with postgres or i should say with superbase all your security all your or your policies are just done in postgrads so as far as authentication like the flow of it this right here is from the documentation so a user signs up through your application uh creates a new user in the auth. users table which is automatically created superbase then returns a new json web token with the user's id every request to the database also sends that json web token and then postgres will inspect the jwt to determine the user making the request okay so every request you make when you're logged in that user id will be sent and then that user's id can be used in certain policies to restrict access to rows and this is an example right here from the documentation this is just sql it's just creating a table called profiles and then enabling rls or row level security and then creating a simple policy this one here is uh the description is public profiles are viewable by everyone all right and you can either type it out in sql like this or you can use the interface which i'm going to show you or i should say the the gui tool which i'm going to show you in a minute and then as far as accessing your data and logging in and all that from your application you have client libraries obviously we'll be using the javascript library but it looks like there's also a python and a dart library for flutter so basically to log in or i should say to sign up we can just call supabase.
auth. signup pass in an email and password get some data a possible error and then we want to access data like let's say from a table called countries we would do super base dot from countries and then dot select whatever we want to select from that specific table now as far as pricing goes it's a pretty generous free tier so it's great for you know personal projects or just experimentation so the free tier offers ten thousand users five megabytes of space and then for twenty five dollars a month you get a hundred thousand users 500 megabytes of space and unlimited api calls all right so that's it for the slides let's go ahead and jump in and start to look at how to create tables and rows and policies and all that stuff all right so this is superbase. io and we're just going to go ahead and sign in and we're going to sign continue with github so obviously you have to have a github account and then from here you can see i already have an organization i cleared out all my projects but it might ask you to create an organization mine's just called brad traversy and then we're going to click on a new project and choose the organization you want to use which i'm just going to call youtube and then for the password it has to be pretty secure i'm going to use the pass gen tool that we created a couple tutorials ago so we'll say past gen length let's do 12 and that will copy it to my clipboard and then i'll use that password and create new project now as soon as you do that you're going to see this database building and api building so this takes around two or three minutes so what i'll do is just pause the video and come back when this is done okay so as soon as that gets set up you're going to see this screen and this is the table editor this is where you can create a new table you can also insert data from here but before we do anything here i just want to go down you can see all we have all these tabs here authentication storage sql api i'm going to click on database and this will show us all of our tables now you're going to have these tables here by default including migrations refresh tokens and then you also have this users table and this is under the auth schema so if we click over here on this where it says 21 columns you can see all the columns are all the fields for the users table including the id including the email you can also do email confirmation so you have like confirmed at confirmation token so these are all the columns for the users table and you can add new ones as well now i'm going to go back up to table editor and let's create a new table let's say that we need a table for items whatever that is items products whatever you want to call this and right here you we want to include a primary key called id and the type is going to be int 8 so i'm going to click save and that should create a new table with the primary key and you can see we have our id field now if we go back down to databases we should see items in the tables here which is part of the public schema so whenever we create a table it's going to be under public and then over here i'll click on one columns and you'll see our id column so if we want to create something else another column in this table let's say we'll call this name and for the types we have all these different types and like i said this is just this is on top of a postgres database so we'll choose varchar for the type and you could also do like foreign key relationships but i'm just going to click save and now we should have an id and a name now if we want to insert data from here we can go back to our table editor and you should see id and name if you don't see name you might have to reload but then we can click on insert row id will be generated automatically but let's say item one for the name we'll click save we'll click insert row again let's call this one item two and save so now we have two items in our database now i want to show you how we can use the api that's automatically created for us so if we go over here to api so you have a couple items on the side here under introduction it'll show you your api url and then it also shows you how to install the javascript client library but we're going to do that in the other video when we create our react application what i want to do now is over here under tables and views we're going to click items okay because that's the table we're working with any any tables we create will be shown here and then you'll see on the side here we have fields read how to read rows filtering insert update delete and on the side here this is this is how we would do it using the javascript library within our app now i just want to use the api for now so instead of javascript i'm going to click on bash and that will show us these different requests that we can make this uses curl but obviously you know we can make requests using whatever so that's what i want to do i'm going to go down to read rows and let's grab let's see this will read all rows i'm going to take this url right here and i'm going to open up postman and if you're following along you can use postman or you can use any tool to to make http requests so what's included here is the api url and then slash rest slash version one and then slash the table name which is items and then we have a param of select equals asterisk so select equals all now if i send that we're gonna get this message that says no api key found in request and if we look over here in addition to the request we also need two header options we need the api key and the authorization token which is a bearer token and if everything is public as it is now we can just use our api key for that as well now to get the api key we can actually click right here it says hide i'm going to say a non-key which is our public key and then it'll show it here we can just grab it and obviously yours will be different than mine and then let's add in the headers say api key and then i'll paste that value in and then for the authorization we could do it one of two ways with postman we could say authorization and then do bear space and then paste the token in or we can just go to authorization bearer token and just paste that in so now if i send we should now see our items okay we get a 200 response and we can see our items now let's say we want to insert an item we'll go down to insert rows so we would make a post request to this url so i'll grab that i'm going to open a new tab for the post paste that in and we're going to need again in the headers we need our api key which i'll just grab from here so your api key and then also the bearer token which should be in there by default because i just put in the other one and then in addition to that we need content type and we'll say application slash json oops application slash json and then for the body let's go to form url encoded and for the name of this let's say this will be item what do we have two in there so this will be item three and we'll go ahead and try and send we get a 201 created okay now if we go back to this tab which is the get request and i send we should now see item three all right so we have a full crud rest api but now i want to talk about policies and permissions because you might not want everybody to be able to create an item with just the public key with just their non-key so let's um let's try to think of how i want to do this let's go back to let's go to authentication and this is where you can create your policies so right here we don't have any users yet but let's click on policies and here you'll see all of your public tables we only have items and rls which is the row level security of postgres is disabled by default so if we want to enable we can just simply click this we could also just write an sql statement but we'll just use this and now it's enabled so what that does is it locks everything down if i go back to postman and i try to get all these items again you'll see i'll get a 200 response but i don't get anything back and if i try to insert using just my anon key it says i get a 403 forbidden okay so i'm not allowed to even read any of these items by default when rls is enabled you then need to start creating policies so let's click on new policy and you have the option to create a policy from a template and one of the options is enable read access to everyone which is just sql say so creating a policy on the items table and i'm going to click use this template and let's say for select we only want the public to select so let's click review and then save policy okay so now that created a policy and we should be able to now go back to our get request and send and now we can get all of our items we still can't add if i go here and i try to send it's still not letting me basically all we can do is is read items we can't we can't insert or anything so let's say we want users to that are authenticated to be able to insert we could say new policy create from template and right here you have enable insert access for authenticated users and basically we're just saying for inserts we want to check if the auth role is equal to authenticated so let's say use this template and let's say for insert review save policy okay so policy saved if i go back to postman and i try to insert i still can't right because i'm not authenticated i have my anon key my public key but i don't have an authenticated user so let's go to users and obviously we don't have any and normally this would the users would come from registering through your app but you can invite users so that's what i'm going to do here is invite to one of my emails click invite user and that's going to send me an email which i'm going to just check off screen actually i'll bring i can bring this over so you get an email like this you have been invited um right now my app is located at localhost 3000 which i just have a regular react app running right now um so i'm going to click accept the invite and it's just going to take me to my local host 3000 but notice up here i get an access token and normally within your application you would store this and this is what you would send with your requests we don't have an application yet so i'm just going to copy this token which is pretty long see right here so it ends right here so i'm going to go ahead and copy that and i'm actually going to go to jwt dot io and you can see what this whoops jwt dot io and you can see what this token contains so paste that in and if we look over here we get authenticated the expiration the id of the user the email so this is all included in this token so now i can go back to postman and the way that i use this token is just go to authorization and instead of sending the anon key for my token i'm going to send the user's access token right and this is my post request this is my insert let's change the body to item four and we'll go ahead and send and now we get back a 201 created all right because of that that access key in my authorization so if i go and i make a get request now we should have item four all right good and that if i reload this that should go away that waiting for verification all right so we now have this user now what if we want the user to only be able to update their own items now right now we don't have any user id field so let's go to database and let's go to items click on where we have two columns and we only have an id and a name so what i'll do is i'll create a new new column here let's call it user underscore id the type i'm going to set that to uuid and let's save that and then we'll go back to our table editor and now you'll see user id is just null obviously because we didn't have that when we added this data so what i'll do is grab my user's id so authentication users and i'm going to grab this right here for some reason that copy button doesn't work for me so i'm going to copy the user's id and i'm going to go back to table editor and let's say id 1 so item 1 i should say i'm going to edit row and i'm going to add this user id here meaning that this user owns this item item1 and then let's do the same for item three so we'll paste that in and then i don't know for item two i'll just put like i'll just put one it which it obviously will actually has to be a uuid we'll just leave it as no right so we know that this this user owns item one and three so let's create a new policy now we don't have a template for this so and i also do want to show you that we can just use sql so i'm gonna go to sql and there's different um you know options here like if you want to create a table it gives you some pre-generated sql and you'll see your open queries over here but i'm gonna remove that and i'm just going to go to this query one and we want to just write a policy so let's say we'll say create policy and we'll we're going to we're going to give this a description so we'll say users can update their own items right so we just do that and then we'll go on the next line here and we'll say on items that's the table name for update using and then we'll open some parentheses end it with a semicolon and inside here i'm going to say where the auth.