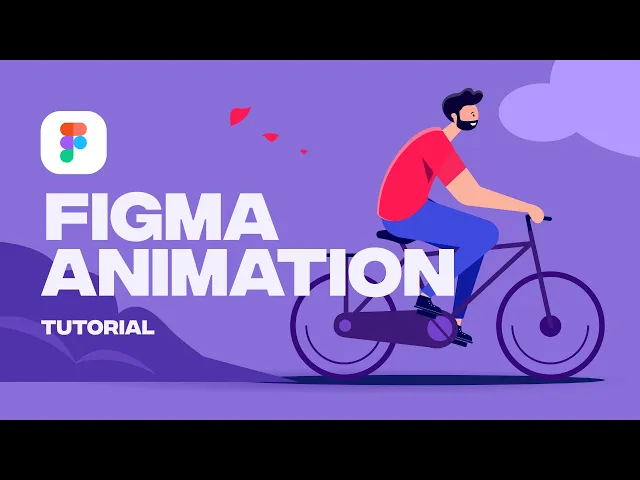
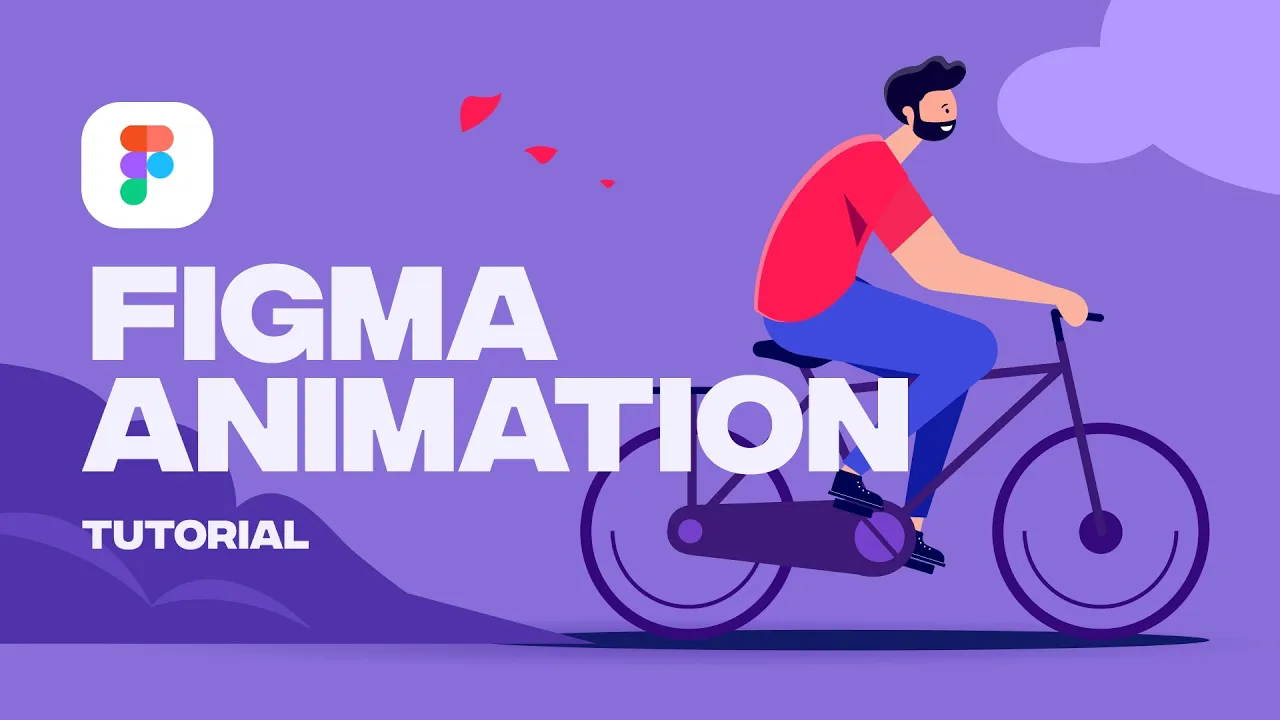
[Music] hey what's up everyone today I'm going to show you how to make this really cool animation by just simply using figma so let's get into it alright so here we are in figma and I have this illustration in this artboard here so before animating this we need to optimize this illustration to make sure that this is set up in the way that we can animate it easily so the first thing is to keep all of these part of the body as well as the bicycle as separated groups or layers so you can see that
I have this hatch here is it's separated groups and inside all of these are also an individual layers and also for the neck and the body as well as the arms and the most important part is these legs because it's going to be the the most animated feature of this animation so I have this upper leg here is a separate shape and the same for this lower legs and for this foot I attach it to the pedal of the bicycle so we can simplify it just as one roof like this so we can easily move
and rotate the rounds and you can see that I simplify this part of the bicycle because the more simple it is the easier it's going to be to animate it so we don't want to add unnecessary detail here so it's just keep it very simple like this so the same for the other legs here so yeah that is how you set up a illustration or the vector shape to optimize for animation alright so next step I'm going to select this artboard and duplicate it into the second ones so basically with this second our board I'm
going to create the next state of the animation and then we will use the Prototype features to connect this and it will automatically create a transition between the first day to the second state all right so with this second stay I'm going to focus on this shape we're going to use this ZIP to become the Anchor Point so I'm going to rotate this one to minus 45 degree now we'll move the foot as well as a pedal to match up with the rotation of this shape here and I will also move the lower legs to
match up with the position beginning of the foot like this and the same for the upper legs so the key is just to adjust this part to look natural um so it'll be something like this and we'll do the same for the other leg so we'll move it to this position here so it will anchor to this point of the circle and move the lower legs down and also adjust this upper leg to look natural so we have the second state like this so now we have the Tuesday so I will demonstrate quickly how to
make the transition so let's go to prototype and then I'm going to select the first Stave and then just click on this little dot right here and then connect it to the second state and release and it will opens up this uh setting dialog so let's click here to select the trigger of the transition so I will select after delay because we want it to happen immediately with no trigger at all so I'm going to set the timing as one so this is the minimal that you can set so it's almost happened immediately um and
then it will navigate to State two and make sure to select smart animate um so with this one it will morph any Vector shape with the same name from one to another state to create the transition so select smart animate and make sure to select linear animation and duration I think it can be 300 milliseconds is fine so now now you can click on this to preview so you can see that I'm just zoom it so now you can see that it's created transition here so that's basic process all we need to do next is
to duplicate the second stay and create a Thursday and do the same process so I'm going to rotate this to 90 degree minus 990 degree angles and then move the foot to this position and also move the lower legs so it will look natural so I think it should be something like this so same here with adjust rotation so it look like this and same for the other legs move it down here and also move this lower leg so we can turn off this layer so you can see better and it should be like this
and make sure to turn it on so we have the Thursday ready and apply do the same so I'm going to quickly try to see if it's working and apply the same after delay one uh yes all good so yeah let's select one and preview so yeah we have this longer animation so it's looking pretty good so for the wheel we're going to do the same except that I wanted to rotate faster in the pedal so for the second stay I'm going to rotate it instead of like 45 degree I'm going to rotate this 90
degree like this so we have minus 90 degrees here and for the Thursday we're going to make it the full circle so now you can see the wheel is moving faster than the pedal so now all we need to do next is to apply the same process for the rest of the animation cycle [Music] so after you get to the end of the animation Cycles all you need to do is you select this one and connect it back to the very first stage and apply the same setting so now we have the full animation cycle
so let's give it a preview alright so now we have this animations running pretty smoothly so I think it's looking pretty good and then with this setup you can even add more new ones to the animation by adding some extra motion to the other part of the guy so I'm going to quickly demonstrate so we're going to go to the second state and then I'm going to make his hair moving a little bit so scale it up a little bit and for the Thursday I'm going to make it even Messier like this and with this
I'm going to apply the same amount at the second stay um so yeah just something like that so let's just preview it to see how to go so now you can see that it will eventually you know moving um up and down like this so just quickly demonstrate that you can have a full creativity to create to try let you try different motion for the head and for also like for the box here to create a much cooler animation than this so yeah that's the basic process of creating this animation purely on figma so everyone
can do this in super easy so I hope you find this helpful and I will see you in the next one