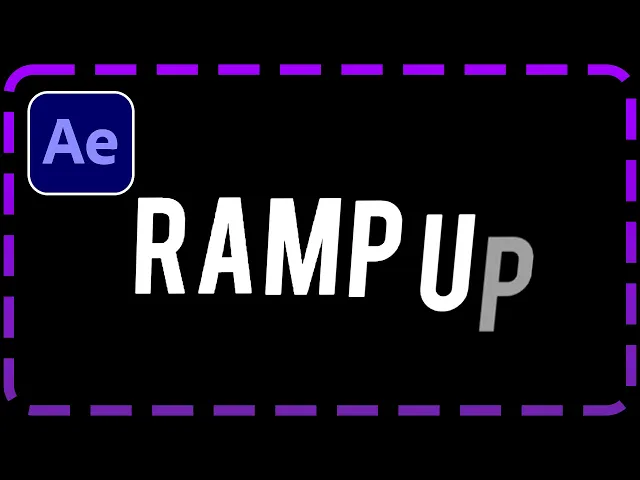
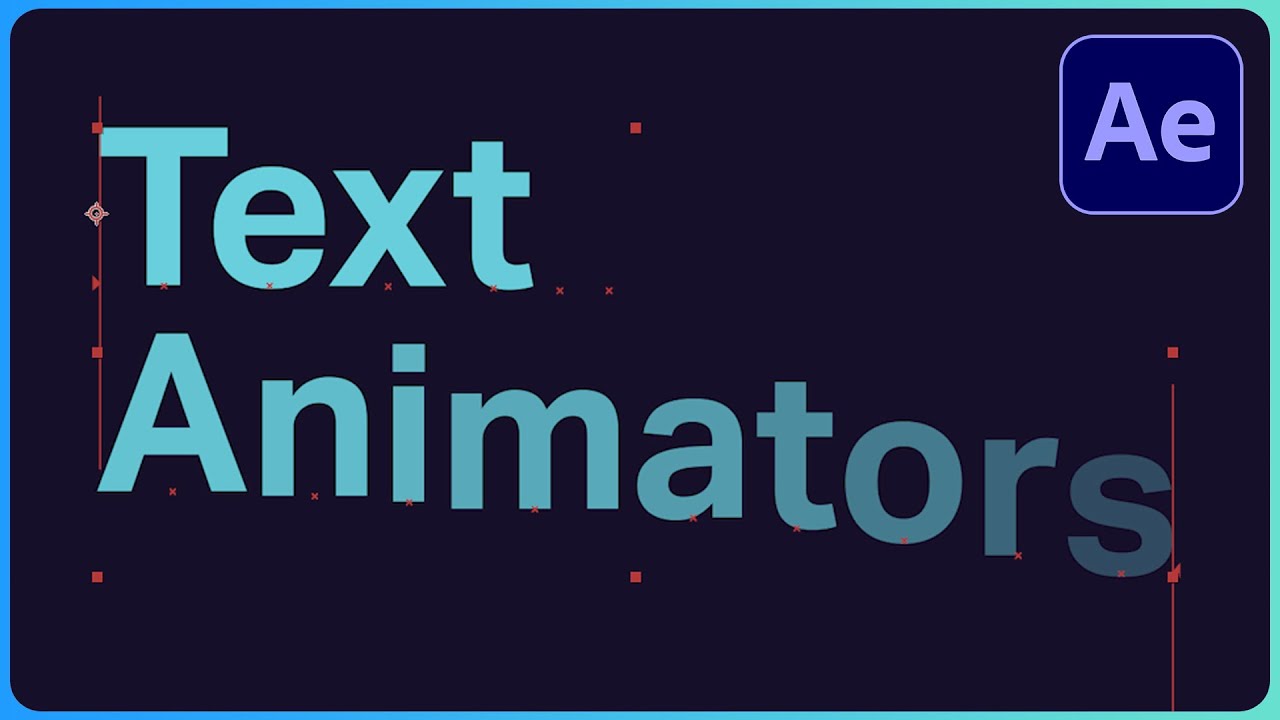
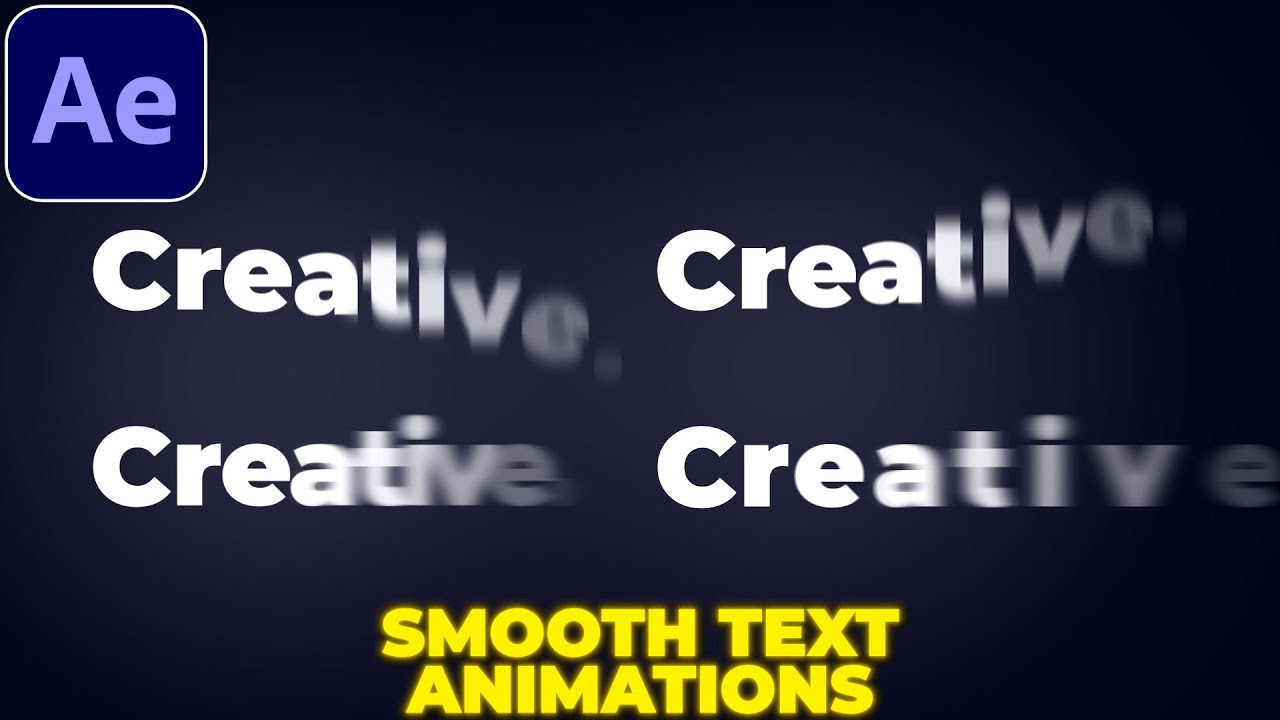
how to create a ramp up text animation and after effects in this tutorial we will guide you through the steps to achieve an eye-catching ramp up text animation using After Effects let's Dive Right In to do this select the type tool by using the shortcut Ctrl T click on the preview and type the desired text next click on animate and choose position click on the add button and select opacity set the position volume to 70 and opacity to zero expand the range selector and set the offset to 100 move further in the timeline and create
a keyframe for the offset with a value of 100. now go to the beginning of the timeline by clicking on the layer and using the shortcut I set the offset there to man 100 expand the advance setting and change the square to ramp up Now set the easy High to 30 and each low to 100. select the text layer and press s to open the scale keyframes create a keyframe for the skill at 100 where desired and a bit further create another key from out 125 for a nice skill effect select the keyframes and apply
each each by using the shortcut F9 next go to the graph editor make sure you have selected the edit speed graph mode adjust the graph in the same way I do hold shift to ensure it is perfect and here we go now you have created a very nice ramp up text animation and after effects this always need to know things watching this video subscribe if you want more stories like this