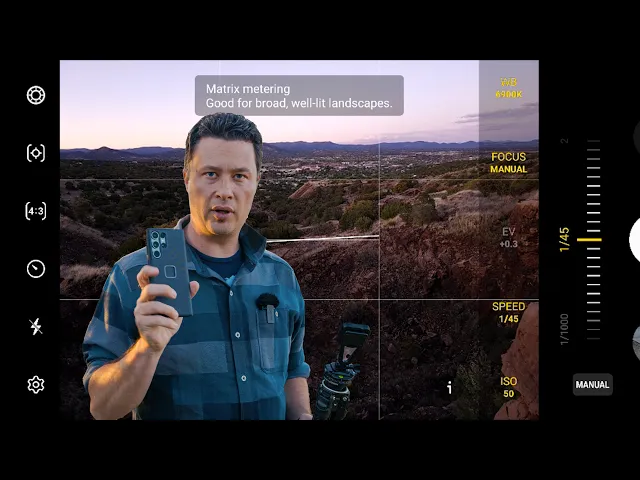
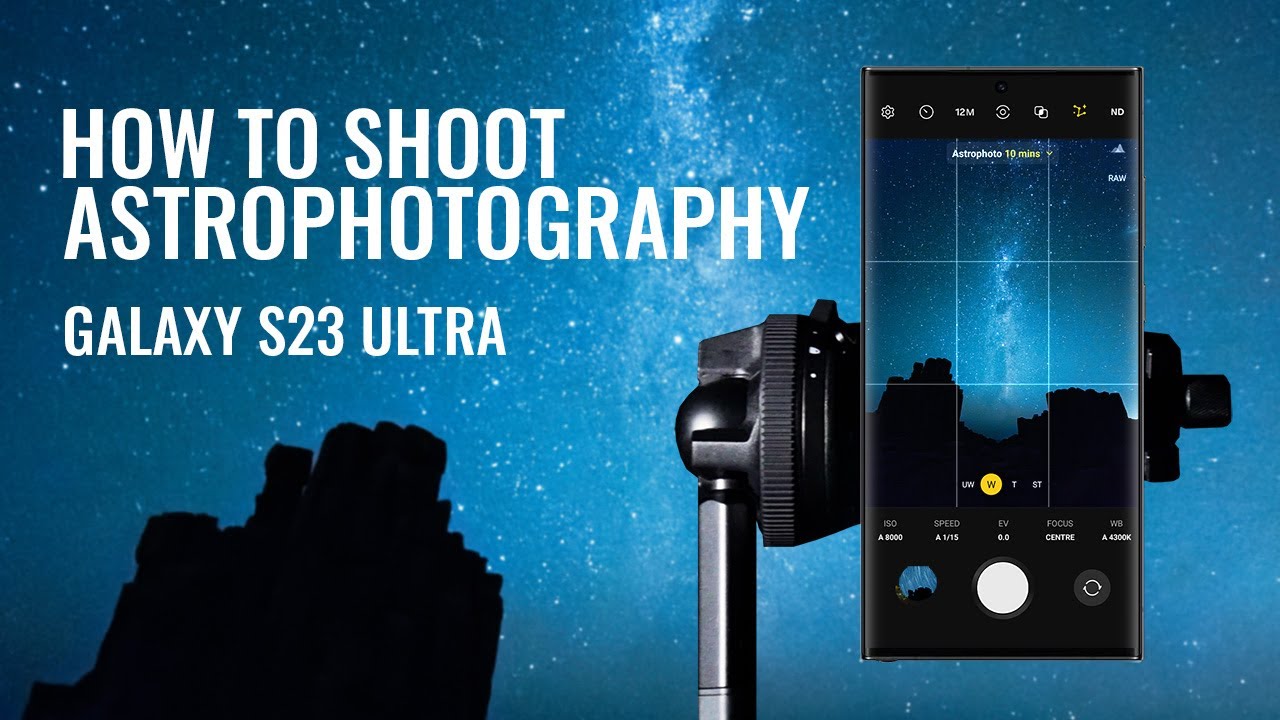
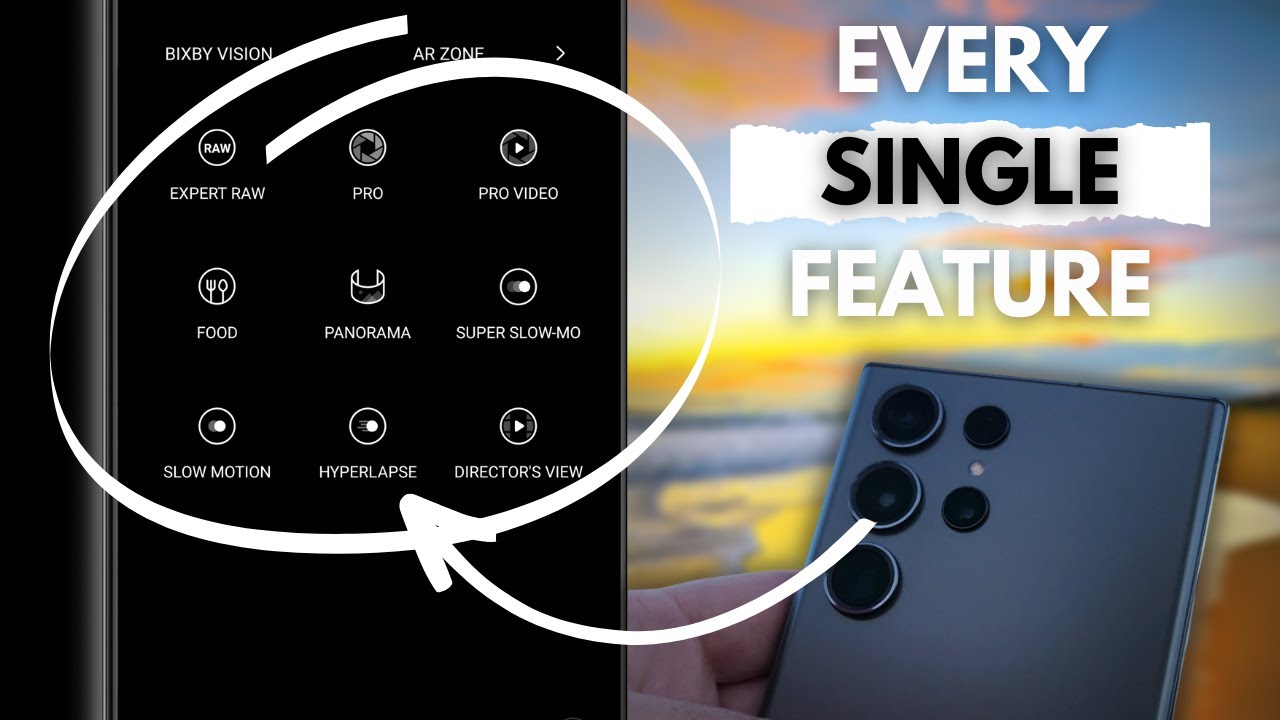
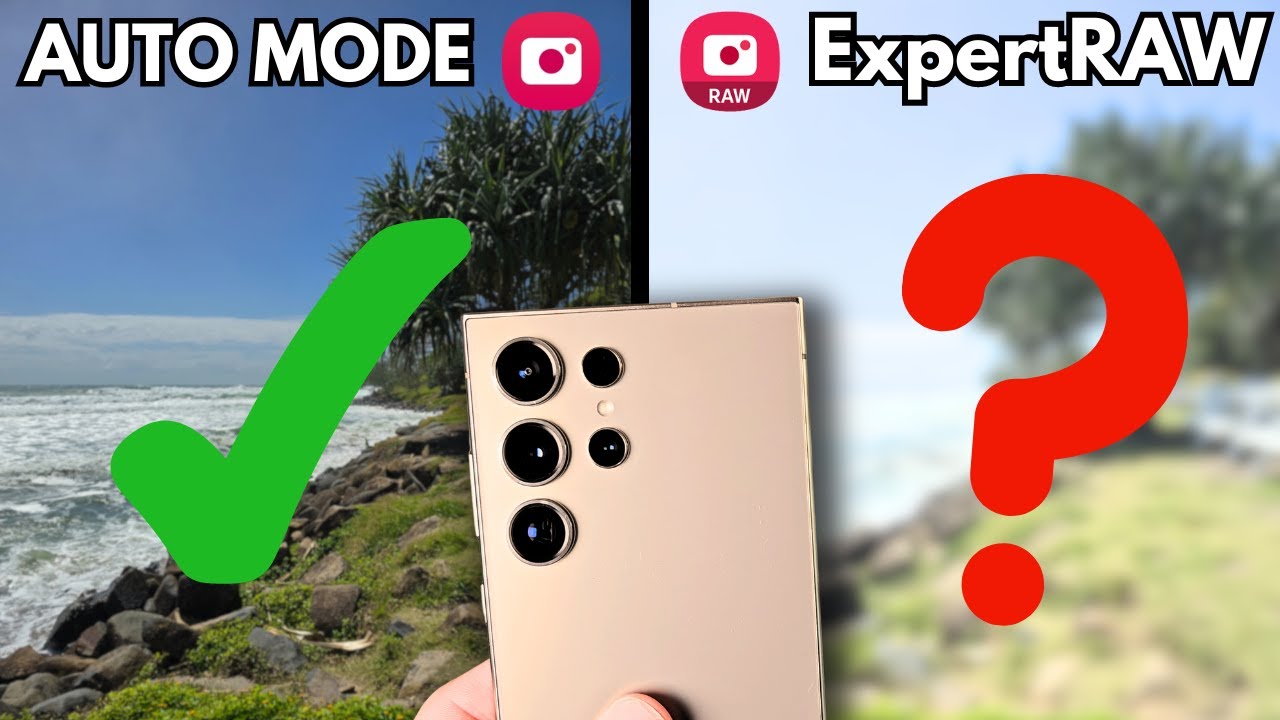
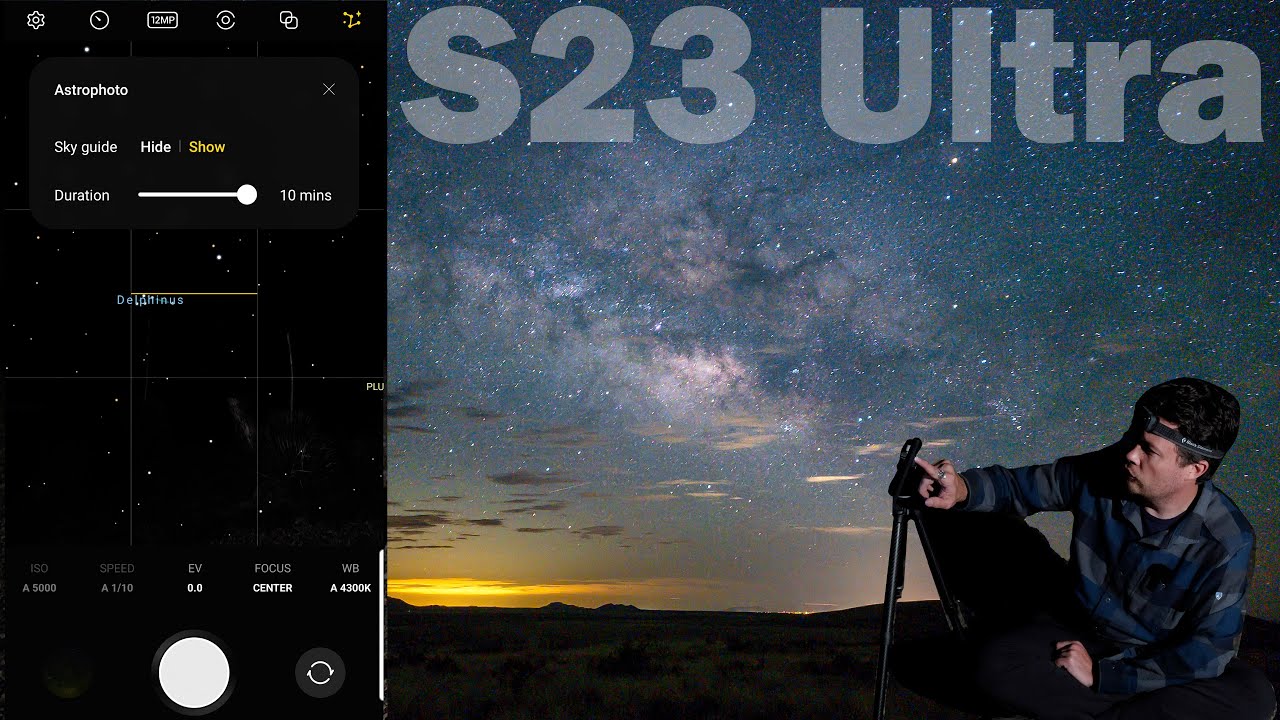
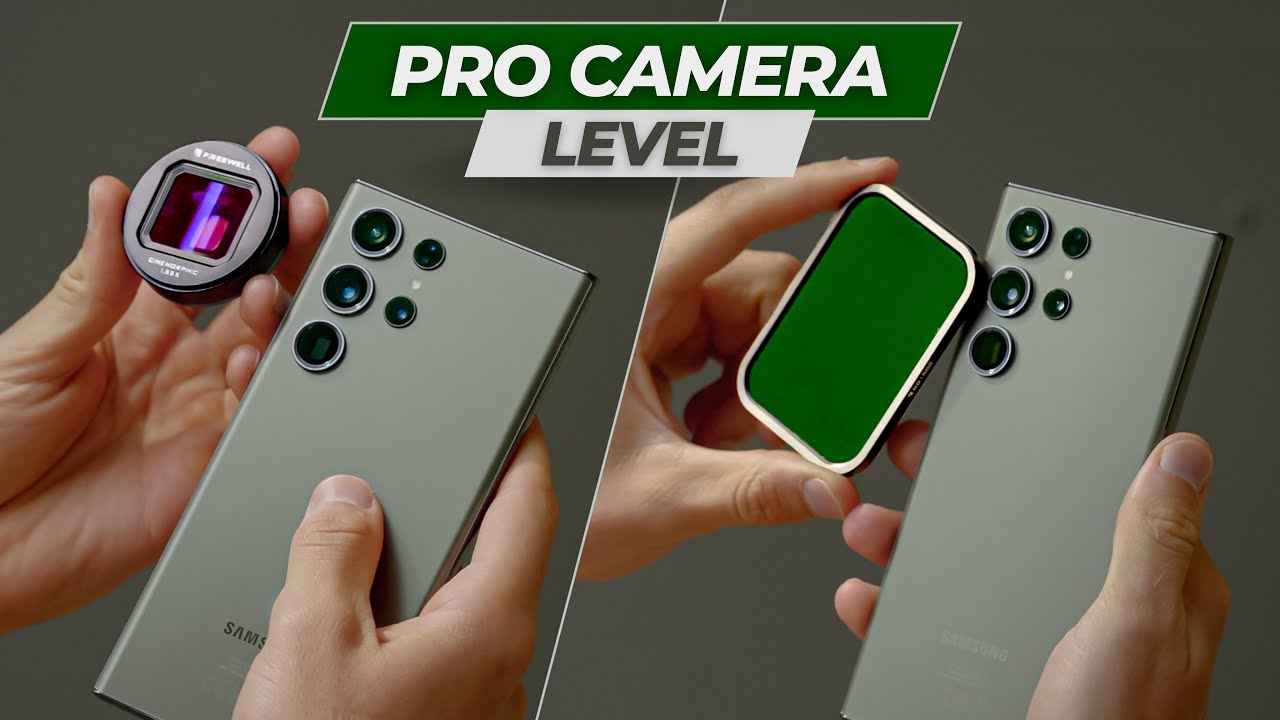
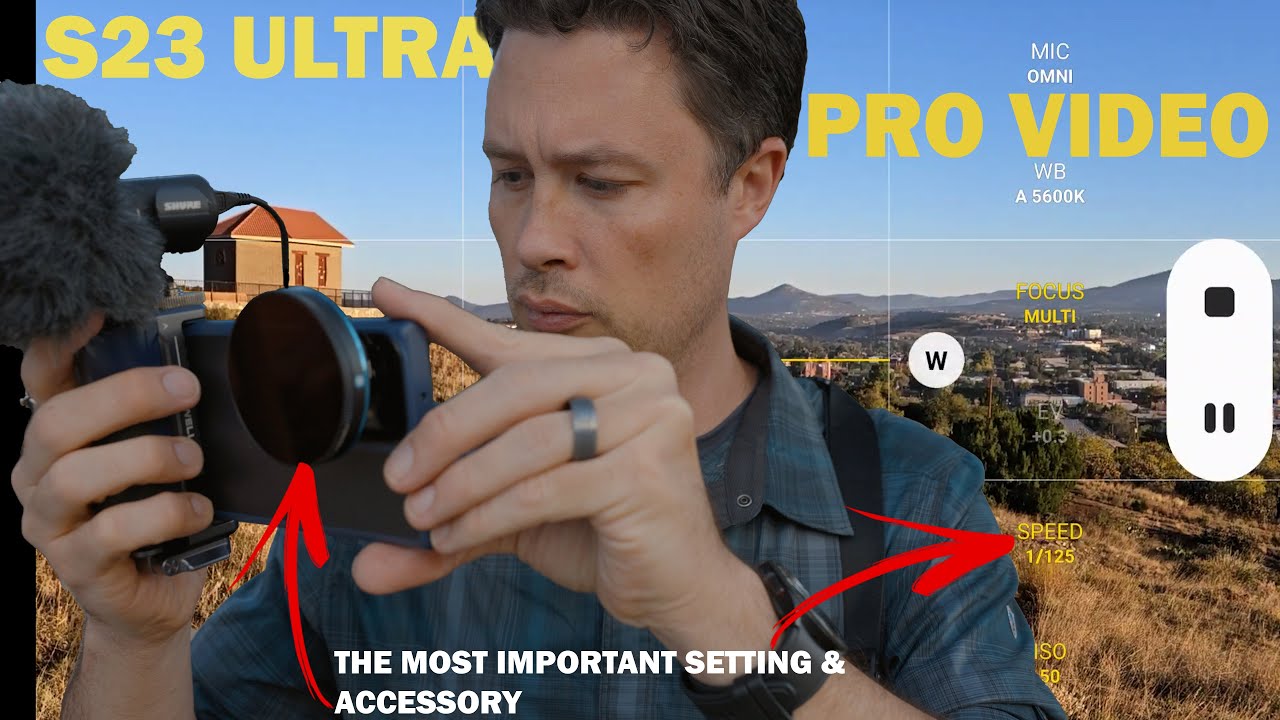
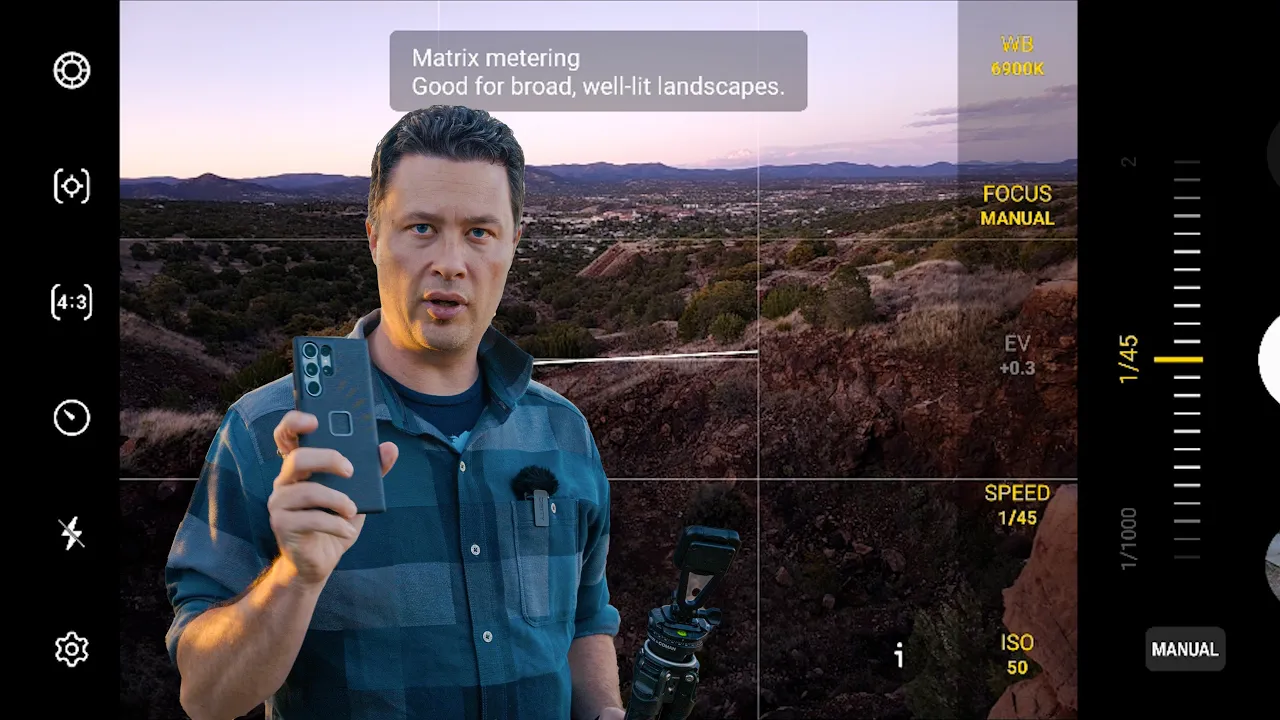
what's up guys welcome to another phone episode annual Pro Mode episode so if you're new to the channel I do I do the pro mode stuff pretty much with every release except I didn't do it for that's 22. uh but today I'm going to walk you through the s23 Ultra Pro mode and this will this should apply to the s23 to all variants of the s23 the the pro mode the software should be the same the only difference is we're going to see would be lens differences so let me get set up um oh and real quick I'm going to throw this out there a lot of people ask me on my phone videos what how I'm attaching to the tripod so I figure I'll show you guys real quick because Peak design just just got these new cases in for this 23 and they are amazing because they just clip right in to their little hangy thing and I absolutely love them these things are not coming off you could shake this as hard as you want it's not coming off so I love the peak Design Systems not sponsored at all in any way shape or form um it's this is just the stuff that I use but the peak design stuff all those accessories are in the links below enough of that let's get set up before we lose the best slight because we have some beautiful evening light so I'm going to show you guys how I use Pro mode and all of the inner workings the features functions all of that good stuff all right so let's just jump right in here to the camera and by default we're in photo mode so the first thing is you'll see you've got these guys here that you can swipe through but if you go to here to more and you don't see it you can select it so you can export raw mode is now expert raw mode is now inside of the camera app on the s22 ultra and before you used to have to download expert Roth separately in the Samsung app but now you don't have to so now it's right here so everything that we're going to go over in Pro mode applies to expert raw as well because there's no difference except for the bit depth that the image is recorded in and the Astro mode we'll go over that a little bit though so I'm going to back out of that and I'm just going to I've already got Pro mode here in my thingy so I'm just going to swing over to Pro mode and we're going to get started so what is pro mode good for pro mode is good for letting you take control of your exposure in the exposure triangle except for so in this we have shutter speed we have ISO and we have aperture uh in the phone so we don't have aperture that's a fixed aperture that means you can't change the diameter of the blades inside like a normal lens so we still have shutter speed and ISO so let's go over shutter speed first to make this easier I'm just going to put this in autofocus there so that we can see so I want to fiddle with that all right so the first thing like why would you want to take exposure into your own hands so for me personally I love having control of my shutter for long exposures for Astro for waterfalls you know that kind of thing night stuff it's really great um but if even during the day if you just if for any reason you want to learn photography or just have control and and not let the phone do everything then this is our Jam so we've got it here and you can see it it says a and then one slash 60. so that means that it's in Auto right now so if I move that the a goes away meaning that now I have full control it's full manual and now you'll see as I scroll through this we're changing the exposure so a shorter shutter speed if you guys want to know more about shutter speed and ISO I have videos on those explaining like the breakdowns of how they affect photography and exposure triangles but for now which just suffice to say that the faster the shutter speed uh the the less light you're letting in and the less time the shutters open the longer the shutter speed the more light you're letting in and the longer the shutter is actually open so we can go all the way from one two thousandth of a second and you'll notice that it's still we're still seeing something on the screen because I'm in auto ISO so it's adjusting the honors ISO so let's take that into manual ISO and then I'm going to scroll down to the base ISO which is 50.
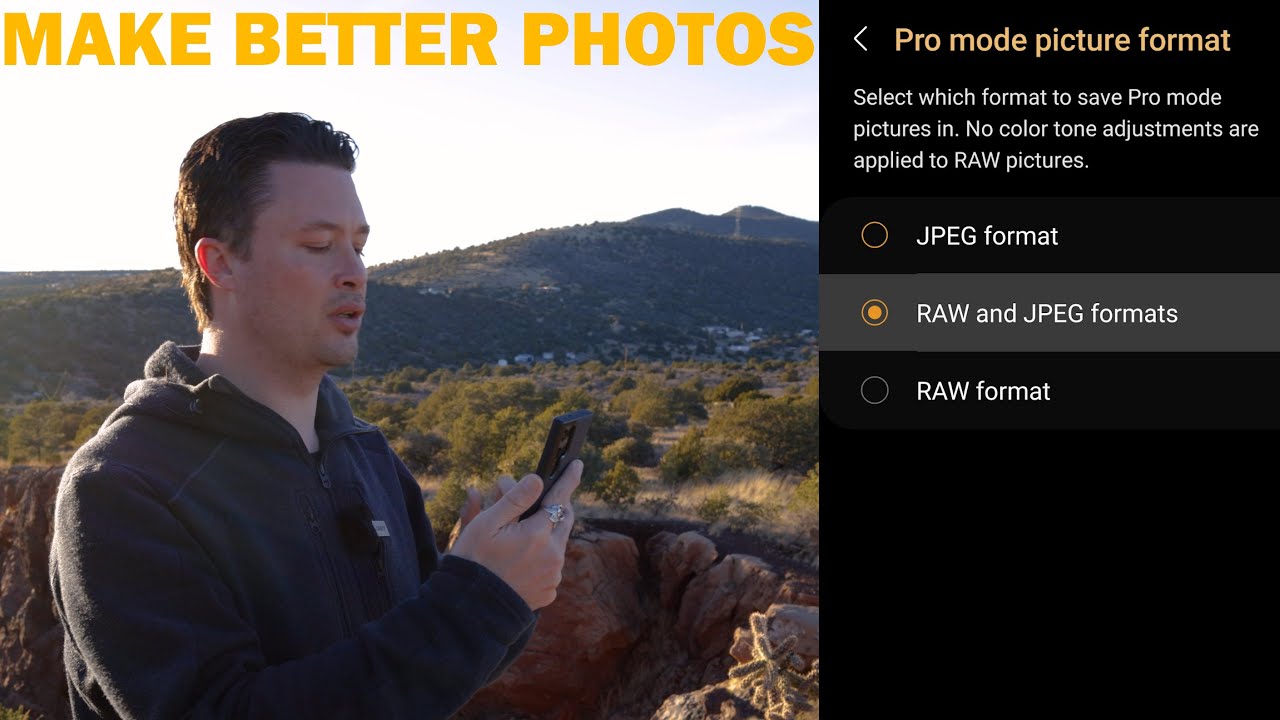
so now if I adjust so now it's looking pure black that means that there's not enough light coming in and if we take the shot we're just going to get a black shot so that means we need to increase our shutter speed so as we do that and we're getting a longer and longer shutter speed now look at this it's pure white so it goes up to 30 seconds so that means if you see Pure White a lot of people ask me when I do my Milky Way or Astro stuff with the phones hey I did the same settings as you and it came out Pure White well that's because you had too much light in your scene even though you may have thought it was dark out maybe you had a lot of light pollution whatever it is that means you need to just back it down until we can actually see stuff so now we're getting in and I'm looking at the highlights I don't want I don't the phones can't handle highlights very well especially if you're not in the regular mode where it does HDR and jpeg processing and all of that stuff with the raw with the with the pro mode you you got to deal with this it's not going to do any HDR for you so that leads me to one other thing let's go into here real quick let's go into settings and let's go to make sure your scene Optimizer is turned off although I don't think you can mess with that in Pro mode um but let's go into advanced picture options and make sure that this raw plus jpeg or raw is turned on I like the raw plus jpeg because sometimes I just want the jpeg that I can have and post real quick or whatever and then having the raw means that I can edit it either on the phone or in Photoshop or whatever on the computer you want to use so make sure that the raw is turned on so you get the most out of your pro mode because that's pretty much the whole point of pro mode other than the controls is having the ability to have the raw images okay so enough about shutter speed let's go to ISO so ISO here again I'm not going to go into what ISO is if you don't know and you want to learn I have a whole video on what ISO is and how it works but basically it's the sensitivity of your sensor so the lower the iso the the less sensitive and this is a very um very condensed version of iso but the higher the iso as we go up you'll see the same thing happens as did with shutter speed it's getting brighter and brighter until it's completely bright that's because it goes up to ISO 3200 which means we have a very sensitive sensor right now so the other thing with ISO that we that we're really careful of really cognizant of especially with phones is that ISO also increases something called noise and that's all the the artifacting and the digital yuckiness that you see in some images especially at night time all cameras are susceptible to noise because it's a digital thing so the phones don't do a very good job of dealing with high noise and high ISO so we like to keep that low if possible now when we do Astro stuff and do Milky Way stuff High ISO is unavoidable on these phones I don't like to go past 1600 or so and that's really pushing it but I have videos on Milky Way and Astro you can go check those out separately so just know that the higher ISO the more noise you're going to have especially if it's low light and the more brightness you're going to have for your exposure so next thing up here is right here in the center on the right above this five next to this 500 to the left of it you'll see an EV and you see that red EV and how it's lit and it says plus 2. 0 that is the exposure value and that's the camera is telling me that it's red and it's it's telling me that I'm Overexposed by more than two stops of light so as I back this down it's going to change and now it says 1. 7 1.
3 1. 0 0. 3 0.
7 0. 3 and now at the base ISO it's still saying that I'm a third of a stop Overexposed but that's just what the camera thinks is Overexposed because of the metering modes so we're going to talk about metering modes next so don't use that as a super guide for accurate exposure but it can help in a pinch if the camera thinks that you're either under or over because if we go back into shutter speed and I start changing this now you'll see it says negative the EV and it says negative 1. 3 negative 2.
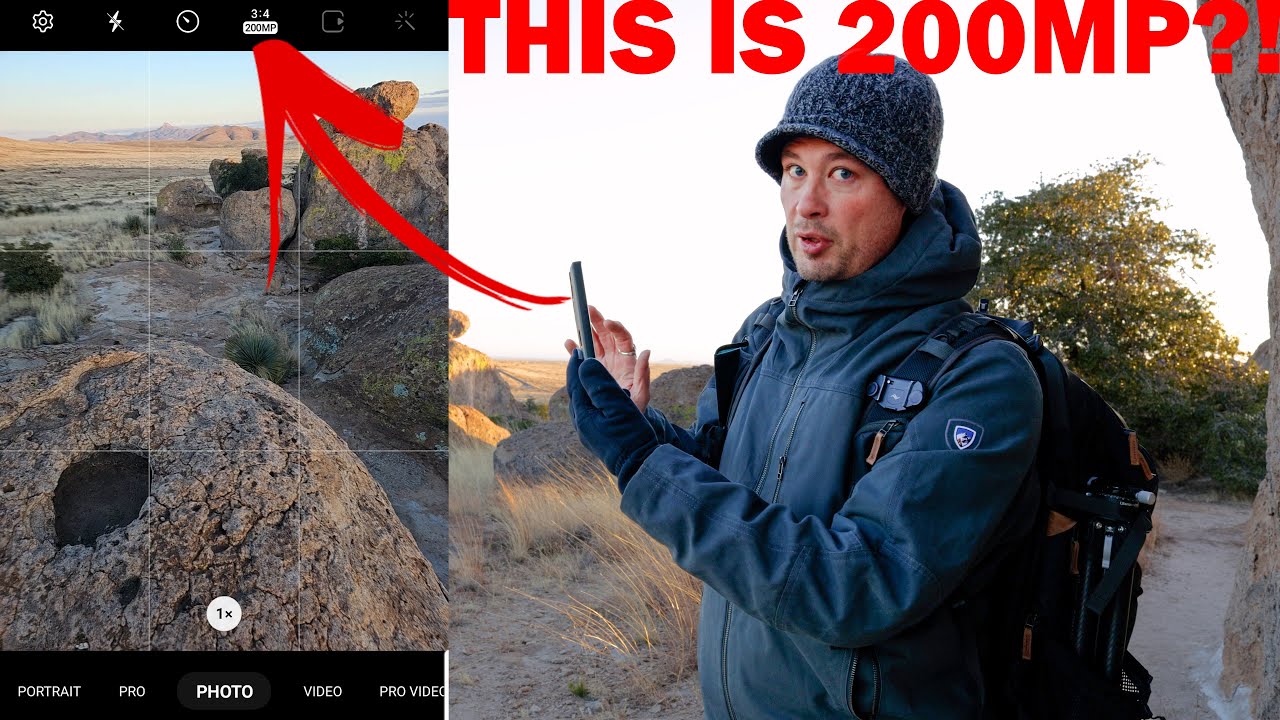
0 now it thinks that I'm two stops underexposed but the problem is we have a real big dichotomy between the over Overexposed areas the sky and then the shadowy bits down here and that's going to throw off your exposure so don't pay attention to that as much so let's go to focusing now so we have the ability to control Focus or have it do auto focus and that's really cool and they've added these extra points now these didn't used to be here even in the last iteration on the s22 so now we have sender multi or manual so basically if we click the center that means that it will auto focus to the center of the screen if we click well where'd it go if we click multi that means it's going to focus autofocus Within These Brack these little Focus points that have just popped up now and then if we click manual now we can manually adjust that and the cool thing is you see the green highlights there that's called focus peaking and that's letting me know what parts of the image are in focus so now you can't see anything but if I put my hand out here it's going to tell me when my hand is in focus so that's pretty handy and now if I remove it and I want to get the background in Focus now it's going to show me where the background so it used to have a little infinity sign but infinity signs just they're not very accurate so we don't trust that so don't trust that all the way out like this is focused on Infinity like the stars or whatever because you'll notice that the background the mountains are blurry all the way at 1. 0 so that should be Infinity so we want to back it down until it shows us that those mountains and the little town right there are in Focus so now we have what I would consider proper Focus if I wanted to take a shot out there of the mountains and everything so that's our focusing bit so let's move over here and let's talk about a couple of these other things so then we have the flash of course you can turn that on or off in auto mode The Flash may be in Auto um but in Pro mode it's either on or off it there is no Auto for because you're controlling it so you're deciding if you want it on or not then we have the timers so if you there's a lot of ways to do hands-free photo taking on this the timer is the traditional one so you can set it for a two five or ten second timer and it will take the photo after that time and that's great for if you want to reduce tripod Shake that's great for if you need to run out in front and you want to be in the image and you've set it to a 10 second timer you know but you can also set it to if you come in here you can also go to shooting methods and we can click that and we can tap we can turn on voice commands so that if I tell it to any say any of these things it'll do it or if I I tell it to show my palm then both of those will activate the shutter you can also use the S Pen if you want to click and run away oh by the way real quick the peak design because this is magnetic the s22 version of this it was it didn't work with the S Pen but the the S Pen does work now most of the time camera lady said hers is a little bit iffy uh but it still works like to draw and use the S Pen on the screen because of the magnet so I don't know how they figured that out but I'm glad they did that's just a quick little side note so let's go into here to the next thing you'll see this 4x3 by default it's going to be set to 4x3 because that's the ratio four by three is the ratio of the sensor size and that's really important because if you want your full sensor if you want the image with the best resolution and the full sensor size then you need to be in four by three so the sun is now dipped and now the exposure is changing so we're getting into blue hour which is a good time to use Pro mode actually so if we go up here to 16x9 then that'll give you a 16 by 9 ratio but that's a crop in every one of these is a crop even when it says so one by one if you want to do Instagram that's fine but full it says full and that's misleading because people might tend to think that that's the full sensor but it's not this is full resolution of the screen which is like 18 by nine I don't know what the resolution of the screen is but it's wider than 16x9 but it's cropping in on the sensor it's cropping in these top bits in to get to that so we don't want that so I want four by three you'll also notice that now they have included a 4x350 megapixel so this the s23 has the ability to do the 200 megapixel but only in regular mode it cannot do that in Pro mode it only has the 50.