okay so illustrators is awesome but let's be honest it can be really frustrating sometimes especially if you're just getting started or coming from something like Photoshop and over the last 20 years I've learned a lot of tricks tips hacks I guess you could say that are going to make using illustrator a lot easier and a lot faster so I thought hey why not save you the hassle of going through what I went through so here are 20 of my favorites in illustrator you can align to a key object and a quick way to choose what
the key object is is to select both or multiple objects and then simply click again on the object you want to be the key object you can see it becomes highlighted and now I can use the Align panel to align everything else to that key object okay a more recent addition to illustrator you can see I've got a bunch of icons and a giant Circle what you can do is Select absolutely everything and grab the new objects on path tool simply click it and then click on the target object that you would like all of
the icons or Graphics to orbit around and as you can see they're now on that path and I can even move them and rotate them all on that path as well hands down the fastest way to copy your appearance effects from one object to another is to select the object with the appearance effects and go to the appearance panel you can see I've got a zigzag you might have loads here and you just grab this tiny little preview here and drag that onto your other object and then boom those appearance effects are instantly applied a
while ago illustrator star tool got a bit of an upgrade so if we go and select the star tool we can go and make a nice five-pointed star there we go however this is now a live shape and if we click up here we can adjust the number of points quickly and easily and we can also click on these little control points here and we can adjust the radius of those points as well okay this tool is very useful so you can see I have a square and what I'm going to do is go up
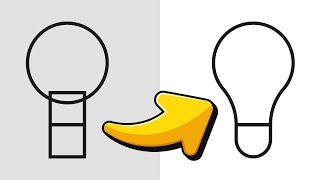
to the pen tool click and hold and hiding all the way at the bottom we have the Anchor Point tool what I can do with this is Click along any point along the path and I can click and drag this out so I could take a straight line and I could suddenly curve everything up I could click at any point actually and I can kind of Bend this in any sort of Direction but I think I'm going to grab it right in the middle so I get a nice half circle and uh there we go
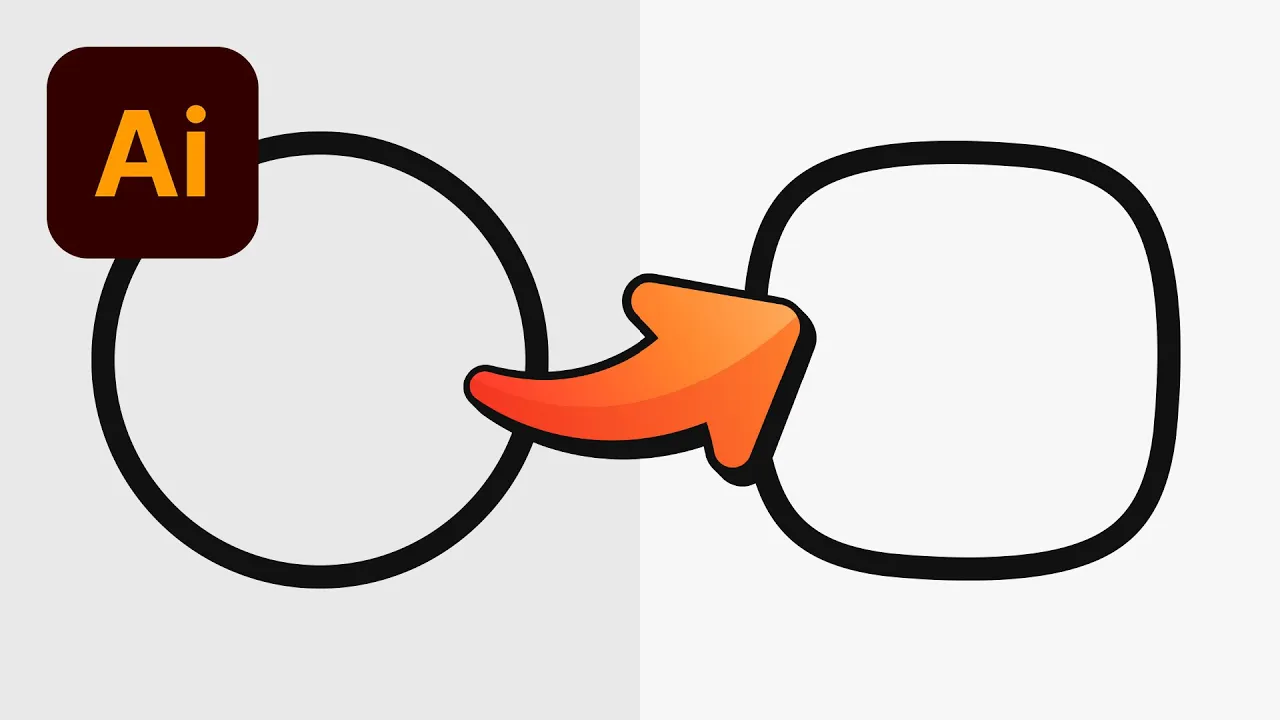
I've made a cloud a very useful shortcut to creating a squirkle it's something I learned the other day actually simply create a circle select it and go to effect down to warp and then we're going to go to inflate and we want to grab the slider here and hover around 50 to 100% something like this now we can't actually rotate this around it just kind of Quivers and wibbles and Wobbles so what we need to do is expand this effect by going to object and expand appearance now we can rotate our squirkle around 45° and
there we go we have a squirkle I know it's a bit weird Circle squab squirkle you can uh see the logic this is probably my most used shortcut and illustrator period like forever so I have a circle here and let's say I want to generate some golden ratio circles from this I'm going to press s for the scale tool return to bring up the window make sure you've got 100% in here I'm going to type forward slash for divide 1.618 which is the golden ratio and I'm going to click copy so it creates a copy
and this is the magic press command or control D and it will repeat that transform so if I do this multiple times I now have lots of golden ratio adherent circles adherent is that a word I don't know it is now okay so this next one will massively speed up your workflow you can see I have a lovely bright yellow star a that's nice and I'm going to select it and we can press shift X to swap the fill and the stroke around or we can press X to swap which one is selected the fill
or the stroke or we can press forward slash and the active color whether it's the fill or the stroke will be set to none or we can press D on the keyboard to reset this to the default white fill and black stroke and I know that's a lot of shortcuts but honestly once you learn these you'll be whizzing around the illustrator like a kangaroo on crack okay another recent addition as of I think maybe even this week is down here you can see that if I have a tool selected we have a nice chunky status
bar now and it gives us a few tips so if I press P for the pencil you can see it gives us some tips on how to use them and if I switch to the scale tool or the rotate tool we get some little tool tips down there that tell us how to use that tool and that's very useful because often times a lot of tools in illustrator do have this additional functionality and it will be years until you learn it whereas now it's just sat there at the bottom of the screen right this took
me a long time to realize you could do this and that is that you can doubleclick on many Tools in illustrator and it will bring up a panel with lots of related settings now what I'm going to do is I'm going to check these two options here because we will be using those a bit later on but if you're sure just double click on a tool and see if it brings up a bunch of options that you didn't go with there right so I have a spiral but you can do this with any path or
line that you draw in illustrator so I'm going to select this and from the stroke panel I can go down here to profile and I have a bunch of presets for the width so I could choose this one here and I could taper this off and if you adjust the stroke profile as you scale the stroke up or down it maintains those properties so I could also press shift x no that's wrong shift W for the width tool and chunk up this end a little bit here and you'll see on the right hand side I
now have a custom width profile and I can also go back over here and I can even check this option here to round the cap off so now I'd have lovely rounded ends either end of my pass okay so for this next one if you have a design or a shape and you want to create like another version of this either around the the outside or on the inside what you can do is select your object go up to object down to path and then choose offset path give this a positive or A negative value
press return and you've now got a copy of that shape with that offset applied and this is great if you've got a complex design already and you want to add something like a border oh goodness look at this okay right so we have a photo here a really quick and easy way to crop images in illustrator is to just grab any shape tool or draw a shape with the pencil I'm going to draw a circle here and crop this like a profile photo get it in position and then make sure you have the image and
the shape selected and then you can go up to object and then all the way down clipping mask but you got the keyboard shortcut there command or control 7 so we we can just press that and there we go the image is now cropped inside the shape okay at some point you are accidentally going to click this tool this is the perspective grid tool nobody cares for this and what you'll do is you'll try and click the X here and nothing will happen because of course it won't however to get out of this tool and
this mode just press escape on the keyboard okay so we have a spark there isn't really a quick way to duplicate things in illustrator well no that's not true there is you can hold down alter option and drag to duplicate but what if I want to duplicate in exactly the same place well what you can do is press command or control+ C command or contrl F and then you basically duplicated that shape in exactly the same position so no dedicated duplicate function but that is the closest thing to it okay so a really quick way
to edit text in illustrator is to grab the type tool with t on the keyboard and we're going to select the text what I can do is press command or control shift and then use the left and right the arrow keys Chevrons the pointy ones going in opposite directions and then we can make the text bigger or smaller very quickly and easily or we can do is hold down alter option and use left and right on the keyboard to adjust the tracking that's the spacing between all of the letters or we can press up and
down to adjust the leading which is the spacing between different lines so if you do work with typography a lot this is is going to save you a lot of time so you don't have to keep going over to that panel on the right hand side okay this next one has driven me absolutely crazy at times so hopefully this is helpful you can see I've got a lightning icon but I've got this weird thing over here I don't know what is going on but if I go into outline mode with command or control Y and
zoom in a bit more all the zoom let's go in there you can see we've got two different anchor points we've got this weird problem going on so I'm going to grab this one over here come out of outline mode and now I've selected the Anchor Point if I move this you'll see what happens you can see if it's not exactly on top of the other one it just causes all sorts of corner related issues so what we can do is we could drag these on top of each other and that fixes the corner or
another very useful trick is you can select both of these anchor points and press command or control Al or option J leave both check and this will pull both of those anchor points together so they sit in exactly the same position and now if I zoom back out you can see the corner is fixed however following on from that we still have a problem we have two anchor points occupying the same spot and whilst it looks fine here you'll find that when you work in illustrator this can cause problems so ideally we want to clean
that up the easiest way to do this is to deselect everything and with the main selection tool select that shape with these duplicate anchor points and then you want to open up the Pathfinder panel L is hiding somewhere there you are gotcha and all you want to do is click this option here once unite now it doesn't look like anything's changed but if I grab that Anchor Point with the direct selection tool you can see it's merged those two points that were on top of each other into a single point okay when it comes to
customizing text is very quick and easy to do uh I've got some text here in comic sounds comical haha Dan you're so funny so what I'm going to do is go to type idiot and then go down to create outlines so this text is now no longer editable it's just a bunch of shapes in illustrator and then I can go to the pencil tool remember we activated those two options earlier on what we can do now we've turned those options on is I can click and drag over the lettering and I can use this to
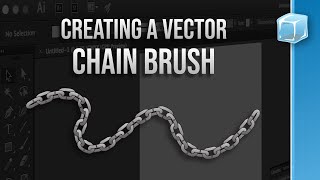
reshape the text so let's kind of turn that into some nice dripping text and you could do this for all of the letters and very quickly and easily customize your text and lastly when it comes to creating wavy lines in illustrator please do not use the pencil tool and do this just absolutely 100% not I mean actually to be fair that isn't the worst one I've ever done or you could use the pencil but again please know there is a better technique so what we're going to do is we're going to grab the mine tool
and we're just going to press what we're going to press we're going to click and hold is what we're going to do press D to get that default black to white fill and stroke and then we're going to go to effect we're going to go to distort and transform then we're going to choose zigzag let's bring the window in so we can actually see it and then what we can do is adjust the size we could have more ridges per segment to make it especially iggity zaggy or you could make it smooth depending on what
you're going for so let's play around with these settings something like this when you're happy click okay now this is still an effect applied to a path so to edit the geometry further what we need to do is go to object and down to expand appearance and now what I can do is I can use all of illustrators other tools like the penil for example and I can now interact with these zigzags and even go and edit them however I like so you can see I've created whatever this wibbly wobbly shape is or I can
edit all of these individual points and use something like the scale tool to kind of play around with the height kind of like a a swimming pool there we go it's a swimming pool or something okay so hopefully you enjoyed that and if you did I've got another one on screen somewhere not sure where I'm going to put it it could be there it could be there who knows I don't so click on that and I'll see you in a sec