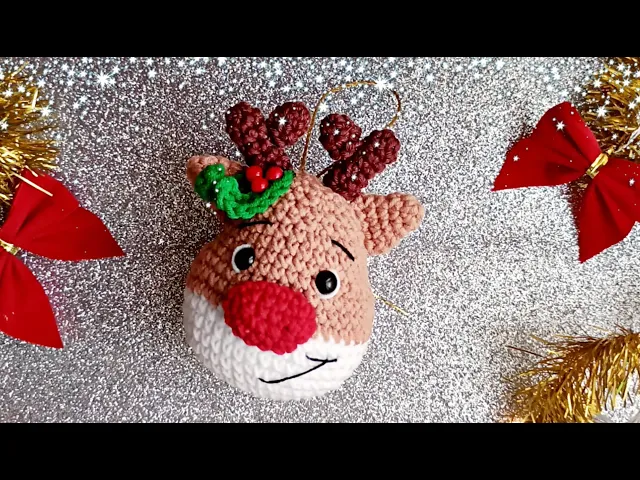
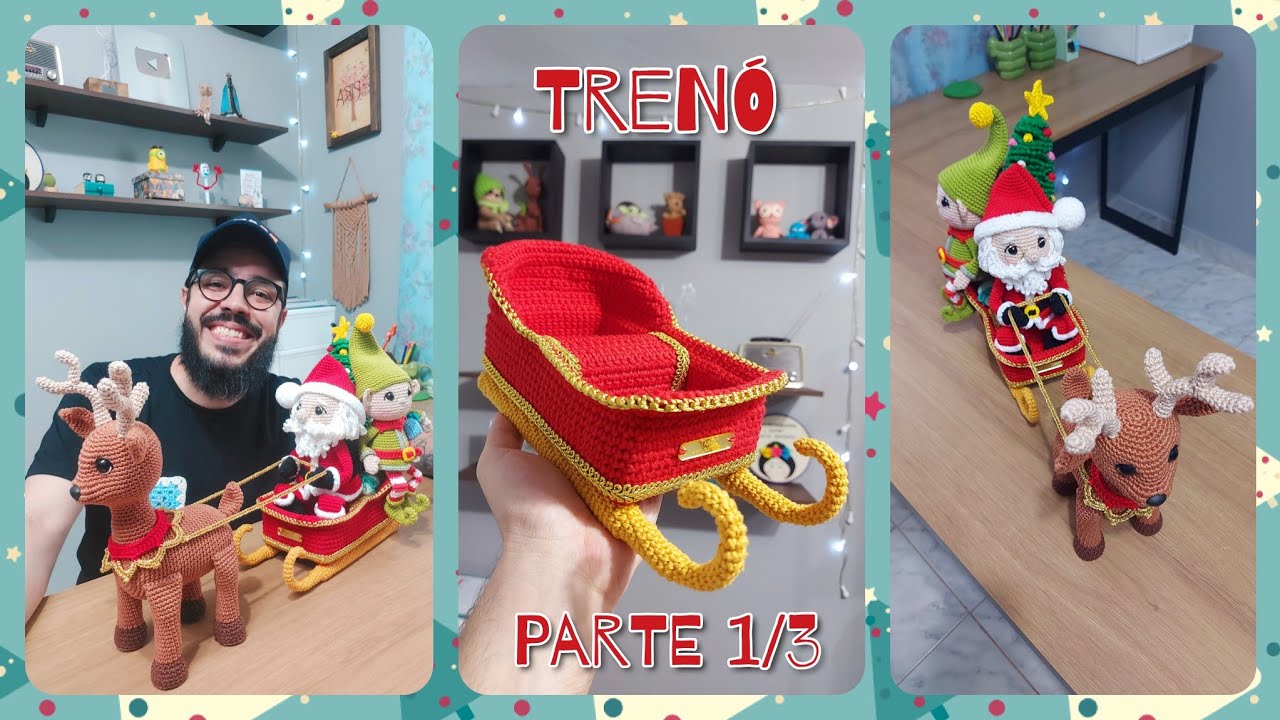
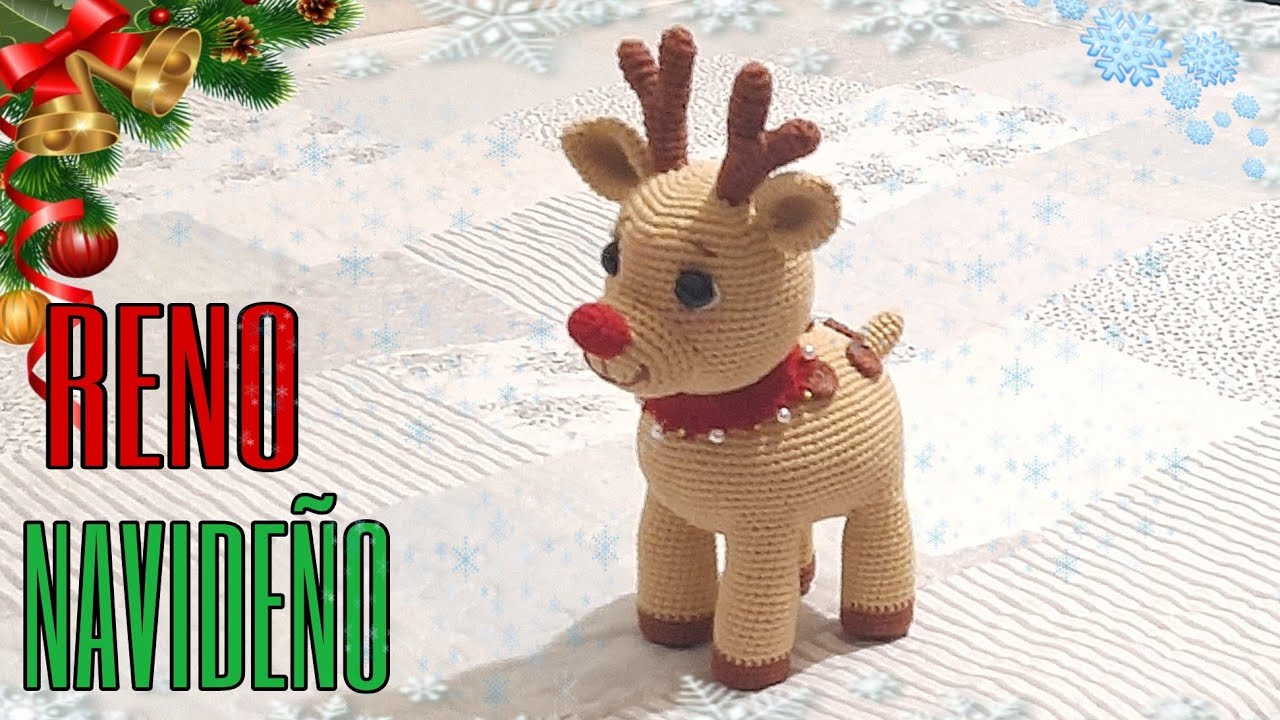
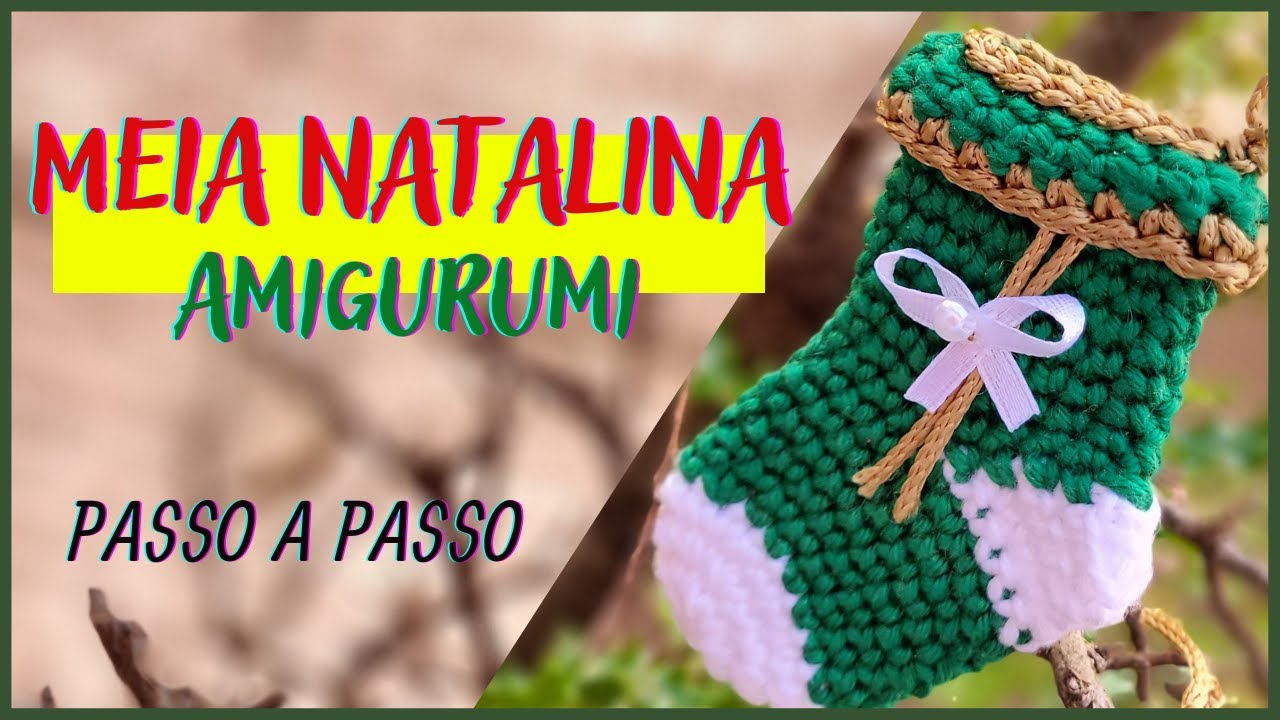
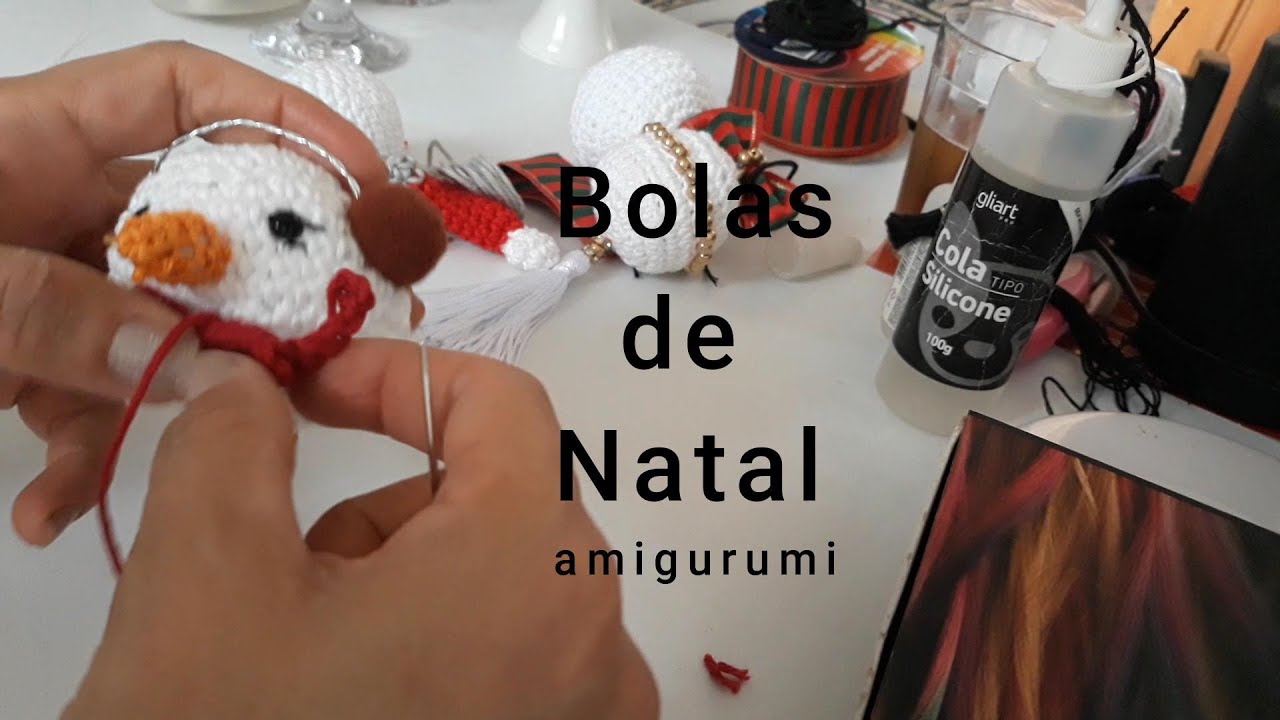
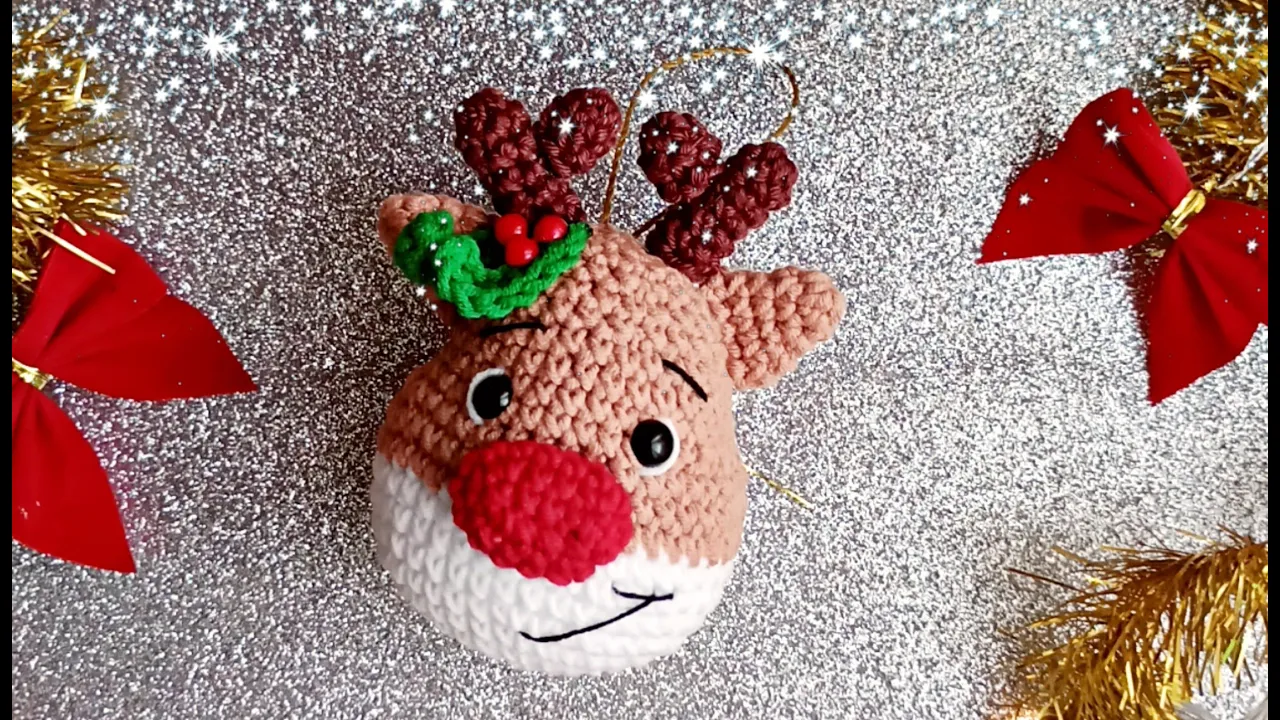
Hi guys, how are you, just getting here for our second video lesson on Christmas decorations the first one we made was Pinheiro, look how cute it is, full of glitter I 'll leave the link to his video lesson in the description and also in the pinned comment ok for this second video lesson we are going to use this color palette and also a darker brown I got three half red pearl eyes with lock later I will tell you the number that I need to find here needle two and a half marker and filler you have
already guessed the which is before subscribe to the channel if you are not already subscribed turn on the notifications and leave that like because it helps a lot ok today we are going to make a reindeer people she looks very beautiful it is worth checking out let's start I started with 6 points on the magic ring with white ok now let's make six increases on the second round and stay with 12 on the third round I make a point and an increase six times and we'll be with 18 one point and a raise repeats throughout
the round It's now on the fourth lap I'll get two points and an increase six times and we'll get 24 then two points and the increase now on the fifth lap I 'll get three points and an increase also six times and we'll get 30. Three points and an increase now on lap six I make four points and an increase also for the entire lap and we will be left with 36 then 2 3 4 points and the increase repeats until the end now on lap seven I make five points and an increase for the
entire lap and we will end up with 42 , 3 4 5 stitches now the increase now I'm going from row 8 to 10 making 42 stitches in each of these rows so rows stitch by stitch from 8 to 10 good people look I got to row 10 I can now cut the white thread because now we're going to use brown so in the last one. Here I finish with the new color a basic color change if you want to tie a knot on both ends you can or I work some stitches on top of
them is what I'm going to do so now on row 11 and 12 and 13 I'm doing 42 stitches too walk three more rows of stitch over stitch from 11 to 13 now on row 14 let's start with three stitches walk 3 now I'm going to make six dec in a row one two three four five six 6 dec in a row now I'm going to walk 12 points walked 12 stitches I do six again consecutive decreases one two three four five six let's finish with the last three stitches let's have a total of 30
in this round so 2 3 is getting like this right now from row 15 to 17 and I'm still doing 30 stitches so I'm going to walk here rows of stitches about stitch from 15 to 17 look, guys, I took a break, I put my eyes on ok so here where I finish the row is the back and here the front is to find the center there I counted one two three four five o between row 4 and 5 I put one eye I skipped four stitches and put the other one you can skip from
4 to 5 stitches these eyes measure about 7 mm ok it's not very big no I forgot his number because it's all in a little pot so you have to measure by millimeters ok this one has seven so that's it let's continue I already put the locks now on row 18 let's make three stitches and a decrease for six times if you have 24 1 2 3 stitches and the decrease repeats all the way around now on row 19 I'm still making 24 stitches on the row stitch by stitch I've been putting stuffing now on
row 20 I'm going to make two stitches and a decrease all the way around and get 18 then 2 stitches and the decrease repeats until the end now on the row 21 I'm still making 18 stitches now on row 22 I make a stitch and a decrease all the way around and we're going to keep 12 and then just close now we're going to make the nose with red I'm going to make five chains one two three four five come back here this one I don't I'll tell you next time I'm going to make an
increase now I'm going to walk two stitches one and two and in the last chain I'm going to make three stitches together one two three now I'm walking again two stitches don't pull too hard to avoid getting a hole two stitches I walked two very tight but it works to do here we have the filling line and here in the last stitch where we had made two I'm going to make one more we will have a total of 10 stitches one two three four five six seven eight nine and ten ok, you can put the
marker on this last stitch to give sequence now I'm going to make two increases in a row here in the first stitch I make an increase in the second stitch the second raise now I'm going to walk two stitches again one two now I make three raises in a row an increase in the next stitch the second rise and in the third stitch the third rise way two one and two and here where the marker is I'm going to make a raise we'll have a total of 16 and now on the last round I'm going
to score 16 points point on point and the nose I'm going to make a row of stitch on stitch I've finished leaving a piece of yarn to sew this one just hide it inside look there now leave it separate well people look here I have a horn ready ok I'll leave the recipe there on the screen because it's super simple to make so you have to make two, a bigger one will appear on the side and now the smaller one, well done both just take it here and make it like a y so you can
see I glued it ok guys if you want to sew it my suggestion is to use it a brown sewing thread or that transparent thread that invisible thread to sew because it makes it easier to use the same thread that you used here on the piece it will take a little more work because it is a very small piece or else to glue it I used glue silicone can be hot glue or that pegamil glue, anyway, it's just that you are careful just not to let the glue leak so it doesn't show up, look, it's
perfect, okay, I'm going to apply the glue on mine and I'll leave it to dry here soon t on one ear I'll do the other with you very easy I also made six stitches the magic ring on the second round I'll make six stitches two three four five six now just turn the stitches down like this on the third round if you want to put the marker you can put it on third round I'm going to make a point now I'm going to make an increase in the next one, then I'm going to take it
off because it gets in the way, people just follow the recipe, there's an increase now I'm going to walk two stitches one two walk two I make a raise again and now we'll have one stitch a total of eight let's check one two three four five six seven eight points put this end inside so it doesn't get in the way also now on the return four ways two points 1 2 now I make an increase now I'm going to walk three points 1 2 3 I make a raise and now one stitch we have a
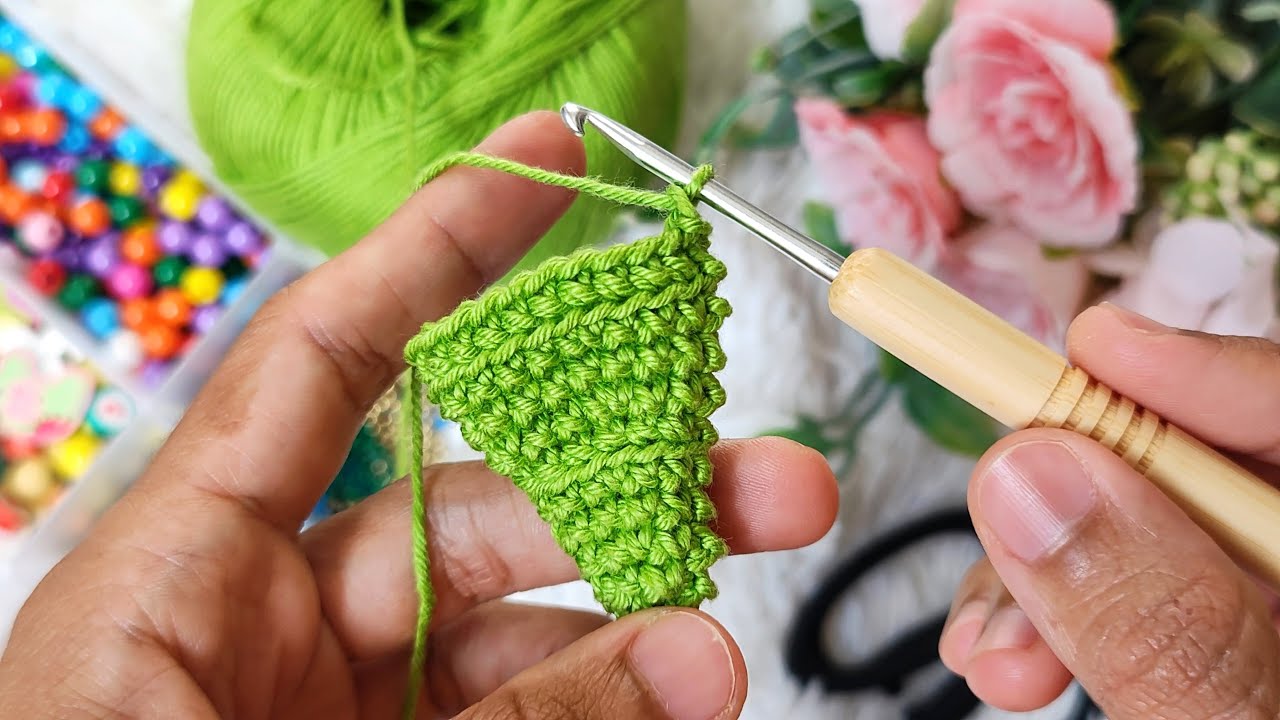
total of 10 check it again 1 2 3 4 5 6 7 8 9 10 and on the last turn I do stitch over stitch I will walk 10 stitches and so we already have the ear cut the piece of yarn look now let's do it to do this detail of the decoration now I with the green one we are going to do like this is a detail that we are going to use there how am I going to do it I make seven chains one two three four five six seven chains and come back
making two increases so in the first chain I do an increase in the second chain plus an increase and now I keep doing a single crochet until the end a crochet in each chain and that's it, people just cast off here it will be double like this do it twice now let's assemble our reindeer let's make a detail here in the eye her now just do the regular sewing as you are used to ok people taking a dot from the head and a dot from the piece that you are going to sew good people look
I just finished sewing her nose here I embroidered a very simple mouth I also embroidered the eyebrow here showing how I sew the ear is very easy I'm also going to close it ok well I'm going to take it here look and I'm going to close it here in the same direction as the closure and I'm going to leave down here I'm going straight I'm going down there you can see it and now it's just a case of attaching it here to the last one. Come back here in the same place and I'll take it
back here where the thread from the other ear is, pull it well, you see, I don't need to sew it all and now it's just a matter of tying a knot and hiding the thread I'm going to glue the horn now, okay, I'm going to glue it because it stays easier, good people, look, I already glued the antler and here I made that detail I glued those little green leaves and also the three half pearls and it was like this I put a little thread here to hang on the tree And that's how our reindeer
was ready people I hope you liked it look at that we already have two decorations ready I'll always leave the link there in the pinned comment And in the description I also hope you liked it kiss and see you next time