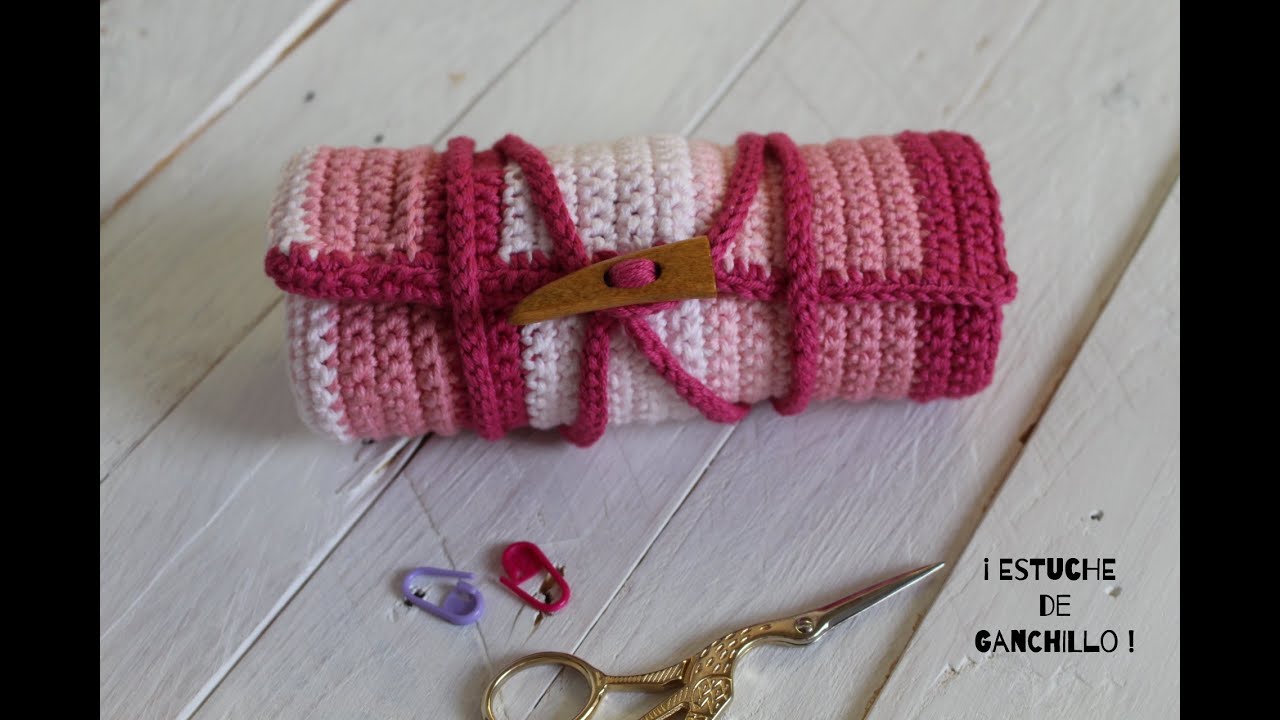
Hi I'm Donna Wolfe from naztazia. com Today I'm going to show you how to crochet a crochet hook case. This pattern was written by Mr.
Priscilla Hewitt from priscillascrochet. net If you would like to view this video in different languages. .
. just click on the closed-caption link on YouTube, and turn on subtitles. From there, you can pick from over 100 different languages.
To begin, you'll need 4-5 ounces of worsted weight yarn. Caron Simply Soft will make your case a bit, and Red Heart will make it a bit larger, like mine. You can use a size F or G crochet hook, plus a button, some needles and scissors.
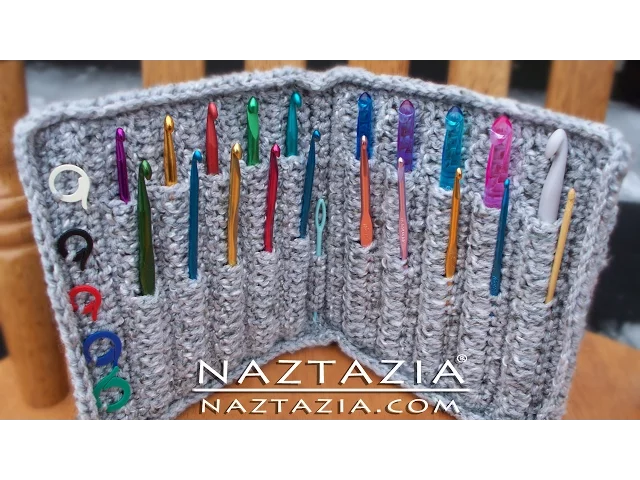
This is an intermediate level pattern, so please also download the free pattern from Mr. Hewitt's website to follow along with this video. By the way, I like to pierce each pocket halfway down with another hook, allowing me to fit more items in the case.
To begin, make a slipknot, then chain 31. If you need help with the basics of crochet, please see my beginner crochet videos on YouTube. Skip that first chain, then single crochet in the next chain from the hook.
Then single crochet in each stitch across. You will have a total of 30 single crochets on that row. Once completed, chain 2 and turn your work.
Now we will begin Row 2. This is a very important row since we will repeat it throughout the pattern. Do 1 double crochet in each of the first 10 stitches.
1 2 3 4 5 6 7 8 9 10. Then, do 1 double crochet in each of the next 20 stitches, this time inserting your hook in the back loops only. Once completed, pivot your work clockwise.
Do 1 double crochet in each of the 20 remaining front loops. We previously worked in the back loops, now we're creating a back and front sides of a hook pocket by working in the front loops. Once completed, chain 1 and turn.
Take note of where the 2 double crochet stitches line up. You might need to use a stitch marker to help you better align them. Now, insert your hook through the first double crochet of the front pocket and through the first double crochet of the back pocket.
Then complete your single crochet stitch. Insert your hook through both layers for the remaining stitches. Keep repeating this for a total of 20 single crochet stitches.
Once completed, chain 1 and turn your work. Now we will work with Row 3, which will also be repeated throughout this pattern. Do 1 single crochet in each of the 20 single crochets from the row below.
Once completed, do 1 double crochet in each of the 10 double crochet stitches from two rows below. At the end, chain 2 and turn your work. Rows 2 and 3 have just formed one pocket.
For Row 4, repeat row 2. For Row 5, repeat row 3. For row 6, repeat row 2.
For Row 7, repeat row 3. For Row 8, repeat row 2, For row 9, repeat row 3, For Row 10, repeat row 2. For row 11, repeat row 3.
Now, instead, at the end of Row 11, chain 1 and turn your work. For Row 12, single crochet in each stitch across. Once completed, chain 1 and turn your work.
For Row 13, single crochet in the back loops only of each stitch for a total of 30 stitches. Once completed, place a stitch marker in a front loop to mark this row. Chain 1 and turn your work.
For row 14, single crochet in each stitch across. Once completed, chain 1 and turn your work. For row 15, single crochet in the back loops only of each stitch for a total of 30 stitches.
Once completed, place a stitch marker in a front loop to mark this row. Chain 2 and turn your work. For Rows 16-25, we're going to repeat row 2-11.
You will basically be making 5 more pockets on this side of the hook holder now. For row 26, single crochet in each stitch across. Once completed, chain 1 and turn your work.
For row 27, single crochet in each stitch across. Chain 1 and turn your work. For row 28, single crochet in the back loops only of each stitch across.
At the end, chain 2. Place a stitch marker in a front loop to mark this row. And turn your work.
Now we're going to work on row 29, which is another important row, because we will repeat this row quite often as we now begin the Outside Cover for the crochet hook case. Double crochet in the first stitch. Skip the next stitch, and then double crochet in the next stitch.
Then go back, and double crochet in the skipped stitch. Skip the next stitch, and then double crochet in the next stitch. Then go back, and double crochet in the skipped stitch.
Keep repeating this process. Skip the next stitch, and then double crochet in the next stitch. Then go back, and double crochet in the skipped stitch.
At the very end, double crochet in the last stitch. Chain 2 and turn your work. For Rows 30 through 38, you will repeat this process.
For row 39, do 1 single crochet in each stitch across. At the end, chain 1 and turn your work. Now that we've finished half of the outside cover, we're going to connect it to the case's spine.
Fold the outside of the cover towards the outside of the spine. Insert your hook into the first double crochet near our hook, then insert it into the first free front loop of the spine, which we previously marked with a stitch marker. Complete the single crochet stitch.
The pattern suggests that you use only the back loop of your Row 39, but I'm going under both loops just to make it easier for those who might be more of a beginner. Continue joining these two sections together across the row. Once completed, chain 1 and turn your work.
For Row 41, just do 1 single crochet across. At the end, chain 1 and turn your work. For Row 42, just do 1 single crochet across.
At the end, chain 1 and turn your work. For Row 43, we're going to connect to the spine again. Insert your hook into the first free loop on the marked row, and insert the loop on the row you just completed.
Then complete your single crochet stitch. As before, Mr. Hewitt suggests to use the front loops only of your Row 42, but you can also go under both loops if it's too confusing.
Once completed, chain 1 and turn your work. For your next row, do a single crochet across. Now, for the next 10 rows, you will repeat Row 29.
That is the row with the cross stitches on them. This forms the other side of the cover. For your final row, connect the cover edge to the beginning foundation chain, and single crochet through both layers to connect them.
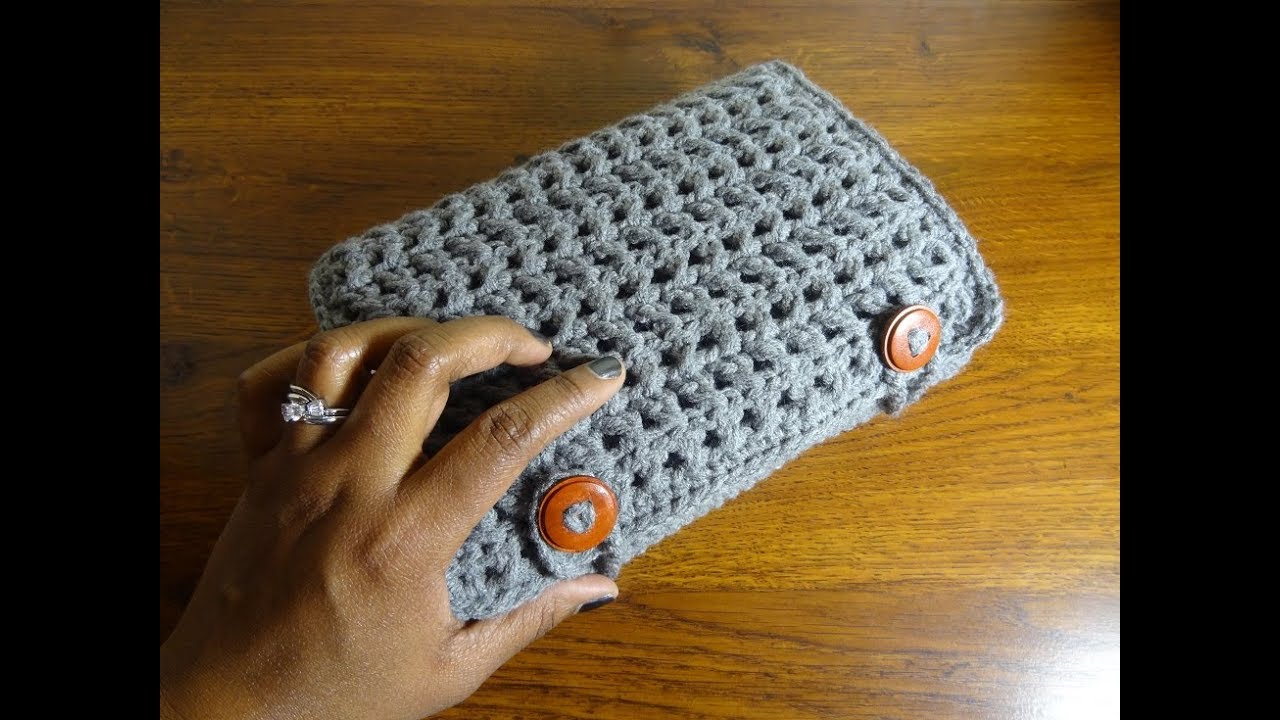
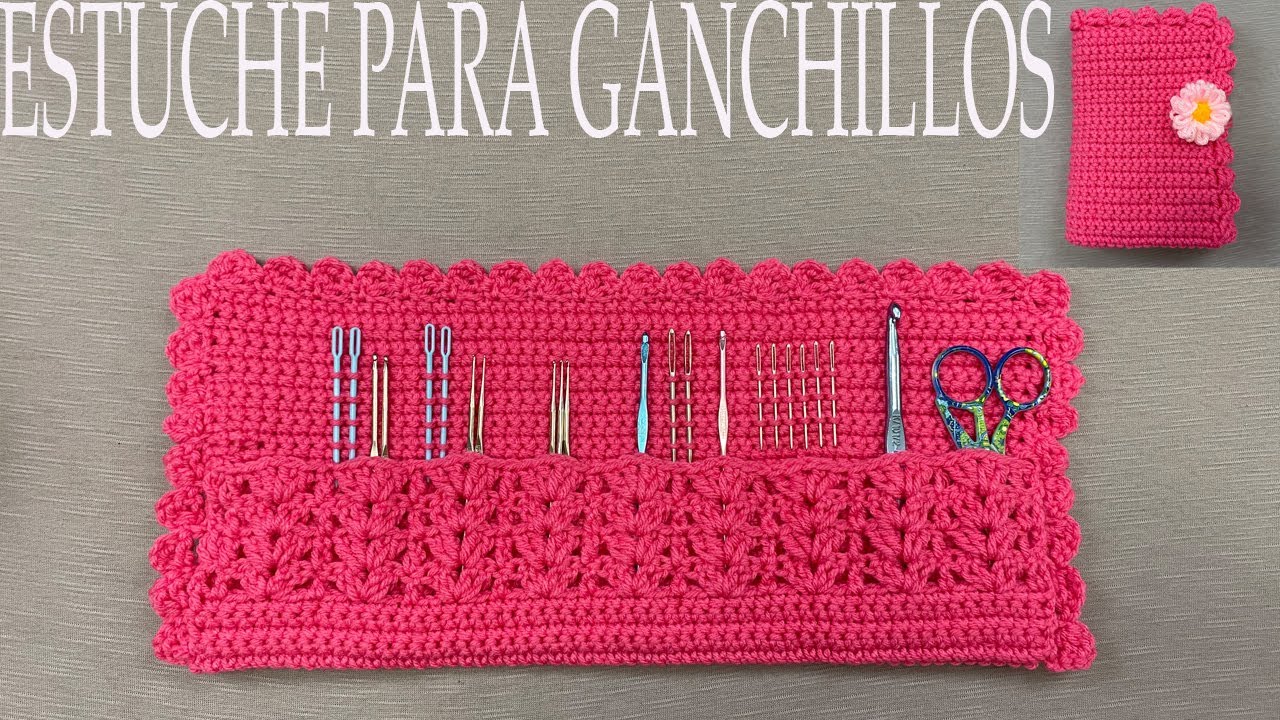
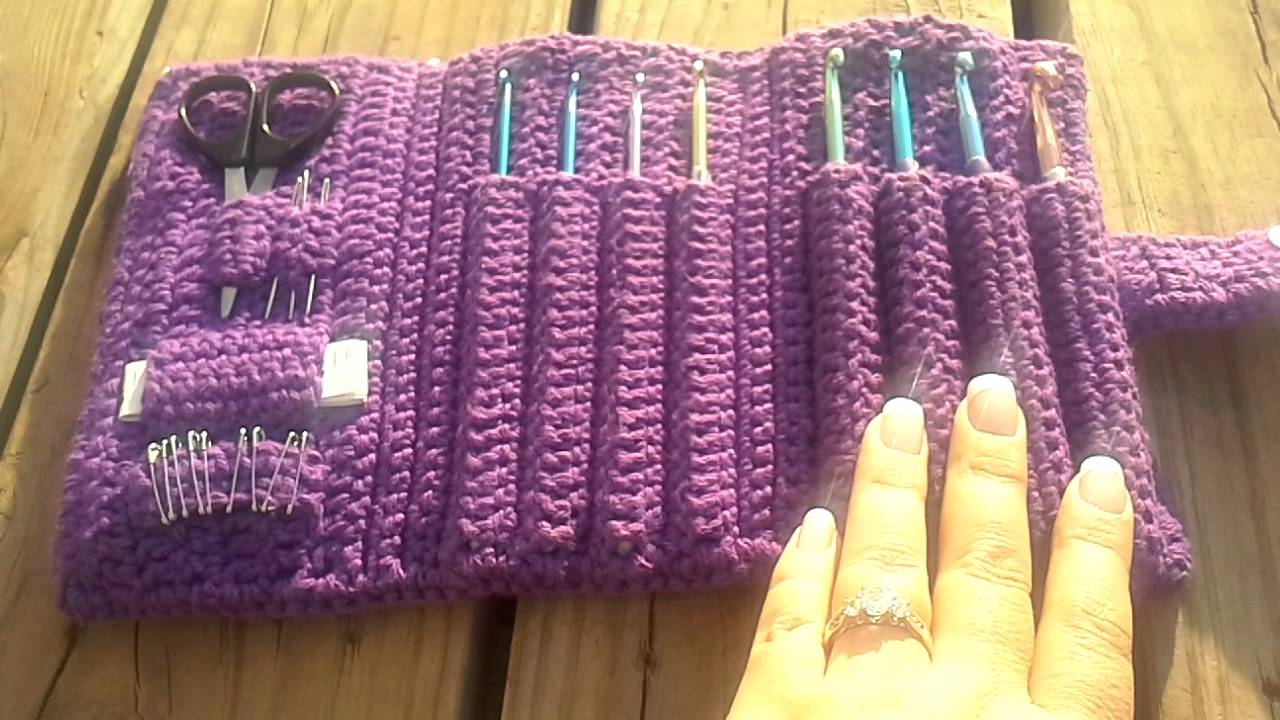
Your crochet hook case probably looks something like this. I like to add some plastic canvas to give the hook case some support. You can cut the canvas to fit each side, and insert the canvases inside the hook case before we close it up along the edges.
There are several options in the written pattern for a closure. I'm going to use the button method for this hook case. First, single crochet around the entire crochet hook case.
You'll go along this edge. I like to put 3 single crochet stitches in each corner but you don't have to. Then it's a little tricky to do the edges that are opened.
You will need to insert your hook through both thicknesses to close these sections. There is no exact science as to where to put your hook. Just do your best and estimate how far apart on the edging you should place your stitches.
As before, I like to put 3 single crochet stitches in each corner, but it's not mandatory. Once you have gone all the way around your case, slip stitch to the first edging stitch you made. Now it is time for the button's loop.
Slip stitch relatively loosely along the next 14 stitches. Then, chain 12 tightly for the button's loop. Once completed, slip stitch in the next stitch, and continue to slip stitch around the entire crochet hook case.
Join with a slip stitch to the first slip stitch. At the end, fasten off, cut your yarn, then take a yarn needle and properly weave in all your ends. Finally, you will want to sew a button to the front cover.
I like to sew the button extra securely. Once completed, tie and knot your ends tightly, then trim the ends. Put a dot of glue if you need to to secure that knot.
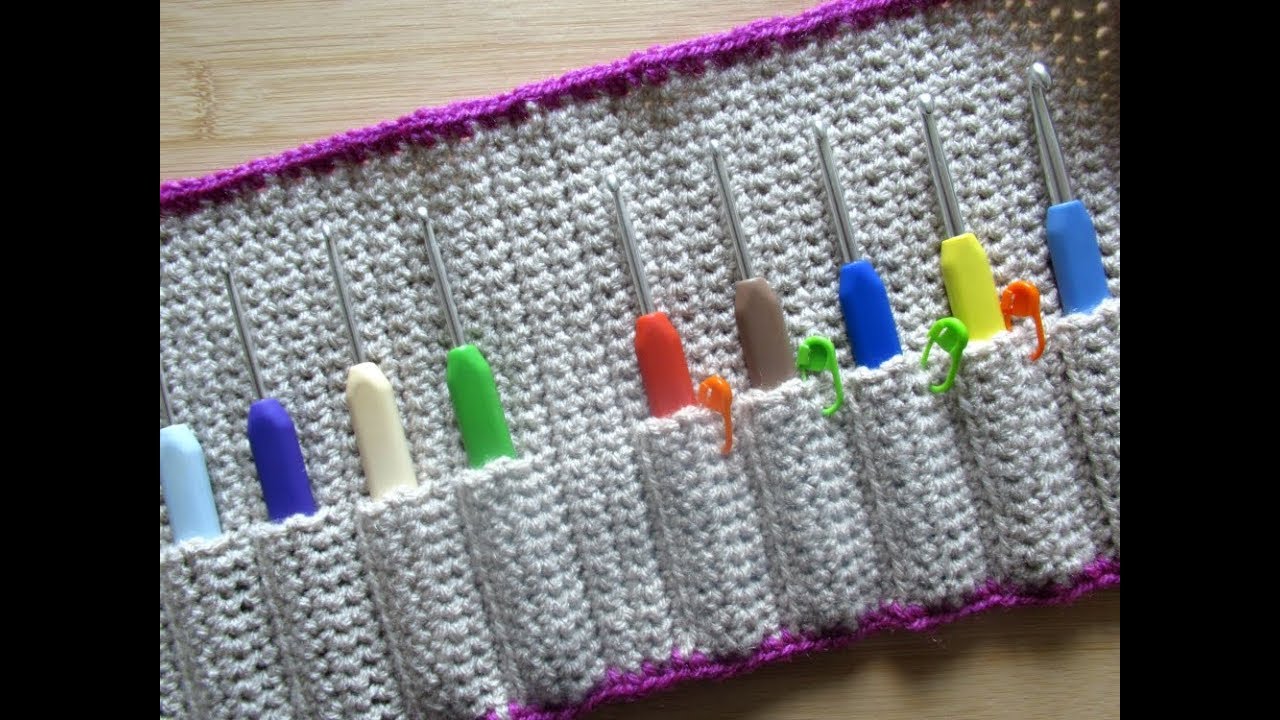
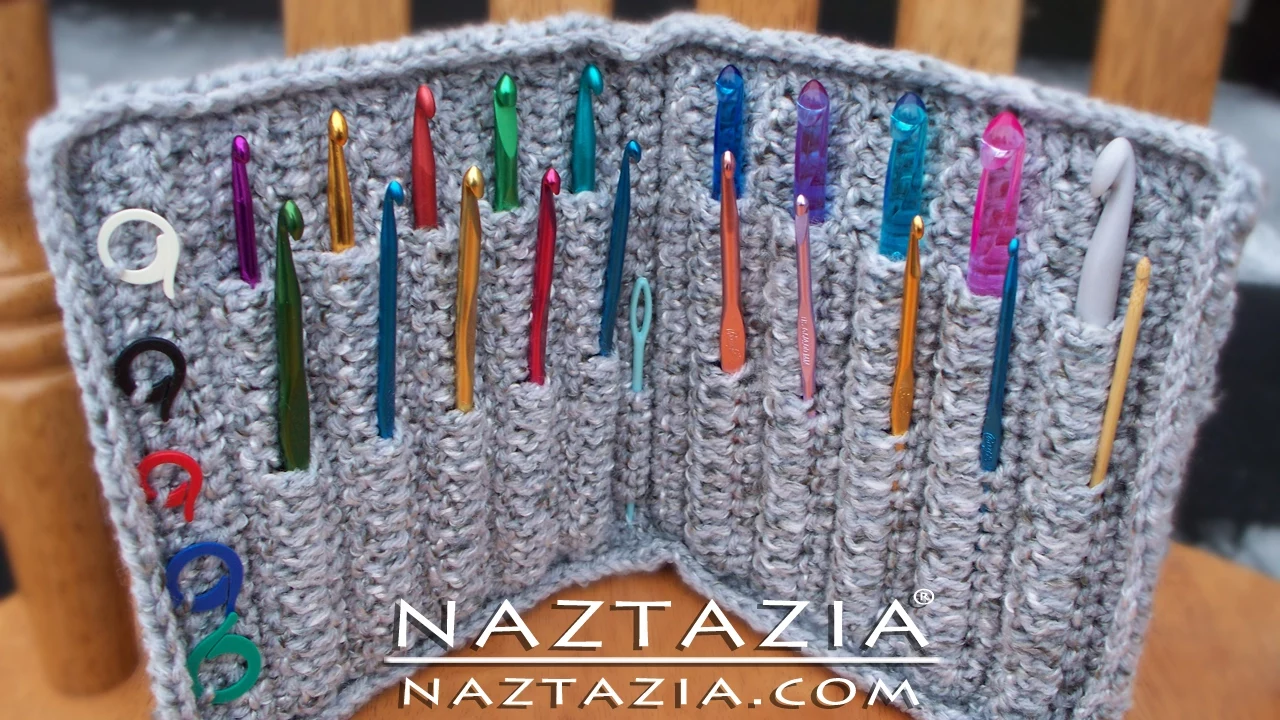
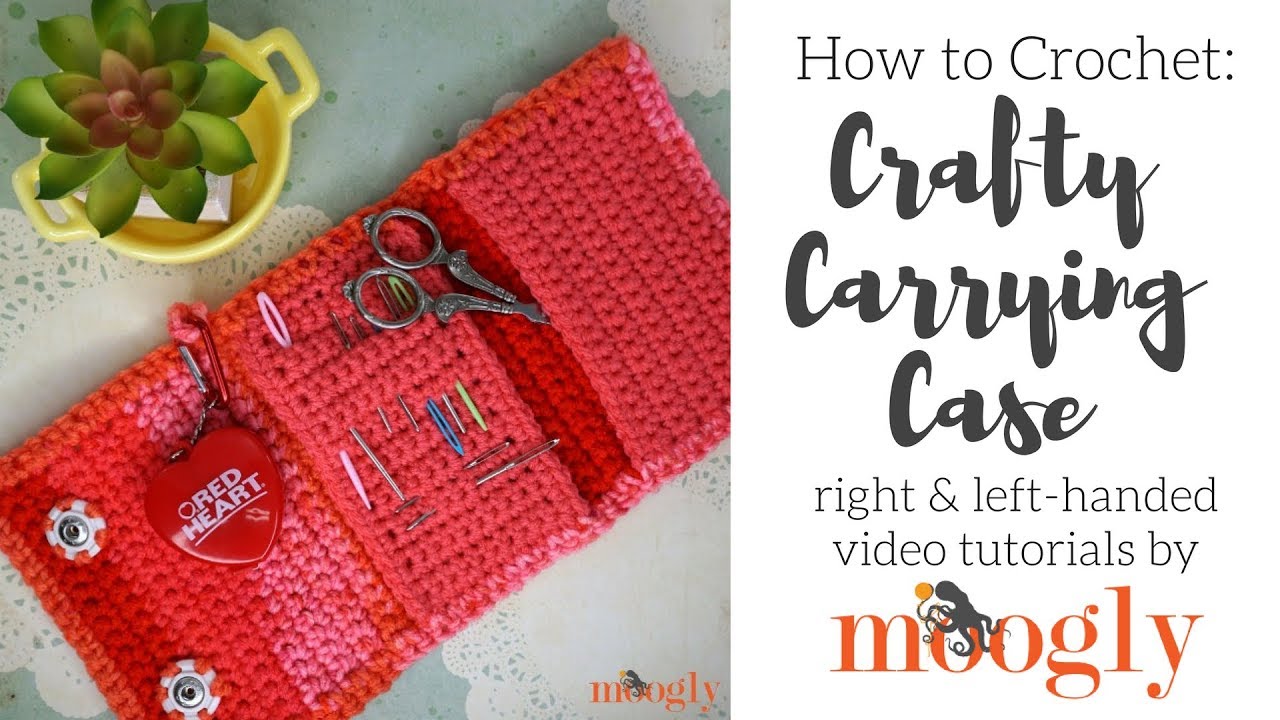
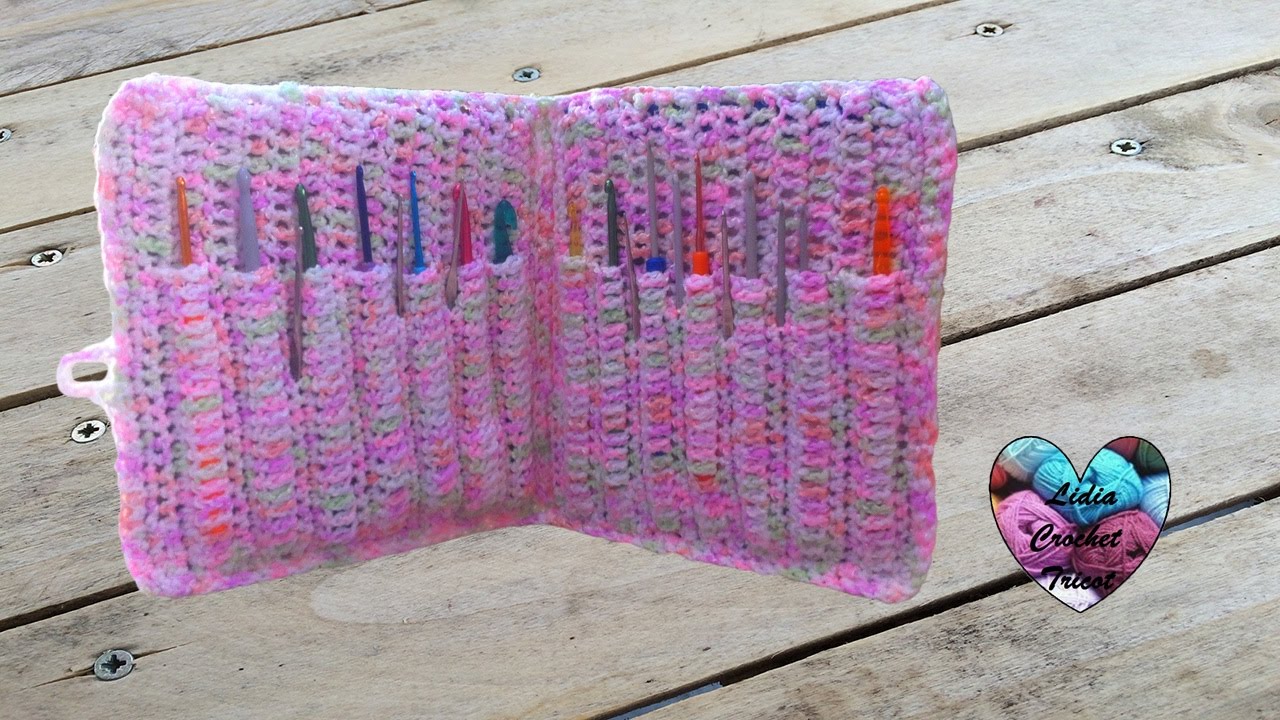
And here is the finished case. Remember you can put other items in the pockets too like thin scissors, needles and stitch markers. Plus if you crocheted your pockets a little on the looser side, you can pierce the pockets with another hook about half way down.
I hope this video has helped you. Please subscribe to my YouTube channel, check out the description of this video for more information. And please visit naztazia.
com for more tips and tricks on Creative Self-Sufficient Living!

![25+ CROCHET HACKS FOR BEGINNERS [Pro-Tips from a Crocheter with 20 Years Experience]](https://img.youtube.com/vi/oDHqT_rYMlM/maxresdefault.jpg)