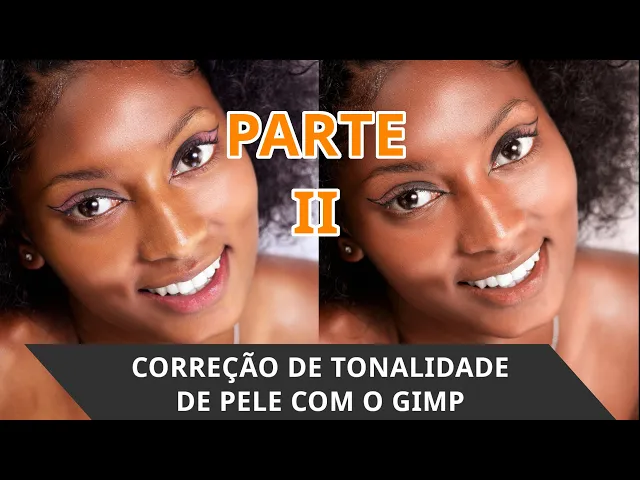
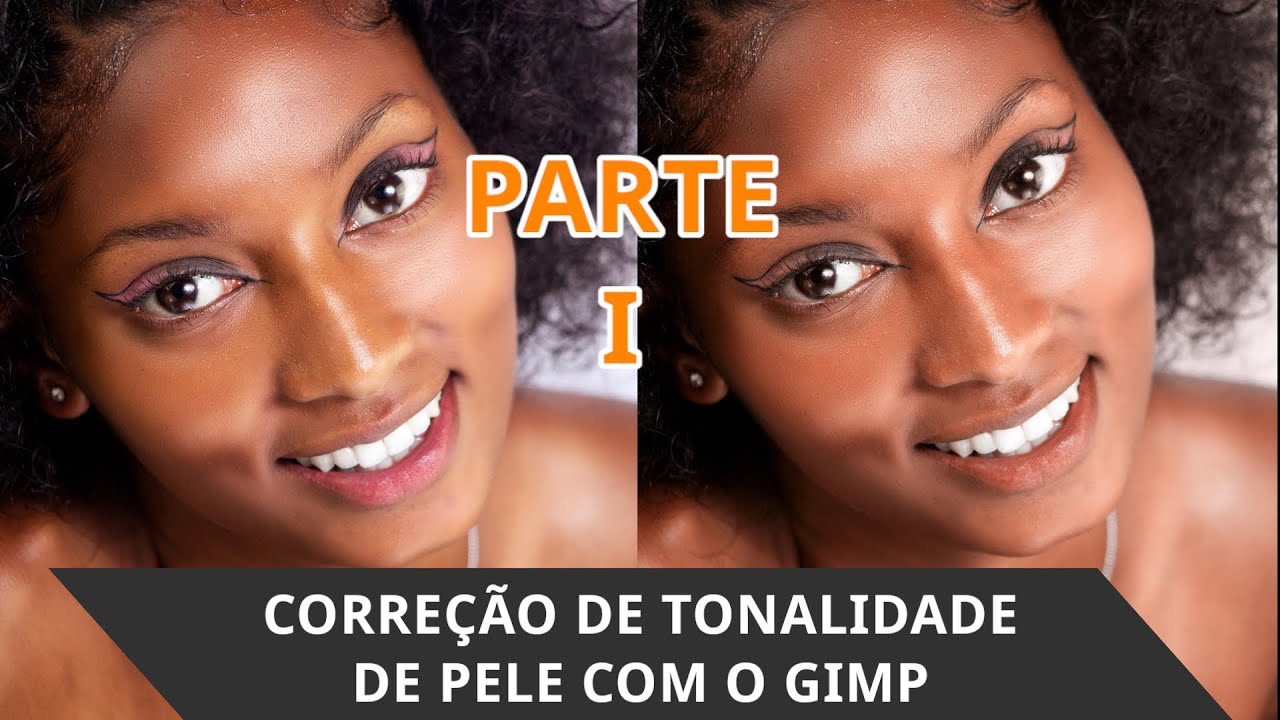
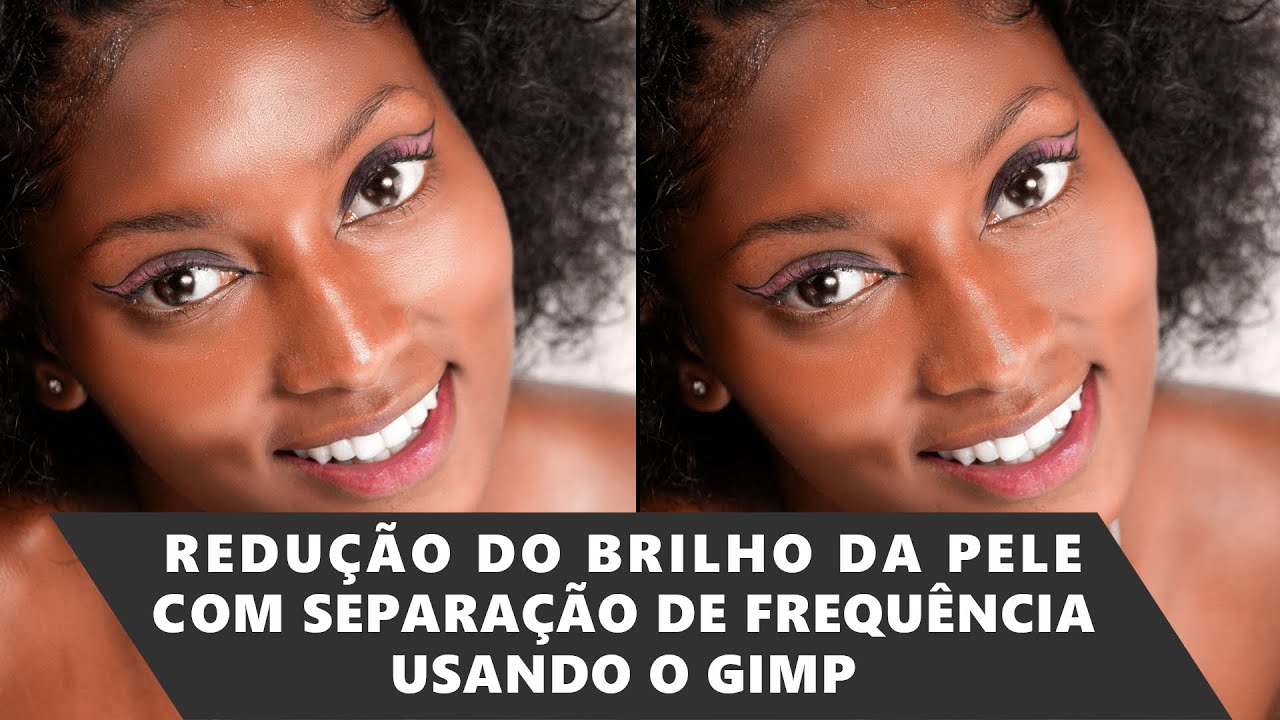
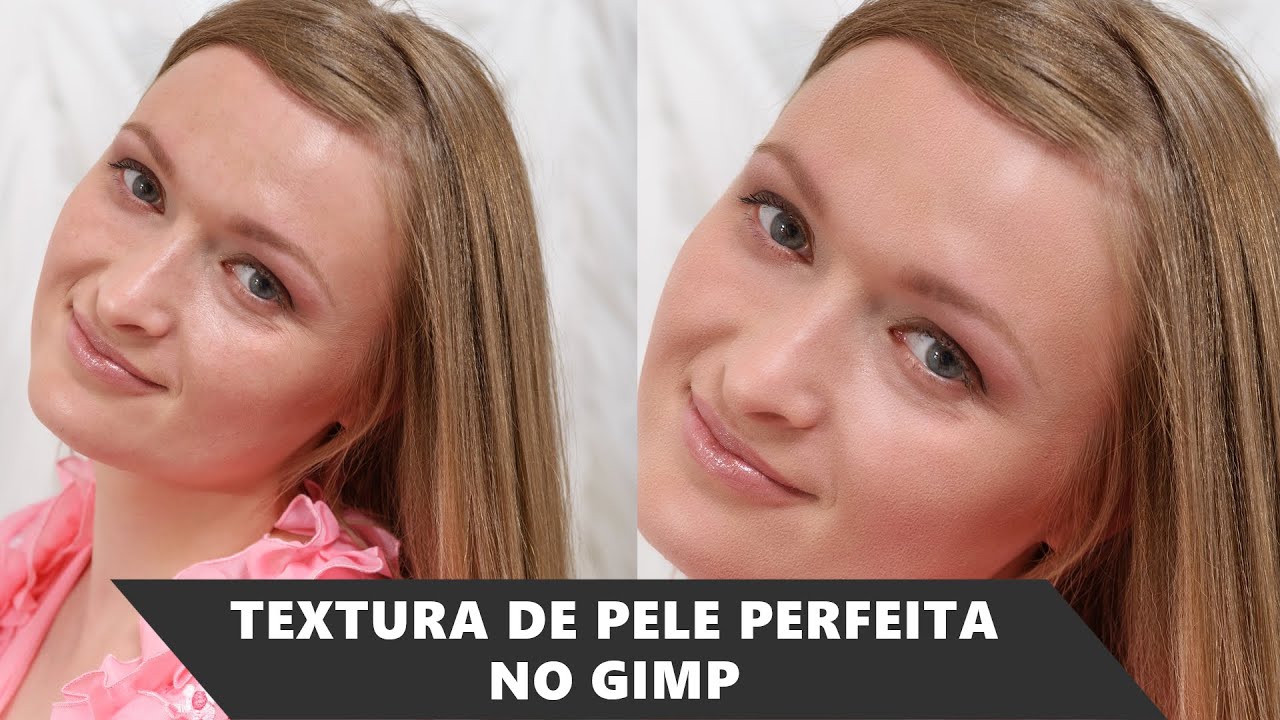
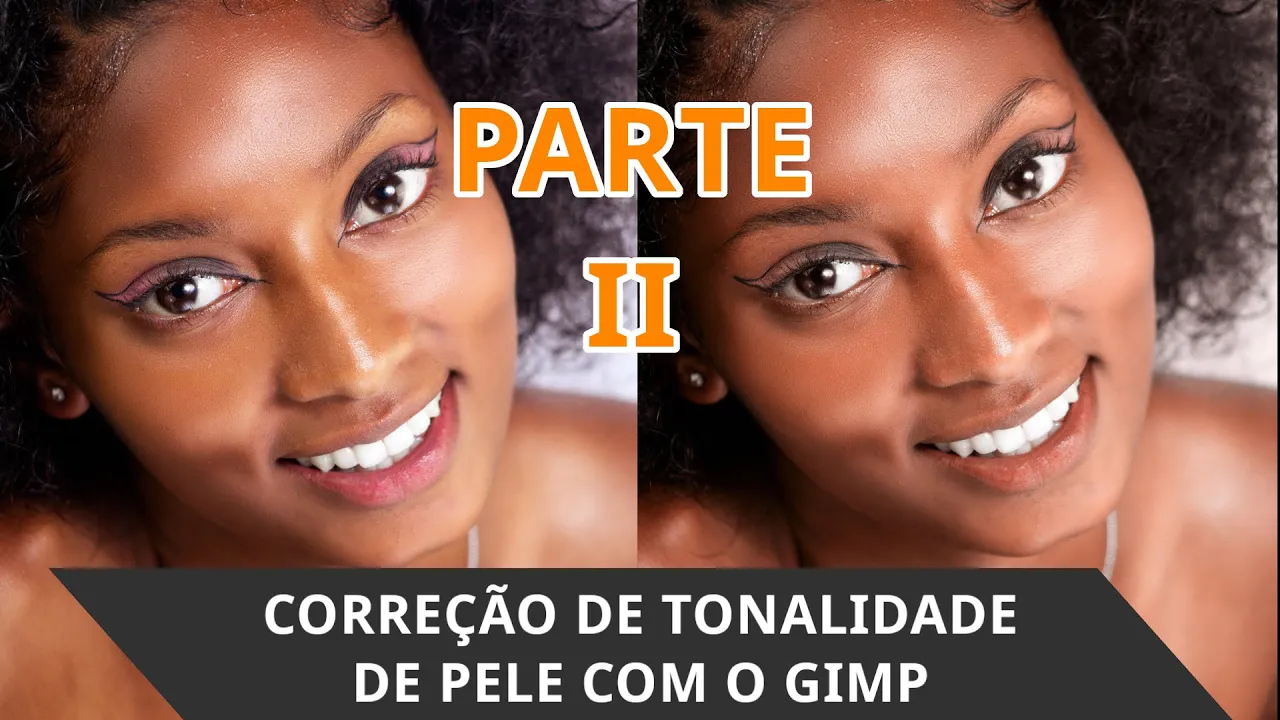
gimper Brasil channel back with another tutorial and I decided to record the second part of our skin tone correction tutorial because if we zoom in here with the mouse control scroll we will observe that when disabling the layer that corrects skin tone our model's skin we observed that our model's eye makeup and lips were affected by the correction of the model's skin tone so just look at how they were totally affected to correct this issue here we are going to add a mask this mask will be white So this mask was added to the color
that corrects our model's skin tone Why did I put the white mask here because I want to hide small parts of this color that was applied here on our model's skin so that's why I put the mask white the white mask it doesn't change anything that was done see that it didn't change anything but using a black brush let me change it here to black black brush and move here we select our mask here and when we apply a black brush we see that it starts to reveal our model's lips here, in this case we
can zoom in here and reduce the size of the brush here a little, so we start here to reveal our model's lips, passing through the entire region here and I'll leave the link to this image in the I'm going to leave the link to this image in the video description so you can also practice and have the same effect that I'm having here, her upper lips are here, there's little difference from Tom's, right, but I'm still going through it. here the upper lip and I will now apply it to the eyes to make this makeup
appear here, which ended up being hidden, right by the tone, right by the color that corrected our model's skin tone, I will also leave the exact color code here. of the color that I used to do it here, the correction is skin tone, so let's reduce it a little here, let it stay in this little magnifying glass here, so we can now see that the color that Corrected our model's skin tone was applied in the correct regions, right, no longer on us. lips and not even in this eye makeup here we use a mask here
and we remove this color from above our model's lip makeup we hide the color, right it doesn't appear here so we can see here now the before and after the before and after gives a zoom here before and after I'm going to add a color docker here and I'm going to click now with accounts here with this accounts here I'm actually going to get a dropper here of our color our color panel here and now you have here the color code color color code that I used to make this skin tone correction and I will
also leave the link in the description for you to download this same image that I got from pixabay I will leave the link too so you will be able to replicate it exactly way I did it here so you can train and understand how this skin tone correction is done. You can watch the previous video where I explain how I did this correction and I did the second part just because of this detail of the eyes and the lips so we end our tutorial here Watch the previous video if you didn't watch it And download
the image, I'll leave the link in the description and copy this color here, which is the color, which is the color, which is the color code I used for correct our model's skin tone so see you in our next tutorial