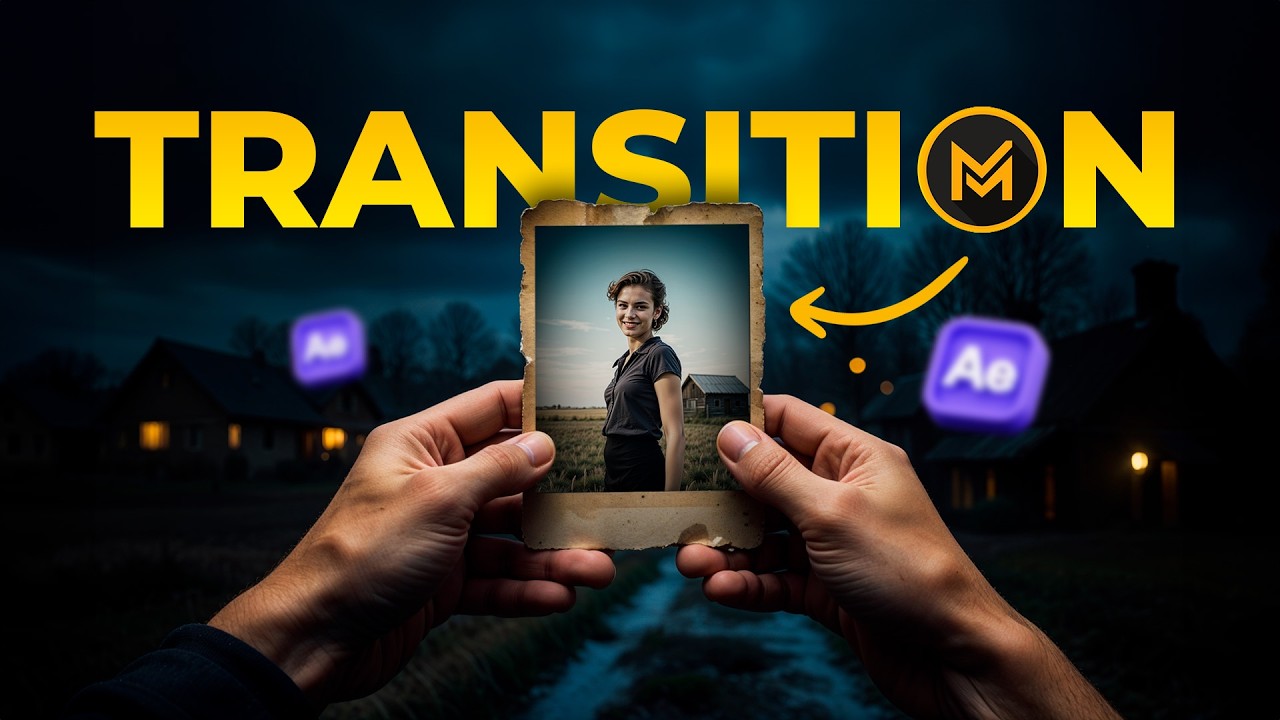
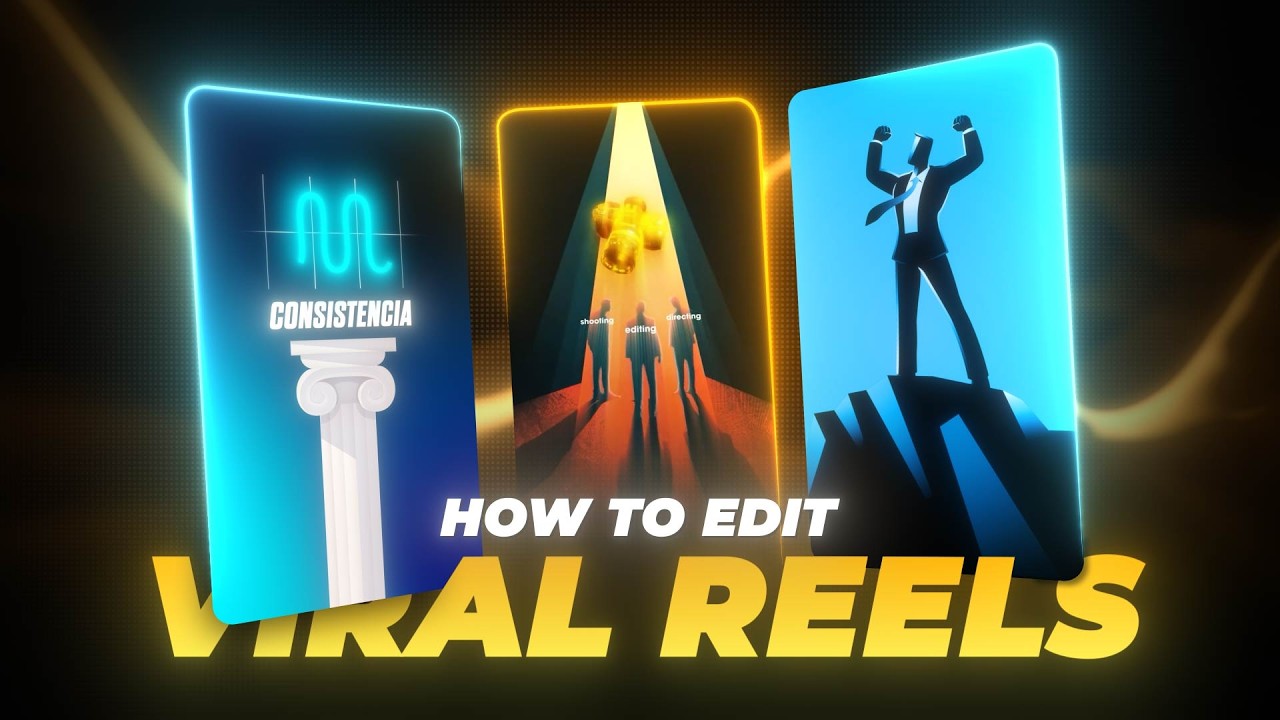
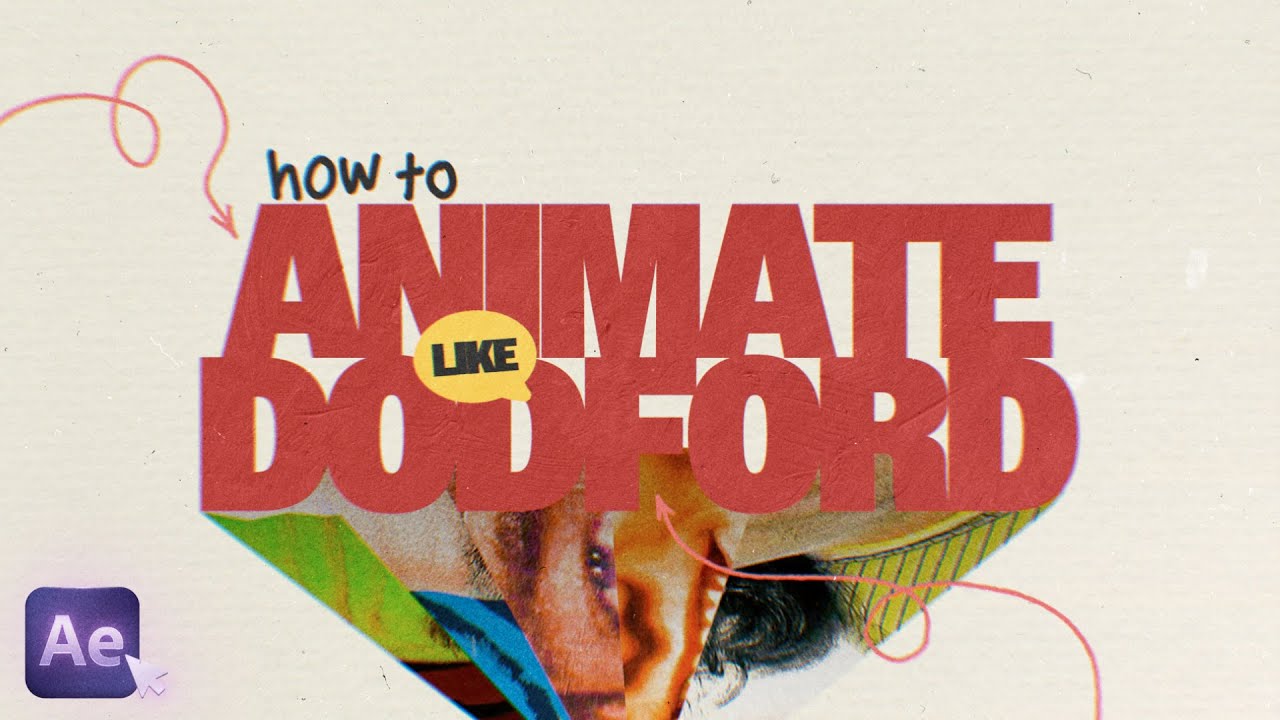
[Music] hey what's up everyone this is Rock from motion.com and I'm back with another brand new and super exciting After Effects tutorial cuz in this video we will learn how to edit like a Hollywood trailer and that to without using any third party plugins at all and this video doesn't need any further introduction so now let's take a look on the preview [Music] it is completely fun if the animation process might seem a bit complex at the first glance but I assure you that it is not as daunting as it appears because we will break
down every concept and technique of this animation from a scratch and making it super simple for everyone to learn even if if you're just a beginner and we will also apply a bunch of effects one by one so that you don't lose the grip on the entire animation process okay so now without any further Ado let's quickly roll the intro and jump straight into the after [Music] effects all right here we are back in After Effects and like like we always do we start by creating a new composition and let's call this one as textor
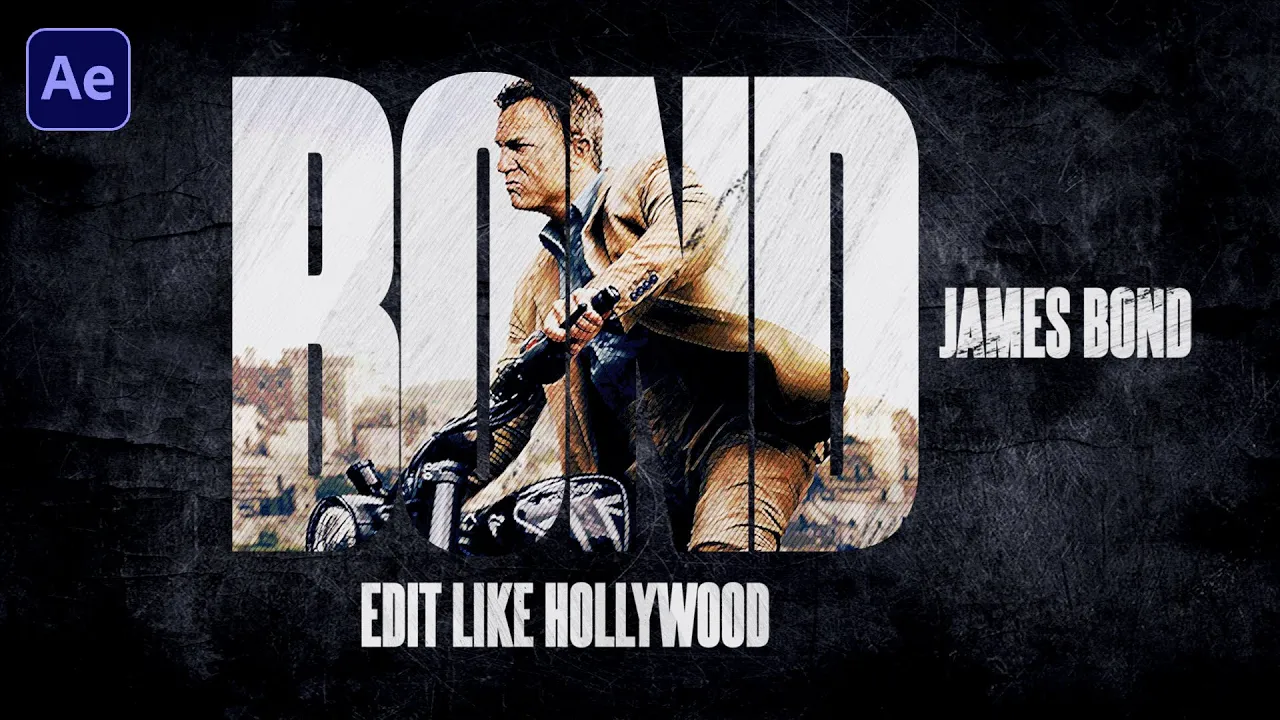
01 and for the dimension we're going to go with 1920 by 1080 which is full HD with 30 FPS and 10 seconds long with the background color is complete Black and now just hit okay and then grab the text tool and let's type in anything you want but I'm going to go with the same text that we saw in the preview that is nothing but the name of the character which is James Bond and yes this is one of my favorite characters from movies so let's go with Bond only and then just select all of
letters and increase the font size up to 950 pixels like this and just make it bold okay and now we can move the layer at the center of our composition using the aligned window and by the way if you are not able to see this aligned window on your screen you can always go to this window and make sure this align is checked okay and now the name of the font that we are using here is steel fish and it's basically a free font that can be found easily on the internet but I have even
given Link in the description box below so that anyone can download it okay and after this we're going to go to this file and we're going to import an image of multiple brush Strokes like this and then just drag it into the timeline like this and then just hit s to see the scaling properties and we are going to scale this in a reverse Direction which is minus 150% like this all right and now we can just set the track mat off of the bond text layer to alphat like this and then click on this
little arrow right here and then go to add and we will add an opacity like this and open the rain selector one and make sure to stay at the very beginning of your timeline and first decrease the opacity all the way to zero and then drop a key frame on the offset and then go to just maybe around 20 frames only and then increase the offset value back to 100% like this okay and now let's quickly open up this Advan section and first of all we're going to turn on this randomized order and for the
random speed we're going to set this value to 70 and for this smoothness I think we should bring this Val down to 50% like this all right and now if we see the preview this is what we will have yeah that looks pretty good at the moment but we still have a lot of things to do all right and now we'll create a new composition and we're going to call this one as image this time with the same settings and then just hit okay and let's import an image of James Bond which is right here
and then just hit open and just bring the image into the timeline and on top of this image we're going to place our text layer like this and we will even change the blending mode of the text to stencil Alpha okay and then just select the image and then hit s to see the scaling properties and we're going to scale down this up to 73% okay and now just place it just place the image wherever you want but I'm going to go with this yeah this is the right spot all right and then just do
a right click go to new and add an adjustment layer okay and now just turn on the tatle action save and then pick up the pen tool and then we're going to simply draw a diamond kind of shape like this and then just hold alter the option key and just click on these four corners and it's going to convert it into the smooth Corners all right as you can see this is what we have to do and now we'll search for an effect which is called curse and then just track this effect on top of
of the image layer and by the way if you're not able to see this tab on your screen you can always go to this window and make sure that this effects and presets is checked okay and then in the settings of course we just have to manipulate the RGB channels in order to have a little bit of darkness in the picture so I think it's better if we just keep this curve like this okay and then we can even turn off this start action safe and I think it's better if we just move this picture
a bit to the right so that we can see the face very properly like this all right and after this we can create a new folder in the project window and let's call this as assets and basically this folder will hold all of our assets that we have imported or will be importing all right and then let's go back to this text composition select the text layer and then hit you to see the key frames and select both the key frames hit F9 to easy ease them and there is no need to tweak or modify
the graph because the default curvature will suffice all right but it Sol up to you that if you want to modify the curve the Stag is all yours in After Effects okay and now let's go back to this image composition and then let's create a new composition and we're going to call it as this time textor 02 okay with the same settings hit okay and now we'll copy the layers from text one and then paste here back in text two composition and move the time indicator and then select the text and just decrease the font
size a little bit like this and then just do a double click to the text and just type the first name that is James Bond okay and then align this at the center like this and we can now just click on these little boxes right here to convert the layer into a 3D layer like this okay and after this we're going to search for another effect which is called ruen edges and just drag this onto this brush stroke and now let's change the resolution from quarter to full and then in the settings we'll simply bring
this border amount down to zero and also for the a sharpness and we're only going to bring up this complexity value up to 10 okay and now if you just turn off this effect we can see the difference very clearly within our text layer as you can see and this is the only reason we have applied this Rin edges okay and now we can just select this text layer hit you to see the key frames and let's bring this last key frame right here at 15 frames only okay and if you do a script preview
you'll see the same opacity animation that we applied a couple of minutes ago on a text layer in this text t one composition and we don't really want the same thing on this text so what we'll do is we'll first of all close this layer and again open the layer and then in the advanc section we'll simply change this based on value from characters to words and now if you see that every word will pop up one by one as you can see and this is what we really needed okay and then just close everything
up again and after this we can create a new composition and let's call this as Maybe grunge image okay and we'll keep the settings same as before and then just hit okay and after this go back to this project window and we're going to bring in our image comp into the timeline and then in the effects tab we're going to search for effect which is called post and we need the first one not the post time so just drag the post Riz effect onto the layer like this and then we're going to search for another
effect that is called curves okay and just do a double click to apply that app and then in the settings of post rise we will simply increase this level up to 12 and we're going to modify the curve a bit something like this and yeah much better okay and after this we can go back to this project window and it's time to bring in our text one composition into the timeline and we can change the track mat of the image to Alpha mat all right now just select both the layers and then go to this
edit and click on duplicate or just use a shortcut that is controller command d Okay now click on it and then select this image layer and we're basically going to delete this curse effect first of all and then instead of curse effect we are going to search for another effect that is called find edges and drag this effect into the effects window and again search for another one that is called ventian Blinds and just drag this into the window again okay and then in the settings of find edes we'll first of all check this invert
and we'll set this percentage value up to 50 and then for the V blinds we're going to set this transition completion to maybe uh let's go with 30% and then for the angle I'm going to go with 35 and for the width let's keep the width to seven okay and convert all of the layers into a 3D layer and then just do a right click go to new and create a new adjustment layer okay and now if you just take a moment to analyze the work we have done we'll notice that we have gained a
lot of color contrast and darkness in our scene which doesn't look nice to our eyes okay and to fix it we can just select all the image layers like this and then hit T to see the opacity and we're going to decrease the opacity down to 70% and for the bottom layer we're going to set this value to 90 and now this looks much better right and after this we can just close all of the layers and then select this adjustment layer hit enter to rename it and let's call this as CB for color balance
and we're going to search for the same which is color balance and just drag this into the fix window like this okay and now for the sake of this tutorial I'm not going to tweak the numbers here because it may take some time to achieve a good color balance so instead I'm just going to past the same settings that I used while I Was preparing the preview for this tutorial and you can of course pause this video and capture the exact settings if you want or just play around with the numbers and see what works
best for you but always remember you just have to find a best settings not the perfect one okay and now let's continue with the work okay so now just hit T to see the opacity again for this adjustment layer and bring down the value down to 50% like this okay and after this we can go back to this project window select this assets folder and go to file and we are going to import image of textures these are the two texture I'm talking about and then just hit open okay and bring them into the timeline
like this and then we will turn off the second texture for a while and select the first one and go to effects and presets Tab and search for a curse effect and just double click to apply that up and after this we'll look for a tint all right and again just do double click and in the settings of curve we are only going to tweak or modify this RGB channel from the top and from the bottom as well like this and we also need to have a little bit of curve like this okay so that
we can have a lot of darkness in this picture all right and then just hit s to see the scaling properties and just do the reverse scaling like this and I want to make it something just like this big all right and then just hit T to see the opacity and we're going to bring down this uh value down to 25% and then we can now just turn on the second texture and we will also turn both the layers into a 3D layer all right now just copy both the effects from the fix window by
holding controller command on the keyboard and then just space them onto the second texture like this all right and now we can just hit as to see the scaling properties and then scale this up a lot to something like this and now we can just hit T to see the opacity and we're going to bring down this value down to 15% all right and now after this we can go back to this project window and then we're going to bring in the brush stroke again and we're going to place it right on top of the
texture to and then we can just change the track mat of the second texture to Alpha inverted mat and we'll also change the blending mode to color touge okay and now we can also scale this layer a little bit up like this and I think this entire scene would still look great if we just just scale down the second texture to just something like this all right and there's something we forgot to do and that is to change the blending mode of this image to linear Dodge and now our entire scene looks much more vibrant
than ever right and also turn this layer in into a 3D layer and now what we'll do is we'll bring in our second text into the timeline and place it right on top of it and then hit s and then scale down it like this all right and then we're going to place it right here at the bottom and then we will do a right click in the timeline go to new and let's add a null object all right and then select these four layers from the bottom and pick up the pi whip tool and
pattern this all the way to the null and we will also paren the second text to the null object as well all right and once we are done placing all of these layers into the timeline it's time to select these four bottom layers and then hit s to see the scaling properties and then scale them down to 88% all right and after this we'll select this null object hit P to see the position and then make sure to stay at just 1 second and then drop a key frame on the position and just move few
frames forward in time and then just move this a little bit up something like this all right and then just select the second text and just position it again so that we can have almost equal gap on top and at the bottom all right and after this we can just move this layer a bit later in time like this and now we can see the preview this is what we will have all right and now just place the time indicator at 1 second like this and select the second texture and the color balance and then
hold alter the option key and open a square bracket to trim these two Ls like this and then we can now just select the texture one and the color balance and hit T to see their opacities and then for the text piure one first of all drop this key frame with 25% value and then go at 20 frames backward in time and then we can just uh bring this value down to zero all right and after this we will move at the start of this layer and then we have to bring this opacity value down
to zero first of all and then drop a key frame and then just move three frames forward in time like this and bring this value again to 50% and then I think at 1 second and 10 frames which is right here all right we have to drop a key frame with 50% value again and again for three frames forward in time we're going to bring this value down to zero and we will also trim this layer by holding alter the option key and close the square bracket like this okay and this is what we needed
and we can even select these two key frames hit F9 to easy ease them like this all right and now after this we will just select all of them and then hit you to close them and then go to this text one composition and we're basically going to place this layer to start from 25th frame like this and then go back to the grung image and we are going to move this null object so that the first key frame of this layer exactly Falls at 1 second and 10 frames like this okay and after after
this we can even move this text to composition right at 1 second and 15 frames okay and now if you see the preview this is what it's going to look yeah I think this is what we really needed all right and I think it is better if you just move this text a little bit down like this okay and we are now done with this composition all right and now let's create a new composition and we're going to call this as maybe a compile and then just hit okay with the same settings and then just
to right click anywhere in this timeline go to new and let's add a new solid okay and we'll keep the color as complete Black and then just hit okay and now before we proceed with this video let me tell you that if you want to follow along with this tutorial you can download the free project file from our official website whose link has been given in the description box below so don't forget to check it out all right and now let's quickly bring in our texture one into the timeline and then hit s to see
the scaling properties and we're going to scale this in the reverse order that is minus 180% like this okay and again just select the layer hit T to see the opacity and bring down this value down to 10 and we'll also convert this layer into a 3d1 like this all right and now on top of this layer we're going to bring in our grunch image into the timeline and now we need a brush reveal so we have to create a new composition for that and let's call this as brush reveal and I believe this is
the perfect name for this composition and then just hit okay after this go to this file and we're going to import a file of the brush which is right here and then hit open and place it into the SS folder and then drag it into the timeline do a right click go to transform and flip it horizontally okay and go back to this compile composition and bring this reveal brush reveal into the timeline and place it right here on top and then select the grung image and we are going to uh change the track mat
of this to Luma mat and then for the brush whe we're going to change the blending mode of this to silhouette Luma okay because we have this Luma into the track mat of for the grung image okay so if we have Luma here then the M should also be Luma for the brush reveal and then we can also turn on this collapse transformation and then we can just move this brush stroke bit later in time like this to the right and if we now see the preview we will have this kind of reveal as you
can see and this looks really really cool okay and maybe we can do one more thing you can just change the text from James Bond to Daniel Craig so just do a right click and let's go with Daniel Craig this is the actual name okay and don't forget to scale down the size a little bit the font size like this okay and now this will do the work so if we now go back to this uh compile we will see preview and this is what we were actually going for okay yeah and now let's drag
this text to composition on top and then again the brush reveal like this okay and just change the track mat of this text to Alpha inverted mat and we're going to change the blending mode of this brush reveal again to silet Alpha this time all right and now we can just turn on the collapse transformation for this text layer as well and we were also supposed to uh turn on the collapse transformation for the grunge image not the brush reveal so just turn it on okay and after this we can just hit s to see
the scaling properties and we're going to scale this up to maybe let's go with 150% all right and now just convert this into a 3D layer as well and after this we will also uh here has to see the scaling properties for the brush reveal and we're going to uh increase the value up to7 like this okay and after this we are going to create another composition and we're going to go with another name that is maybe text reveal because we will need another brush stroke to reveal our text this time and then just hit
okay and now let's import another video file of a brush stroke so I'm going to go with the second brush stroke which is right here and then just hit open and move this into the assets folder and bring this into the time planine as well and then move the layer few frames forward like this okay and now go back to the compile composition and we'll first of all bring down the scale size of this text to maybe 30% okay like this and then yes that looks good and after this we're going to place the text
reveal composition on top of the layers and then change the blending mode of this layer to stencil Luma like this okay and now if you do the scrub preview you will see that something is not right with this composition and we have to find what went wrong and to do so we can just start scanning the layers with their blending modes and the track mat options we have set for each and every one of the layers okay so for this one I think mode with his stencil Luma looks perfect and I think for this one
let's see what we have said so basically I believe for this second layer it should be silouette Luma and then we don't need the track mat for this and then just turn on the brush Reve layer like this okay and now we can even just select these two layers and then just put it on top and now if you see the preview this is what it's going to look like and now I think we are almost there okay so now let's move into the text reveal composition and just place this layer at the start of
our time line like this and then go back to the compile composition select the top two layers and then just move few frames for in time like this and then select the brush reveal and move this as well okay and now if you do the script preview here comes the text and it will be first painted out like this and then the bond will appear okay so yeah I think we are almost there with this animation in this composition and we will do the changes or some or any modifications later on if needed okay but
for now it looks perfect to me and yeah this is it so now let's quickly create a new composition and for the last time and we're going to call this one as render finally okay so make sure to type everything correct and then just hit okay with the same settings and then let's quickly continue the work CU we still have few things left to do okay so in this render composition the very first thing we'll do is to bring this compile composition into the timeline turn it into a 3D layer and also turn on the
collapse transformation okay and after this we can just create another composition and just call it as maybe transition out with the same settings hit okay and then select the assets folder and we're going to import the rest of the video files of process stroke which is right here as you can see but I'm uh we're not going to select the fourth and the second brush and then just hit open okay and after this we can just bring our brush one into the timeline like this and then go back to the render composition and place the
transition out composition right on top of the compile and change the blending mode of this to silhouette Luma okay and now if you see this is what we will have just right here if we just place this layer as you can see it's going to do the transition out as you can see for this scene right it's going to paint the scene out and this is what we actually needed all right and I'm getting The Strokes on this step just because I was basically working with some other animation before recording this tutorial so to fix
it what I can do is I can just jump into the text to composition select the text layer and change this value from stroke over fill to fill stroke like this and it will disappear in no time okay but don't worry you're not going to see these Strokes on your end if you're following this tutorial from the beginning all right and then go back to the tender composition and then let's create another one and we're going to call this one as maybe multiple brush Strokes okay with the same settings and then hit okay and in
this composition we're going to bring all of our video layers of brush a stroke like this into the timeline and now just select all the layers and we are going to duplicate these layers three times in total so that we will end up having 28 layers in total all right so now just quickly press control or command D on our keyboard to duplicate the layers like this and then place it on top and do the same thing again put it on top and for the last time and place it right on top like this okay
and after this we can just select all of them now and change their blending modes to Overlay which is right here and then we can even hit T to see their opacities and bring this value down to 15% like this okay and now just select all of the layers hereit you to close them and after this we will start placing the layers with a difference of 15 frames for each of them so what I mean is we can just move the second layer to 15th frame like this okay and then for the third frame we
are going to move the stam indicator at 1 second like this and then move it here and then do the same thing for 1 second and 15 frame which is right here okay and drag the layer and keep doing the same thing for all of the 28 layers we have in the timeline okay and it's just going to take a minute or so and it is not really necessary to keep the difference of 15 frames it could be any number of frames you want so now I'm going to fast forward this video so that it
doesn't take much of our time okay and once you are done placing the layers we can now just go back to the render composition and bring this multiple brush Strokes composition into the timeline and then convert this into a 3D layer and change the blending mode to Overlay and then hit T to see the opacity and bring this value down to 15% okay and now just search for the curse here and then just drag the effect onto this layer and then in the settings we are going to modify this curve T the curve like this
all right and now we can even move the layer and the moment we see the image coming up like this okay and now if we do the script preview this is what we will have right as you can see and we can now even turn on the collapse transformation like this and there we go we are done with this multi brush Strokes now okay and finally we'll create one last composition and we're going to call this as filter dis. okay with the same settings and then just hit okay and in here we will do a
right click anywhere in this timeline and then go to new and let add a new adjustment layer and then hit enter to rename it and let's call this one as Zoom okay Zoom one and on this layer we're going to apply an effect that is called transform make sure to type the spelling correctly and then just apply this onto the top of the layer and then from the project window let's bring in our James Bond image into the timeline and it's scale down a bit like this okay and after this we can just go to
the settings of transform and then scale up this value up to 150 like this okay and after this we can just do right click again and we're going to add a new solid and we'll keep the color as complete white and then just hit okay and then go to the composition settings and decrease the duration of this timeline to 10 seconds like this and now just scale this timeline a bit and now just place the time indicator at 10 frames and move all these two layers at 10 frame and then we're going to trim this
layer at 1 second like this okay and after this we can simply change the blending mode of this solid to add and we can now just uh hit T to see the opacity and make sure to stay at the very beginning of this layer and then bring this value down to 0 first of all drop a key frame and then move two or three for frames forward in time and then increase this value up to 50 and then go all the way to the end of this layer and then again bring this value down to
zero all right and now if we do a script review we will see this type of Animation right with these two layers and after this we can just quickly create a new adjustment layer again and then hit enter to Reit and let's call this as blur okay and on top of this layer we're going to apply a camera lens blur make sure to type everything correctly again and then just drag this effect onto the top of the layer and after this let's move the blur layer to 20 frames and then trim it at 1 second
and 10 frames like this and after this we can just stay at the very beginning of this layer and bring this Blood radius down to zero first of all and then drop a key frame hit you to see the key frames and then stay somewhere here and then bring this value up to 15 and stay at the end and bring this value down to zero all right and now after this we can just do right click go to new and we're going to add a new adjustment layer and this let's call this one as exposure
okay and we're going to search for the same in the effects window and just drag this exposure effect on top like this and then change this value to exposure value to minus two and we are not going to touch any other settings and after this we can just keep this layer selected and pick up the ellipse tool and hold controll or command shift on the keyboard and draw a perfect mask in the shape of circle like this okay and then move this at the center and then hit F to see the feather and we're going
to bring this uh value up to 500 all right like this and I think it's better if we just iner this up all right and we can even hit T to see the opacity and bring this one down to 50 all right and I think it's better if we align this perfectly at the center okay and now let's create a new adjustment layer and we're going to call this one as motion tile okay and copy the name and search for the same effect in the fix window right here and then just drag the motion tile
on top of this layer and then just use the Y value to pull the image up and we're going to place the black line right here at the center and to get rid of this space we can just scale of this image by 1% like this okay and there we go and now we can again create a new adjustment layer for the last time we're we're going to call this one as zoom two okay and after this we can just apply the same transform effect which is right here and then just drag it onto the
layer and scale of this value up to 115 like this okay and now move the zoom layer at 17 frames okay which is right here and then we can trim this layer down at 202 frames all right and after this we can move the motion tile right here like this and we will also trim this layer at 25th frame okay and now we can just turn off this image layer and go back to the render composition and open up the project window and bring this filter dist start into the timeline like this and turn on
the collapse trans information and place this layer a bit later in time like this and now if we do the scrp preview this is what we will have and we almost there but we just need to do some tweaks and modifications here and there in some of the compositions okay and we will be all done all right so now let's go back to this grunge image and we're going to add a new solid and we can just call this one as v4v yet and we'll keep the color as complete Black and then just hit okay
now make sure the layer is selected in the timeline and then grab the pen tool and we're going to make a mask in the shape of diamond like this and we can then just uh hold alter the option key on on the keyboard and click on these four corners and after effects will convert these four corners into a smoother one all right like this and then hit M to see the mask we have applied and then click on this inverted hit F to see the feather properties and increase this value up to 400 like this
okay and and we can even adjust the points if needed so just move this one a bit up and this one out of the frame and from the left as well okay and then just move the text two layer maybe somewhere near to 2 seconds like this and now let's go back to the composition and we're going to move the transition out at maybe 4 second and 15 frames right here all right so after this we can now do a scrp preview to see what's happening and I think this is what we needed so what
if we just place this uh text to a little bit here like this and now if we again see the preview this is what it's going to look okay and this looks very clean and perfect and just the way we wanted all right yeah and now I just noticed that we are getting this line just because of the compile because initially the level I mean the scale level is 100% only and we can even just uh increase this up by 1% and it's going to disappear the line as you can see and this is what
we needed and now let's take a look on the preview all right yeah everything is working perfectly and now if you just add a music at the background to see how it's going to hit differently and trust me this entire scene was really really awesome with the background music but there is something I noticed that I made a mistake while typing the name of the character which is right here in the text to so I think I just made a uh mistake in the spelling and it should be basically AI like this okay and now
let's take a look for the last time on the preview and yes here we are with our final result and this looks just the way we wanted it to be and this animation can still be taken to a level up if we just add some more grunge or scratches or maybe some smoke if possible and just use a little bit of your imagination and you will a even end up with more interesting trailer than the one we have just created right now okay because after effect Knows No Boundaries at all so yeah that's it right
for today guys and thank you so much for watching this video and I hope you really enjoyed learning today's animation concept and if you really did then make sure to hit the like button subscribe to our Channel and also press the Bell icon so that you never miss any upcoming tutorials and lastly don't forget to follow me as motion Street on Instagram and I'll see you in the next video till then keep dreaming keep creating peace out [Music]