[Music] hey guys it's Isabelle from Cognito forms and I'm here to give you a detailed overview of our document generation feature document generation allows you to take information from your forms like names and addresses and automatically fill them into documents such as invoices letters or Flyers since you don't need to manually copy and paste data into your documents you can generate personalized PDF and Word Documents quickly and easily in this video I'll show you how to create and customize these documents to meet your needs so let's go ahead and Jump Right In for this demonstration
I'm using a lost and found pet form which collects contact information and basic details about a lost or found pet using the document generation feature I'll show you how to insert those details into a lost or found flyer I'll begin by heading over to the entries page you can see that I've already created two entries here one for a lost pet and one for a found pet to create a custom document you can click on any entry it doesn't matter which one once you do that select the create document from the popup window this will
reveal the templates associated with this form whether you use a template or create a form from scratch Cognito forms automatically generates two documents one with form controls and one without form controls controls if we download the document with form controls we'll see that it includes boxes around the form Fields the other document does not form controls can come in handy when you want to create a blank copy of your form all you have to do is add a new entry leave it blank and then select the document template with form controls to generate your blank
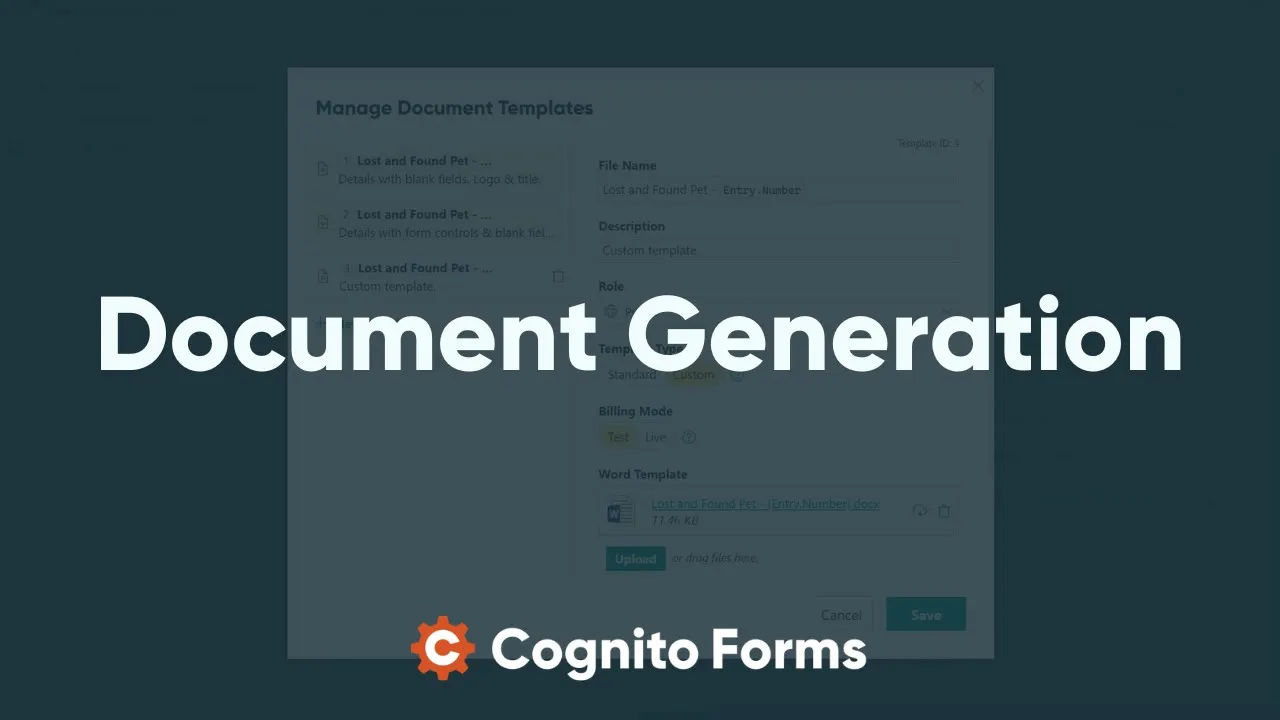
copy anyway getting back to our document templates you'll notice the manage templates option at the bottom selecting this pulls up the manage document templates dialogue you should think of this as the control center for all of your document templates here you can change the file name of the generated document which can even include field details you can also add a description for internal use and select an appropriate workflow role you'll notice you have two options for template type standard or custom for standard templates you can choose which fields and information you want to include in
your document but if we look at the custom template which can be either a PDF or a word doc doent the customization options go far beyond what you'll see on this menu you should note that custom templates are only available to organizations on our pro team and Enterprise plans as a paid add-on feature which I'll explain more about later for now let's look at how to create a custom word template although you could just open up word and start creating your document template from scratch downloading the template first is much easier because your entire form
is already laid out in front of you once you download and open up your template in Word you'll see that it looks a little different behind the scenes you'll notice that your form is laid out in tables and the field names are in Brackets you'll also notice that sections repeating sections and tables all start and end within each tag this tag helps differentiate the fields in your section from other fields on your form which is especially helpful if you have two Fields with the same name in different sections before we start customizing this template you
should note that the headings and other text types in your document correspond to the text Styles in words so if you wanted to change the font size of all the section titles you could find the style section at the top of your document and click the little arrow to make the Styles menu appear heading two is the form title heading three is repeating section titles and regular section titles label is the field label normal is the field text and total is the order total on your payment forms to customize a style open the drop- down
menu next to your style and click modify then you can edit the style and apply those changes across the entire document now as I mentioned earlier I want to turn this template into a lost or found pet flyer usually a pet flyer has a large title at the top in my case the title will change depending on whether the pet is lost or found and what type of pet it is so I'm going to insert the status field which corresponds to either lost or found and the type of pet Field at the top since both
fields are in the pet information section I'm going to make sure to include the each pet information tab at the beginning by the way if you don't have any sections on your form you don't need to worry about each tags next I want to put a big picture of the pet underneath the title if we look at the file upload field you'll notice that it also begins and ends with an each tag if we use this Syntax for our template your template won't actually display a picture it'll only give you a text list with the
names of the uploaded file since we actually want to display an image we'll need to use the image syntax inside of two brackets Type image followed by the name of your file upload field it's also a good idea to specify the dimensions of the image by setting a width and height in this case I'll set a Max width and Max height to ensure that the image doesn't take up too much space underneath the picture I'm going to insert some basic details about the pet like the date that they were lost or found their breed Etc
then I'm going to make sure to include an end each at the end of the pet information section I'm also going to include some cont information from the person who submitted the form making sure to put those fields within the contact information each tag if you'd prefer not to use each tags there is another way to reference Fields within sections instead you could type the name of the section followed by a period and the name of the field finally I'll go ahead and delete everything else we don't need then add some tear off tabs if
you're not familiar with tear off tabs they're just little pieces at the bottom of a flyer with contact information that way when people walk by the flyer they can can tear off a tab and take it with them making tear off tabs is pretty easy all I have to do is add a table change the text direction to go sideways and add some information in the first tab then I'll copy it over to the rest of the tabs now there's only one minor issue to address if this is a found pet flyer rather than a
Lost Pet flyer I don't necessarily need to include any tear off tabs so when you only want to show some content under certain C circumstances you can use conditional logic using the if tag since I only want these tear off tabs to appear when the status of the pet is lost I'll write that statement using the if tag and of course I'll need to end that tag using end if to wrap things up I'm going to resize and move some of my text around this fer is pretty simple but the sky is the limit when
it comes to styling your templates you can change colors back grounds and take advantage of just about any feature word has to offer now that I'm finished creating my document I'll save it and then upload it back in cognito forms to be honest before recording this video I made sure that my template didn't have any errors but let's say I made a mistake like forgetting to include an in tag or a bracket somewhere if there are any issues with your document that would prevent it from working correctly an error message will pop up as soon
as you upload your document this message will contain a copy of your do document with notes that tell you exactly where each eror is if there aren't any errors for you to correct you'll go ahead and select the output format for your document either a PDF or a Word document also if you used any custom fonts in your document you'll want to upload those as well in case you're wondering a custom font is just a stylized type face that you may have downloaded off the internet as opposed to a standard font like Times New Roman
the last option we'll look at is the billing mode right now our document is set to test that means that when we generate our document it'll display a Cognito forms watermark in terms of billing your organization is not charged for templates set to test mode so you'll have the opportunity to tweak and update your document as many times as you need once your template is ready to go you can then set it to live at that point you'll no longer see the Cognito forms Watermark document templates are available to organizations on our pro team and
Enterprise plan and each template costs a flat fee of $4 per month no matter how many documents you generate so for example if you have two live documents that are being used to generate hundreds of documents per month you'll only be charged $8 total for the two documents organizations on the Enterprise plan will receive 10 free live templates now that you know how to create a document template you may be interested in how to share it the first method we already covered download a copy of your document and distribute it as you like if you
want to share your document immediately after the form is submitted subed you would head to the build page go into the workflow Tab and edit the action settings for the submit action here you can include the document in your confirmation message or you could send the template in an email by opening up the email notification window below just select attached document then choose the document you want to share lastly you can send generated documents using Json web hooks or through one of our integration platforms like make Microsoft power automate or zapier that's about all we're
going to cover in this demonstration but document generation is a pretty Advanced feature so if you have any questions or run into any issues you can check out our user guides at cognitoforms.com support or feel free to send our team a support request