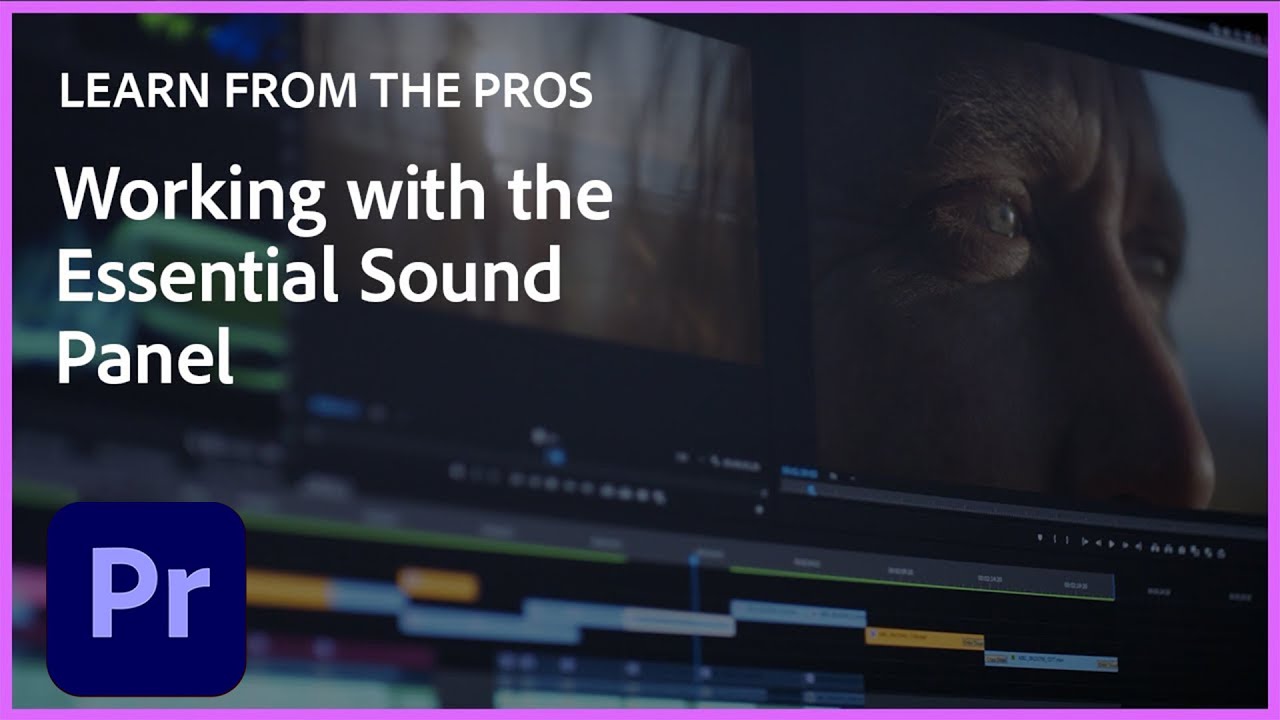
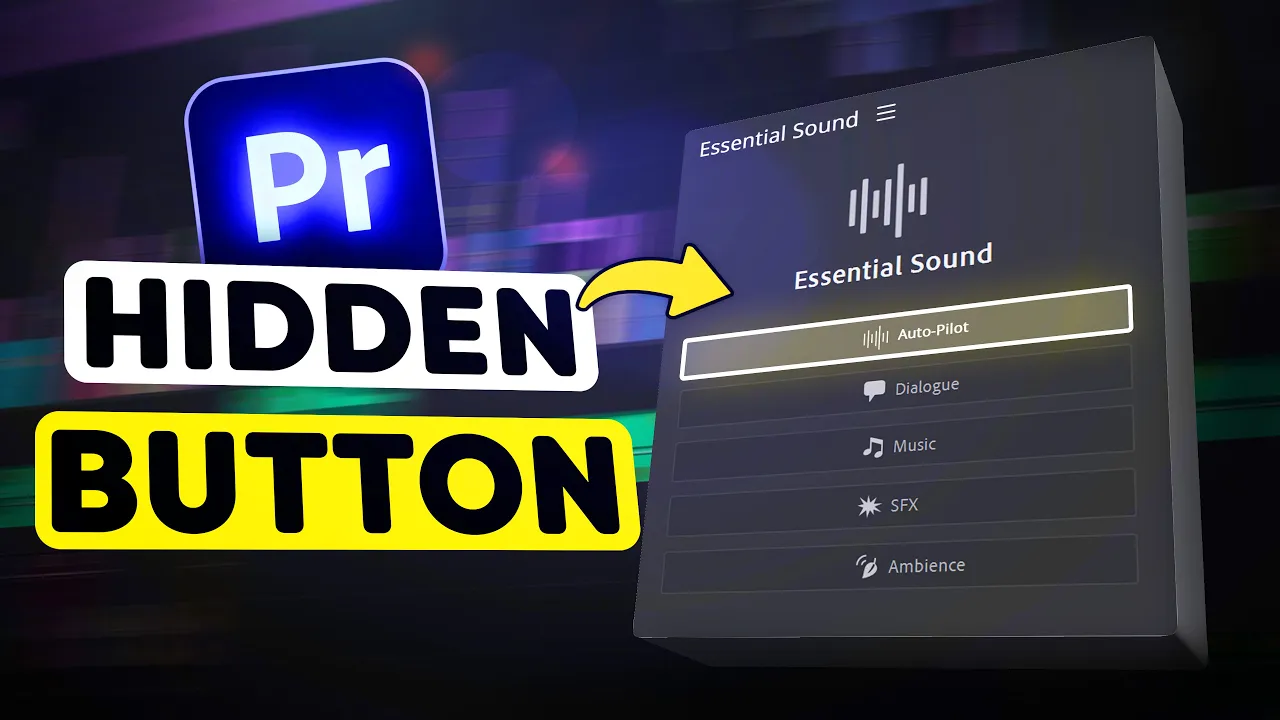
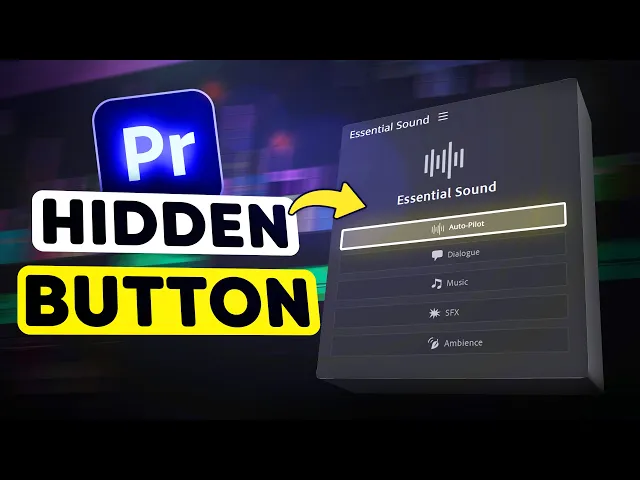
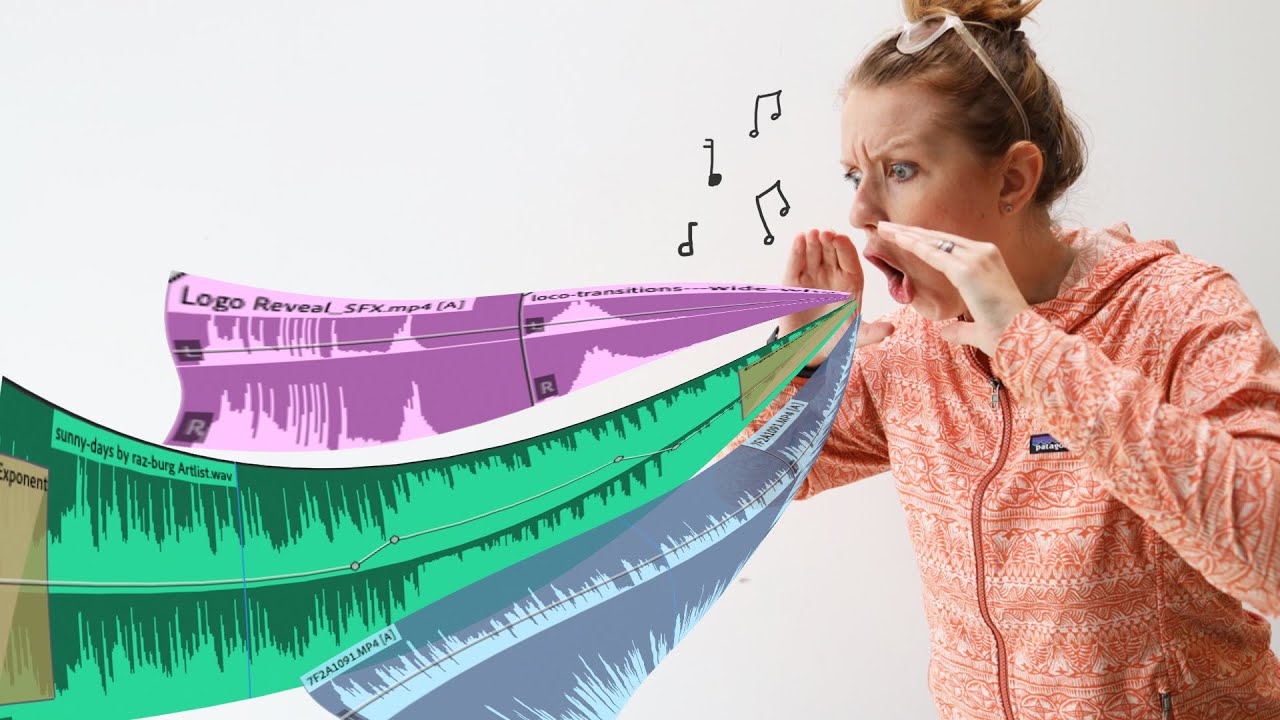
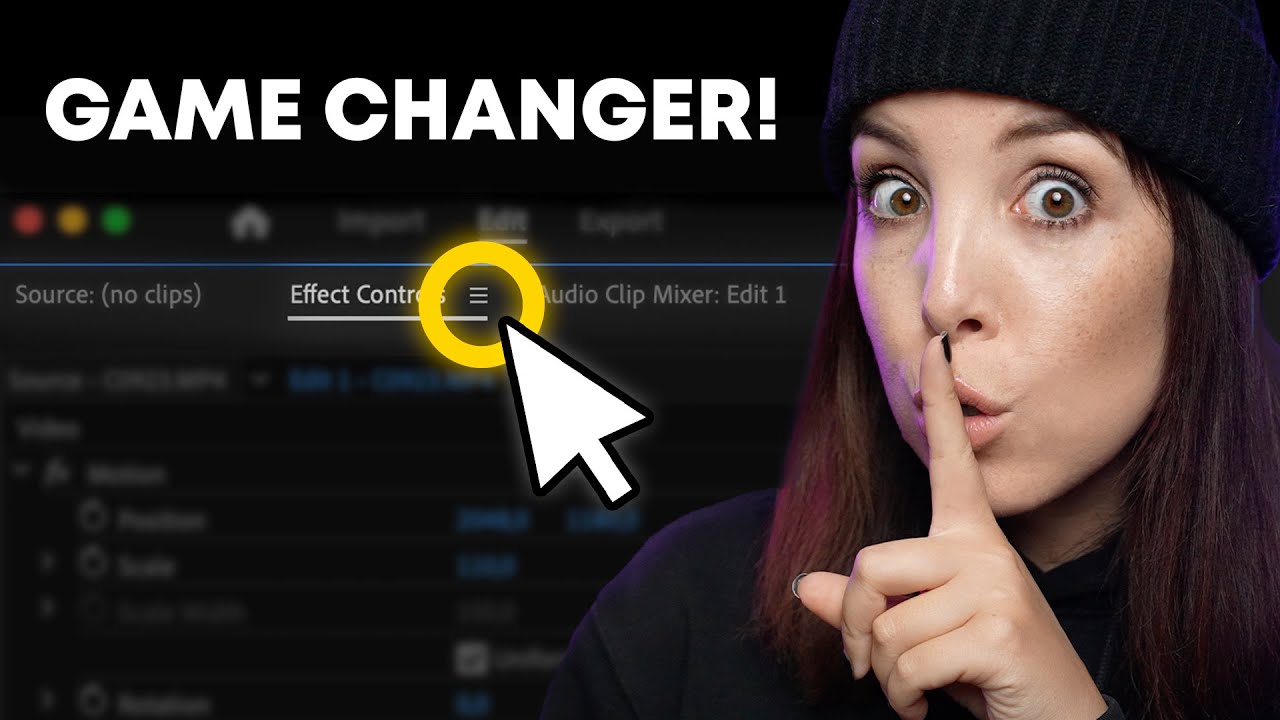
hello and welcome to frequently asked questions about Premiere Pro today you're going to learn exactly how the essential sound panel Works in Adobe Premiere Pro so first in the timeline make sure a sound clip is selected this can be music dialogue whatever when you open up essential sound you can actually tag your selected audio clip by assigning one of these audio types let's see what we can do with the dialogue tab first you'll see the enhanced speech button this works really well on Old recordings but I won't recommend it on your own podcast or studio
recording in my opinion it makes your audio sound robotic but hey if it works for you it works next the loudness step will match the loudness level of your entire clip that you selected this is useful in a podcast for example where a person keeps moving away from the mic this will make the volume different throughout the entire recording and this feature will fix that the repair tab can be used to reduce noise Rumble and humps from your recording don't overuse these features because it will make you sound like your underwater same thing for the
dser this will lower the high frequency s sounds in your recording reduced Reverb doesn't really work especially when you're speaking full synthesis the Dynamics feature will compress your recording and expand the dynamic range of your sound it basically brings the quieter and the louder sounds closer together watch out this will also boost unwanted frequencies like noise for example The Equalizer will boost or cut out specific frequencies depending on the preset you choose I'm going to show you three levels of the basic 3d effect and last but not least you can also add Reverb to your
voice to make it sound like you're in a church or something personally I like to use the convolution Reverb effect I just get better results with that one but whatever fits your needs let's see what we can do with sound effects in the essential sound panel choose the sound effects icon as the audio type and here you can also use the auto match feature or perhaps add some Reverb the pen feature will allow you to move your sound effect to the left or the right side of your speaker this is useful when you have cars
driving on the left side of your screen for example however I don't really like this because you can't animate like you can do in the effect controls now let's talk about processing music in Premiere Pro but first I want to show you audio a music and sound effect Library created by music producers specifically for creators like us I just don't want to spend hours looking for the right music with audio the sponsor of today's video you can just click the lightning bolt next to a song you like and boom you'll get an entire list with
similar songs I am a huge fan of the AI powered playlist feature audio will literally create a playlist based on your favorite songs this saves me so much time it's unbelievable besides music you can find an endless amount of high quality sound effects so you're basically set for life oh and guys you can get access to this music library for the rest of your life for a one-time payment of $199 normally it's 500 bucks but by using the code Premier Basics LT you will literally get $300 off unfortunately this deal is almost gone so you
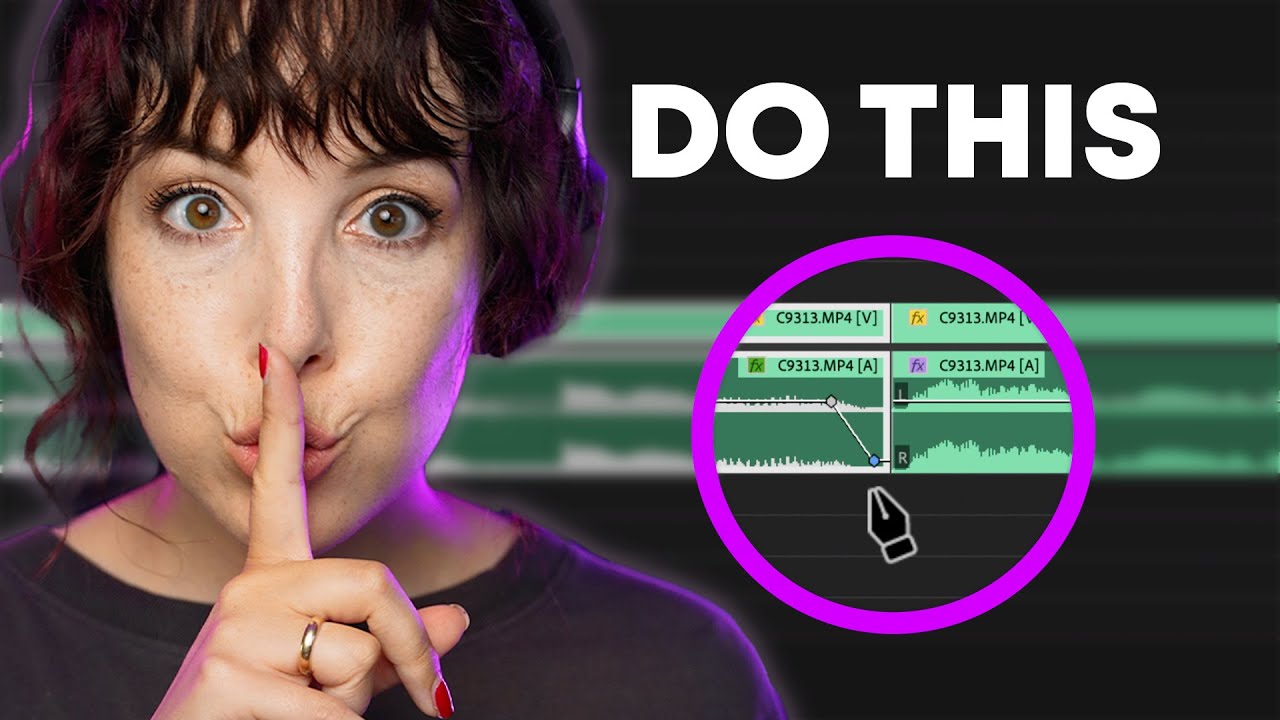
got to be quick link down below all right so I have this music clip in the timeline now if I select it I can choose the music audio type in essential Graphics I mean in the essential sound padle now again you can use the autom match feature which is useful if you have music that changes in volume a lot next you can remix your song which basically makes it longer than it actually is but please don't use this I'm going to show you a much better way in a second next we have audio ducking this
feature will duck your song against speech sound effects other music or basically anything you want by adjusting the sensitivity and duck amount you can choose how aggressive the ducking will be all you need to do is click on generate key frames and let Premiere do its thing your audio clip will now look something like this pretty useful now about that remix tool instead of using the essential Graphics go to the toolbar and click and hold the Ripple edit tool then from this list choose the remix tool now all you need to do in a timeline
is click and drag your clip for as long as you want Premiere will then use AI to make it longer and it actually sounds really good for the stretch tool you also shouldn't use the essential sound panel all you need to do is use the ra stretch tool by pressing r on your keyboard and then dragging your music like this this way you can stretch or make your music play faster it doesn't really sound good on music but for sound effects this is a lifesaver for example this wish effect it's way too long for my
actual transition well all you need to do is use the raid stretch tool to make it play faster and there you go next we're going to learn how to mix your voice with your background music in the next lesson right here thank you guys so much for watching
![I Replaced ALL my ADOBE APPS with these [free or cheaper] Alternatives!](https://img.youtube.com/vi/5EfqHg49kMk/maxresdefault.jpg)