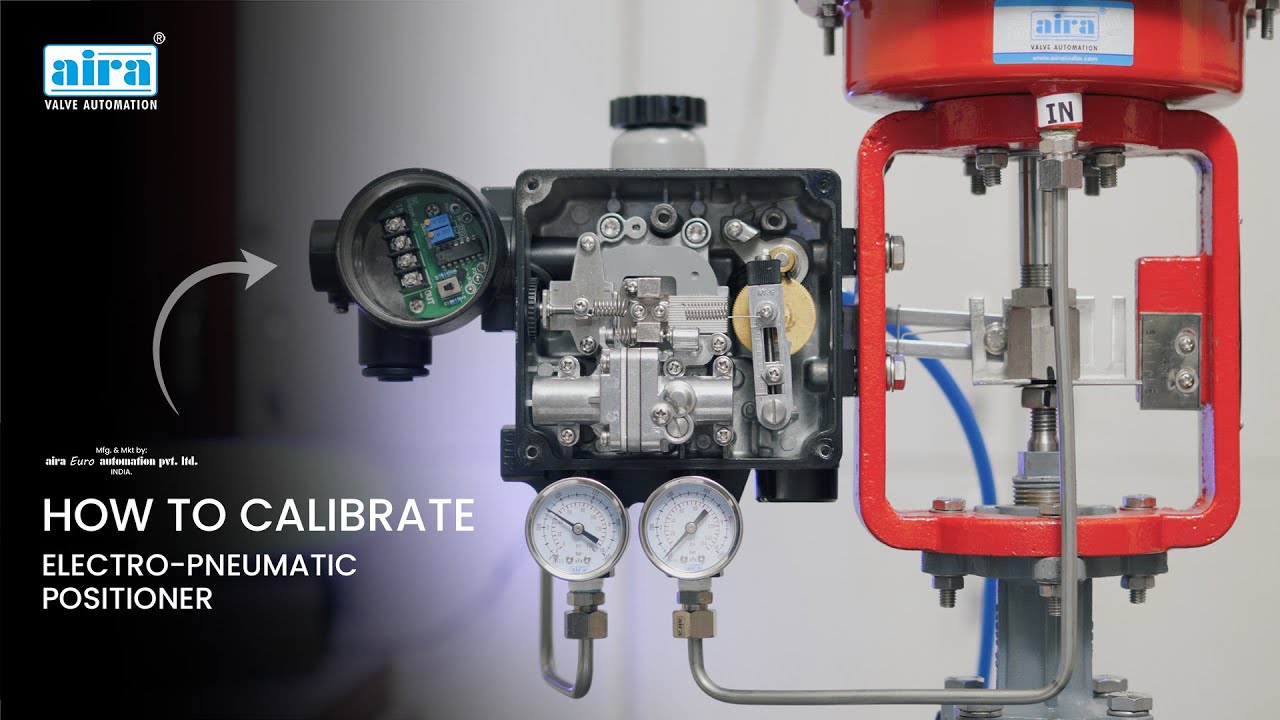
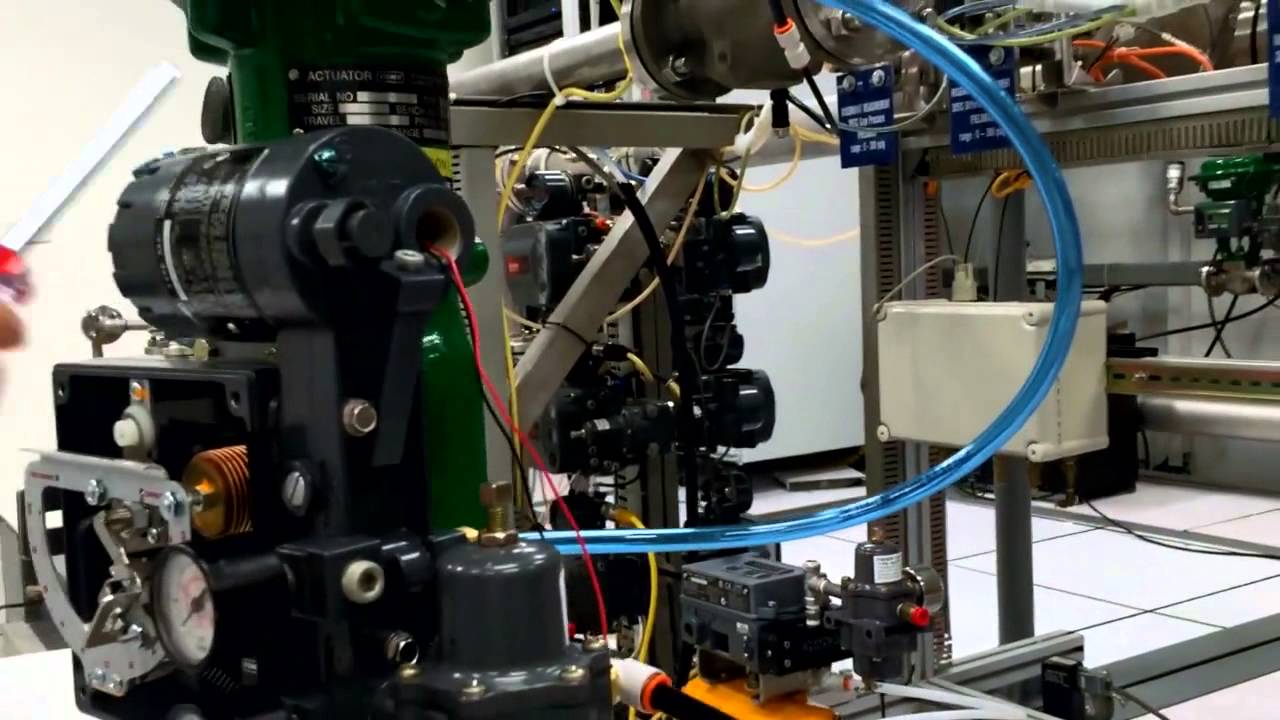
[Music] here we have a linear electromagnetic positioner now we also have a rotary one but you can tell this is a linear one you have this bar coming across here and now these bars come in different sizes depending on the stroke here we've got it set up on a 150 ml stainless steel knife gate now there's a few things to note about this positioner so first of all here we have our input which is top to positive and negative and means we have our output now when we say input in the output this one gives
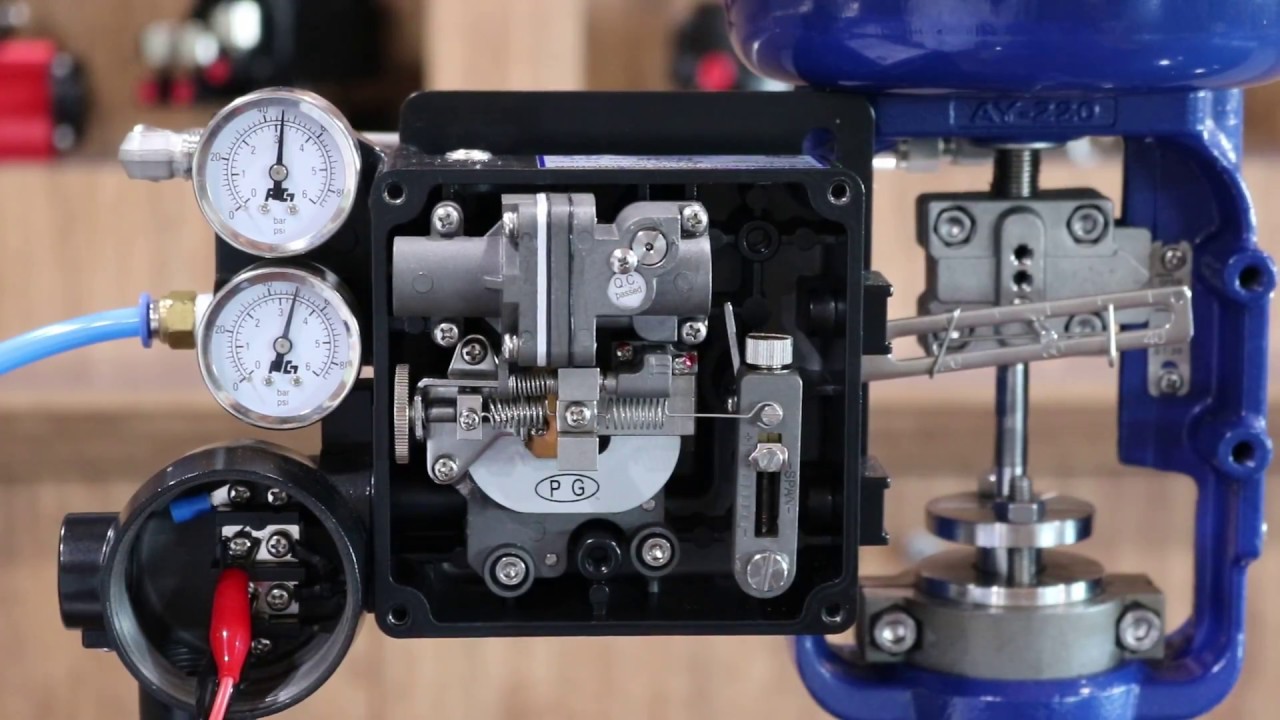
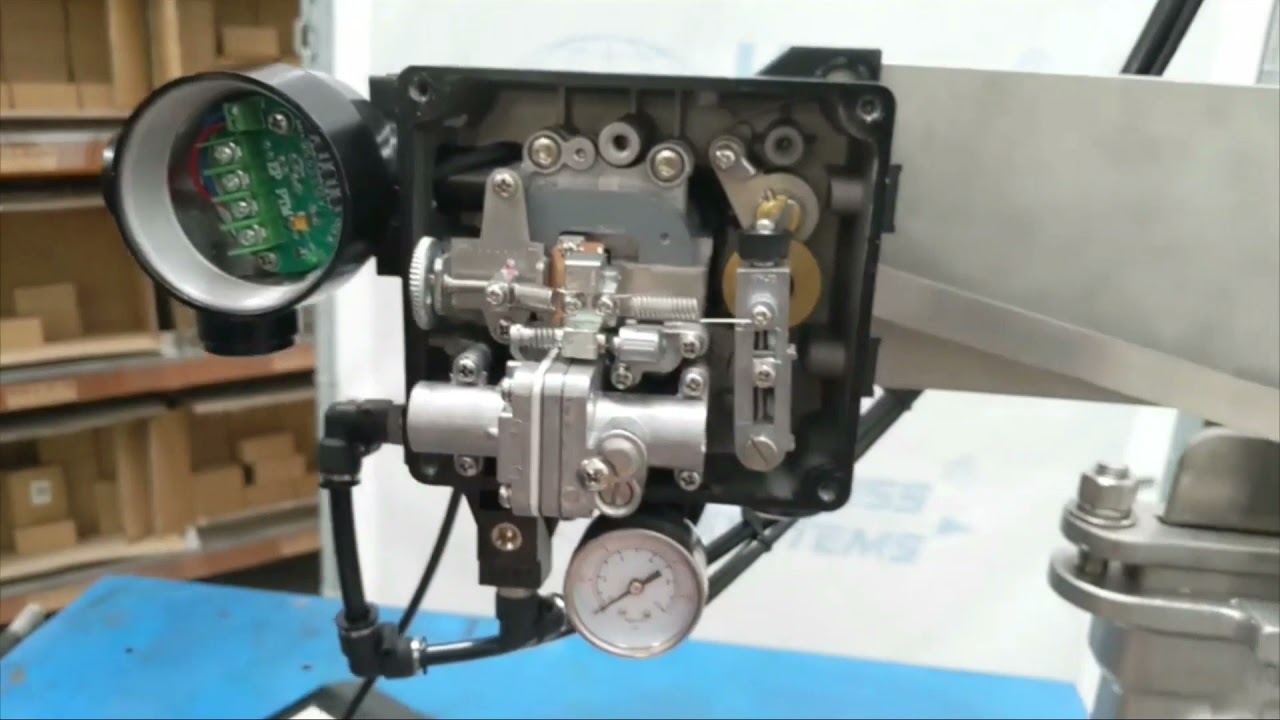
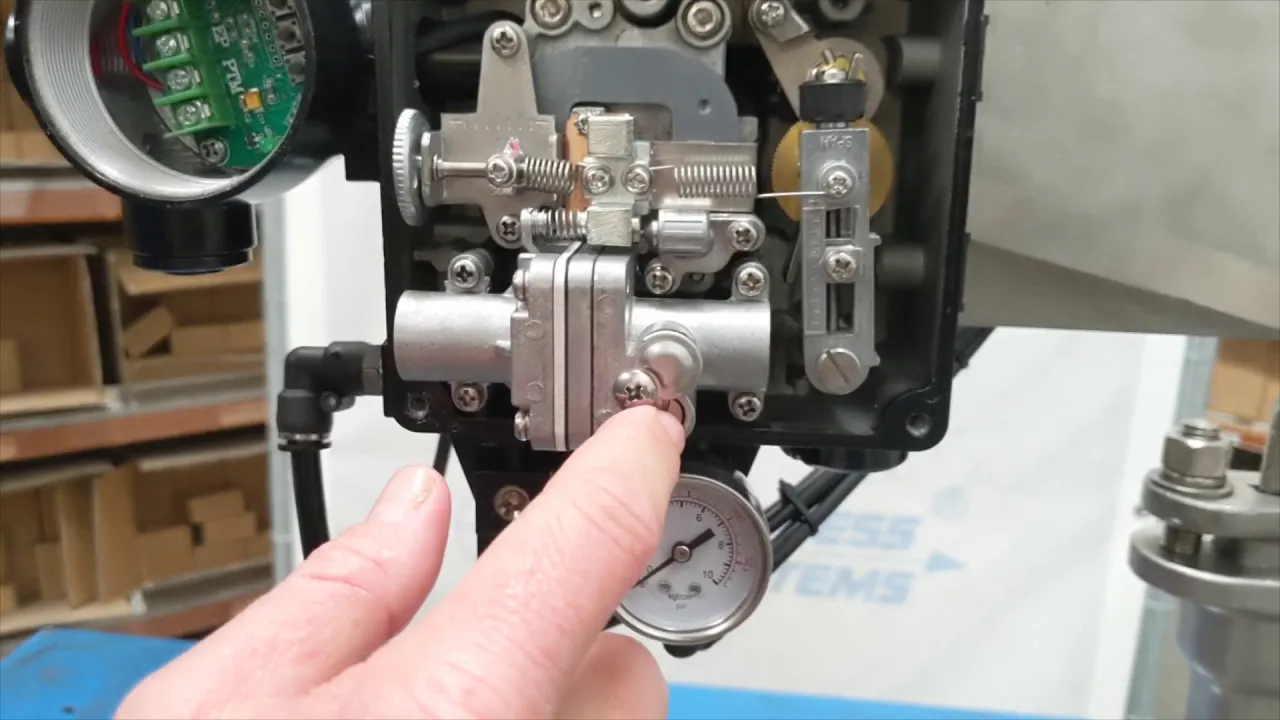
us a 4 to 20 milliamp input and output most of them that you see in a position I just come with the input so we as a standard with the input and output now if you need to set this position now there's a few things in play inside here we've got the cover off at the moment here is a zero span sorry the zero home wheel now what you do here is typically when you install it you would close your valve whether it's a knife gate or a control valve whatever it is something with a
linear stroke you'd make sure this is closed here and you with your feedback on ya which will I'll put that on after you control this wheel either up or down so when it's closed you want it to say 4 million so then you've set your home position if we come across here this here is your span now when I say span it's really just in this case it's the strike so this is a linear so it's going to be the distance that this gate travels the strike and what we want it to do is when
it's all the way up we want it to say 20 mili-amp enclosed so formula so open for milliamp will be closed 20 milliamp will be quote open so if if this comes up and travels all the way and you're not saying 20 million or you're saying 20 mili-amp and it still got further to travel you need to adjust the span now to do that you have to loosen this screw here and then you use this thumb wheel either up or down to adjust it whether you're decreasing your span or increasing your span once you've said
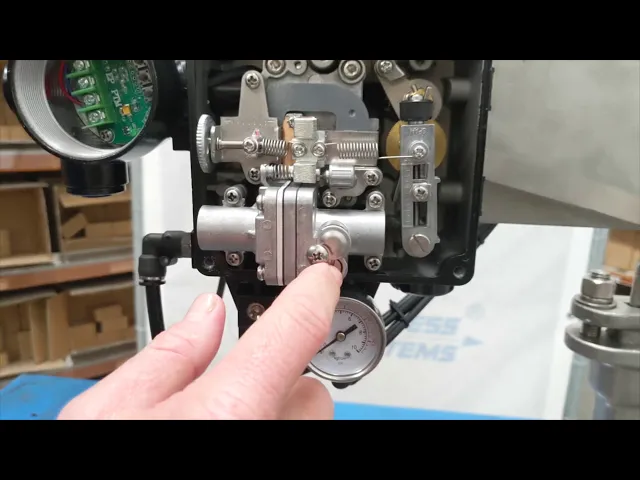
it you've got to lock it off again then you'll have to come back over to your set home setting and make sure that when this is fully closed this says four milliamp a couple other things to note here you have this flat screw here if you take it out is actually a manual override so this will make it move and it won't won't affect either of these settings here you can take it out to manually see if this is working up and here we have our potentiometer if we move across here to the board these
top two are our input so this is your four two minute twenty milliamp input signal that way you give it a setting somewhere between four and twenty or four or twenty and it will make the gate in this case move up or down or if you say went you went for the twelve milliamp it was it about halfway underneath that these next to the positive negatives your output now you also need to calibrate your output to match your input most of the time it is set naturally but if it's a little bit out say you
had four milliamps showing here on your input meaning all the way close but on your output it said five or six milli amp you need to adjust it down here you have the plus and a minus and a Save button we've got some manual instructions on those if you want to refer them to from that round the back we've set it up with a filter regulator this is our input supply coming in here goes around into the supply and the positioner here is in here is where it balances comes back down the output that's where
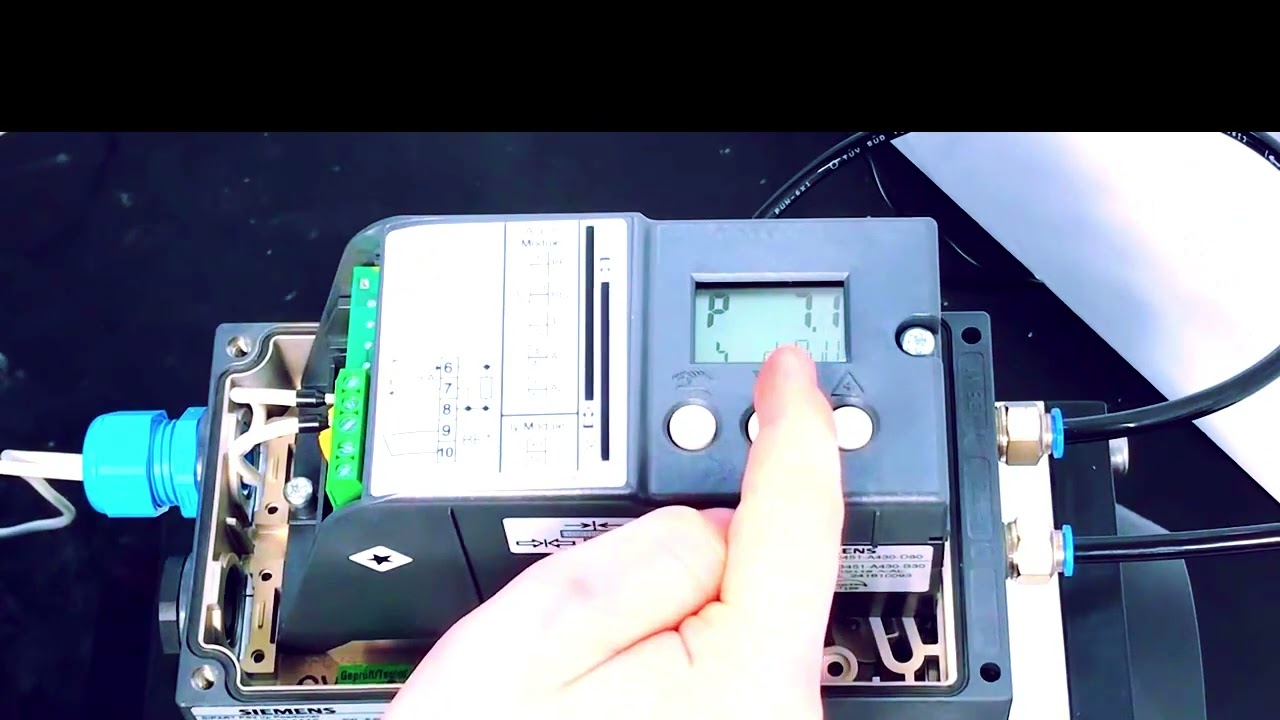
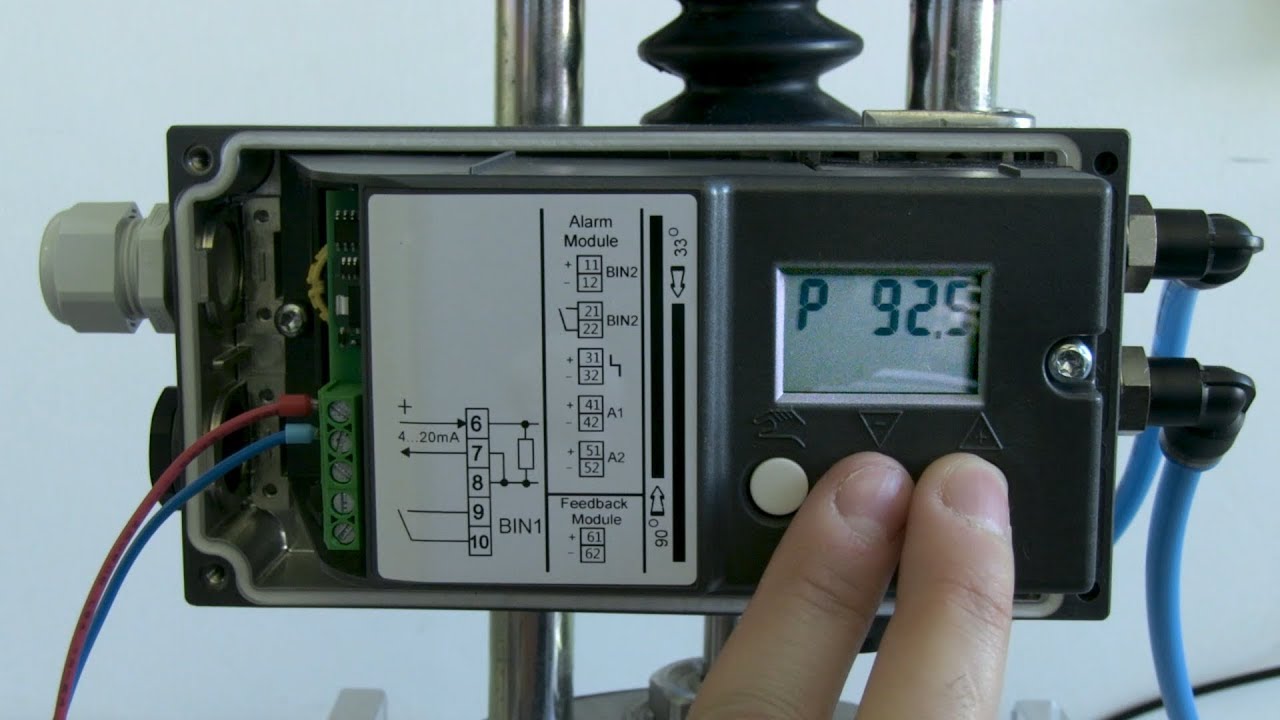
the pressure gauges and from here we're running our signals up into the pneumatic cylinder which drives us night-night gate valve I'll just put the cover on this and we'll show you in an action so these models being an analog electromagnetic positioner they have a continuous bleed inside it's a very small amount of air but they were always continuously bleed but if you compare that to a digital a digital won't always continue to bleed it will only consume air when you're either moving up or down it's not a lot of there and it actually does if
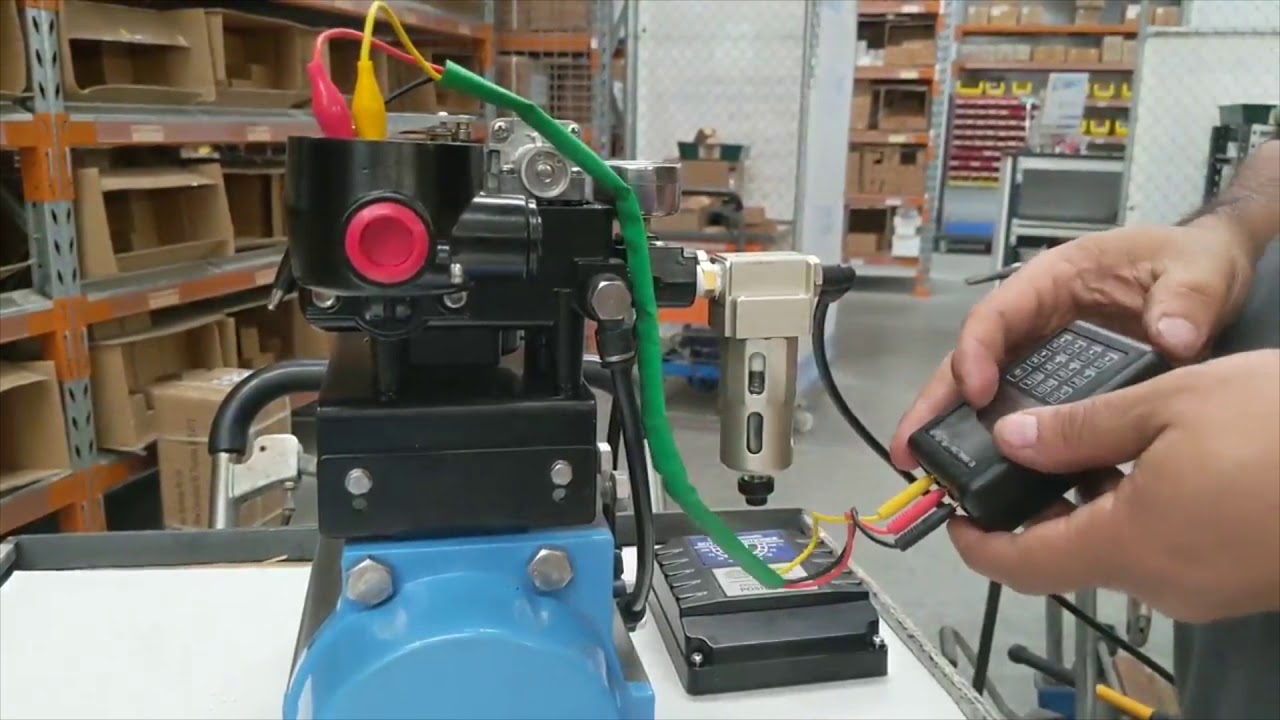
it's in a dusty environment it gives a positive displacement pressure inside so you won't have dusting dressing into the model which can be good we'll just put our controller on here this unit here is a 4 to 20 mili-amp controller this actually does input and and output we'll just put it on the input positive and negative so here on my controller at the moment it so you can see it's saying 4 milliamp so it's in the totally closed position so we've set the home wheel correctly and we've already preset the span on here but we
can double check that if you're wondering what the yellow clip on here this is for the output and the negative is a common so we'd have to span those two for the output and this one would go on the bottom this case we're just going to cut input and so if you see I take it up you can see I'm at 6 milliamp and this is starting to open here right after 12 you'll see it's halfway up I take it up further let's go all the way let's go to 20 which in our case would
be fully open you can see that's fully open and if we look up here you can see the top of the rods up in the cylinder our span is correct you know so that's been set correctly we can take it back down again into 4 you can see that the gate as it come down actually modulates so this is if you were controlling a media going through being a knife gate it's probably you're not going to be water it would be something that you couldn't use on a modulating ball valve in this case it's going
to an abattoir so its awfull inside for is all the way closed