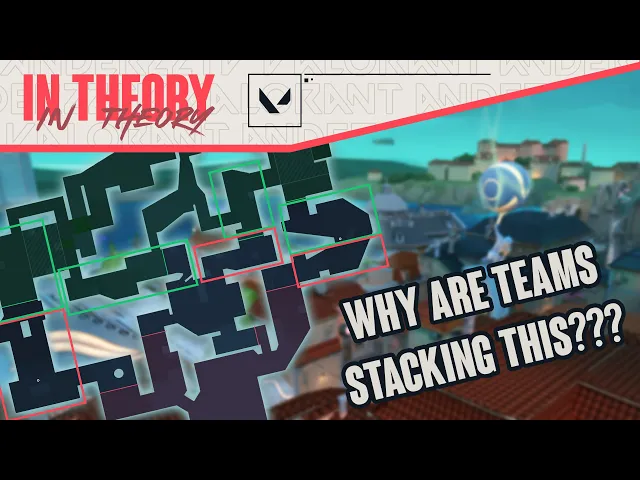
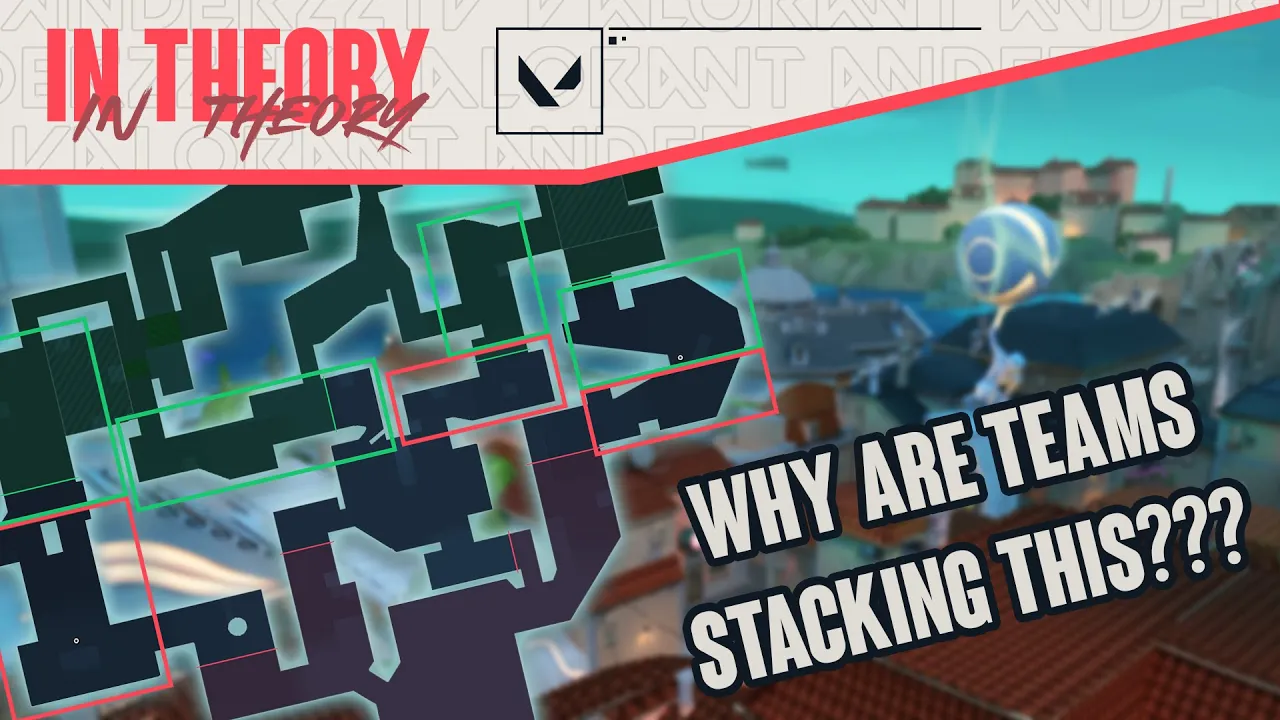
hello hello everyone it's martin aka anders today we'll be diving into the second video in my pearl theory series this time taking the abstractions that we made in the first video and bringing them to a point where they can more so be used to sort of define macro strategy as opposed to just being what they are abstract comparisons if you haven't watched that first video i'll drop it both in the description and in the corner it will be massively impactful in terms of your ability to understand what we're going to go through with this video
so i highly recommend taking the 10 minutes to go check it out but assuming you already have let's dive right into this [Music] to start out of course we need our abstractions to then take those and shift them into something a little bit more actionable we're going to use them to tackle a couple of macro strategic contributors we'll try to take them on in order but in all reality once you start one everything becomes an intermingled mess and reliant on each other so we'll take it one step at a time the first of these contributors
is going to be orb bias which is quite simply whether or not there's a clear sightedness to orbs and by extension alt economy in the map's steady state next we have transitional space bias which like i said if you haven't watched the first video this is where you're gonna start getting a little bit lost this is just gonna be whether or not transitional space favors one side or the other after that we have inherent map bias on default phrase differently this is going to be us looking at whether or not the map creates situations where
one team can demand disproportionate amounts of util or head count allocation from the other side a great example of this in practice is going to be something like a bottlenecked corridor where an opera with no other support can still demand util from their opponents think fracture b main haven c long breeze's cave there are a ton of them moving on we have the two big ones starting with attacker site preference this is with all else being equal just which sites and site hit styles the map wants the attackers to use ranked in a hierarchy and
i'll be using that sort of map personifying language a lot from this point onward things like what does the map want us to do what is the map encouraging and what's being incentivized but there are going to be a lot of factors that go into this how hard is it to take the site's intermediate space how difficult and util-intensive is the exec how favorable or unfavorable are the cancel options and rotations and how strong or weak is the post plan you can start diving even into the dozen or so bullets that drives each of those
individually but that's why we went through the process of the first video by creating abstractions we have tangible proofs of concepts of each of these and that'll sort of keep us from getting mired in the details the last thing we're going to touch on here is more or less the inverse the defender site preference and that's going to be driven by just the opposite of a lot of the same things the defensibility of intermediate space the strength of your anchoring options the speed and strength of your flood rotation options the same but with your flank
options and how easy a site is to retake with that lay of the land done let's start actually applying this to pearl and kicking it off with orb bias the easiest factor to look into here initially is quite simply who can be gun on the orb first from barriers or even pre-barriers defenders have lines of sight on both available orbs attackers however have a fairly similar situation so we're forced to get more granular in the case of the b orb the natural scaling patterns that attackers want to use go past this orb also the expected
defending positions that would otherwise be contesting this orbs are ones that the attackers have to deal with during their normal play pattern anyway for this space of course you're going to end up with earlier info for this behalf of the map which is great and all but if you start looking at the geometry of the map itself these forward positions give you horrible fallback options the gaps in coverage mean that you're not gonna have any opportunity to play an elastic defense or a rolling retreat so we have to look at these positions as sunk cost
hard holds and that decreases their overall value immensely it's for that reason that we really have to find their value elsewhere and that elsewhere is in a pre-flank the questions we need to be asking ourselves when talking about this pre-flink quite quickly just distilled down to why are we flanking in the first place the obvious one being to try to catch timings but on a map of pearl's size where that rotation is going to be anywhere from 10 to 20 seconds timings aren't going to be consistent so instead we start looking to the other value
of a flank which is going to be disrupting an off-site post that's a lot easier to break down into layman's terms and look at with pearl's a going back to our abstractions both haven et long and bind showers highly encourage flanks so there's no reason to expect that there would be a different case with pearls a but even if the flanks are good we have to ask ourselves how are we going to do them on bind you will regularly see deep flanks like this but there is no mid to accelerate flanks and what acceleration is
available in the teleporters is used as often as reasonably possible and haven a long is a similar but different situations where you'll rarely see deep flanks down haven c long and instead teams will very regularly prefer to accelerate their flanks by transitioning through middle we're given no real reason to expect that pearl would be any different and in fact the extended length of the map makes it even more likely that we should heavily prefer mid transition flanks over deep flanks so that makes this push down b long really really unappealing because we'd rather just transition
through mid anyway if we were planning to flank and as we already established these forward positions don't do all that much for us you can even look at our mid abstraction of split and the same thing will still apply despite the fact that teams have available deep extremity flanks that allow them to wrap the entire map they're still going to opt into a mid transitional flank whenever possible so to quickly summarize attackers naturally scale past this b longworm defenders will have to opt into really poor risk reward propositions if they want to scale up for
it and the preferred defense of flanks mean that those positions don't have much tangential value obviously we went into a lot more broad macro to come to conclusions about a single orb there than you might expect so for the sake of everyone else's sanity we're gonna sort of speed run the other orb because it follows many of the same concepts essentially everything we said about the b orb is true of the aorb it's part of normal attacker scaling for the defenders the main value-add is going to be a pre-flank but even then you'd likely pursu
through mid instead of pre-flanking down long the key differentiator here is going to be that cover when we looked at b long it's a single corridor with huge gaps between obstructions so you end up with these sunk cost defender positions that are almost untenable you compare that to the u-shape of pearl's a-long and even the attacker's corridor towards their spawn and it's vastly more favorable offering almost a perfect landscape for a defensive rolling retreat a long story short if we look at the map's baseline what it is trying to get us to do the attackers
should want to pursue the bee orb and the defenders should want to pursue the a orb fortunately we can springboard and rely on a lot of what we just talked about for the upcoming topics so now the real theory speed run begins for transitional space bias pearl makes our lives super easy there's only four areas to cover you have the front half of a long which if you remember our abstraction and how we sort of took the second half to be an a long it's mildly attacker biased but there's that massive massive caveat that if
defenders get enough forward positioning it goes harshly the other direction then we have mid which we know is super attack revised because of how harsh the bottlenecks are club which is super attacker biased it's basically part of their spawn as far as i'm concerned and the defender connectors which are the inverse of club it's just a rotational corridor that the defenders should have more or less unrestricted control of default bias is always going to be one of the more convoluted concepts so i usually try to distill it down to how efficient our defender positions at
demanding util and what direction does that push the play patterns of both teams this is again where we want to lean heavily on our abstractions starting with a long it's going to be fairly efficient for defenders assuming no read attackers are generally going to be forced to use at least two pieces of util to take this space for example a sightside smoke and flash akin to haven with the added consideration that because of the u-shape of long if the defenders have shown any inclination to push for that orb like we just discussed you're probably going
to have to burn a piece of info util as well just to insulate against that aggression in terms of how that biases the default it's a tricky one because we're saying that this is going to be fairly inefficient for the attackers to take but at the same time there's still that lingering caveat of if we don't take this early and the defenders get to the apex of that corner we've doubled our work and this side of the map becomes almost closed due to how prohibitive the amount of util to take it will become art by
comparison will be a little bit less favorable for defenders but it's almost best looked at split into two separate sections the front half requiring a lot more util trading and facing and the second being a lot more of an entrenched position for defenders leaning on our abstraction again i like to compare this to how north america was defaulting bine for the majority of the last year very very heavy focus odd showers in the early round to deprive it from defenders and use that to force a rotation from b early and using that as our model
you can start hashing out what it may look like in your mind generally attackers going to be able to take that space with a single piece of ebp a breach done with follow-up or a two-piece util combo that just abuses the tight space for the same reasons defenders will usually play around it with a lot less committal setups like sage solo stall viper solo stall or chamber off solo holds and with all of those a common thread will be that defenders put themselves in a position where they assume they are going to have to ebp
or use an info tool in the late round if they want to retake that space quick side note for those who don't know what the hell i'm talking about ebp is the term i use for entry by proxy utility more or less drones the things that will face for you the second longer corridor of art is going to be pretty strongly defender sided but in a way that's very subject to disruption with just a single smoke from the attackers this weird dynamic of easy to take space than hard to take space for the attackers is
going to show us one of the other behaviors that i think really sells the mid-split abstraction that i know a lot of people had a bit of doubt in where you're left in this situation where you can take the front half of art super easily but then you're going to get stonewalled you want to teeter-totter when you look at haven you're not teeter-tottering generally if if you heavy lean into garage control and then you cancel back towards b odds are you're just gonna plant b likewise if you clear the b utility and then you go
back towards garage you're probably just hard committing to a sea hit the fact that one of your teeter-totter locations is a literal sight makes it very hard to sell fakes in this situation it's much more comparable to split where if i clear utility invents on split and then i teeter-totter back towards be heaven you are in much more of a scenario of doubt as to what i'm going to do to you my relative proximity to sights introduces more doubt it's for this reason that mid is going to become one of the more critical areas of
the map and one that requires a lot of min maxing from defenders to try and disincentivize that teeter-totter behavior not only that but poorer abstractions and what we've talked about thus far almost all defensive flanks really want to be done through a mid transition so if you lose a link control your ability to do those flanks is compromised given that it shouldn't come as any surprise that one of the pieces of utility for the map that i have muldered about the most pertains to this area in my opinion and in staying with our bind abstraction
a core part of pearl a site will be adaptations of fnatic's meta defining bind a viper wall characteristically the util is multi-purpose as a half-sight retake wall and as a simultaneous multi-choke denial done correctly the wall makes are incredibly daunting for attackers and actively disincentivizes the teeter-tottering that we just mentioned we should be worried about it makes the transition for defenders to take the space back far easier than it otherwise would be it also supplements the level of punishment that can be levied on attackers when they try to take the second corridor of art most
importantly though it does what all good walls should it exploits the map's geometry as much as possible for both mid-round and after planes it facilitates an on-site defense it facilitates intermediate space denial it facilitates mid to late run rotations by denying lurk losses in certain compositional matchups you can even modify the wall to retain the a site crossfire and instead introduce a b-link lurk facilitation to open a long wrap if you know a team is going to be leaning into b long bind style after plants then throw this wall and make it so that they
are forced to either permanently put someone on flank denial or have a flank trip i'm not going to mince words i think that this wall pretty much by itself hard locks viper compositionally for any team trying to significantly convert on the defense half of this map the wall is genuinely too efficient and given that viper will have access to both art and all of a site you're also looking at a playable space large enough that chaos aren't going to be able to knife her consistently but i digress enough ranting about viper walls moving to b-link
there will be a lot less band-aiding required from defenders the savage bottleneck at doors makes this pretty much impossible for attackers to even consider without burning a smoke and even then if defenders are using a piece of passive info util it pars up almost perfectly with our ice backs analogy and the kitchen killjoy turret in the same breath that means that there's also going to be really established play patterns on how to beat this but that doesn't make them efficient going over to be long it's in many ways the attacker's power budget equivalent to aelong
for the defenders at baseline it's slightly attackers favored but once you shift past the midpoint it goes a little bit in the favor of defenders and can be tectonically shifted with the right util that util again is going to come from our abstraction this time icebox be long and shocker it's a viper wall this cross cross-site wall will come with a lot of flavor depending on your comp your opponent's comp predicted opponent reactions and even just plain team preference it can be adjusted a few different ways to balance plantable space anchor positions and post plant
supplement depending on what you want for instance b-link disruption in one or a soft denial of the deep flank and another at the cost of shifting an available anchor position regardless of which wall you throw or even if you have a wall the intent is likely not going to change and that's going to be that the site really drives you towards a corner plant and off-site post and this is where we start getting married back into our intermediate space analysis looking at b long regardless let's move on and summarize this all along has a very
minor defensive bias on the site side but it's one that defenders are encouraged to extend and one that attackers are nearly required to deny if they plan to finish on that half of the map art has a weak attacker bias on the front end with a harder defender bias on the back end and it's one that defenders are encouraged to overwhelm with landscape shifting utility like viper walls or static disincentive like astra util b-link is really defender biased but it also has well-established counter play patterns for attackers and bilong has a minor attacker biased front
end a minor defensive biased back end and it's one where the attackers are incentivized to use landscape shifting util to shift that balance in their favor and simultaneously defenders are disincentivized from disentrenching from sight and moving too far forward with that all down it's crunch time what should the attacking site preference be again this is just going purely at baseline ignoring comps we're looking at what the map wants us to do b-link's bias means that splits will generally be weaker than full b's where defenders are encouraged to pressure a-long early a-splits that offer us encirclements
on that pressure will generally be stronger than full a's along a similar line of reasoning because the map wants defenders to contest a long more than b long we expect less resistance at b and place full b's over full a's and a splits now we just have to determine whether b splits go above below or between a splits and full a's and in order to do that we have to keep in mind that our top of the list is full of bees for us to have that best case option available to us as frequently as
possible we're forced to make our opponents respect the opposite side of the map and deny them the reasonable option of stacking b where we want to go that pushes a splits our better a hit to the second place and leaves us to decide whether full a's or b splits takes the bottom spot in both cases we're expecting to meet resistance but in one's case the b split we keep better cancel options by holding mid control of course there are also still full hits from links but because of how defensively strong pearl's links are those are
pretty obviously going to land at the bottom of the list and are best left for ulti rounds and default rounds where they're catalyzed by a pick or a hard read so attacker preferences full b's at the top of the list then a splits then b splits then full a's again this is a baseline looking in a complete vacuum ignoring compositions we are just establishing the baseline of what the map wants us to do before our comps and our assumed enemy comps shift it one way or another looking at the defender's side of things we're just
going to rapid fire categories from the beginning of the video to save everyone some time starting with a the intermediate space to the site is about a 50 50 but with that lingering defensive appeal to push down a long the site's central hard wall makes our a site anchoring options quite strong similar to bind b but without the inside of tube our flood rotations are great comparing it to fracture b using our abstraction but on the longer side when it comes to timings our flank option is almost singularly driven by timings so decent with control
of either link awful without and our overall ease of retake is fairly high the site wants us to be able to hold its back half and if we hold b-link there's only one corridor for off-site post-plant and even that can be obstructed by a single smoke comparing that to b for intermediate space again without making compositional assumptions like a viper it's a 50 50 at long and buys for defenders in link for the site itself u-haul makes for a great single or dual anchor position but excluding that the amount of soft walls and the safe
assumption of a heaven smoke make it for slim beckons our flood rotations are less favorable here than on a unless we retain u-haul control and dual flood from both link and defender spawn our flank option is excellent albeit super long unless we hold b link and make our doors exit less dangerous and overall the ease of retake is quite a bit lower than a the attackers having appealing off-site post and us lacking a reliable flank will never be a great situation and in the case that we lose b-link or u-haul pre-retake the already uphill battle
just gets steeper so for our consideration in summary a sight wants us to hold backsight and lean on an easy retake and b site wants us to hold sight link and do our best to guarantee flank options that pushes our strong side to b and our weak side to a that finally gets us to the end of the road we now have every baseline we need to build comps we know where the map wants us to play on either side where we have strengths and weaknesses some of the play patterns we're likely to have to
employ and even some util that stands out above the rest now it's just a matter of shifting this baseline up and down for our comps and the expected comps of our opponents okay that was the last of the brickwork that we really had to lays the foundation for this now it's the fun stuff compositional design playbook development but as a reminder this is our baseline something that people ask me all the time when i discuss how heavily i use statistics they say how do you distinguish between the signal and the noise and it's all about
baselining correctly if you have a certain perception about something i think x agent should be phenomenal on ymap and then i go to the statistics and it says that that agent sucks ass i'm gonna then ask myself okay where is my intuition incorrect is it possible that these statistics have been polluted and how do i sort of reconcile my own perception versus the baseline we now have that baseline so when we go forward and we go to comps we say i expect x agent to be good for reasons x y and z does that work
with the baseline that we've created for what our map wants us to do or not and how can i dive into why that perception is different really excited to hear what you guys think of this down in the comments below obviously this is like deep deep deep end theory and this one got a lot into subjectivity i'm not gonna pretend that this is some sort of scientific method it's as close to one as i've really found during this process so would love to hear all your agreement disagreement hit me with your best shot type of
deal would love to talk about it at length obviously i can go on for hours about it before we go wanted to give a quick shout out to my two youtube members colin torbis and hick messiah and as always thanks so much for watching i'll see you in the next one