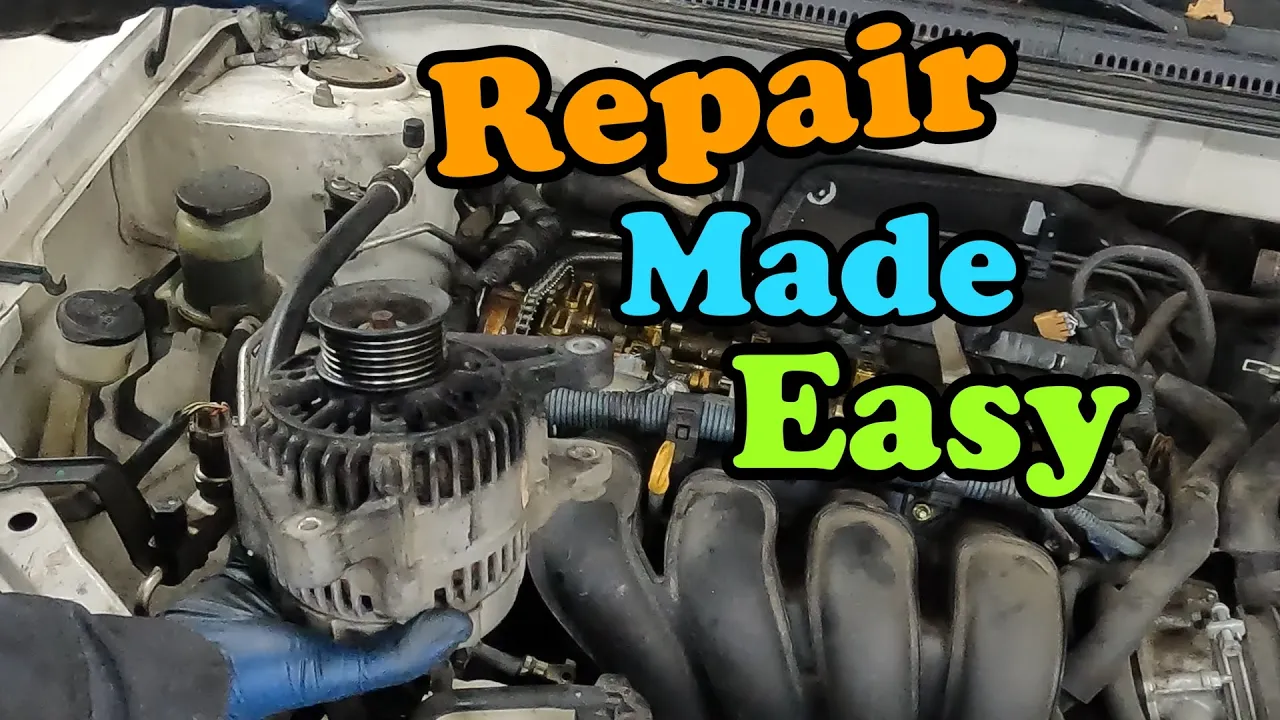
Now, let's pull off our serpentine belt. Right there is our belt tensioner. It's a 19 mm.
I'm going to use a socket with a long breaker bar. And we're going to turn it clockwise. Turn it nice and slow.
There we go. It bottoms out. Take our belt off.
Perfect. And you slide it off the rest of the way. We're going to tackle our alternator next.
Before we do that, we'll go ahead and disconnect our negative battery cable. Just a 10 mm. and we'll tuck that aside so it won't remake contact and reposition you for the alternator.
We're going to disconnect our VVT solenoid connector. Should just be a pinch and pull. That one's having a little trouble.
I'm just going to take a little angled pick and get it from the front side and just lift up on that tab. There we go. Got our alternator plug here in the front.
Pinch and pull. Again, I'm going to use the pick just for a little assistance. There.
Got it. little retainer on the front. There's a little tab you want to push that'll unlock it or release it.
And you just pull it aside. Our last is this gray connector here. It should be a nut underneath.
We'll just pop this away. There we go. 10 mm nut.
We're just going to put the nut right back on so we don't lose it. I believe that's it for all our electrical connectors. There is one more down below to our AC compressor.
We'll just disconnect it so we don't accidentally break it while we're pulling the alternator out. Should just be a pinch and pull. There we go.
Okay, I think that's it. Right here up top is a 12 mm and the bottom one is a 14 mm. Easy to see.
Our whole alternator should be able to wiggle out. There we go. And then out the side here.
All right, we got the old one out. Now, this is part of a larger repair, so it doesn't actually need the alternator. So, we're going to toss the old one back in.
But on your new alternator, we want to make sure that it just matches up. Everything's the same. And if there's any brackets on your old alternator, we want to transfer that over to our new alternator.
All right, let's put it back in. Slide it in. Put the top one in first.
There we go. Just a few threads is all it needs for now. Feed in our bottom one.
Suck them down. The big one down below is 43 foot-lb. 18tbs for the top one.
Let's plug it all in. Our nut for electrical connector. Just good and snug.
It doesn't have to be too tight. You definitely don't want to strip it. We have our AC connector.
Plug that in. We got that little harness retainer in the front. And then our last connector.
Nice. We have our protector here. I'll throw the belt routing on the screen so you can have it.
Just loosen the tensioner. Nice and slowly. And putting it over the alternator last, I think, is how you want to do it.
All right. Let loose. Nice.
All right, there you go. That's how you place the alternator on your Corolla. Having it right there up front makes it nice and easy.
Thanks for watching. I have links in the description for all the parts and tools used. If you have any questions, comment, post down below.
Hope your repair goes well. We'll see you on the next one.