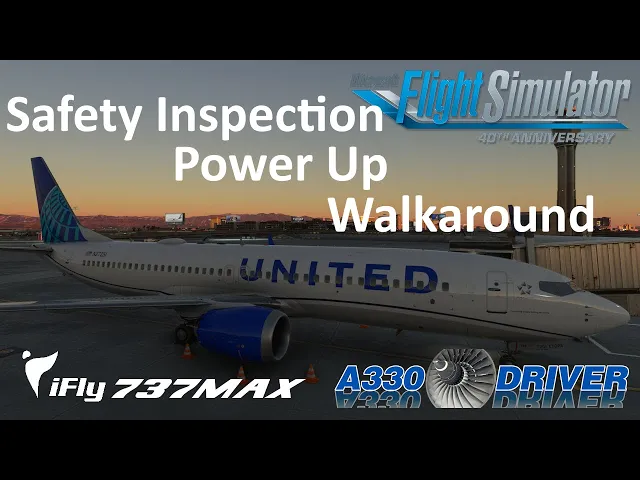
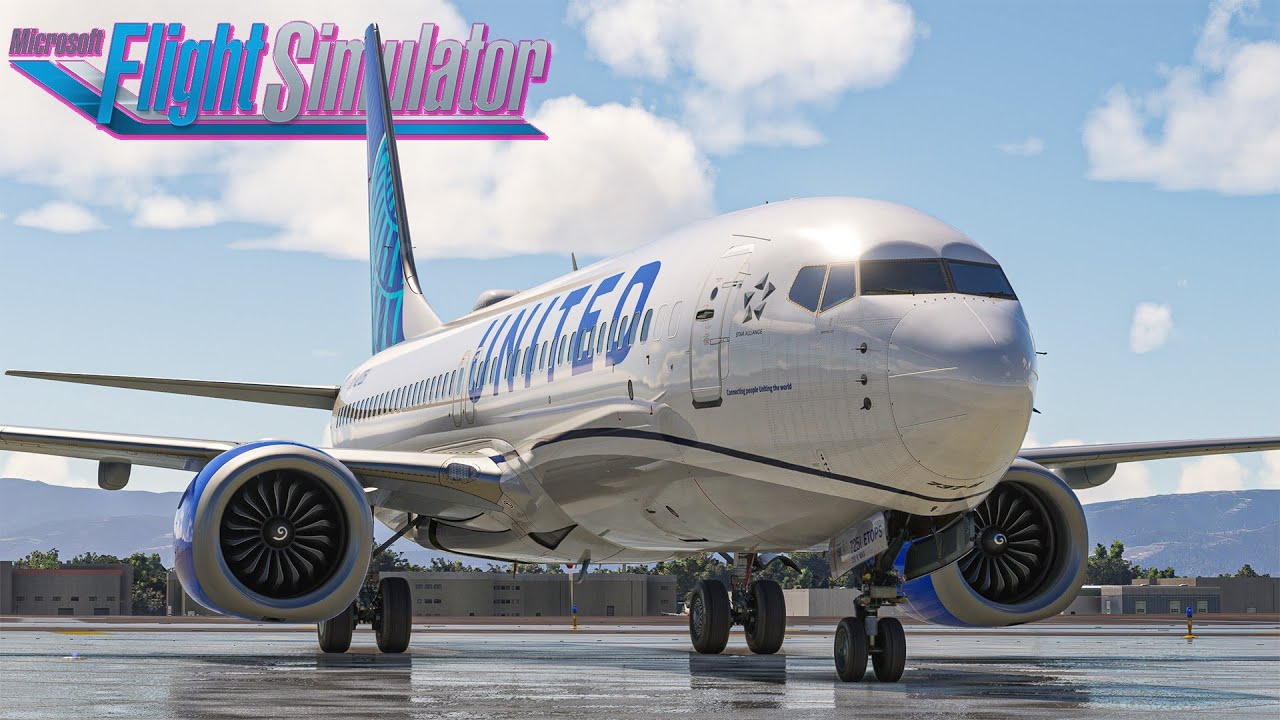
hello everyone and welcome to the channel I'm Emanuel I'm a former Boeing 737 pilot and Welcome to our tutorial series for the iFly Boeing 737 Max we are going to fly the United flly 2356 from Las Vegas to San Francisco which is about a 1 hour and 10minute flight and just about perfect to learn how to operate the Boeing 737 max if you have already seen my tutorials for the 737 Ng then you will probably be familiar with the procedures in these ones but there will be some small differences since we are operating a slightly
different aircraft here with the 737 Max all right so let's go right into it in this tutorial we are going to deal with the flyex safety inspection some initial items and the walk around and the very first thing we do is upon boarding the aircraft we have a quick look around the surfaces and chocks around the aircraft so we made sure that there are chocks in place and we check if there is any Personnel operating on any of the surfaces now when that is done let's go ahead and board our aircraft and down here we
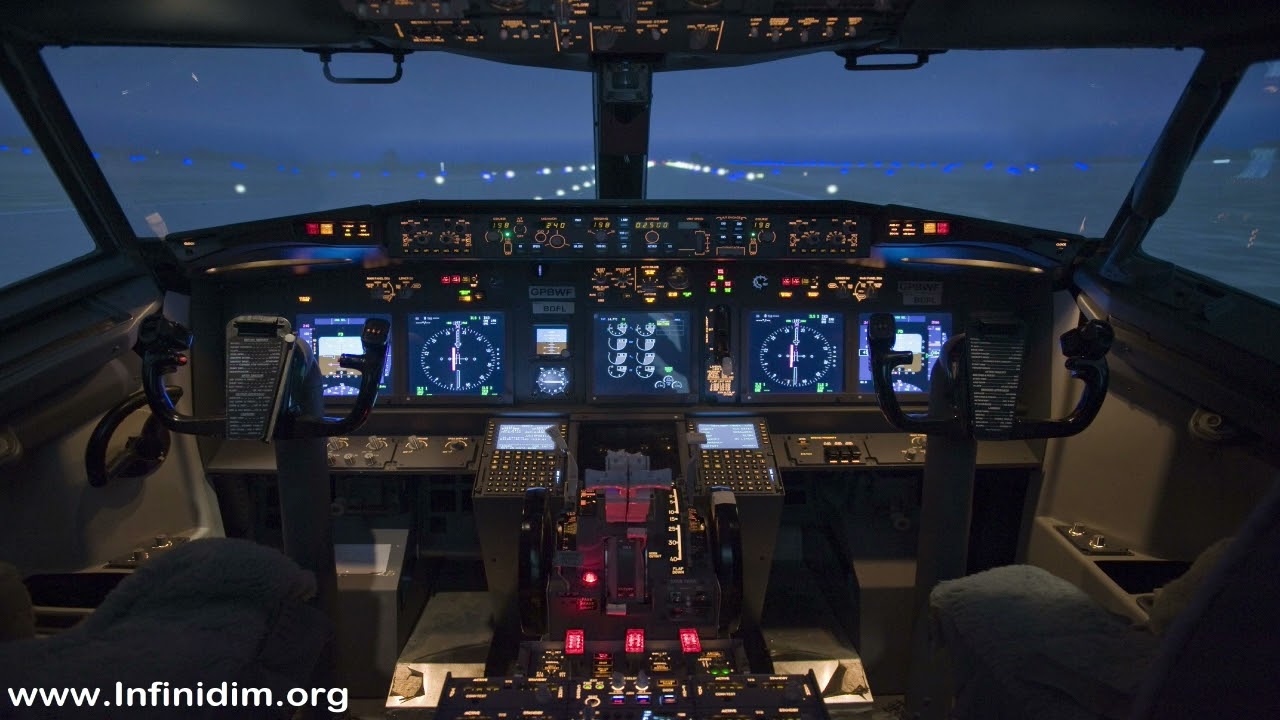
are in the cockpit of the 737 Max the next thing is we're going to check the maintenance status and verify the tech loock registration agrees with the aircraft registration verify the maintenance status is acceptable for flight and ensure agreement with all authorized dispatch deviations if required now when this is done we can finally start powering the aircraft up now in the real world we would do this while we are standing in the back of the flight deck before we actually take a seat and since it is somewhat easier for flight simulator Pilots just to be
seated I am going to do this right off the captain seat but in the real world we would do this standing in the back of the flight dech so first things first we do need electric power and for that we are going to use the ground power unit so let's go ahead and turn on our electronic flight back go down to the systems page and then we can go to the Sim menu and into the ground Support over here we can connect our power unit so let's go ahead hit set and with that a ground
power unit is connected to the aircraft so then we are going to turn on the the battery and with the battery on we are going to turn on the ground power unit and this starts powering the aircraft up next up we make sure that the electric hydraulic pump switches are off the landing gear lever is in the down position and then we can start our fire tests and we do this because we might still want to start up the Apu so we're going to move the fire switch to the inop fold test position now this
should not trigger the alarm that's currently a backck you move it to Inner fold You observe the fold and the Apu detect inob light come on and thereafter you put the switch to the overheat fire detection this sounds the alarm and then you press the fire warning Bell button over here to ensure that you can actually cancel the alarm then we move over to the side and we are going to test the um squips down here and when that is is completed then we can decide if we want to start the Apu now since we're
in Las Vegas and it's already 23 Celsius over here I am going to start the Apu right now so that we get air conditioning for our cabin now in order to start the Apu we can already turn on one of the fuel pumps and normally we use the forward main tank one pump so this pump is coming on and thereafter we can start the Apu the Apu will start without turning that pump on since it does have a DC driven fuel pump included so you can start it without prior AC power connected if there is
fuel in the center tanks you should also switch on the uh Center tank fuel pump switches so that fuel for the Apu is drawn out of the center tank so the Apu start procedure is now in progress and once the Apu start has completed you will see the Apu generator of bus lights over here illuminate there is no standard means for the flight crew to monitor the apu's progress the EGT gauge has been removed in the Max and there is no other gauge available only in the maintenance menus you would find some Apu information but
those are not normally used by the pilot so you simply let the Apu start and once the generator of bus light comes on you know that your Apu is available so the Apu takes roughly a minute to start so it should become available any moment now and here it is indeed so with the Apu now running we can go ahead and start the timer we want to wait 2 minutes after the Apu is started before we are going to use the Apu as a bleed air source now we can use the time that we have
available in the meantime to continue with our safety rainbow so next up we are going to set the emergency lights to the arm position we're going to test the attendant call function and observe that we have hurt the um call Bell in the back and then we are going to move down and check our flap position which is up and make sure that the flap lever is actually in the up position as well then we move further down to the thrust levers and we are going to move them forward one by one to check activation
of the takeoff configuration warning so you put that forward observe the sound then you put the other one forward and again observe the sound many colleagues just put both forward at the same time thereafter that's something that many Pilots do but is not technically required let me move further down and we are going to test the cargo fire extinguisher which is working just about fine over here then we are moving back and normally we should find our gear pins stowed at the back over here but iFly does currently not have them at least not in
the beta version that I am using to record this one so moving on then we are going to move over to the manual landing gear extension door which is located just down here that's the door and we just make sure that it is closed and that it is properly latched if that door is not closed your landing gear is not going to retract after takeoff moving on over the side then we make sure that all the circuit breakers are in we make sure that the emergency escape rope is in place then we would turn on
the flight recorder or the voice recorder but unfortunately that switch is currently not modeled in the iFly from there we move further up and then we've got the flight recorder and the air speeed warning so we are going to start with the um air speed warning test press number one press number two then we take the flight recorder switch and we move that one into the test position position now normally the off light should have been illuminated that's currently a bug in the um beta I'm using to record this when you put it into test
the light goes out and when you put it back into the normal position like this then the off light should come on again and you should observe the master caution overheat uh overhead light over here so that is what should have happened all right moving on we've got the stall warning test and these need 4 minutes for the aircraft to be powered with AC power in order to work but if you press them just before you should just hear the stick Shaker do a little bit and that is normally sufficient for the test we do
that on both sides so moving on from there we go um further forward on the engine panel we ensure that no lights are on and that the EC switches are on the passenger oxygen switch is guarded we have sufficient oxygen available for our FL true and then we move to the left side to the IRS put both irs's into the nav position and observe the Align lights coming on and thereafter the on DC lights coming on and eventually extinguishing again moving further to the side we test the Leading Edge devices make sure that they all
illuminate make sure that the elt is armed and that the elevator gem Landing assist switch is in the guarded position then we can also test the maintenance light by pushing that light in or pushing that button in and that tests the light and we do that in order to ensure that there is nothing or to ensure that there is nothing in here that would make the light illuminate but with broken bulbs because when that thing is illuminated the airplane is a case for maintenance and you are not going to fly it all right when that
is done we move over to the left side ensure the captain's emergency escape rope is in place go down and check all the circuit breakers and with that we have completed our so-called safety rainbow now before we are going to go out for the walk around there's a few things that we can do over here first of all ensure that the parking brake is set unless it is required to have the brake released for brake cooling requirements when that is done and we are about to go for the walk around we are going to turn
on the position light into the steady position that's the forward position and we're also going to turn on the wheel well lines if it's dark also turn the logo lights on last but not least before we go outside in order to be able to check for any hydraulic leakages we are going to turn on the hydraulic pumps before you do that do have a look outside that there is nobody working in an area where something could start moving and when that is done we are going to turn both hydraulic pumps on so with that the
aircraft is basically prepared for us to head out for the walk around there is one last thing that I want to do though and that is because of the temperature we have started up the Apu and since more than 2 minutes have elapsed since the Apu is running we can now go ahead and turn on the Apu bleed and then also turn on both air conditioning packs into the auto position so that the aircraft starts to get cooled by bleed air from the Apu so with that done we are going to head out for the
walk around now the walk around starts basically next to the one left door and I am going to go over there right now from our lovely little intro position and we start the walk around right up here next to the one left entry door so we check that the tat probe is undamaged and clear of any obstructions and the same goes for the pedot tube and for the angle of attack vein now from there we can head down in into the forward wheel into the nose wheel Bay and in here we do check a couple
of things first of all we just check the general condition of the nose wheel we check that there is nothing leaking Etc and then we also check for the conditions of the control cables and you can see those down here so these are the control cables that go to or that are used to steer the nose wheel and we make sure that those cables are especially undamaged we also make sure that there is no bird sticking in here as could happen if the aircraft had a bird strike on the arrival next up we check the
condition of the north wields themselves and we generally make sure that there is um no damages to the tires that the tires are probably on their fittings and that there are generally no fluids leaking from here so with that done we just go ahead a little bit to get a general overview of the aircraft make sure that it's straight and that there is nothing that's um especially vulnerable or broken down here moving on to the side we've got the first officer and the um standby P Pub then we also have our AOA vein down here
and moving further to the back if the external power access panel is open just make sure that there is um no damages and that there is nothing in here that's not supposed to be there all right moving on then as we get across any door we always make sure that the door handle is flush with a Fus lash and that's the door itself does not show any signs of Damages moving further on to the side then we've got our static ports and we make sure that there is nothing obstructing those ports especially if the aircraft
has been under maintenance there might be some small stickers on there for example when it's getting washed that prevent any of of the fluid from entering the system also if you're operating under winter conditions make sure that there is no icing anywhere nearby even the smallest bit of frost within the area of the um static ports could cause a significant misreading of the altimeters moving further to the back then we've got the inlet area of our packs and you can see that the ram air doors extended over here but we want to have a look
behind that to make sure that there are no birds nesting in there because this is a nice and warm place during winter time and during uh spring so birds are very prone to build up nests in there next up we're going to move a little bit backwards check the condition of our Landing lights and the Leading Edge flap and then we can already start having a look at our CFM leap 1B engine we check the general condition of the engine and then over here we check that the thrust reversa deactivation pins are not installed moving
further on we have a look inside the engine and make sure that the acoustic lining over here is undamaged and that all the leading edges of the fans are undamaged and also the p12 probe up here is in a good shape moving on to the side again we check the general condition we check for any thrust revers or deactivation pin we check that all the latches are properly closed and we do also have a look below the engine to check for any scratch marks that you may find down here you only need approximately 80° of
Bank angle in order to stretch your engines on the ground so there is a certain chance that this might happen for this reason we are going to check down here that there is no damages so moving on then next up we are going to check the Leading Edge of the wing and also check the refueling panel make sure that it is properly latched and closed if it is not currently in use coming along to the side of the wing on the right side of the aircraft we have two green position lights and moving around the
um back of our split skimer Wing L we check for all the static Wick dischargers to be in place over here moving along the trailing Edge again we check for any kind of Damages and for bird strikes and as we get to the landing gear we also have a quick look inside the back of the engine to be sure that there is nothing in there that's not meant to be there next up we are going to check the condition of the landing gear itself and that means checking the tires for any damage over here checking
all of the hydraulic and um brake systems and then we have a look at the brake wear indicator pins that are located up here and up here and we make sure that those pins are not flush with the metal if these pins are flush with the metal then the brake is worn down and must no longer be used next up we are going to enter the main wheel well and in here we check for several things we start with the hydraulic reservoirs that we have for system a and system B on the top over here
in the real world there's also a little pressure gauge or a little um quantity indicator on those reservoirs which we would check to check for the actual hydraulic quantity then we are going to have a look at the hydraulic standby system Reservoir that we can find over here and once again we check to make sure that the um quantity is all right and in general we have a look around the gear Bay to make sure that there is nothing leaking over here a lot of vital aircraft systems come together in this area of the aircraft
so this is something if there's something broken in the aircraft chances are you might find it in here in the wheel well so with no damages found let's go ahead and move on towards the back of our aircraft moving further back then we've got the Apu air Inlet door over here which we make sure is not obstructed and no birds or any visible damages the same for the outflow valve and we also do have a look inside here to make sure that there are no objects that are not supposed to be there check the condition
of the door make sure that the door handle is flush on the top of the vertical stabilizer you have the um elevator fuel pedo probes which we make sure are unobstructed and undamaged check the Leading Edge of the vertical stabilizer and make sure that the static Wick dischargers are in place on the side as move along the back of the aircraft there's a couple things for us to check over here first of all make sure that there is no damages to the Apu outlet and also check the position lights that you've got located back here
to be illuminated from here we are going to move forward and check the tail skit and that's a few things that we're checking over here first of all we make sure that there are no scrap marks on the back over here or over here now these are the points that would make contact with the runway first if any Dam if any uh tail strike were was to Ure now we also have a general look at the Apu compartment that we can see over here to make sure that there are no fluids leaking out of here
on the other side we basically check the same that we've already checked on the right hand side of the aircraft so we check our leading edges we move along the front make sure that there are no damages door handle is flush and then we can move further forward again as we get to the landing gear be sure to check the brake wear indicator pins up here and up here to ensure that you have sufficient brake energy left moving along the um side of the wheels we ensure that there are no damages and that there is
sufficient profile left on the wheels also make sure that there are no birds sticking anywhere in here and that the and that the landing gear lockout pins are not in place which would be located over here small hint if those are in place and you try to retract the landing gear you're going to be in for a bad surprise as in nothing will happen let's move into the wheel well on this side then we have already checked the hydraulic system that you can see here but what we're checking on this side is the fire bottles
the fire extinguisher bottles and you have a general Overlook over those bottles and over here as well as over here you would have the um pressure inside the bottles indicated make sure that this is sufficient and acceptable for the flight AKA not in the red range so then we can move further forward again and as we walk along the back side of the wing we once again have a look inside the um engine to be sure that there is nothing there that's not supposed to be there and moving further forward we check for the condition
of the flaps the condition of the ailerons and getting to the winglet we make sure that there are no damages especially to the Lower Side of the wing L ensure the static Wick dischargers are in place and on the left hand side of the aircraft you want to be sure to see that right or to see that red navigation light here ideally two bulbs if one of the two bulbs is broken then you are still allowed to fly but it does have to be entered on the tech lock and the aircraft has to be dispatched
according to the minimum equipment list also ensure that there is no damage to the strob light that you can see down here moving along the Leading Edge of the wing then we ensure that there is no damages from any bird strikes that might have happened and we check the engine just like we did on the other one making sure that the thrust revers or deactivation pins are not in place having a look below the engine to be sure that there are no marks check for the doors to be closed and moving to the Leading Edge
then we once again check all of our fan blades and also a good idea to have a look behind the fan blades as you can see the core of the engine back there and just to check whether there's any feathers or anything sticking out over there I did already find some feathers down here in the core with nothing visible on the out side on the fan at all last but not least we are going to have a look at the other side again thrust reversal lockout pin is not in the engine itself is showing a
generally good shape and getting to the Leading Edge flap over here no damages the landing light is in a good shape the air Inlet for the um packs is showing no sign of Damages or birds and last but not least before we finish our walk around we are going to have a look at the static ports on this side to be sure that there is no obstructions and no damages on these ports and that concludes the walk around in our Boeing 737 Max now let's go ahead and go back inside and from here we are
going to start our pre-flight procedures so the last thing we are going to do for this tutorial is to do a basic safety check and that is first of all we are going to do the oxygen check in order to do the oxygen check we do the following things first of all we check the oxygen quantity up here on the crew oxygen indicator when that is checked we hold the press to test button and observe that we get air flow for about 1 to 2 seconds with that button down we now also press the emergency
button that we have down here and that is going to give us a continuous air flow while that is ongoing we once again have a look at the crew oxygen IND indicator gauge up here and we make sure that there is no great variations over here in the pressure as we do the check the check itself should last for approximately 5 seconds from here we move on to the ephas control panel and we ensure that terrain is selected so that weather is not active there can only be one active either weather or terrain and we
want to make sure that terrain is the active mode so that you are not accidentally running the weather radar on the ground causing harm to people in front of the aircraft we do the same on our colleague's Eis control panel over here to make sure that the weather radar is indeed selected that concludes our preliminary um safety inspection and our walk around I hope that you found this one interesting be sure to leave your feedback in the comments below as always like comment and subscribe and if you're up for more be sure to hit that
little bell well as that is going to give you notifications for when future videos are uploaded thank you very much for watching be sure to like comment and subscribe and if you really love what I'm doing on this channel I would appreciate a small donation through the buy me coffee Link in the video description below thank you for watching and see you all again on the next one