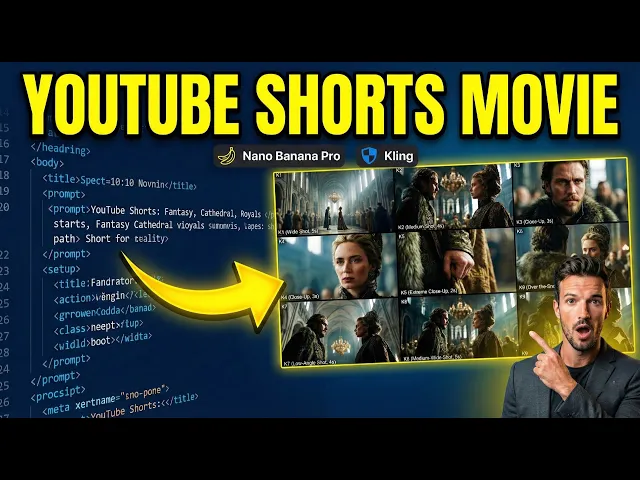
Hey guys, in this video I'm going to walk you through how I make these cinematic YouTube shorts in Tik Tok minimov actual character dialogue from start to finish. [music] I know the last fast tutorial I posted a few days ago left a few of you hanging with some questions, so I wanted to slow things down today. We're going to look at the powerful [music] prompt that does the heavy lifting, and I'll explain exactly what the output should look like.
I'll also show you how to get the AI to write lines for your characters, how to grab your shots, the best way to animate them, and how I handle the voiceovers. We'll wrap it all up in the editing room. Make sure you stay tuned for the final result at the very end.
Let's dive in. All right, first step. Let's crack open this prompt.
Now, I know it looks like a wall of text, but honestly, this is the secret sauce. Most people just tell AI to make a cool video. We're not doing that.
We're giving the AI a job description, a set of rules, and a storyboard template allin-one. Think of this as downloading a professional director's brain into your AI. First up, the persona.
We're telling the AI it's [music] a professional film director and cinematographer. If you don't do this, the AI defaults to these kind [music] of storybook descriptions. But once you set this role, you start getting real camera angles, real lighting setups, things a director would actually think about.
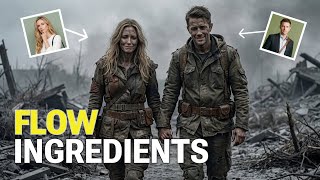
Next up, analysis and rules. The key to a consistent AI video is really understanding your reference image and the relationships between the [music] subjects, their positions, and how they interact. Keep the environment, lighting, and characters [music] consistent, and only adjust framing, camera angles, or movements to tell the story more dynamically.
Remember, wide shots should show depth. Close-ups focus on detail, and using a consistent color grade ties the whole sequence together. [music] Then we have the story structure.
We're forcing the AI to follow a 4beat arc. Setup, escalation, turning point, and resolution. This ensures your 20 to 45 second short actually feels like a movie, not just a random collection of clips.
Finally, let's move to the output section. This is where we tell the AI exactly how to deliver the goods. Don't sleep on this part.
We aren't just asking for an image. We're asking for a structured production plan [music] broken down into five specific sections A through E. Let's break down why each one matters.
First up, section A, scene breakdown. Think of this as the AI's reality check. Before it generates a single pixel, the AI needs to prove to you that it actually understands the reference image you gave it.
It needs to correctly list the subjects, [music] the lighting style, and the overall atmosphere. Next, section B, theme and story. A good video isn't just random pretty clips scattered together.
It needs a spine. Here, we force the AI to put on its writer hat. It needs to define the emotional vibe.
Is this a tense thriller or a quiet documentary? [music] More importantly, it has to plot out that four beat arc we mentioned, setup, escalation, turning point, [music] and resolution. This ensures your final 20 to 50 second sequence actually feels like a complete minim, [music] middle, and end.
Then we have section C, cinematic approach. This is the technical blueprint. This is where the magic happens.
We're asking the AI to define its camera strategy. It needs to explain its lens choices. Why use a wide angle here, but a tight close-up there?
[music] It needs to define the depth of field logic and the lighting consistency. This section is exactly what separates amateur-looking AI generations that jump all over the place from professional cinematic sequences [music] that feel cohesive. Now, section D, key frame list.
[music] We are demanding exactly nine specific shots. It's the perfect number to tell a short story without getting overwhelmed in the edit. Notice the constraints I put here.
Each shot needs a duration, an action, camera movement, lens info, and even sound cues. Keep in mind, though, that when actually generating with AI, some of these requirements may be selectively skipped due to the complexity. [music] You can change the number of frames here to whatever you want, 16, 25, or more.
But this prompt is quite complex, and consumer level AI still has limited processing [music] power. Trying to generate more than nine frames often leads to errors, like producing text without images or images without [music] the corresponding text. So, if you want a higher number of frames, it's better suited for prompts that only generate storyboard [music] images rather than ones that generate both images and corresponding text together like this one.
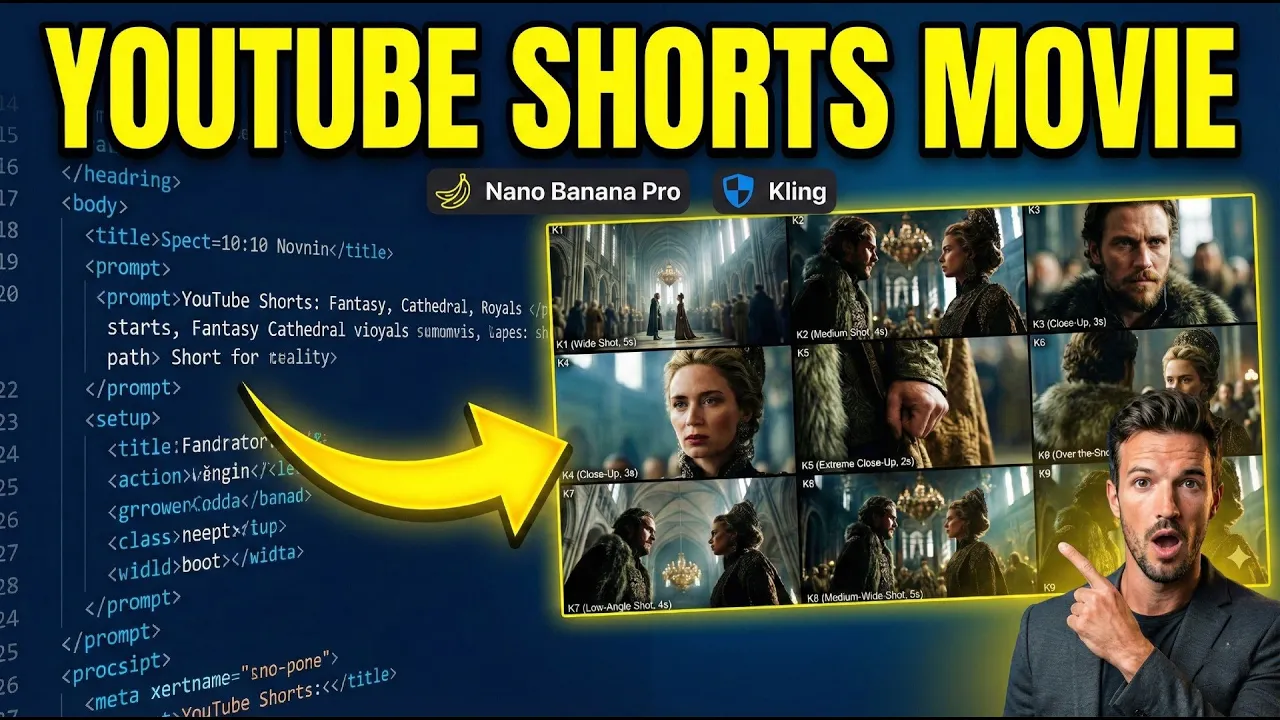
And finally, the finish line. Section E, master storyboard grid. [music] This is the visual summary of everything we just talked about.
The AI will generate a single 3x3 image showing all nine shots together, labeled and ready to go. So, yeah, it's a lot of structure up front, but trust me, this prompt saves you hours [music] of frustration later. Next, let's jump into step two, generating the storyboard.
I'll take a real reference image, run it [music] through this exact prompt live, and show you the amazing result. Let's go. Before we hit that generate button, let's talk about your reference image.
The beauty of this prompt is that it's universal. You can pull a screenshot from your favorite movie or use an AI image you just rendered. The only rules, make sure it's high-res, keep your main character centered [music] and clear, and ideally start with a 16x9 aspect ratio image.
This gives the AI the best canvas to build your story. Now, I saw some of you asking in my last video, what if I only have a 9-6 portrait image? Great question.
Here's the deal. Because of how Nano Banana Pro handles storyboard grids, a 9-to6 reference can sometimes limit the AI's vision. So, here's my pro workaround.
Use Nano Banana Pro to convert your 916 image into a 16-9 format, and you're ready to go. Now, we're going to upload our reference image and paste that massive prompt we just broke down. Make sure you're using the create image function in Gemini 3 thinking mode.
This prompt is too complex for other Gemini mode. Watch this. I'm not changing a single word.
I'm just letting the AI analyze the textures, the lighting, and the character's position. All right, the results are in. Let's look at the first block, section A, scene breakdown.
Think of this as the AI's sanity check. Before it tries to get creative and generate new angles, it needs to prove to you that it actually understands the reference image you just fed it. Here you can see it [music] nailed it.
It correctly identified our two main subjects, the nobleman and noble woman. It got the [music] vast cathedral setting and most importantly it understood that the atmosphere is tense [music] and moody, not happy and bright. Why you should care.
Always glance at this section first. If the AI looks at your dramatic throne room scene and thinks it's a birthday party, you know right away the rest of the generations are going to be useless. [music] But this this is perfect.
We're off to a good start. Next, we have section B, [music] theme and story. This is where we give our AI video a backbone.
See this? The AI has defined the [music] theme as power and political tension. That's our north star.
But the real gold here is the emotional arc. [music] Instead of just giving us nine random shots, the AI actually mapped out a four beat story engine. First, the setup.
[music] It establishes the massive scale of the hall. Then comes the escalation, moving in close to show that silent, [music] intense standoff. The turning point, a detail shot like a clenched hand, [music] letting you know something's about to snap.
And finally, the resolution, pulling back just enough to leave that tension hanging. See, it's telling a mini story with every shot. Now, we're getting into the technical stuff.
Section C, cinematic approach. This is where the AI stops being a writer and starts being a director of photography. [music] Check this out.
Let's start with camera movement. The AI is suggesting slow and deliberate dollies and pushes. That's huge because if you just tell an AI to move the camera, it usually goes crazy.
[music] By specifying deliberate movements, we're telling the model to keep it smooth and weighty. Next up is lens logic. Notice how it picks wide-angle lenses for the hall, but switches to telephoto for the faces.
That's how you get that isolated look in close-ups where the background beautifully blurs out. And finally, [music] depth of field, the secret sauce for a professional feel. It sets deep focus for the wide shots so [music] we can see all the architecture, but uses shallow depth of field for the eyes, keeping them sharp and drawing your attention.
And that technical blueprint leads us directly into the heart of the prompt. Section D, the key frame list. If section C is the theory, section D is the [music] actual battle plan.
This is where the AI gives us exactly nine cinematic shots labeled K1 through K9, each with its own duration, action, and camera movement. It's basically a full production schedule in a single list. Check out how these shots work together.
K1 starts us off with a 5-second wide shot to establish that massive haul. It's using [music] a slow dolly in to build momentum. K3 and K4 are your money shots.
They focus on the eyes. First, the man, then the woman, using that shallow depth of field we talked about. This is where the emotional tension really kicks in.
My favorite part, [music] K5. It's an extreme closeup, a macro shot of a hand clenching. It even suggests the sound of leather tightening.
This is the kind of detail that makes an AI video look like a highbudget movie instead of a random clip. K7 flips the perspective with a low angle shot, making our characters look powerful and imposing. It keeps the visual variety high so your audience doesn't get bored.
And that variety is exactly what leads us to our final output. Section E, the master storyboard grid. Look at this.
[music] This is the holy grail for AI video creators. Instead of a mess of text, the AI gives you this gorgeous 3x3 visual road map. Seeing all nine shots together like this is a total gamecher because it lets you verify your visual flow [music] in a single glance.
Notice how the lighting and the character's clothing stay consistent from K1 all the way to K9. K1 to to K4 sets the stage and gets us into the character's heads. K5, that hand clenching shot we talked about, you can see exactly how it acts as a visual anchor right in the middle of the grid.
By the time we hit K7 and K8, we're seeing that power dynamic shift with the low angles and the crowd coming back into play. Below the grid, the AI provides a final key frame breakdown. This is your director's notes.
It reiterates the technical goal for each shot, [music] like the shallow depth of fields in K4 or the unresolved tension in Kine, ensuring that when you move to the next step, you know exactly what the vibe should be. Now, look, I'll be real with you. This prompt is an absolute beast.
It's [music] asking for a lot of heavy lifting, and honestly, sometimes it's just too much for current consumer grade AI to handle in one go. You might find that the output gets cut off or the AI [music] skips a step. Don't panic.
It happens to the best of us. Here is how you troubleshoot those common glitches. First scenario, the AI gives you all that beautiful text but stops before generating the 3x3 grid.
Easy fix. Just type this exact line into the chat. Generate the 3x3 grid image here [music] based on the above key frames.
This usually kicks the AI back into gear and forces it to visualize everything it just wrote. Second scenario, sometimes Gemini or other models get lazy and jump straight to the image, skipping all the cinematic breakdown. To prevent this, you can add this specific instruction right before section E in the prompt.
[music] Only after all text sections above are fully completed, generate one single master storyboard contact sheet image. This acts like a logic gate, forcing the AI to finish the thinking process before it starts the drawing process. Finally, the consistency [music] issue.
Sometimes Nano Banana Pro might lose the plot. Maybe the color grade shifts or the character's outfit [music] changes in shot 7. In the current stage of AI, there's no magic button for this yet.
You either accept it and fix it in post-production or you just open a fresh session [music] and run it again. Every generation is a bit of a roll of the dice. But here's the thing.
AI is getting exponentially more powerful every few months. These complex prompts are only going to get more reliable and more useful as the models evolve. You're learning the language of the future today.
Now, I know a lot of you making shorts or cinematic clips prefer to let the visuals do the heavy lifting. But for those of you looking to add that extra layer of narrative, >> character dialogue is a total game changer. To help you out, I've put together a specialized [music] prompt that takes our nine panel storyboard and turns it into a fully fleshed out script.
It doesn't just give you lines to read. It's designed to think like a sound designer and a voice director. One last thing, keep in mind that in the world of AI, there's rarely a one-sizefits-all prompt.
Every story is unique, so I definitely encourage you to jump in and personalize this. Tweak the rules, adjust the character descriptions, and experiment with the tone. That's how you'll really make this tool work for your specific vision and get the results you're looking for.
All right, so your story officially has a dialogue. That's huge. Now, it's time to move on to the next critical step.
Taking that 3x3 storyboard grid and breaking it down into individual highquality frame ready for video generation. At this stage, you basically have two choices. Option one is the manual way.
You just take the grid image into your photo editor and physically crop out each square. It works in a pinch, but honestly, it's tedious and sometimes you lose a bit of that crispness on the edges. That brings us to option two, which [music] is my personal preference and what I recommend for the best results.
We're going to use Nano Banana Pro to isolate the frames for us. I find this method gives [music] you the cleanest, highest resolution individual shots. It's super simple.
You just upload that grid image we generated earlier to Gemini and then give it a very direct command to target the specific panel you want. Let's say we want to extract that very first opening shot. You upload the grid and type [music] the key frame one of the scene.
16x9 aspect ratio, full frame, no letter boxing, no black [music] bars. A quick heads up on aspect ratios. If you are making a standard widescreen YouTube video, keep [music] it at 16-9.
But if you're creating for shorts, reals, or Tik Tok, make sure you swap that out to 9 to6 aspect ratio. Just repeat that process for all nine frames, changing [music] the key frame number each time, and you'll have a folder full of clean, ready to animate shots. Now, there is something you really need to know about this step.
This is where 90% of people [music] get it wrong. When you tell Nano Banana Pro to isolate a single panel from your 3x3 grid, it [music] is not just cropping that image for you. See, the AI isn't a photocopier.
[music] It's actually acting like a restoration artist. When it looks at that tiny blurry square from the grid, it doesn't just blow it up. It understands the context.
[music] It looks at shot K3 and says, "Okay, this is our nobleman in the cathedral, and I need to see every single detail of that fur collar and the intensity in his eyes. " Then it completely repaints that shot from scratch in high resolution. It's actually hallucinating new details, textures on the stone walls, the intricate embroidery on the woman's crown, things that weren't even visible in the original grid.
That's why the final extracted frame looks so much more professional than a simple screenshot. It's literally rebuilding your movie one frame at a time. Most of the time, you're going to get a shot that's almost identical to [music] your storyboard, just way more cinematic.
It's that extra layer of polish that makes it look like a real movie frame. But full disclosure here, because the AI is reimagining the scene from [music] that tiny grid, it might go a little rogue sometimes since it's literally rebuilding the image. Maybe a small detail is slightly off or the character's expression changes just a tiny bit.
If you're looking at it and you're just not feeling the vibe, don't [music] sweat it. You've got options. You can either hit regenerate and let the AI take another shot at it.
Sometimes the second or third [music] try is the charm. Or if you absolutely need that exact original look from the grid, you can just manually crop the panel yourself. At the end of the day, remember you're the director.
The AI is just your lead artist. You get the final say on what makes the cut. All right, before we bring these frames to life, I've got to show you a second way to nail this storyboard workflow.
If you want something even more integrated, you've got to check out Higsfield. ai. AI.
These guys have actually built this entire storyboard logic right into their platform. It's super straightforward. Once you're on the site, just click on the app button at the top.
Scroll down a bit until you find the tool called shots. Give that a click. [music] From there, it's as simple as it gets.
Upload your 16x9 reference image. And that's it. You don't even have to paste the long prompt manually because they've baked the workflow into the back end.
Just sit back, wait a few seconds, and let it spit out your cinematic grid. Now, don't get me wrong, Higsfield is incredibly convenient. But here's the trade-off.
With this method, you might actually find yourself spending more time on the back end trying to piece together the narrative logic, refining your motion prompts, and mapping out the character dialogue. When you use the manual power [music] prompt method I showed you earlier, you've already done the heavy lifting. you already have a crystalclear road [music] map for every single line of dialogue and every camera move.
So, at the end of the day, it's really up to you. If you want a quick automated shortcut, go with the app. If you want absolute [music] control over every cinematic detail, stick with the manual workflow.
Either way, you're the one in the director's chair. All right, we've got our blueprint and high-res key frames. And now comes the best part, making them alive.
The beauty of this workflow is that you can use [music] whatever AI video engine you're vibing with right now, whether that's VO, Sora, Runway, but for this demo, I'm going with Cling AI. I really want to put their latest voice features to the test and see how they handle this level of cinematic detail. Let's jump into the Clling website.
Click on the video tab. And first things first, make sure you're toggled onto their latest 2. 6 model.
[music] We want maximum realism here. Next, click on image to video and upload that first frame we extracted. [music] Quan, this is where your storyboard starts to breathe.
Now, here is the trick for the prompt. You don't need to reinvent the wheel. Just go back to that massive section D list we generated earlier.
Copy and paste the action and cinematic details directly into Clling. You don't need to include the shot type or the duration labels. Cling already knows it's a wide shot from the image you uploaded.
Focus on the camera movement [music] like that slow dolly in and the lighting descriptions. This ensures the AI keeps that exact [music] cinematic vibe we planned out in the storyboard. Now, if you want to add specific sound effects or dialogue to your clips, here's what you do.
Go back to the dialogue script generated by the dedicated dialogue prompt, not section D. We're going to check each frame one by one and see if there is a specific line assigned to it. [music] For the video I'm working on right now, frame one is just an atmospheric opener.
So, [music] no dialogue needed here. But for your later close-ups, you'll want to copy the actual dialogue lines from the dialogue script and drop them into the video prompt section. Let's talk about sound [music] effects for a second.
In my experience, I've found that Cling's AI generated ambient sound [music] actually sounds more natural when you let it do its own thing. When we try to force it with specific descriptions like leather tightening or hushed crowd, the results can feel a bit hit or miss. To be honest, Cling still has a lot of room to grow in the sound effects department.
So, my [music] advice, if the autogenerated audio sounds good, stick with it. If not, you're better off adding highquality SFX later in the final edit. All right, that's enough talk about [music] sound and dialogue for now.
Let's head back into Cling AI since we've already confirmed frame one doesn't need any specific [music] lines. We're officially done with the prompt for this shot. Don't forget to toggle native audio to on.
You'll need this enabled if you want Cling to generate those ambient sound effects or if you have characters speaking in your later frames. Finally, double check [music] your settings. Make sure the duration is 5 seconds and hit that generate button.
Now, we just sit back for a minute and wait [music] for the magic to happen. Now, I am going to show a one more frame with dialogue. Let's head over to the frame 2 generation screen.
First, upload your K2 image. Just like before, we're going to grab our action and cinematic details [music] from the prompt and paste them into the prompt box. But here's where it gets interesting.
Let's check our dialogue script for frame two. We can clearly see that both characters have a line of dialogue here. We need to copy everything, [music] including the speaking character names and their lines, and paste them right into the video prompt area in Cling.
All right, let's talk about the one thing I know you're all waiting for. Character voices. Getting AI characters to speak properly is a total gamecher for storytelling.
In this video, I'm going to show you six different ways to generate character voices using [music] Cling AI. Now, a quick heads up. The first four methods are totally safe and copyright friendly.
The last two, they're a bit more experimental and [music] carry some copyright risk on. So, keep those for your private projects only. All right, method number one, and this is the most common way to do it, prompt driven speech.
If you look closely at that text we [music] just copied, it's already packed with everything the AI needs. We've got the character description, voice type, emotional context, and even the delivery style. The beauty of this is its [music] versatility.
You can take these exact prompts and drop them into literally any AI video tool that supports character speech [music] and it'll just work. Next up, method number two, another classic. [music] You can use a dedicated AI voice platform like 11 Labs or Miniax [music] to craft the perfect vocal performance first.
Once you've got that highquality audio file, [music] just bring it over to Cling and use their lips sync feature to match the mouth movements. Now, method [music] number three is actually a brand new feature Cllingropped just this month. Preset voices.
Right now, they've got four distinct [music] voices you can choose from. If you go this route, you can actually strip out the character description and voice type from your prompt. Just keep the emotional and delivery instructions.
Since this is so new, four voices might feel limited, but honestly, looking at how fast Clling is moving, I'm betting there are going to adding a lot more options very soon. And finally, method number four, [music] voice referencing. Cling now lets you upload a 10 to 30 second audio clip to use as a blueprint.
This is huge. You can record yourself, a friend, or any specific [music] voice you have permission to use. Upload it and Clling will apply that voice identity to your video characters.
It's a gamecher for making your AI films feel more personal and unique. Okay, we've covered the safe methods. Now, let's [music] get into the last two methods.
Full disclosure here, these are the wild west options. They're incredibly powerful, but they carry some serious copyright risks. So, strictly speaking, use these for your private experiments [music] only.
Don't say I didn't warn you. Method number five, direct voice sampling. You can grab a [music] 5 to 30 second clip of your favorite character from a movie or TV show.
Upload that audio to Cling as your voice reference, [music] and the AI will use that exact vocal texture for your storyboard. It's a total blast for world building. But remember, since you don't own that voice, using it commercially is a huge legal no-go.
And finally, method number six, [music] AI to AI cloning. You can use tools like 11 Labs or Miniax to generate a voice you like and then [music] feed that file into Cling as a reference. Here's the catch.
This actually violates the terms of service for most of these AI voice platforms, [music] as they usually don't want their output being used to train other models. It's perfect for just for fun projects, but if you're planning to monetize this content, [music] the risk is real. And there you have it.
All six methods to crack the code on character voices in Cling AI. Whether you're playing it safe with presets or pushing the limits with voice references, [music] you've now got the full toolkit to make your characters sound as cinematic as they look. All right, for the sake of this demo video, I decided to just stick with Cling's new preset voices.
I really want to put them to the test and see if they actually hold up in a finished product. So, fast forward a bit. I've gone through the process and finally generated all nine of my clips with those preset voices attached.
We have all the pieces of the puzzle. Now, [music] it's time for the fun part. Let's jump into the editing software and stitch this story together.
You can rock whatever editing software you're comfortable with, but for this demo, I'm sticking with Cap Cut. The process is super straightforward. Just fire up the app, drop in all those generated clips, and line them up on your timeline in chronological order from K1 to K9.
Now, even though each clip we rendered is 5 seconds long, you don't have to use every single [music] second to keep the pacing tight and cinematic, don't be afraid to trim them down to 3 or 4 seconds. It really depends on the flow of your specific story. Listen to the rhythm of the dialogue and the camera moves.
And if you need that perfect background track to tie everything together, here's a pro tip. Head back to Gemini. Ask it to generate a Sunno prompt based on your storyline.
It'll give you the exact [music] keywords for the mood, genre, and instruments you need. Then just take that prompt over to Sunno, generate your custom score, and drop it into your project. And just like that, you've turned a single reference image into a fully realized cinematic sequence.
All right, enough talk for me. Let's check out the final video. >> The council will not yield to threats, my lady.
>> Then they shall yield to necessity, Lord Sterling. >> Do not mistake my patience for weakness. >> Do not mistake my [music] silence for agreement.
>> We shall see who history favors. History is written by the victims. >> Indeed.
>> So, what do you guys think? Not bad for a quick afternoon project, right? Look, honestly, this was just a speedrun demo to show you the raw potential of this workflow, and it already looks this good.
But trust [music] me, this is just the tip of the iceberg. I know who's watching this channel. [music] You guys are the real AI masters and creative directors out there.
I'm just showing you the tools. You guys have the vision. I have absolutely zero doubt that [music] you can take this basic concept, refine it, and absolutely crush it.
You could be making viral cinematic [music] masterpieces for YouTube shorts or Tik Tok right now, and turning this whole AI thing into a serious side hustle. The potential is [music] honestly insane. To help you get started fast, I've dropped every single prompt from the director mode structure to the extraction [music] codes down in the description box below.
Copy paste them, tweak them, make them yours. If you hit a snag while trying this out, seriously, don't struggle alone. Drp a comment below.
I try to reply to as many as humanly possible to get you unstuck as [music] fast as I can. I'm going to keep bringing you the hottest cuttingedge AI workflows [music] and honest tool reviews across the internet every single week. And listen, [music] this channel is for you.
If there's a specific AI tutorial or a crazy new tool you want me to deep dive into, [music] let me know in the comments right now. I'm reading them. If you got any value out of this today, [music] smash that like button, leave a comment for the algorithm, and make sure you're subscribed so you don't miss the next wave of AI tech.
Thanks for watching and [music] I'll see you in the next one.