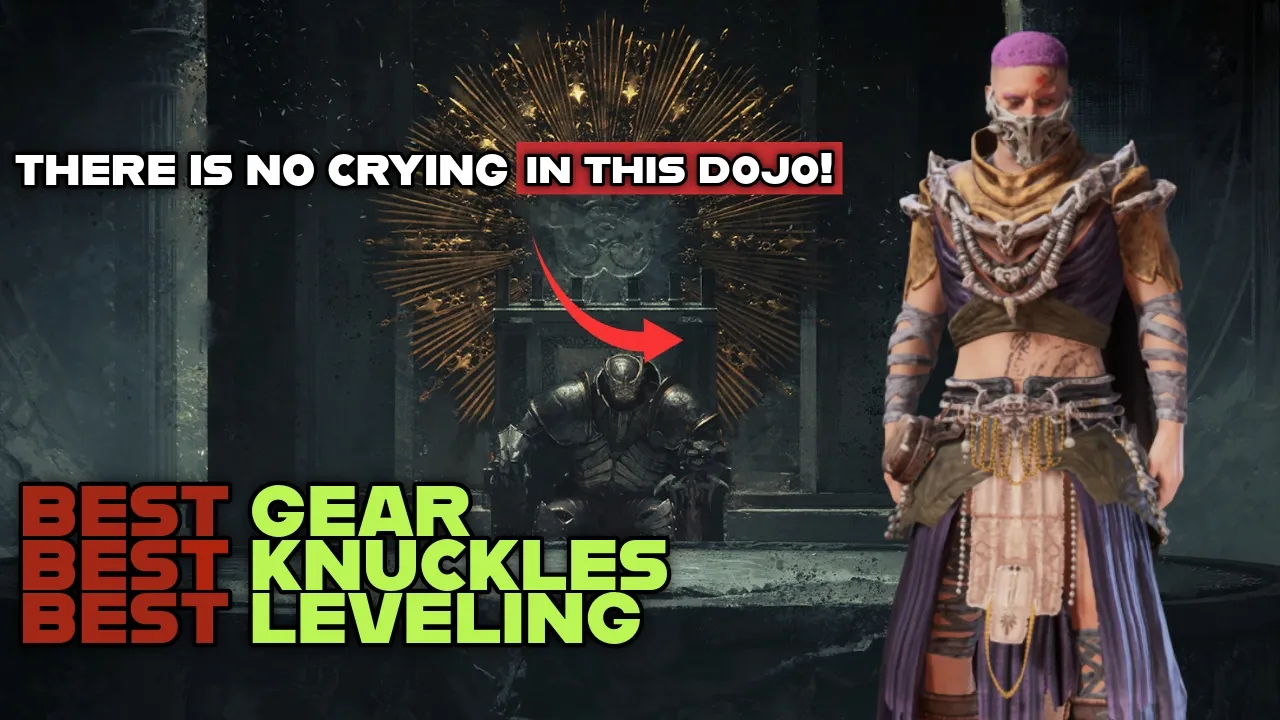
Greetings folks. Pasta is here with an amazing update for my monk build. Fully unarmed.
But just in case, don't feed the crockmaw because deep down I know. I can see the way you look at her. Your eyes glimmering with excitement.
If only you could make her understand that you wish this graceful creature no arm. But as you draw closer and your hands are getting sweaty, just like the first time you mastered the courage to tell that girl from class that you liked, something darker whispers in your ear. How about no?
Well, unless of course you want to turn this into a disarmed build. But pasta, why should I even play monk? Because it's unique.
No stagger. We need to dodge and strike back super fast. Moreover, our damage can be adjusted more easily than any other build in the game.
But more importantly, gold. A lot of gold. Yes, you got it right.
To play a monk, you must become rich. You need to embrace practicality. Sure, the start in act one is a little scuffed, but as soon as you switch in and pump meteorite straight into your veins, nothing can stop you.
Moreover, I will give you two different gear setup for this build just in case you find physical stuff boring. We can fully play with status effects. In this video, I will go through all the gear location, skill tree, attributes allocation, and a leveling section.
So, strap in because it's time to cook. Let's talk about the weapons because there are none. Hand of the build.
Well, no, not really. This build requires a single item to work. the heavy gloves, an early act one item that is completely not replaceable.
You lose this item, you can throw this build in the dumpster. This will enable the inner working of this build and it's sadly the only monk item in the entire game currently. But since quest line forgot that we exist, there is no danger of nerfs.
At least I hope our damage will scale with upgrades. Want to destroy stuff? Pump more those gloves up.
Want a challenging fight? don't upgrade that much. Choice is up to you.
Naturally, this glove mean that we cannot go hybrid sadly. Instead, the two setups that I will offer you with status effect, we're going to be able to apply bleed, burning, chill, and wet. And of course, the pure physical setup will work as any other warrior build would.
So, it will be amazing either way. First, our helmet, the crystal walker helmet, the god tier of pure physical helmet. Boom, boom, boom.
Nothing come close to this helmet currently. If we use this item, we will stack more endurance instead of water stats of course for status effect. Instead, we have quite few options.
We can use the coral vit from Sarras, which will add wet to our build and will pair amazingly with the glacial amulet or instead you can always use the dual knight helmet from cobalt in act three which will add a little bit of burning and poison instead. There is also of course the all of sun helmet from sun winner in act two which can be used to generate more bleed but only when your critical chance is decent. So most likely in act three while you level up you can use a multitude amount of gear.
Knight dual knight revenant festering Lancelot ravenous anything can be used. However, due to the fact that we are going to put quite a few points in practicality, it depends how much of a snail you are during the leveling. If for example, you end up in act two at past level 30 grandpa, you can probably use Lancelot sooner than later.
For chest, the chest slot is a flex spot. Anything is really usable. I used revenant for most of the game.
Then I change it to Lancelot. However, we can also use undertow bloom vest if you are not using the crystal helmet and we're putting more points in perception. We can use the bold Kate if our crit is good and we can stay full health most time.
We can also use the dual knight from cobalt if we can maintain those status effects up for pants regardless if you go physical or not because the status effect line up in the spans section kind of sucks. Crystal Walker is our go-to like any warrior build would. However, this will cost mobility which depending on the overall damage can get you killed easily.
Otherwise, if your critical chance is good, Volker Warborn can be used as well. I also want to include Abyssal Heir as an offensive option from Saras, which is not as extreme as losing your dodges, but it's also a little conditional. Also, I need to include the best defensive option, which is the under to bloom pants from Saras.
The more perception you have, the better for you. Armor is extremely good in this game. For boots, we have only one realistic option here, which is crystal walker.
Doesn't matter if you go status effect or not. We cannot lose on 33% crit. So, expect to see this item on all my mini build until it get nerfed.
for back item. If you go status effect, I had a lot of fun with the flaming clock from act one. The only issue that you have with this item is that the base value sucks.
So, you will need to at least put it like plus 6, plus 8, plus 10 by the time you are in act three because otherwise, well, the fire application will suck. This also will allow us to free an amulet slot for our glacial amulet if you want to have fire and ice on the same build. One day we will get a poison amulet and then I will be happy.
But until then I will be sad. If however you have no interest in upgrading or play with cold because you think that the game is too easy then you can use wing at back cavalier. This one is the option for the physical setup as well.
During leveling as usual we have to use Abigor Cape. Volker's berserker totem can also be used as well. I don't like this item personally but some people do so I will include this one for amulet.
As I said earlier, uh, Glacial amulet from Sarras is amazing. Location is confusing, so it's feature after the leveling section. Just look at the time stamp.
This will help us chill and freeze stuff. In alternative, the fire amulet will replace the flaming clock, which is also good and I used it in my previous build. For physical setup, you can either use of course a critical amulet, column's finger, the stone warden thing crafted from the blacksmith quest line in act two here amulet to the no so hunter is also an option from act two but only when life leech is up otherwise well it's not going to work for you.
You need to be full health for rings. Rings have a better selection than my usual build. However, it's going to be conditional on a few things.
First of all, the status effect that you apply and if you're playing as a rogue in the Sara skill tree. If you play a rogue, you can use rings of ruin which are good. If you're playing with wet, you can use the wet ring from Saras.
The swordsman amulet will work on a monk. Crit rings, the perilous orbs, the usual susp can also be used as well. During leveling, please just use two stamina rings.
Do yourself a favor. Like stamina when you're low level will save your life. Okay, now let's look at the attribute section, then the skill tree, then the Sarah's perks, and then the leveling section, and then the items.
Oh my god, that's a lot of stuff, actually. All right. Okay, let's look at our attributes.
The minimum requirement for this build will depend, of course, on the gear that you're using. I will still advise for you to get to 15 strength, 15 endurance. I will also advise it.
It's the requirement to use the Crystal Walker helmet. Dexterity is still good on this build because it will give us attack speed. You can even invest more in dexterity if so you wish.
Remember that attack speed will cap at 300%. You cannot go above that. Six practicality is the minimum requirement to use our heavy gloves.
So you need six points in this build. You cannot not play with it. You can go higher.
Points in speed to it are still good for gold of course but also for stamina and cost reduction. And then perception is really I would say that the minimum amount of points is four realistically, but it depends on the gear you're using, but perception is always good. Okay, let me quickly allocate points.
We're going to go with two strength and two dexterity because spear ancient hero so we can level up easier. You don't have to do this if you don't want to use spear ancient hero. You can allocate how you want, but you will have to play as a dual wield when you start out the game.
then we're going to go with six and six endurance. If instead you want to switch uh immediately to monk, so six in practicality, you can absolutely do that. I did the six and six actually.
Uh it's good. However, when you use the gloves without the unarmored perks, your damage will suck. So, be careful if you switch too early.
At least be prepared with either a potion of origin or something else. Then we're going to go with six endurance so we can use our stuff. Then 10 endurance, 10 strength, 15 endurance, four perception, 15 strength.
If you want to use the Lancelot stuff earlier, you can move this four points here in Dexterity. Regardless, we're going to go for seven points of dexterity are required for the coral wreath, but again, depends on the gear you're using. I would say go nine.
So you can use everything is also good. and afterwards really if you're using crystal walker endurance if you're using under bloom chest or pants doesn't matter perception if you want extra points in practicality you absolutely can go here choice is really up to you on this build now let's look at the skill tree small note if you're planning to play as a physical uh build you're going to ignore the points that I'm going to go here now at the start if you're not going to Play with spear of ancient hero while you level up. Also in your this points initially maximize expectation of affliction.
This one is going to be good. Then we are going to go in strength. We're going to take three points in godly physique.
Then we're going to go with potent poison and we're going to immediately max born in armor and one point in inner strength. Start immediately to take the points in unarmored brawler and iron end. I didn't take blow the snake on this build because I am low level.
If I was higher than 50, I would have taken this one. We max godly physique. We're going to go in perception immediately.
One point in extra lucky, one point in critical cascade. As soon as you lock red, three points in plague warden. This is a no-brainer.
If you're playing with status effects and you're using the uh the flame clock because talking about during leveling or if you already have the hurt of a flame or anyway if you're playing with status effect stacking peril and rising scourge you can take this one earlier. I took this one earlier but I was fully leveling up with status effect. Then we stay in perception.
One point in respiting cruelty. Two point in ages bloodthirst max extra lucky respiting cruelty. Two points in deep wounds.
Then three points in go for the eyes. Now if you want this, this is optional. I didn't end up using this as much as I thought I would because the build is much stronger that it was in the past when we had less items to use.
So, one point in LG, one point in fast reflexes, and one point in temporal sleep will allow you to slow down time. You can even take these points in act one if you want. Some people feel the temporal sleep makes the game too cheesy, so the choice is up to you, though.
I still took them. Now, if you're playing fully physical and you're going to ignore everything here except maybe exploitation, affliction, that you want to invest in the red death tree, more importantly, you want to max cry in pain, long regret, giving and give up, one point in grief to enemies, weeping success. You max this one and you also max this one as well.
So these are all if you are not using status effect if you are higher level all that stuff very simple okay let's look at the saras tree frailty broker since we attack fast we apply a lot of stacks of frailty every stack of frailty will increase the damage of our physical attack frailty can also be invested in more however I still feel that status effect for this build amulets and stuff is better to not rely too heavily on frailty but it's always an option. Frailty expert for extra frailty. Then we're going to go dependable luck.
This one is very important. This one doesn't have a cup. Then we're going to go with rising exhaustion.
And then we're going to go with coupe the grass. Of course, if your kit is good, you don't have to take dependable. In that case, you can go with wrecking ball.
Or if you don't care about stacking frailty, you can also give up on frailty expert and maybe go for instant of a killer. Okay, for this build, you don't have to play the tutorial. We realistically don't need anything special from there.
So, if you just want to run through or start directly in act one, you can do that. More importantly, like my usual leveling guides, there are going to be spoilers where I show the boss fights. If this is not acceptable for you, well, just don't watch this section.
I guess we start from the shore and we directly bee line for the recipe and then we go and get our spear ancient hero immediately. Following the same direction, we escape from the red cap infested village and we go for the fisherman ring. So, we have another stamina ring.
Afterwards, I'm going to show the location of meteorite, the one that I like in act one and act two. There are several location. These are not the only one, of course.
Don't forget to buy the leather recipe from the hunter next to the keep in the blood lake. You want to do the mini dungeon there and get the relic that drops from the abomination. This one will give you a little bit of self-healing which makes the quality of life of this game much better.
In the crypt, we need two things. Uh the perception book as usual. There are many bonus attributes items and stats item in this game.
In the description, you will find a link where you can find all of them. And also the druid shrine. You should do them in every single act, especially the act three druid shrines you need to do because they will give you a plus permanent 10% critical chance.
After you grab the book, decide what to do with the necromancer. If you do not kill him, you will have to find the revenant recipe in another way. You can also get the recipe for free if you do the blacksmith quest line in the keep.
So, you don't have to kill the necromancer if you don't want. Then get yourself the blood ring at top the small jumping puzzle in the ruins up north. Once you start the alchemist guild quest line in the north, it's literally the cave close to where you get your heavy gloves.
Grab the flaming clock that I show here and as well as another important relic. These relics are quite good. So once you finish with the mist be better just slot that relic in when it's time for Abigor.
My advice to you is to be at a good level. Otherwise, this fight is going to be cancelled because Abigor has insane M retaliation. Warning, warning, warning.
Soon boss of Act 1 is showed. Now, Galahad, if you're good level, it's not going to be a threat because, well, we really have eyes stagger if a target blocks. Get the Lancelot set before you leave act two.
Use the south exit, the one at the bottom of the map to enter act two. Don't use the upper one because that one is going to be harder. More importantly, memorize the lo location because there are two very easy meteorite nodes that you can find here.
One is here and the other one you need to jump on the rock and go up in the city. buy another two bonus attributes points. One is from Bonxie, the other one is from Filth I can trust.
Oh, when you go in the red death fortress or the tool house, whatever is the name, you can interact with the small bone totem for two extra points. It will cost you a little bit of life, but still do it. The Red Death quest line starts here.
If your level is in line, like you're around level 30, this one is not going to be particularly hard, especially if you upgraded your gloves. Otherwise, well, it will take a little longer. Be careful if you're in veteran because this guy will one shot.
By the way, on most attacks, the bosses of act two are not really that hard if you're not underleveled, especially with the setup that I provided. We really hit hard. This is a plus six heavy gloves that you're seeing.
Arch mage is going to be extremely annoying, especially if you're weaker because it tends to do that tower explosion that one chills you and well does a huge chunk of damage. But if you have the plague warden perks active, it should not be able to kill you straight away in veteran. Last boss has several patterns that you shouldn't be careful for.
If you're strong enough, again, you can trivialize this fight. But if you are lander level without upgrades, you should be careful from the ice. The cone attack and also the explosion that she does is very deadly.
And that's the leveling section for you. Again, don't forget to do the druid shrines, all of them in every single act. And now I will show the physical location of some of the items so people are not confused when they watch this.
Did you hear something? And You show. No one sneaks up on me.
Back to your hovel, coward. I'll get you back. And that's it.
If you got this far, thank you for watching. If you enjoyed this video, please consider leaving a like or maybe even subscribing for more gaming content. Question or doubts, let me know in the comments.