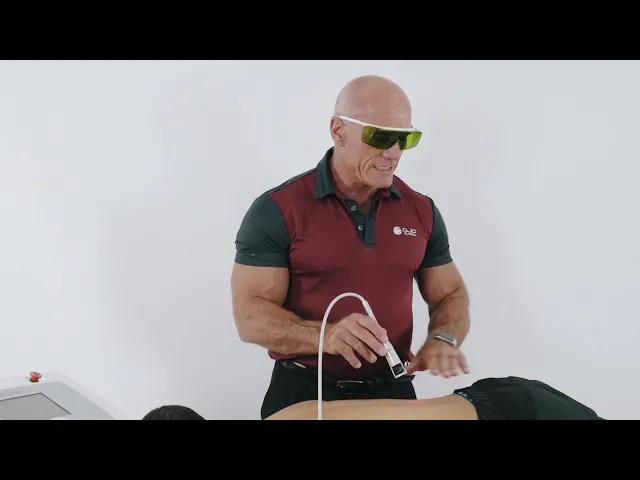
[Music] hi in a previous video we looked at using high-power laser to treat an neck pain with an Associated radiculopathy so if you have a patient presenting with low back pain with a radiculopathy I refer you to watch that video and use the same techniques but this patient is presenting with a nonspecific low back pain with an insidious onset the presentation is an ache from the center going going left and right so we've chosen to use high-power laser we use the same technique the same protocol of TNT we're going to treat the trigger point if
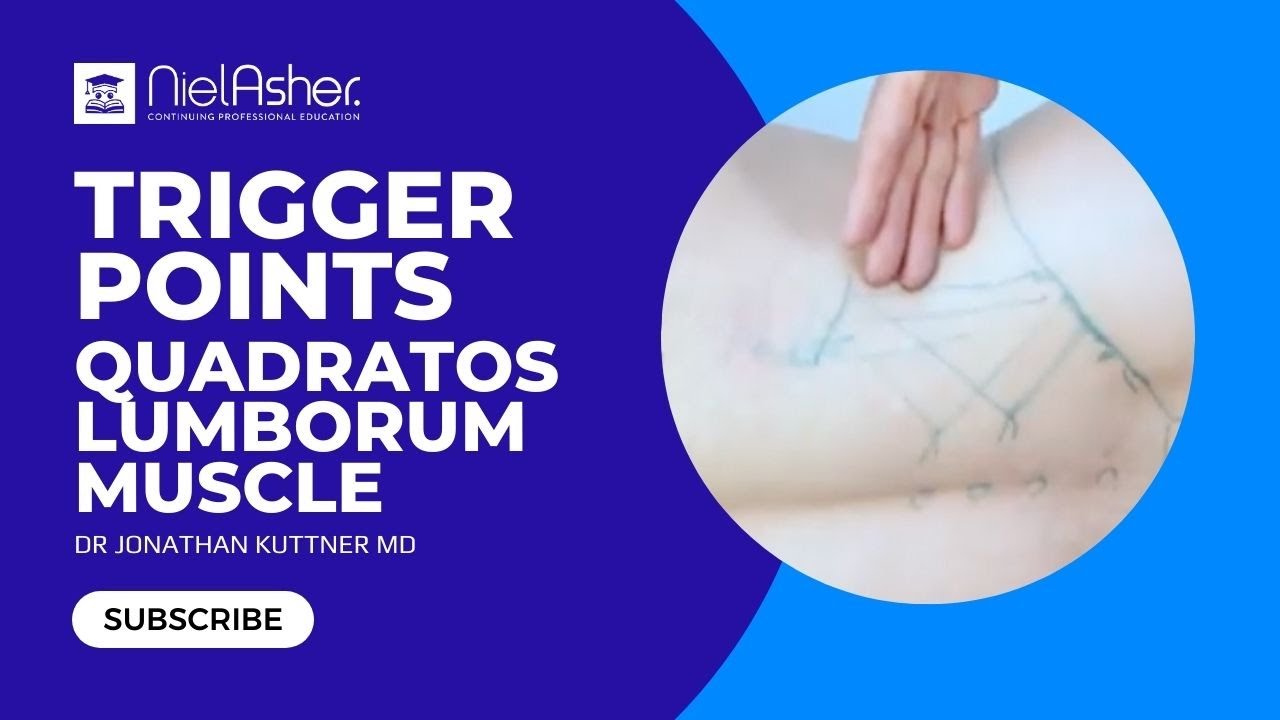
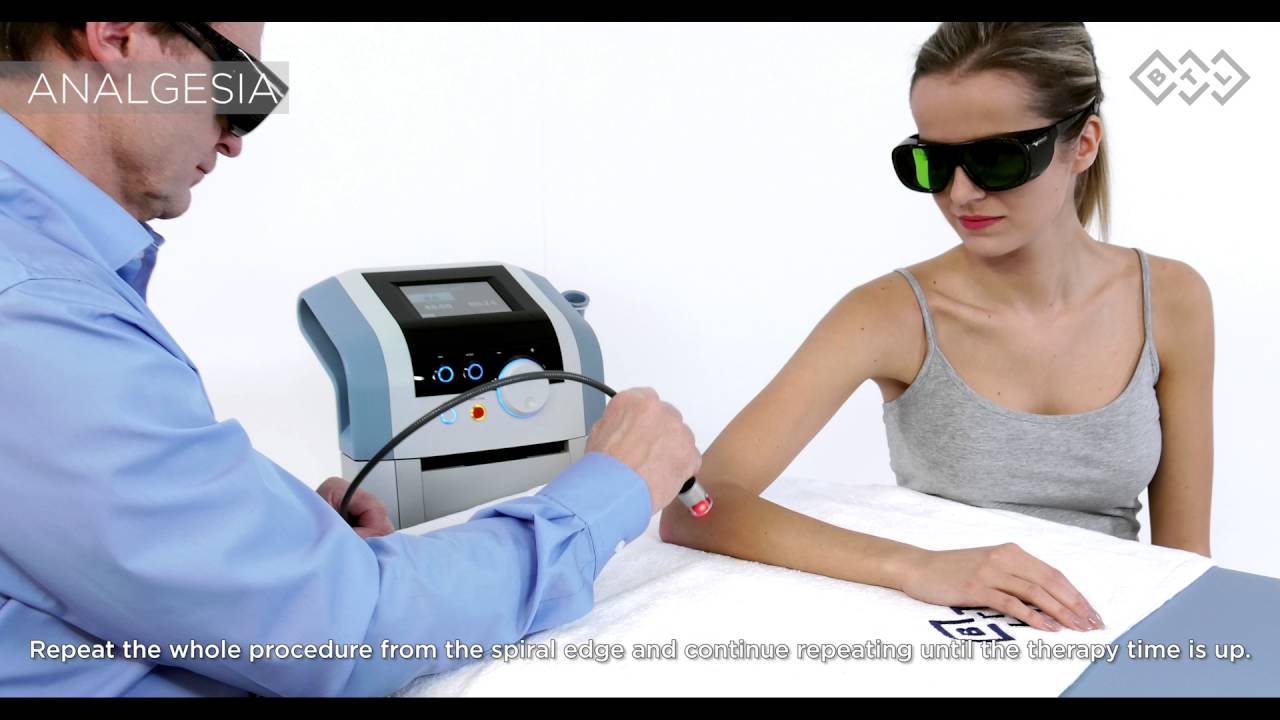
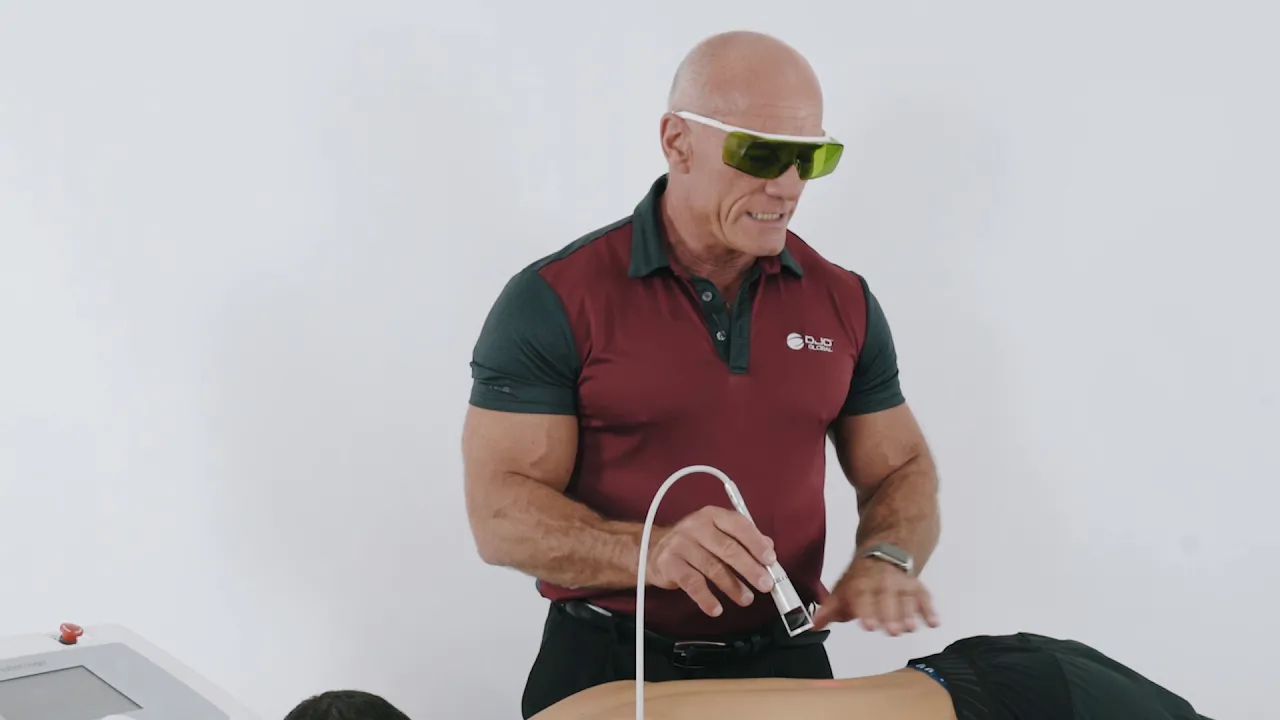
there was a neuropathy we treat the nerve root but it's also important then to go on and treat the tender area so let's see how we how we start important that we wear manufacturer-specific glasses we take our probe and we choose which stand off to use the largest and off has a smaller energy density the smallest and off has a higher energy density because I'm going to treat the trigger point in QL I'm going to choose to use the smaller one hi earlier palpated the myofascial trigger point in QL so I've localized it and I'm
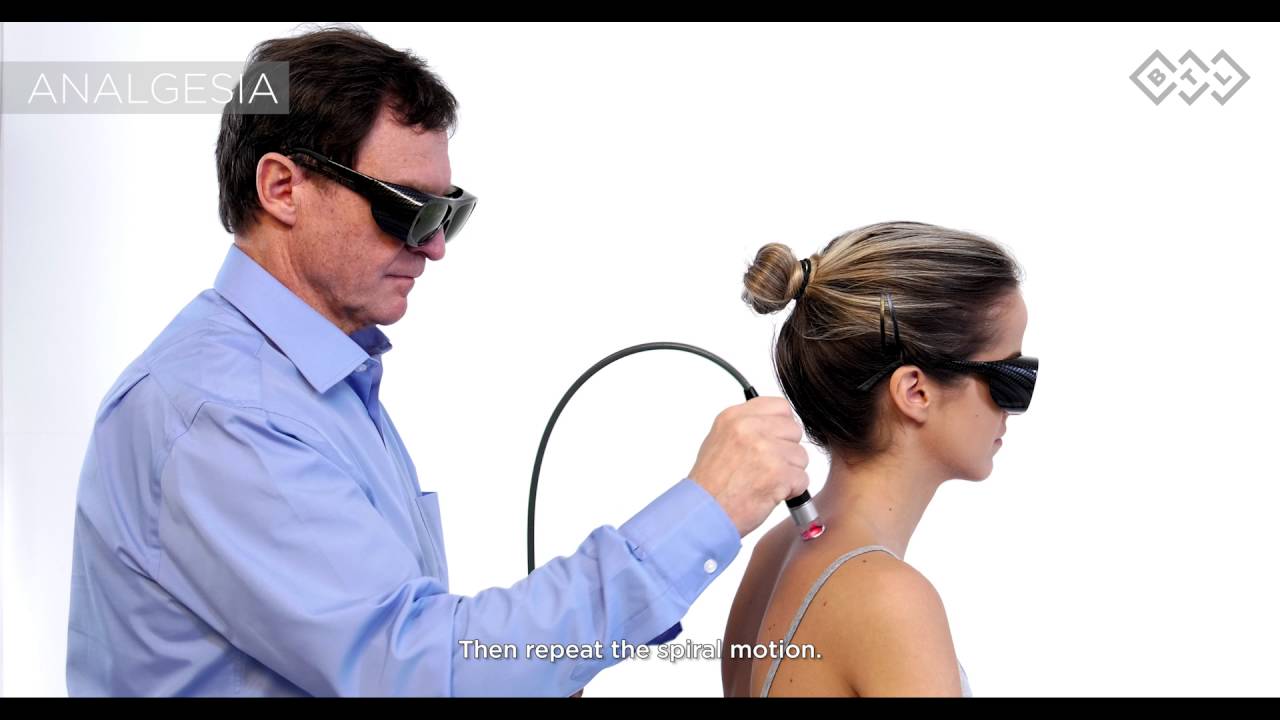
now going to start my treatment I press play on the screen and then I press the foot switch these are built in safety features you'll note that I'm now using a spiral technique it doesn't matter whether you go from the center out or indeed from the out into the center once you reach the center just pause for two to three seconds and then repeat the spiral motion until phase two has finished we're now ready to move on to Phase two the premise is identical to Phase one so because we haven't got a radiculopathy here we
don't need to treat the nerve root but we may have a secondary satellite myofascial trigger point or indeed we can skip Phase two and I want to show you how to skip phase two so once phase one has finished we set the time for one second place my head I press the foot switch after one second phase 2 is now completed and we've moved on to phase 3 during phase 3 because this area is quite acute I'm going to change to a standoff with a lower energy density during phase 3 I'm using a scanning technique
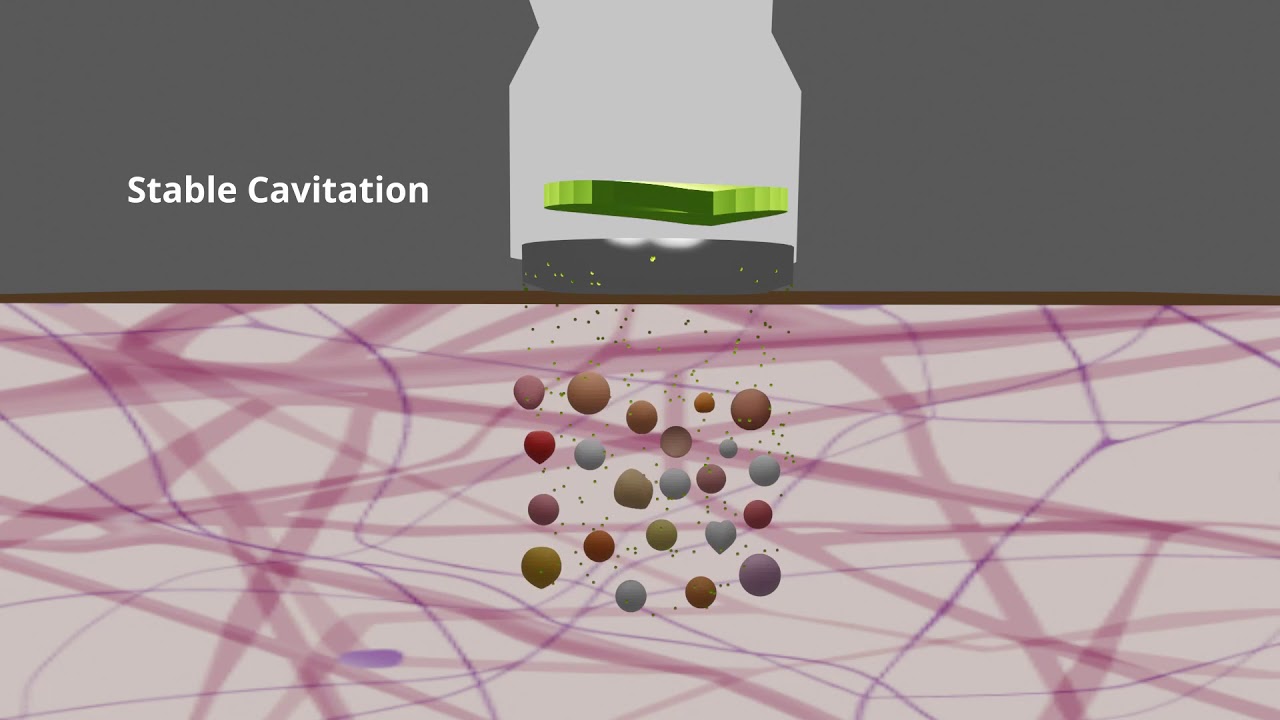
the purpose of phase 3 is to create bio stimulation of the cellular activity so in order that I don't miss any of those cells in that area I go transversely and then longitudinally over the tissue and I repeat that process until I've phase 3 has finished you'll note that I'm using a slower technique with the lower energy density standoff if I'm using the smaller standoff with a higher energy density I work quicker now if you have a patient with a tattoo because we have a thermal effect during phase three it's important we communicate and continually
with the patient and if we go over that tattoo we need to work quite a bit quicker because the thermal effect will warm up the ink in the tattered or indeed if they've got a large area of tattoo you might have to reduce your energy power by 50% now when phase three has finished we've completed our treatment I would expect at least a 50% improvement in a patient's pain after this first session in an acute presentation I'm going to ask this patient to come back and see me three to five times in that first week
using a lower energy dose if if indeed on the contrary the patient is coming to see me with a chronic condition then I'm going to ask to see them once a week but I'm going to use much a much higher higher dosage