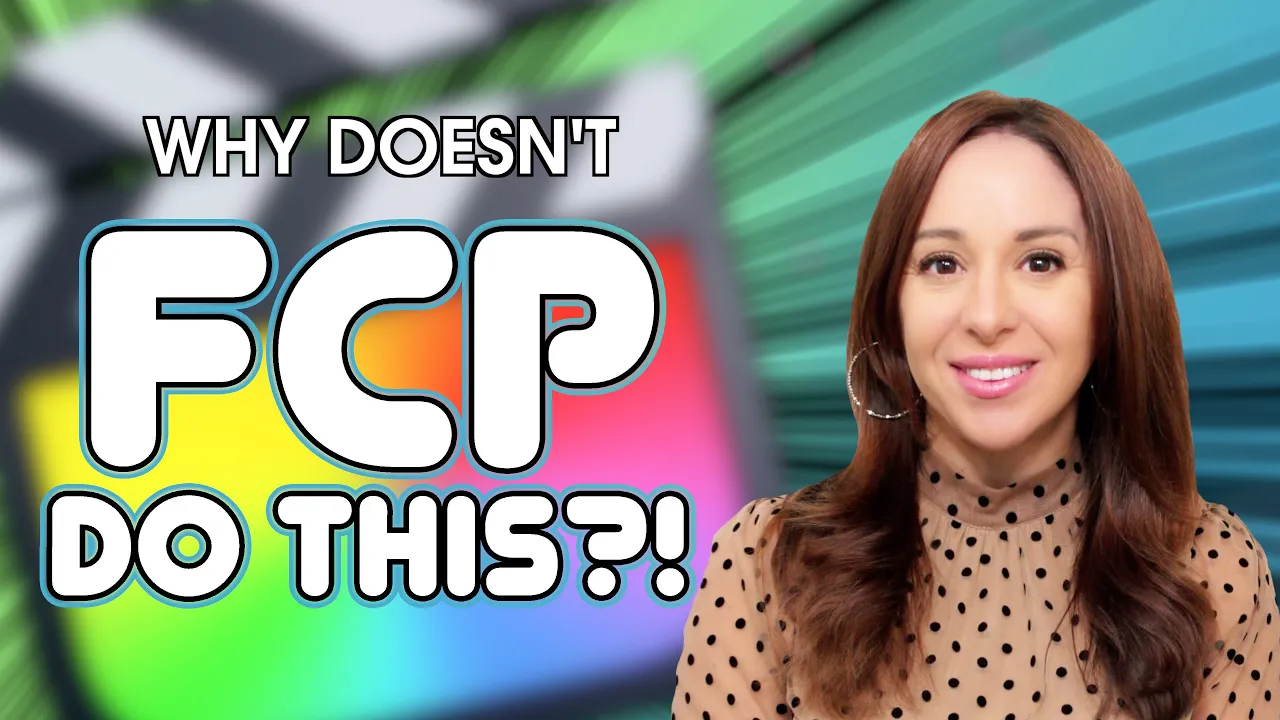
today we're going to solve one of the biggest gripes I have about Final Cut Pro it's that the overlays in the viewer are totally insufficient let me show you what I mean here under the view menu I can turn on my title and action safe zones and I can show a horizon but that's pretty much it there's no rulers there's no grid there's nothing to help you align your graphical elements and last week I was working on a client project and it was so hard to get things to line up properly because fin cut has
insufficient tools So today we're going to build a generator in motion that gives us the ability to have Dynamic overlays to help us align our text and other graphical elements in Final Cut Pro it's not the sexiest template for Final Cut Pro but I think it might be the most useful now if you don't use motion but you do want access to these Dynamic guides just join my patreon community all of my patrons get access to all of my working files and motion templates that I've ever created on this YouTube channel and if you don't
motion but you want to learn check out my course motion Launchpad now available at Jen jer.com all right let's Dive Right In Here in my project browser you can see my settings I'm creating a final cut generator and we've got a duration of 10 seconds long let's open this up let's get this project going the first thing I want to do is head on over to the library Tab and find the grid generator then I'm going to drag and drop the grid right into my project pane then let's hit the inspector Tab and under the
generator tab let's dial down that background opacity all the way to zero then on the background width I want to crank it up to 200 as well as the background height so you can see we have a perfectly centered grid of white lines let's change the line width from 10 to a value of two and now I want to add a parameter behavior on the background height line so I'm going to drop down here navigate to add parameter behavior and let's select link and then from my project pane I'm going to drag the grid into
the source object well and under compatible parameters let's go down to object grid and background width now let's head back over to the generators Tab and I want to show you what I've done here I've linked together the width and height of this grid so if I reduce the width the height slider travels exactly with it and by the way guys you want to make sure that your pixel aspect ratio here is on Square otherwise your lines might not be perfectly square and the last thing I want to do with these grid lines is change
the color so I'm going to reach for my favorite tool the color Cube if you guys don't know what the color cube is I will link to a video right here for you and down below I love this tool for graphic design so I'm going to go with this color palette here for my grid cuz they're kind of bright and they should be easy to see over video in Final Cut Pro but I am going to publish the color parameter on these so you can change the colors if you need to so I'm going to
select the line color let's head on over to our sliders option and on the hex color I'm going to make it this sky blue okay great so there is our grid now let's add some ruler lines to this generator as well if you're not sure what ruler lines are Apple motion has them I don't know why Final Cut doesn't basically allows you to grab your cursor and draw a line into your frame these are not really there when you export your project it's just a guideline and you can do them vertically and you can make
as many as you need to I can get rid of these guys just by grabbing them and dragging them to the top or bottom of my canvas and so let's draw in some lines that are going to serve the same purpose when we publish our generator let's go down to the shapes tool I'm going to select line and I'm going to make a horizontal line by holding down the shift key and I'm going to draw a line just like slightly off frame then let's head on over to the properties Tab and reset that parameter so
it's centered on the shape tab I am going to give this a width of two as well nice and skinny I'm going to change the color of this to a bit of a pink color and on the properties tab I'm going to give this a position on the yalue of positive 870 now in my project paint I'm going to rename this line to stay organized and then what I'm going to do is duplicate this line under the properties tab I'm going to give it a value of netive 8870 on the Y AIS and let's go
back to the shape Tab and change the color and rename this to horizontal line two all right let's grab that line right click to duplicate it this time I'm going to under the properties tab rotate it to 90° I'm going to reset the parameters here so it's nice and centered under the shape let's change the color of this guy and back under properties I'm going to give it a position on the x value of 1740 let's call this vertical line one and then we're going to duplicate that line change the color and under the properties
tab we're going to give this a value of positive 1740 so there's the look of my grid now let's start publishing some parameters so we can adjust this in Final Cut Pro I want to have the option for someone to have the grid enabled or disabled so we're going to create a rig so under the opacity line I'm going to drop down select add to rig create new rig and I just want it to be a checkbox I want the option to be on or off so let's start rig edit mode and dial down the
grid opacity and stop rig edit mode and now when I check the box on you can see the grid and when I turn it off there's no grid let's leave it on and I'm going to publish this parameter and then head up to the project line in the project pane into the project tab and let's label that grid on off let's keep it going with the grid there's some other parameters I want to publish for instance remember our slider that lets us adjust the size I'm going to publish the background width parameter let's head back
over to the project line and our project Pane and in the inspector let's rename this and then one more time let's head back to the grid and let's publish the color because perhaps you're trying to use this grid over a blue background and you can't see it we want to make sure it can be visible okay great now let's just do all the same stuff with our lines let's start with horizontal line one under the properties tab under opacity we're going to create a rig start edit mode reduce the opacity stop rig edit mode enable
the line and then publish our checkbox head back to project in the project pane head back to the project Tab and rename this checkbox and then let's go back to that line head over to the properties tab twirl down on the position and we want to publish just the Y position not the whole position just the Y position go back to project and lastly let's go back to that horizon line and publish the color as well all right now I just need to go back and do this to the rest of my lines make sure
when you're doing the vertical lines that you're publishing the X position instead of the Y position while I'm publishing these parameters if you guys like this video if you want to see me solve more of Final Cut Pros problems let me know give me that Thumbs Up Hit That subscribe button and ring the bell all right this looks great to me let's go up to the file menu and save as let's call it grid and guides going to save at my generators and let's hit publish and head on over to Final Cut Pro so here
in my generators you can see our grid and guides let's drop it in our timeline and see how we did all right first let's try playing with the grid size so yeah that totally works what if I made it white in this case it might be easier to see if this grid was white yep we can change the color here's the horizontal line position we can change this and what this allows me to do is perfectly align let's say this piece of text with this logo and this is just going to make everything so much
easier when it comes to layouts in Final Cut Pro and when you're done with your project just remember to either disable or delete that generator so like I said not the sexiest template we've ever made for a Final Cut Pro but probably one of the most useful if you want to snag this generator for yourself join my patreon community I will link to it down below thanks to everyone who watches all the way to the end here's some other videos I know you're going to love and I'll see you again